Power BI Workspace is a collection of Dashboards, Reports, Workbooks, and Datasets. The workspace is the complete work area of your organization. This article shows you how to create a Workspace with a practical example.
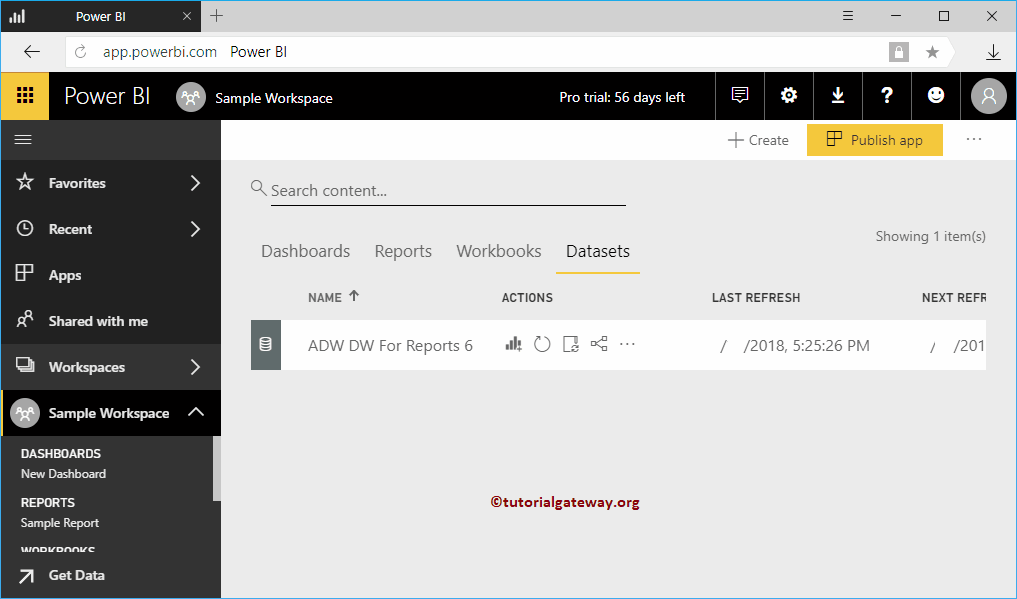
Before we start creating Workspace, let me show you the list of currently available ones. As you can see from the screenshot below, currently, only one is available for this account. It is the default workplace created by the Power BI service.
Power BI Workspace
The Workspace is a collection of Dashboards, Reports, Workbooks, and Datasets. It displays the workspaces that are available for this account.
Please refer to the Share a Dashboard, Share a Report, and Sharing Workspace articles to learn about the sharing options.
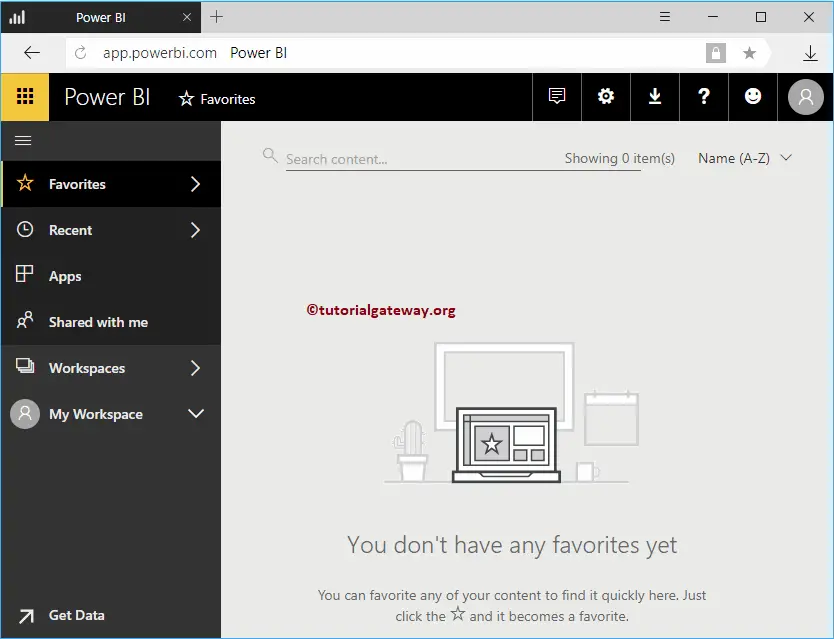
Power BI Workspace Favorites
If you find something interesting, I mean a report or a dashboard; then you can add them to favorites for quick access from the workspace. Those items will be displayed in this section. I suggest you refer to the favorites article to understand the addition of boards and reports to Power BI favorites.
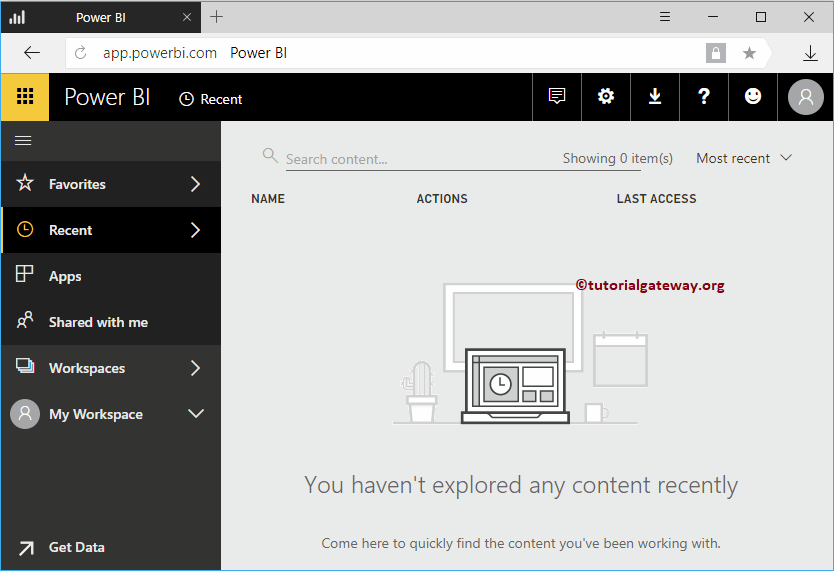
Recent
Same as Recent files in Windows. It displays the reports and dashboards that we have seen recently.
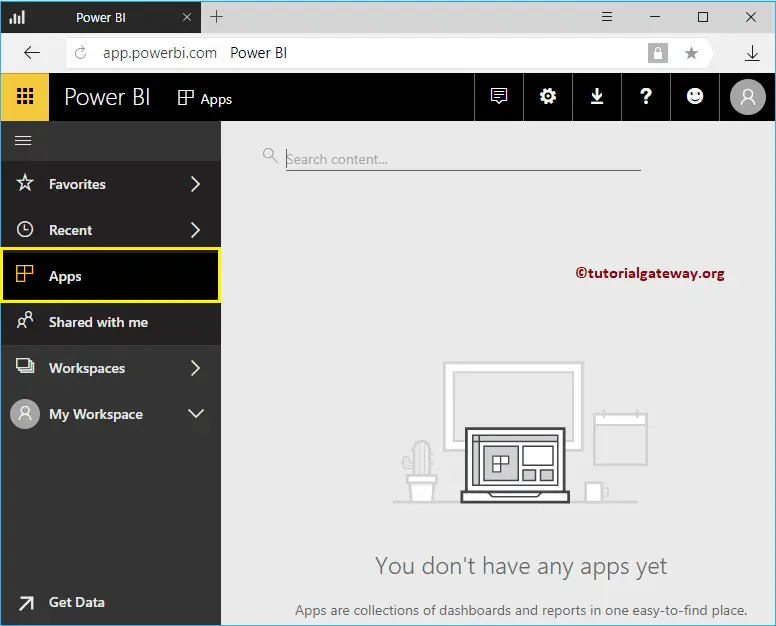
Power BI Apps
The Apps are a collection of reports and dashboards that help you to analyze the business. This section displays the available Apps.
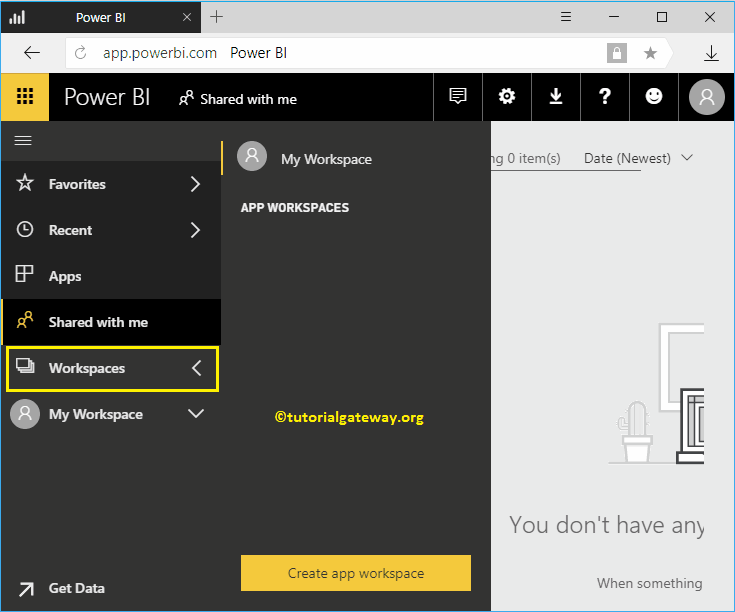
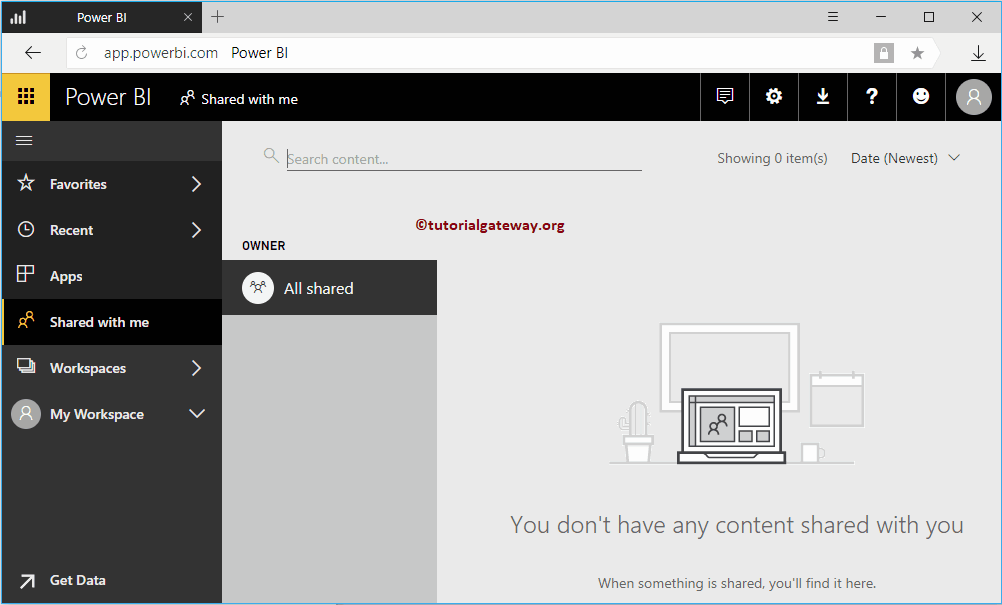
Shared With Me
If someone in the organization shares a report or dashboard with you, those shared items are displayed in this Workspace section. Please refer to the Share a Dashboard and Share Report articles.
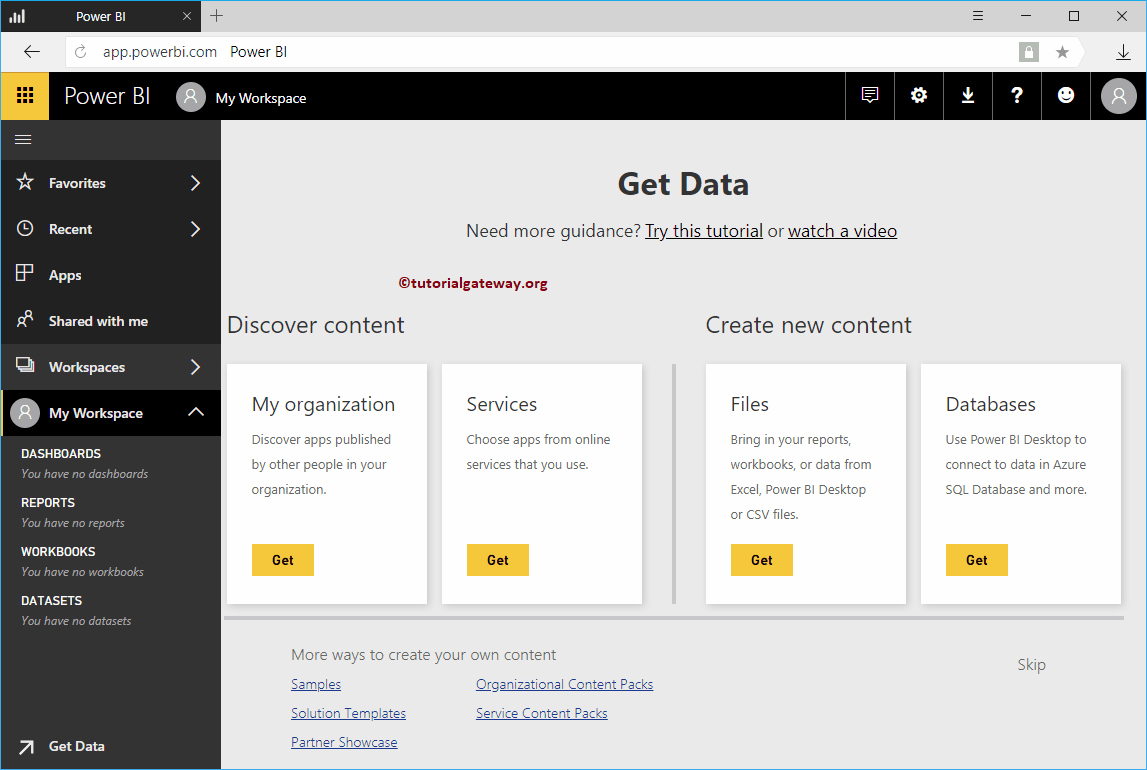
Power BI My Workspace
It is the default workplace created by the service, and this is the default one too. If you are opening this Service for the first time, it may display the page below. You can use this page to import data for creating visualizations (Upload Excel file URL article for reference).
Clicking the Skip button or clicking the My Workspace tab opens the following window.
- Dashboards: This section displays the Power BI dashboard (s) available in this workspace. Using the create button, you can create one too.
- Reports: The reports tab displays the Reports that are available in this workspace. Using the create button, you can create a new report. I suggest you refer to Create a Report article.
- Workbooks: This section displays the Workbooks available in this workspace. It means Excel workbooks that you uploaded (not imported) into the workspace. I suggest you refer Upload Excel Files article.
- Datasets: This section displays the list of available datasets. You can create a Dashboard using the create button.
How to Create a Power BI Workspace?
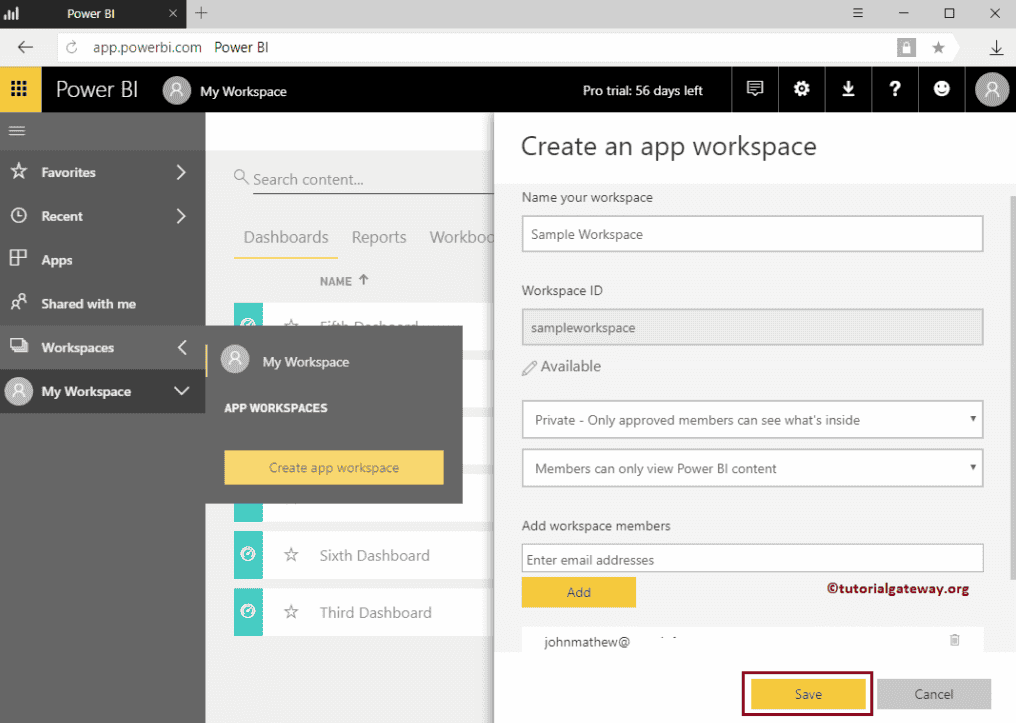
Please click on the Create App Workspace to create a new one on the desktop.

Clicking it opens a new window to define or create a Workspace.
- Name your workspace: Please specify a unique and valid name.
- Add Workspace Members: You can add members.
- Public – Anyone can see what’s inside: Anyone in this organization can see this.
- Private – Only approved members can see what’s inside: People added to this can view
- Member can edit content: Allow people to edit the content
- Members can only view the content: Restrict them from editing workspace content.
As you can see from the screenshot below, we assigned the name Sample Workspace and restricted members to view (no alter). Next, we also added one of my colleagues, John, as a member.
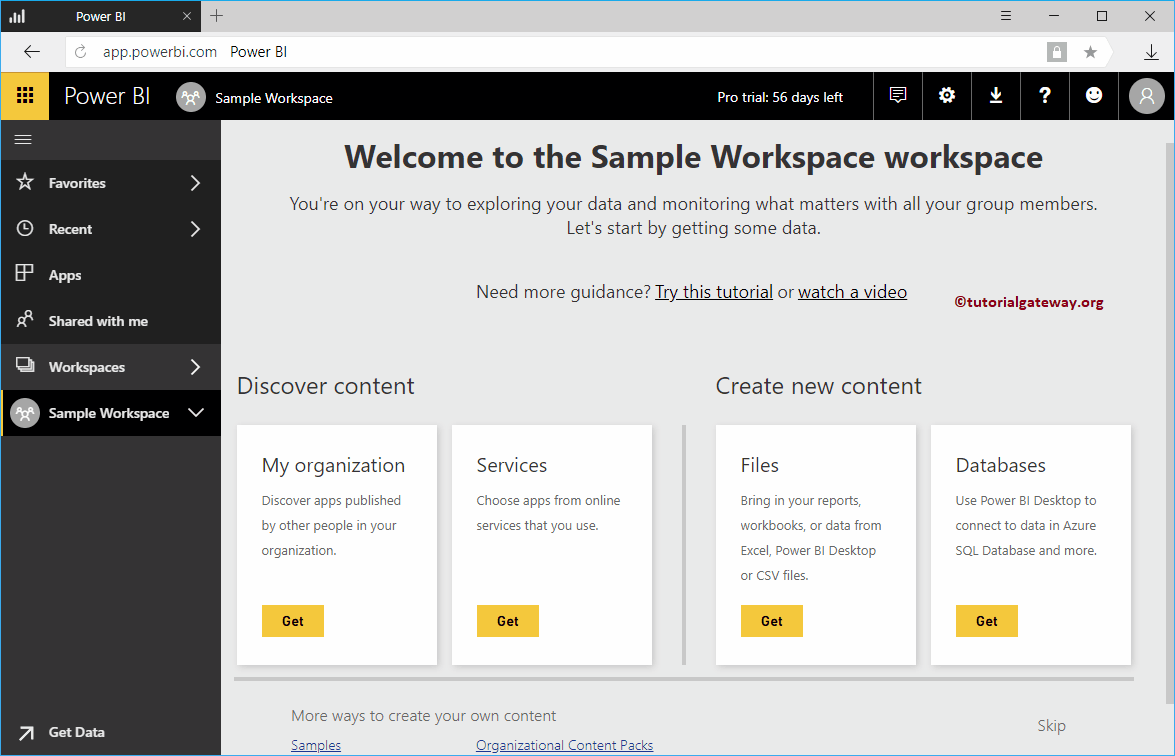
Clicking the save button creates a New workspace in Power BI called Sample. By default, it opens the following window. Either you can use this window to get data from different sources or skip this page by clicking the skip button.
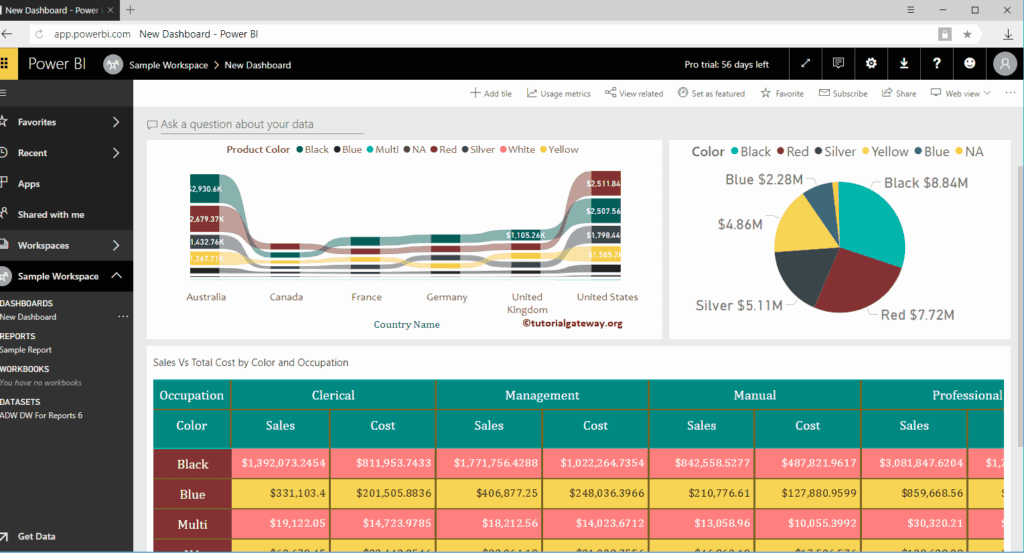
Once you click the Skip hyperlink, the following window will display. Use this window to create Dashboards, Reports, Datasets, and Workbooks. As it is the new workspace, there will be no Dashboards to show. So, we just created one simple dashboard.

Let me show you the reports or tiles inside this dashboard
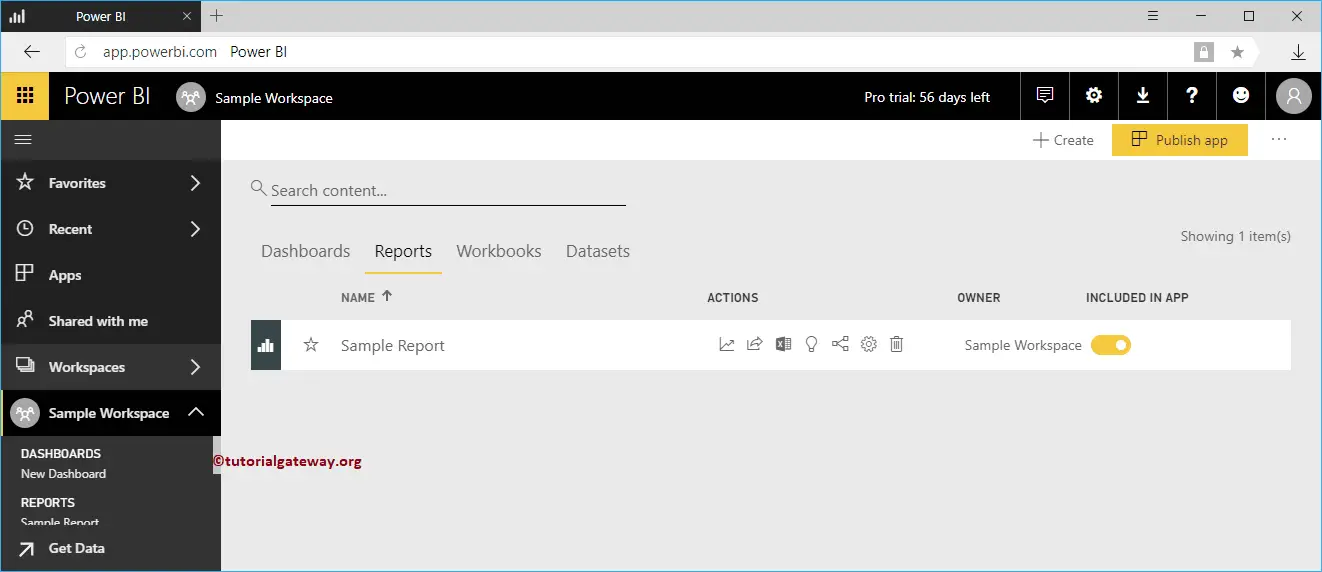
The screenshot below shows the Reports inside the newly created Workspace.
The screenshot below shows you the corresponding dataset. I suggest you refer to Publish reports from the Desktop article to publish reports from the Power BI desktop.