How to upload Excel Files to the Power BI Dashboard with a practical example? To demonstrate this, we load data from the Global Store Excel workbook to the dashboard.
How to upload Excel Files to Power BI Dashboard
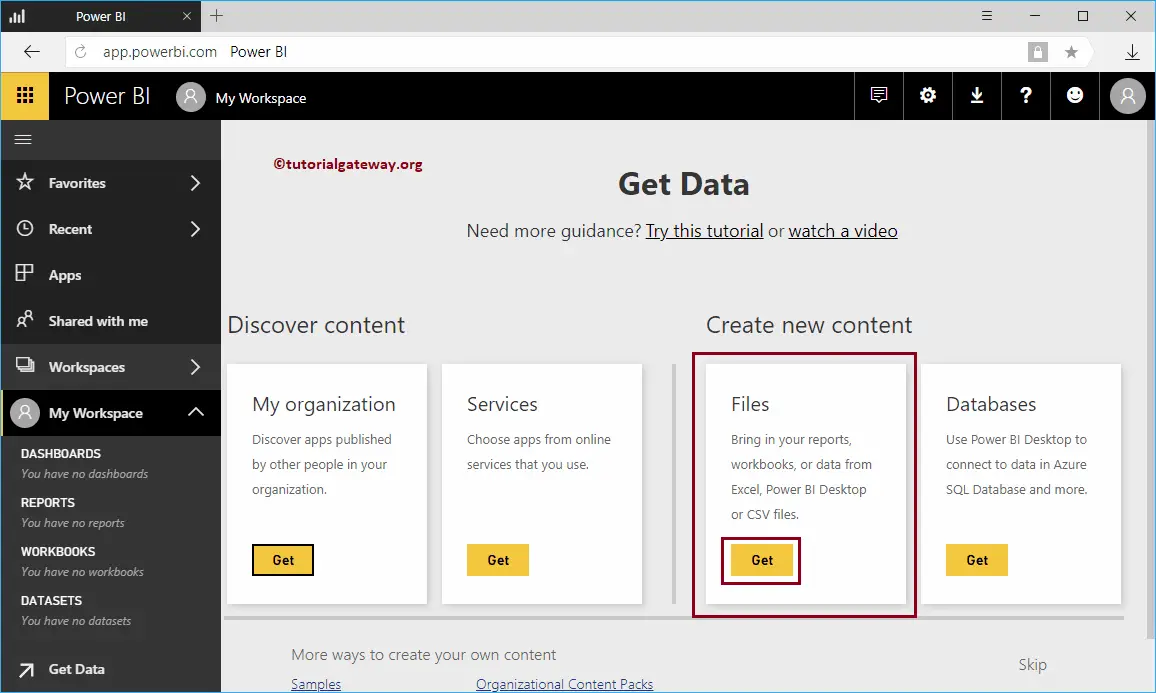
By default, when you open your service URL, it displays the following page. If this is not the case, then click on the Get Data button in the bottom left corner.
In this example, we want to upload an Excel file to the Power BI dashboard. So, let me click on the Get button inside the Files Tile. Please refer to the Create a Workspace and Dashboard articles to get in-depth knowledge.
Clicking the Get button opens the following window. In this Power BI example, we want to upload an Excel file from the local hard drive. So, let me select the Local Files option.
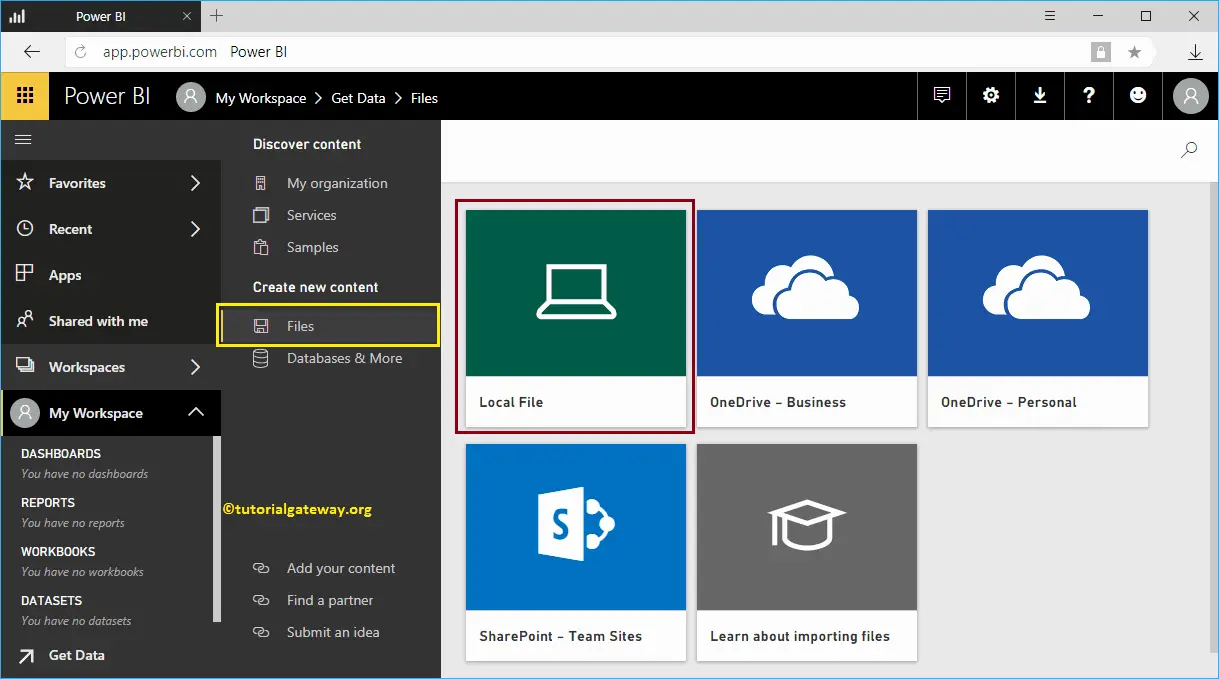
Once you click on the Local Files button, a new window opens to select the File from your file system. For now, we are selecting the Global Store Excel workbook.
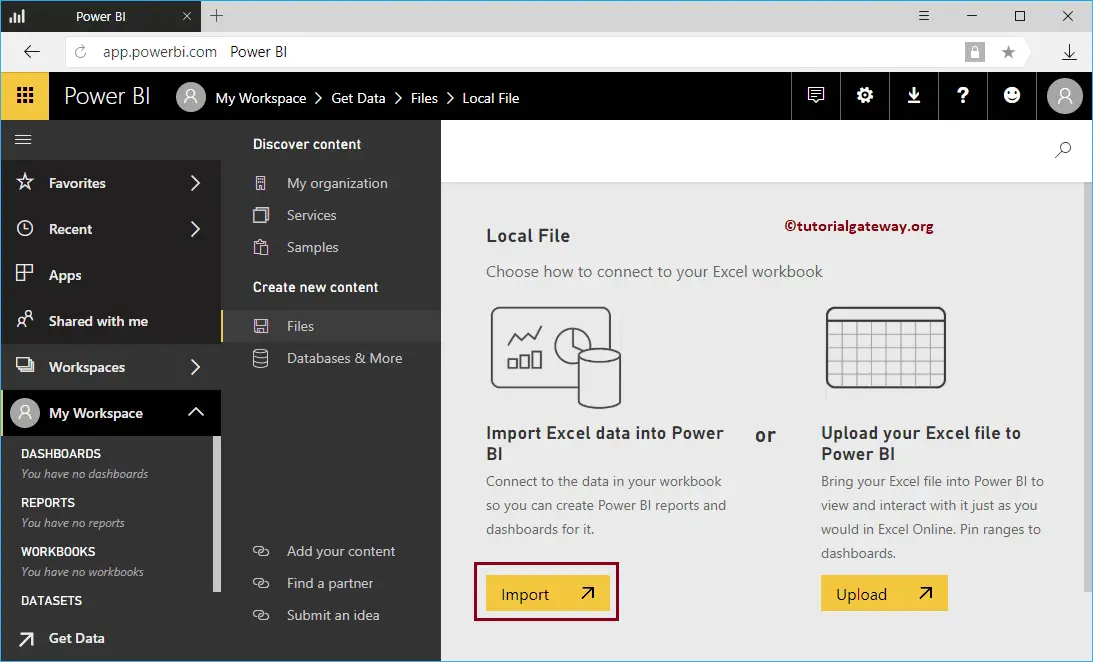
Next, Power BI provides two options for you
- Import Excel data: It allows you to design reports using this imported Excel file.
- Upload your Excel files: This is the same as Excel Online. You can view, and interact with the data like you normally do in Excel. No reporting. I suggest you refer to the Upload Workbooks article to understand this option.
Let me select the Import Excel data into Power BI option
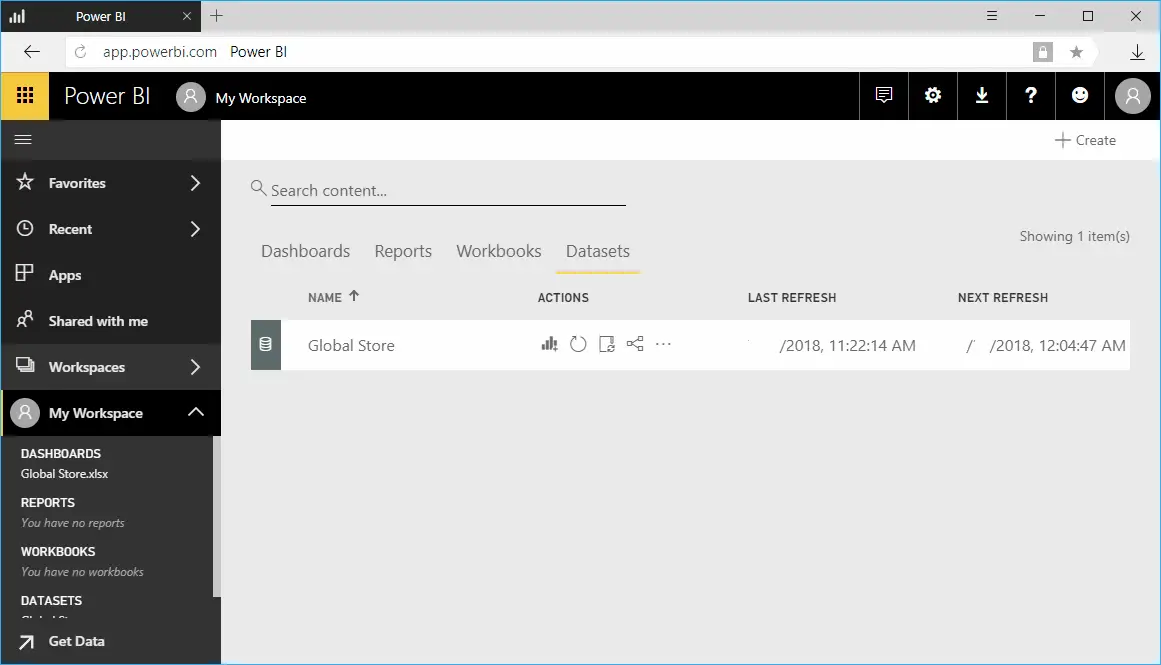
Please wait until the importing is complete. Next, let me navigate to My Workspace -> Datasets tab to see the available datasets. As you can see, it is displaying the Global Store Dataset that we created earlier.
TIP: I suggest you to refer Create a Report using Excel Data article to understand the usage of Excel Sheets