Power BI Hierarchies are like grouping the related columns level-wise to provide the option to perform the drill down action to the reports. Let me show you how to Create a hierarchy in reports with an example.
To demonstrate the creation of hierarchies, we are going to use the table we created in the Combine Multiple Tables article. There are a couple of ways to create a hierarchy.
How to Create Hierarchy in Power BI
To create a new hierarchy, Drag and drop one field onto the other. It automatically creates a Hierarchy for you. To demonstrate the same in Power BI, we are dragging the product subcategory onto the product category field.

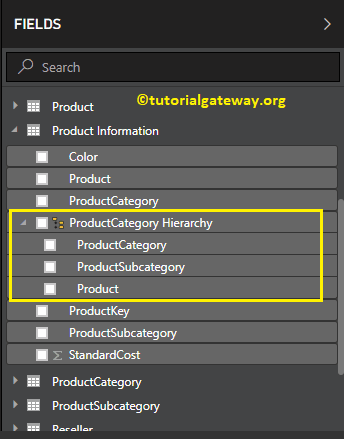
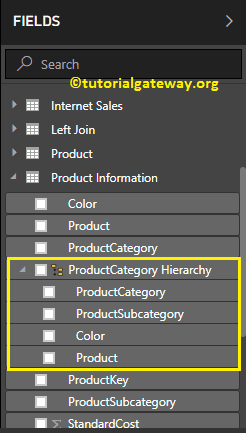
Now you can see the newly created hierarchy.

Add fields to the Hierarchy
Drag and drop the required field to the newly created hierarchy in Power BI. Let me drag the color field.
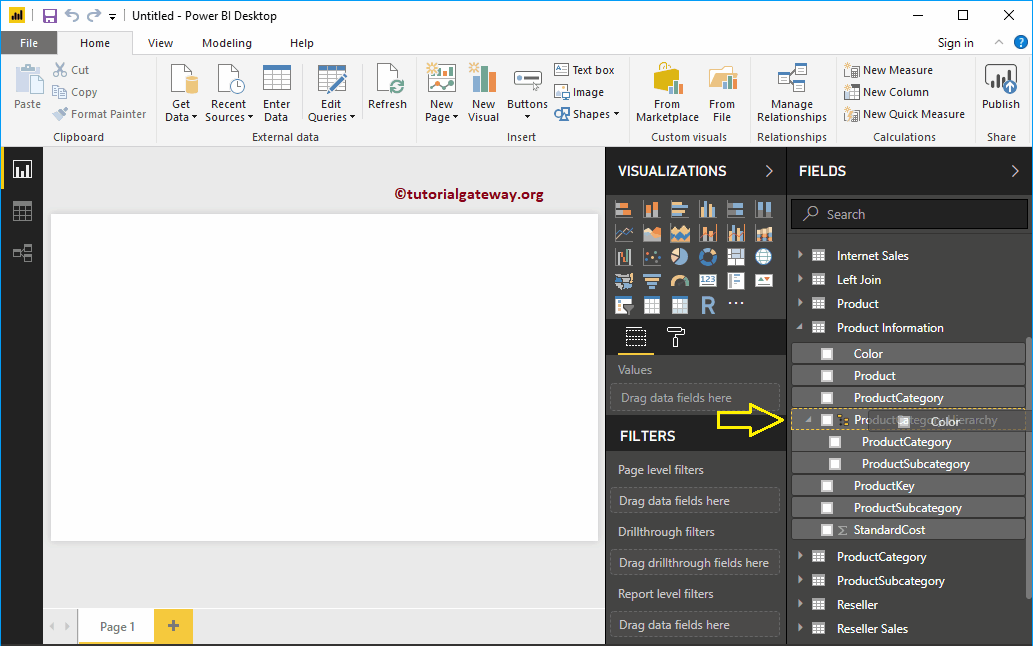
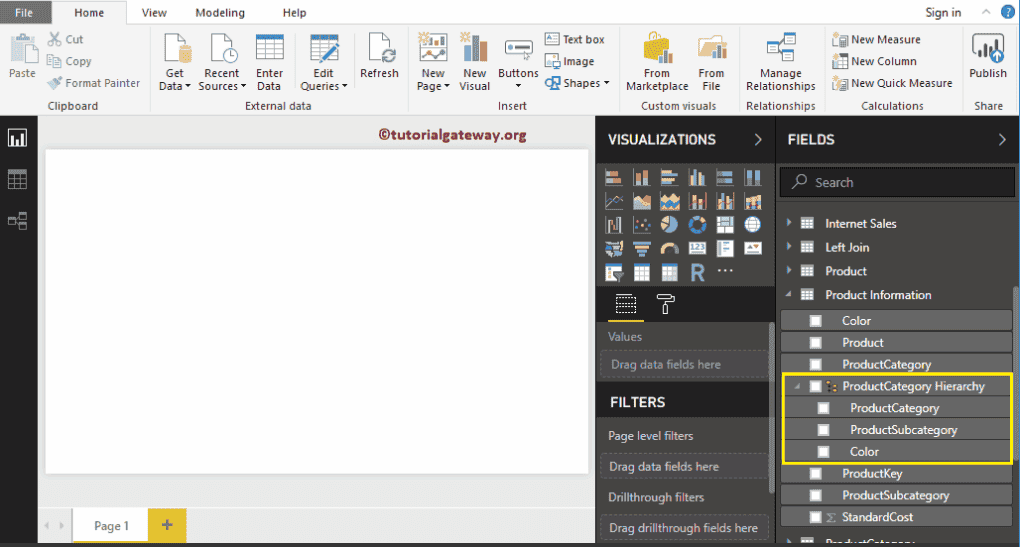
Now you can see the Color field inside it.
The second approach of adding fields to the Hierarchy
Please select the field that you want to add (let me select product), and right-click on it will open the context menu. Select the Add to Hierarchy, and then select the name (Product Category)
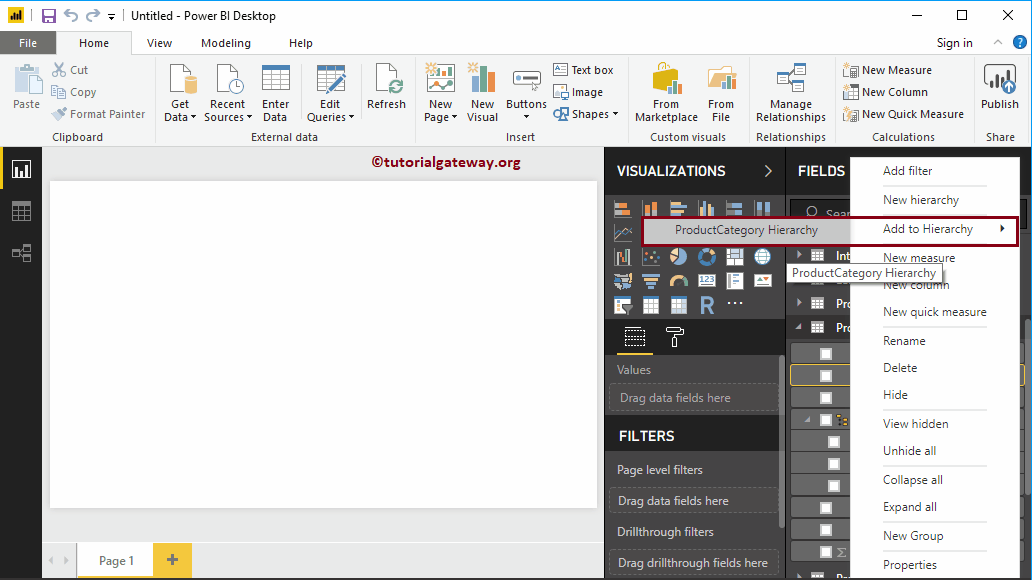
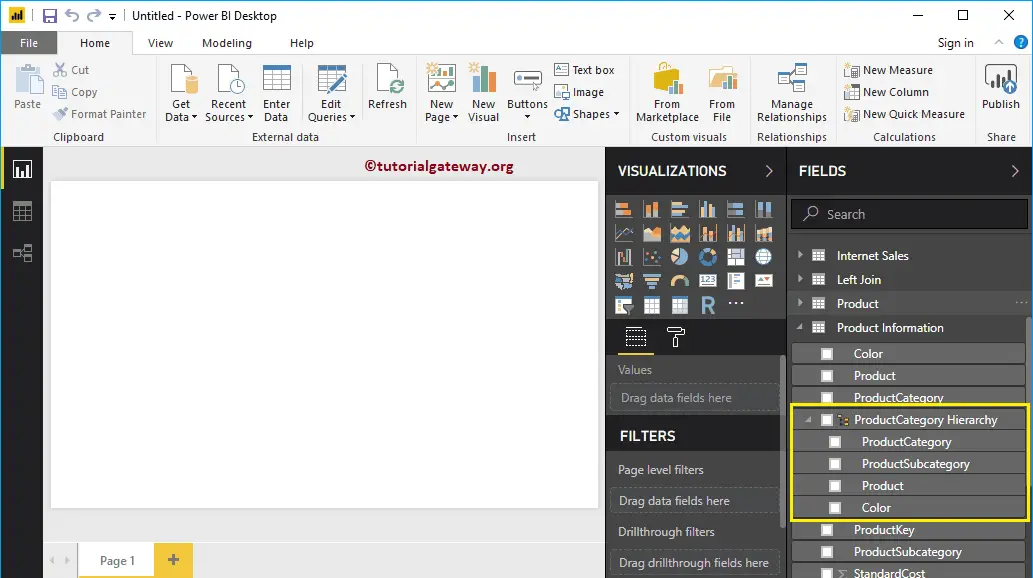
Now you can see the Product under it.
Change Hierarchy Levels in Power BI
Please be careful while configuring the levels. For instance, if you have the State column above the Country, then Level 1 is the State, and Level 2 is the Country.
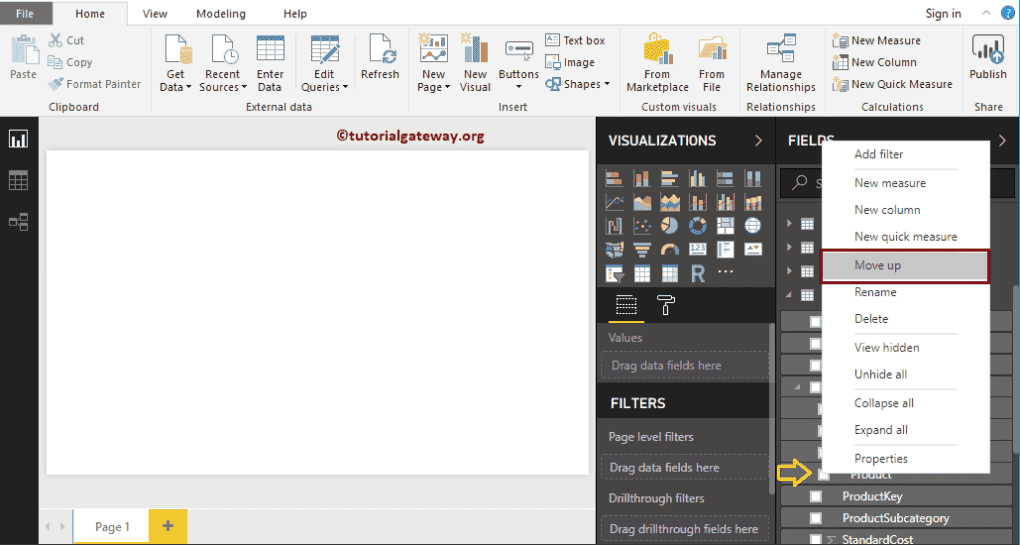
Please select the field where you want to change the position or level. Next, right-click on it and select the Move Up option (or move down) from the context menu. Alternatively, you drag and drop the field at the required position.
Now you can see the product in the third position
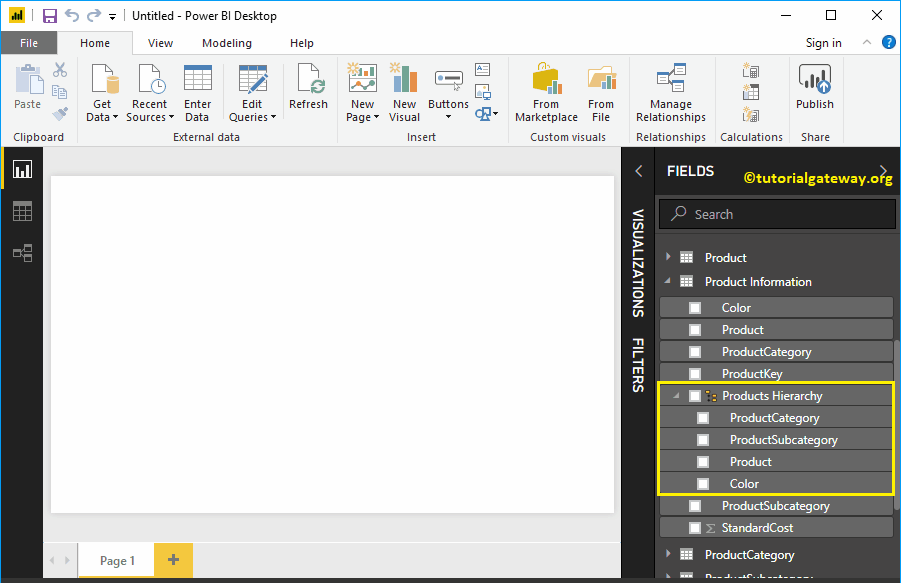
Rename Hierarchy in Power BI
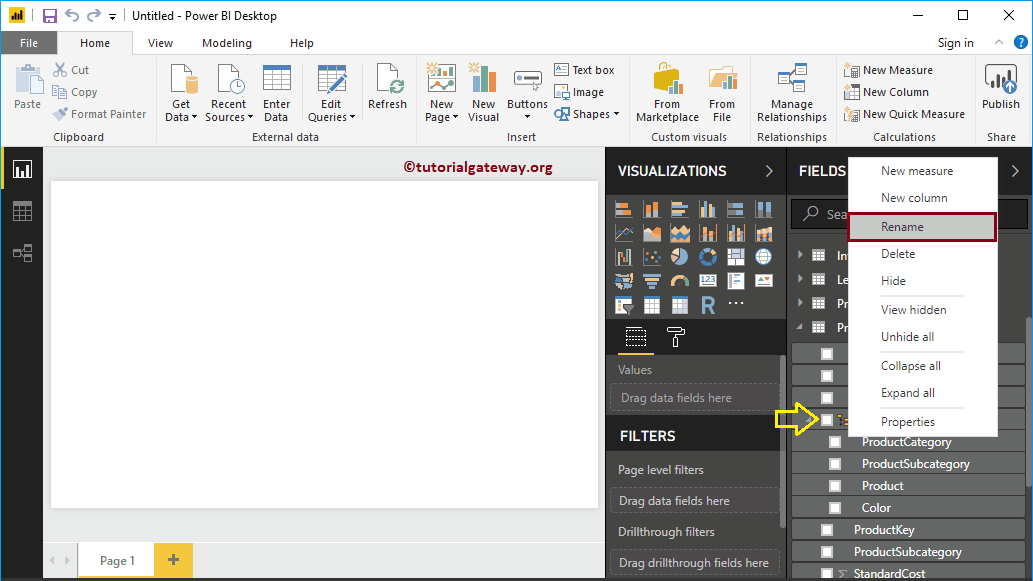
Please select the one that you created, and right-click on it will open the context menu. Select the Rename option from the context menu. Alternatively, you can double-click on the name
Let me rename the ProductCategory as Products Hierarchy. Now you can see the new name.
Delete Hierarchy
Select the one that you delete, and right-click on it to open the context menu. Please select the Delete option from the context menu.
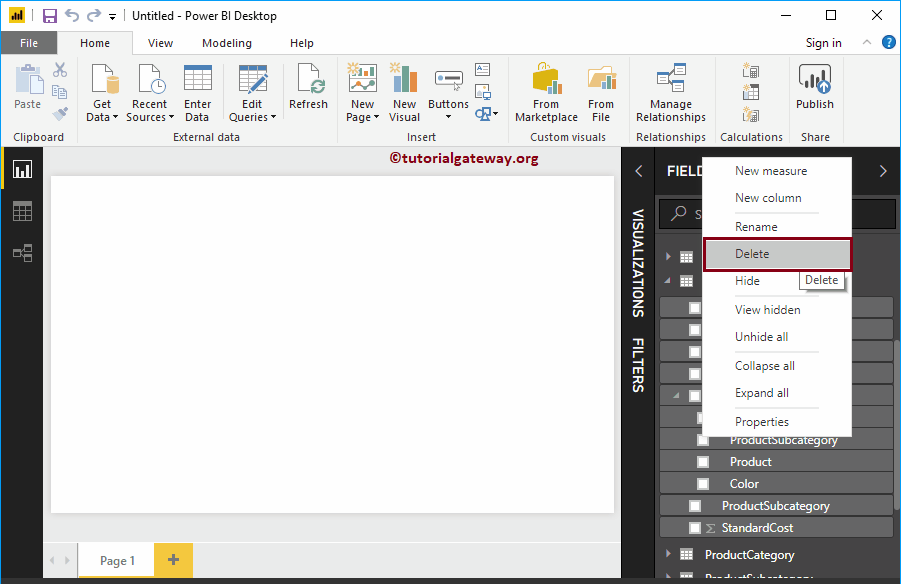
Click on the Delete button to confirm the delete operation.
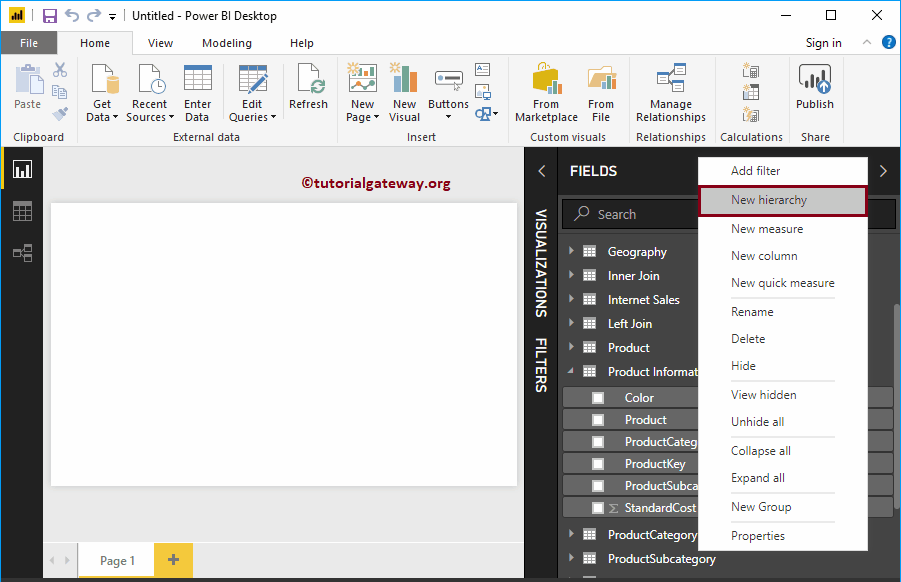
The second approach to create a Hierarchy in Power BI
Please select the field that you want to use in it, and right-click on it will open the context menu. Select the New option from the context menu.
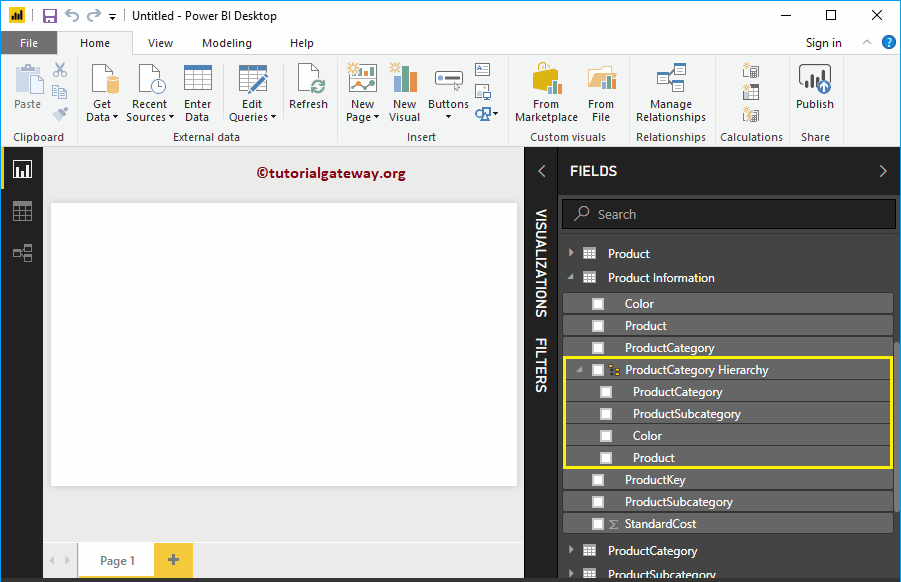
It creates a new one for you. Let me add a few more fields.
Delete Fields from Hierarchy
Please select the field that you want to remove or delete. Next, right-click on it and the Delete option from the context menu.
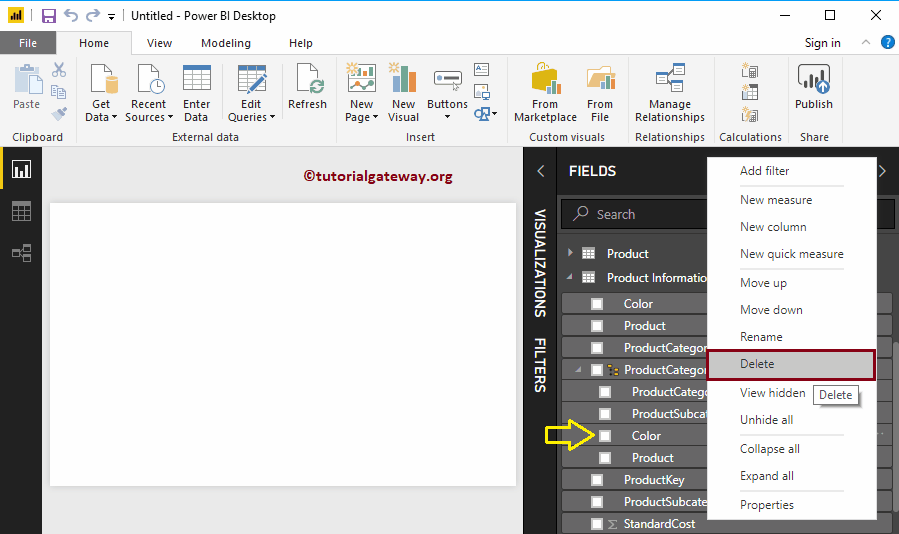
Click the delete button to delete the Color field from it. You can see the same in the below screenshot. Again, if you want, you can add the Color field.