In this article, we are going to explain, How to use Pre SQL and Post SQL in Informatica. Or, the steps involved in configuring the Pre and Post SQL in Source Qualifier Transformation with an example.
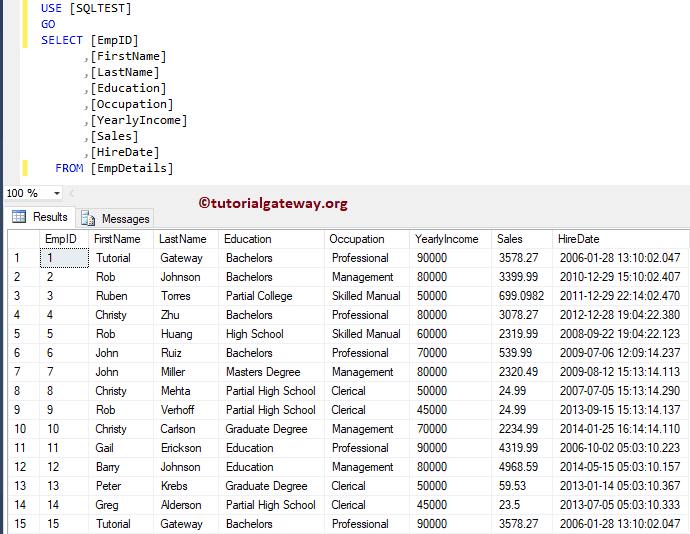
For this Informatica Pre and Post SQL example, we are going to use the below show data (EmpDetails table)
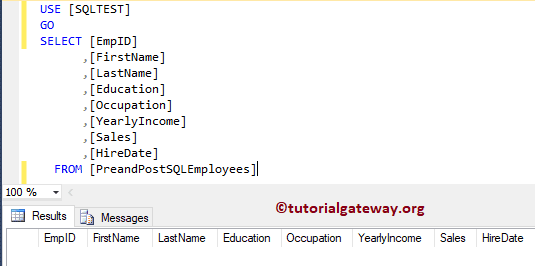
And the Destination table is Pre and Post SQL Employees. As you can see, it is an Empty table
Pre SQL and Post SQL in Informatica Example
Before we start configuring the one, First connect to the Informatica repository service by providing the Admin Console Username and password that you specified while installing the Server.
Create Pre and Post SQL in Informatica Source Definition
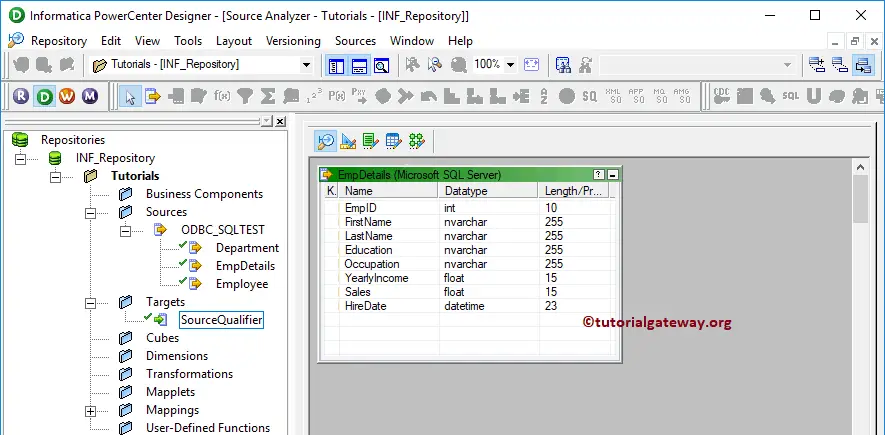
Navigate to Source Analyzer and define your Sources. Here, we are using the EmpDetails table from the SQL Server database as our source definitions. I suggest you refer to Database Source to understand the creation of the source definition
Create Pre and Post SQL in Informatica Target Definition
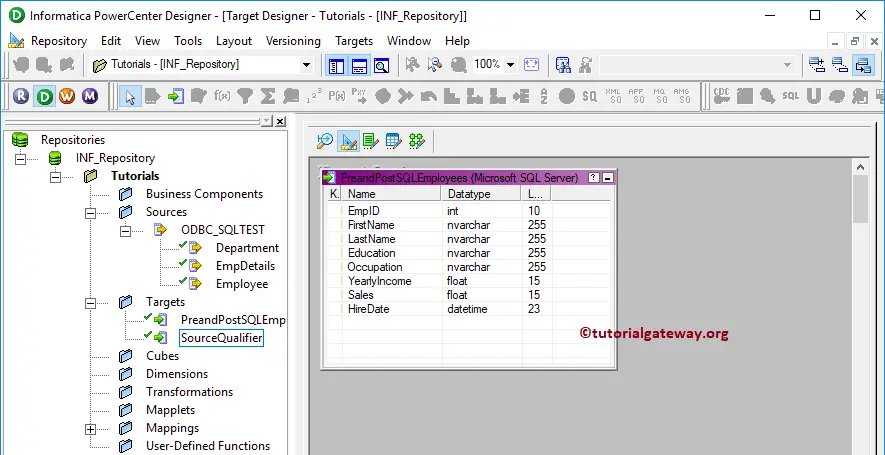
Please navigate to Target Designer to define the Target. In this example, we are using the existing SQL table as our target definition. You can refer to the Create Target table using Source Definition to understand the process of creating a target definition
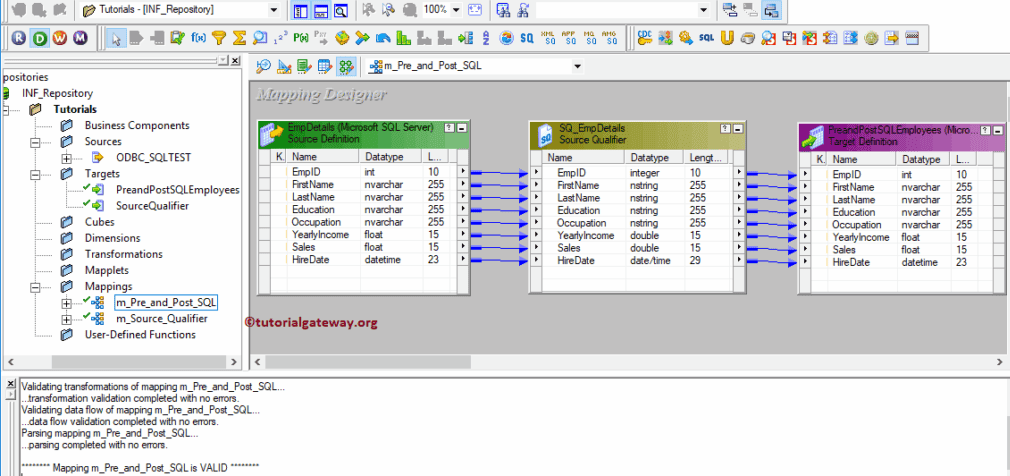
Create Informatica Pre and Post SQL Mapping
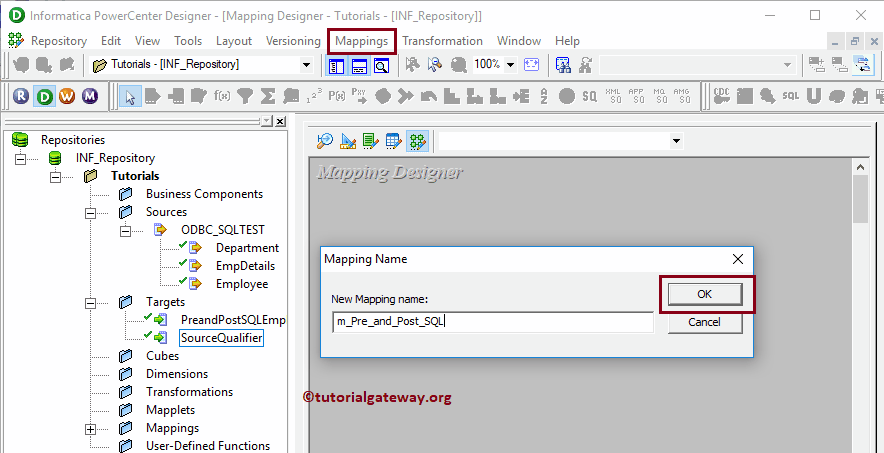
To create a new mapping, Please navigate to the Mappings menu and select the Create.. option. It opens the Mapping Name window to write a unique name ( m_Pre_and_Post) and click the OK button.
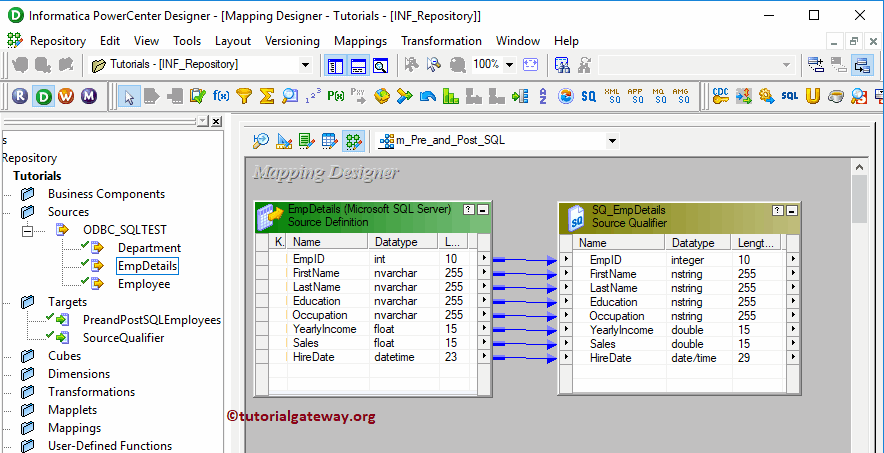
Drag and drop the EmpDetails source definitions from Sources folder to the mapping designer. Once you drag the source, the Power Center designer will automatically create the Source Qualifier for you.
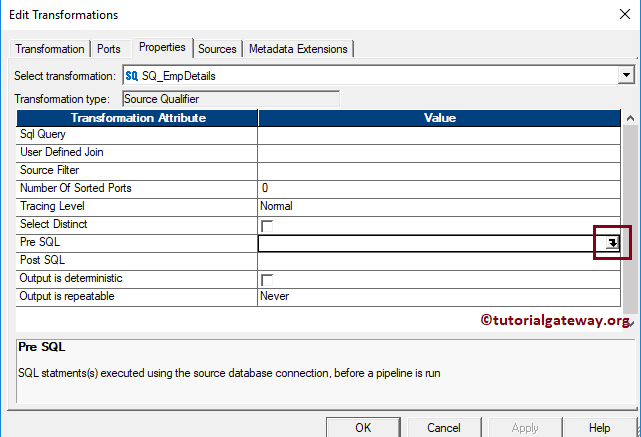
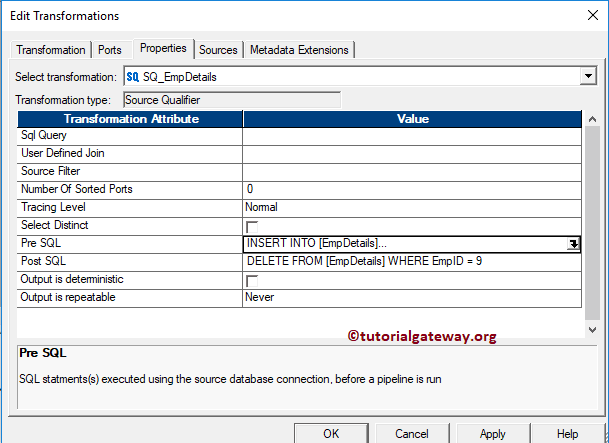
Double click on the Source Qualifier transformation, and go to properties Tab to configure the Informatica Pre and Post SQL
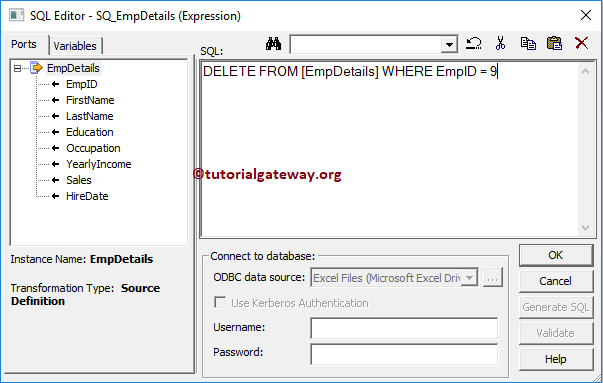
Pre: This property is used to run the Command against the Source before the Integration Service Starts. Click the arrow
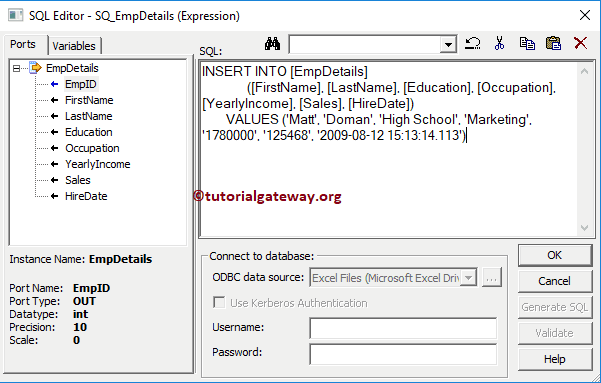
Here we are writing an Insert Statement to insert new records into the Emp Details table before the integration service starts.
Post: Use this property to run the Command against the Source After the Integration Service Ends. Here, we are writing a Delete Statement to delete the record whose employee Id is equal to 9
You can also alter the remaining properties. But for now, we are clicking OK button to close the properties windows
Next, Drag and drop the target definition from Targets folder to the mapping designer. Next, join the source qualifier Transformation with the target definition using the Autolink.. option.
Before we close the Mapping, Let us Save, and Validate the mapping by going to Mapping Menu bar, and select the Validate option.
Create Informatica Pre and Post SQL Workflow
After we finish creating the Pre and Post SQL Mapping, we have to create the workflow for it. Power Center Workflow manager provides two approaches to create a workflow.
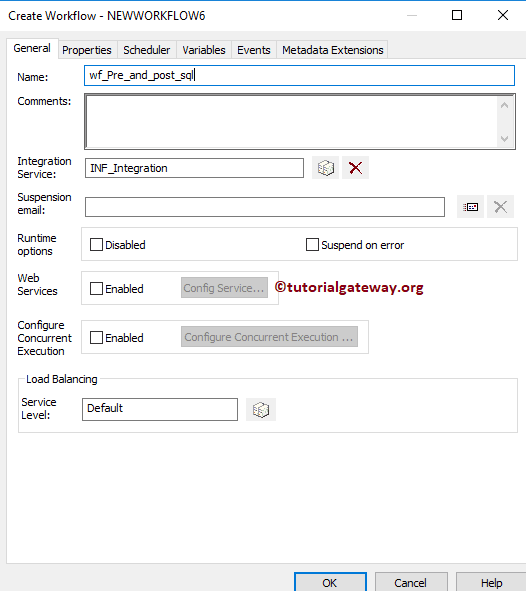
In this example, we will create the Workflow manually. First, navigate to Workflows Menu and select the Create option will open Create Workflow window. Please provide the unique name (wf_Pre_and_Post) and leave the default settings.
Once we created the workflow, our next step is to create a session task for our mapping.
Create Session for Pre and Post SQL
There are two types of sessions:
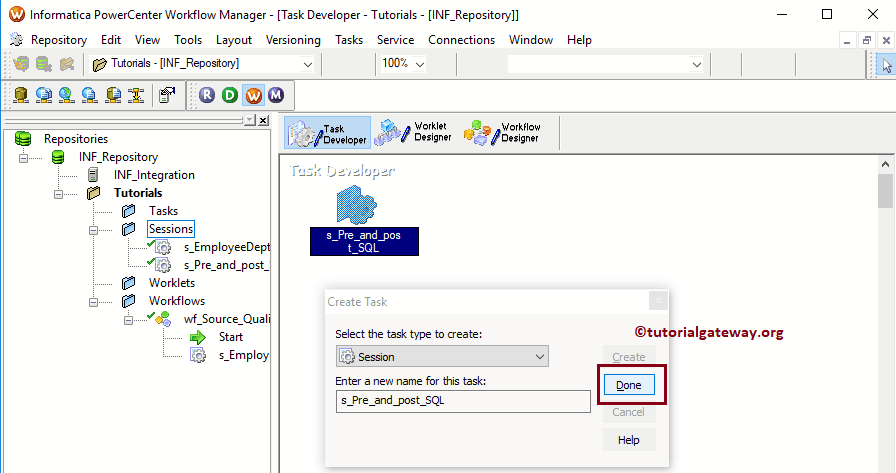
For this Informatica Pre and Post SQL example, we created a Non-reusable Session and named it as s_Pre_and_Post for the session.
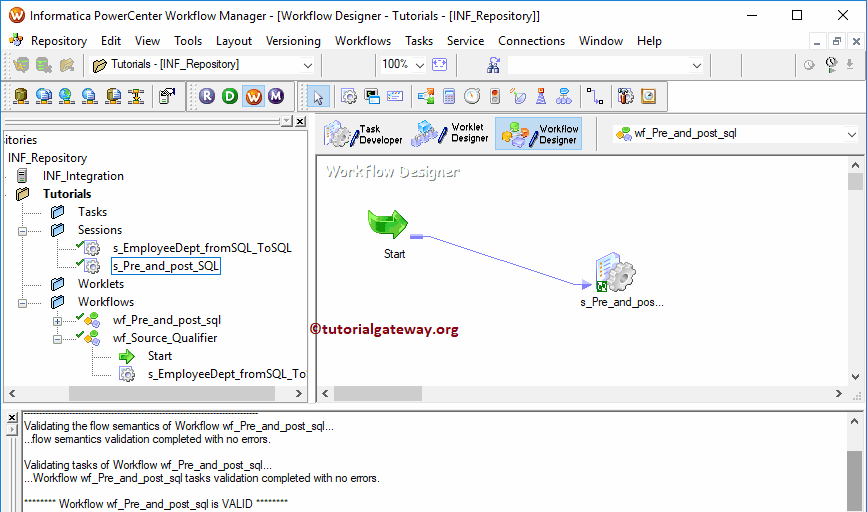
Please link the Start Task, and the Session Task. Next, navigate to Workflows Menu and select the Validate option to validate the Workflow. From the below screenshot, you can observe that the workflow is a valid one.
Now, Let me start the Informatica Pre and Post SQL Workflow. To do so, navigate to the Workflows menu and select the Start Workflow option.
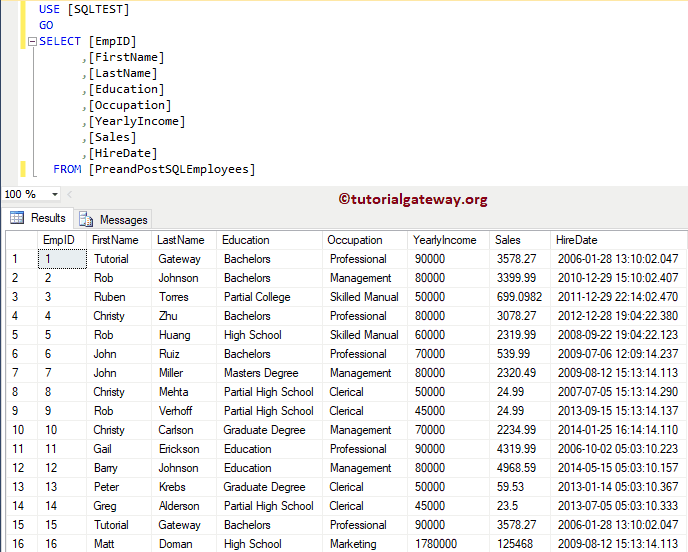
Let us open the Server Management Studio. As you can, it has 16 records: 15 from EmpDetails table, and 1 records from Insert Statement in Pre SQL
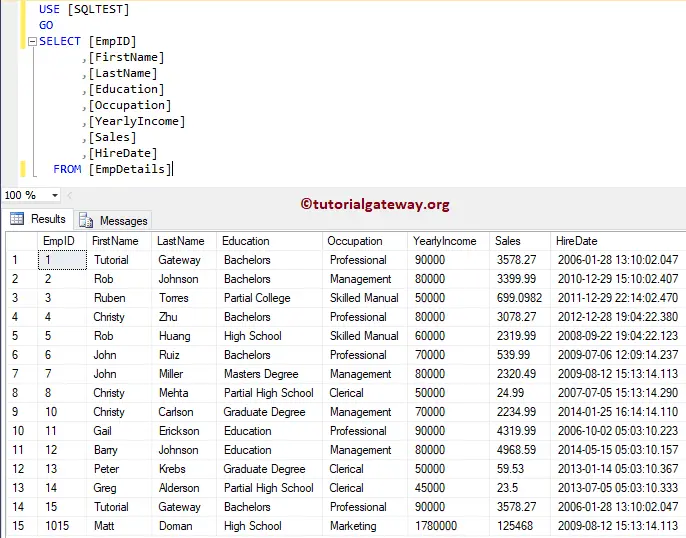
If you observe the original Table after the Integration process. There are 15 records
The Delete Statement in Post deleted the record with EmpID 9, and The Insert Statement in Pre SQL inserts new records.
Comments are closed.