Informatica Mapping represents the data flow between the Source and target tables. Or we can say that it defines the rules for data Transformation. To create Mapping, we require one or more Source Definitions, one or more Target definitions, and Transformations.
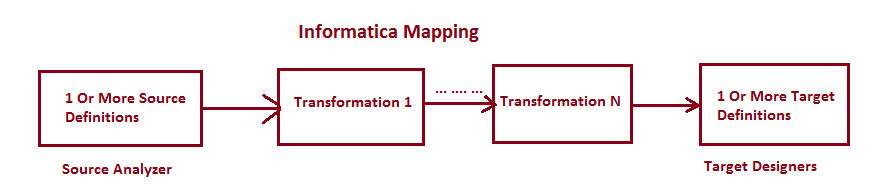
The following screenshot will show you the diagrammatic representation of the Informatica Mapping. From the above screenshot, you can observe that Every mapping should contain the following components:
- Source Definition: We will use one or more sources we created in the source analyzer. Please refer to the Source Analyzer article to understand its functionality.
- Transformations: Modifies the source data using different types of available transformations.
- Target Definition: Here, we will use one or more targets we created in the target designer. Please refer to the Target Designer article to understand its functionality.
Informatica Mapping Designer
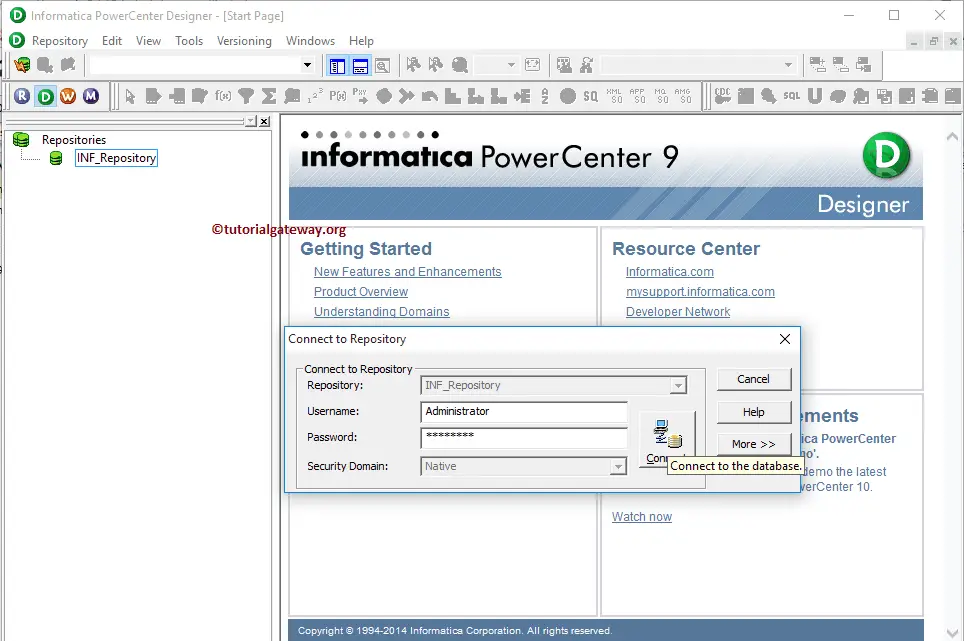
Before we start Mapping, First connect to the repository service. To connect with the Repository service, we must provide Admin Console credentials. So, Please provide the Informatica Username and Password and click on the Connect button.
TIP: You must provide the Admin Username and password specified while installing the Server.
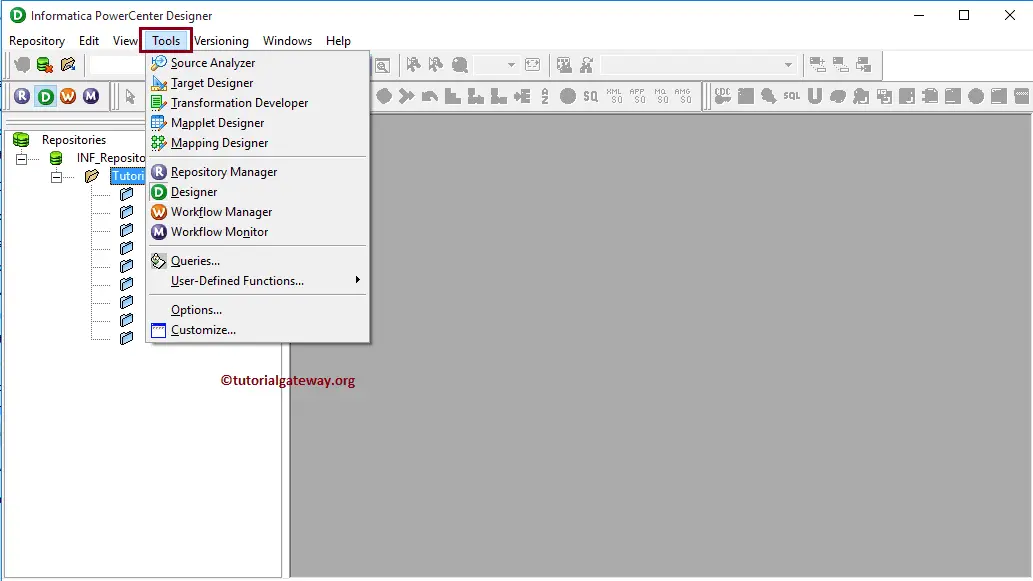
Once you connect successfully, Please navigate to the Tools menu in the Menu Bar. The following screenshot shows the available tools inside the PowerCenter Designer.
In this article, we are explaining Informatica Mapping. So, please select the Mapping Designer option.
Once you select the Mapping Designer option, we will be on the Mapping Designer screen.
TIP: The mapping Menu in the Menu bar will be available only when you are in the Mapping Designer section. Otherwise, it won’t show up.

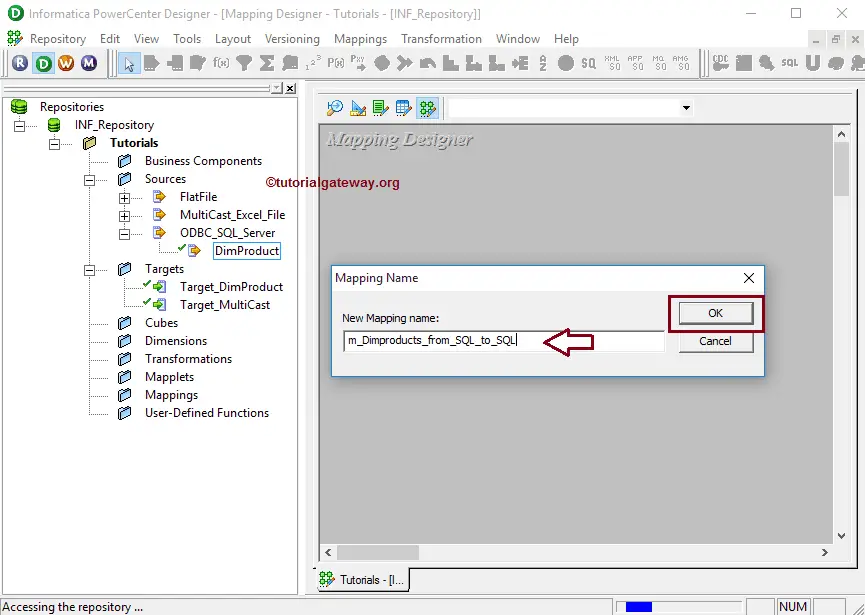
STEP 1: To create a new one, navigate to the Informatica Mappings menu in the Menu Bar and select the Create..option. It will open the Name window. You must write the unique name for this mapping and click the OK button.
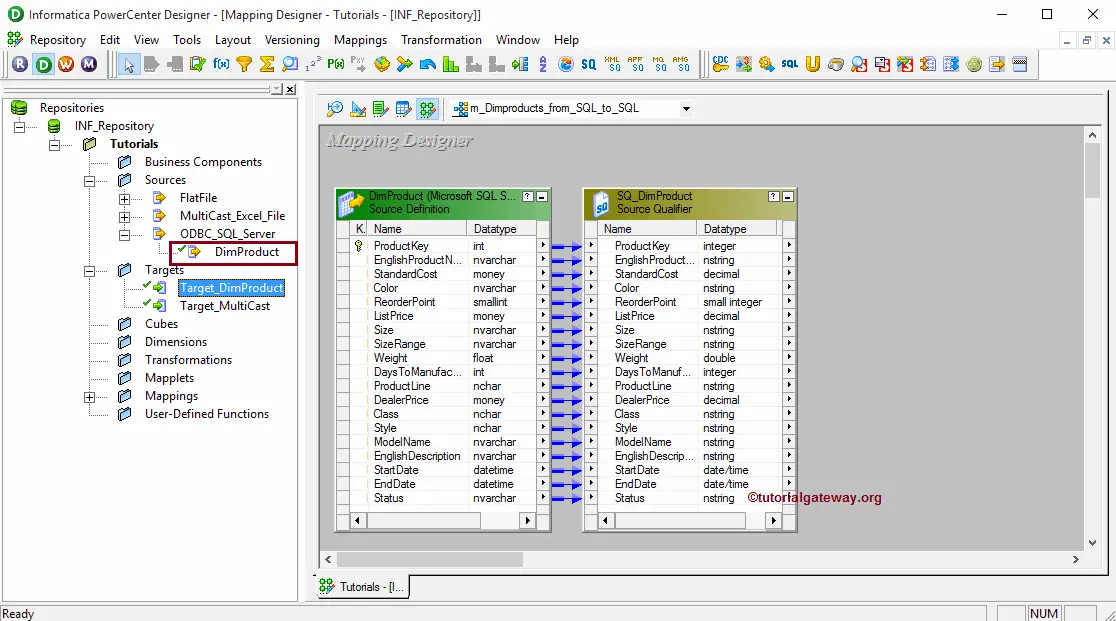
STEP 2: Drag and drop the DimProducts source definition from the Sources folder to the mapping designer. Once you drag the source, the PowerCenter designer will automatically create the default transformation called source qualifier.
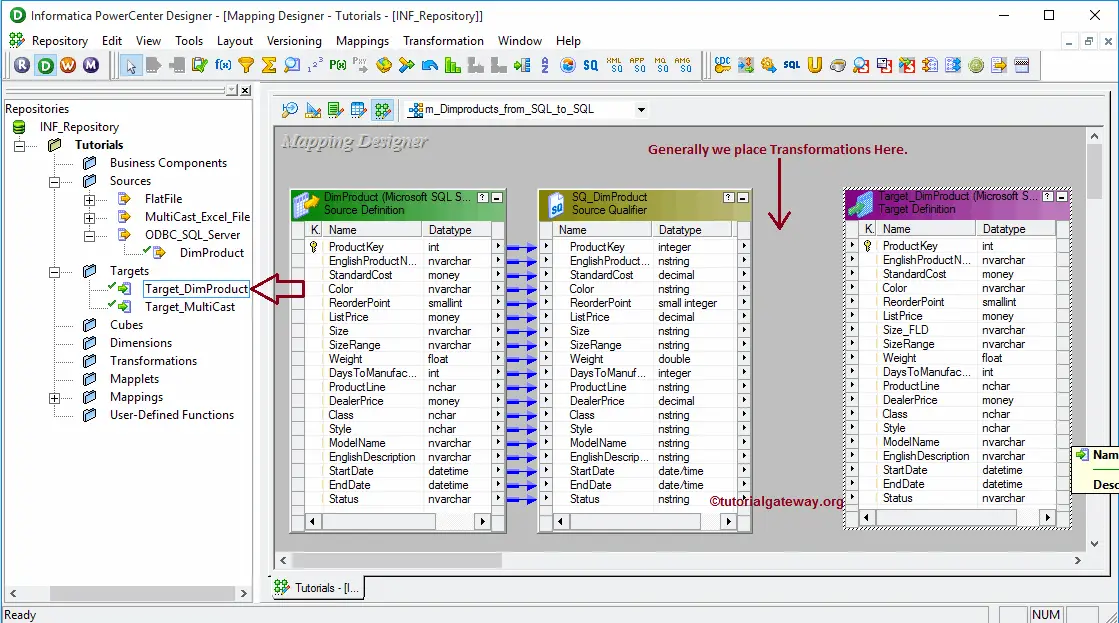
STEP 3: Drag and drop the Target_DimProducts target definition from Target’s folder to the Informatica mapping designer.
TIP: Generally, we place one or more transformations between the Source definition and the target definition, and we will cover them in the following tutorials.
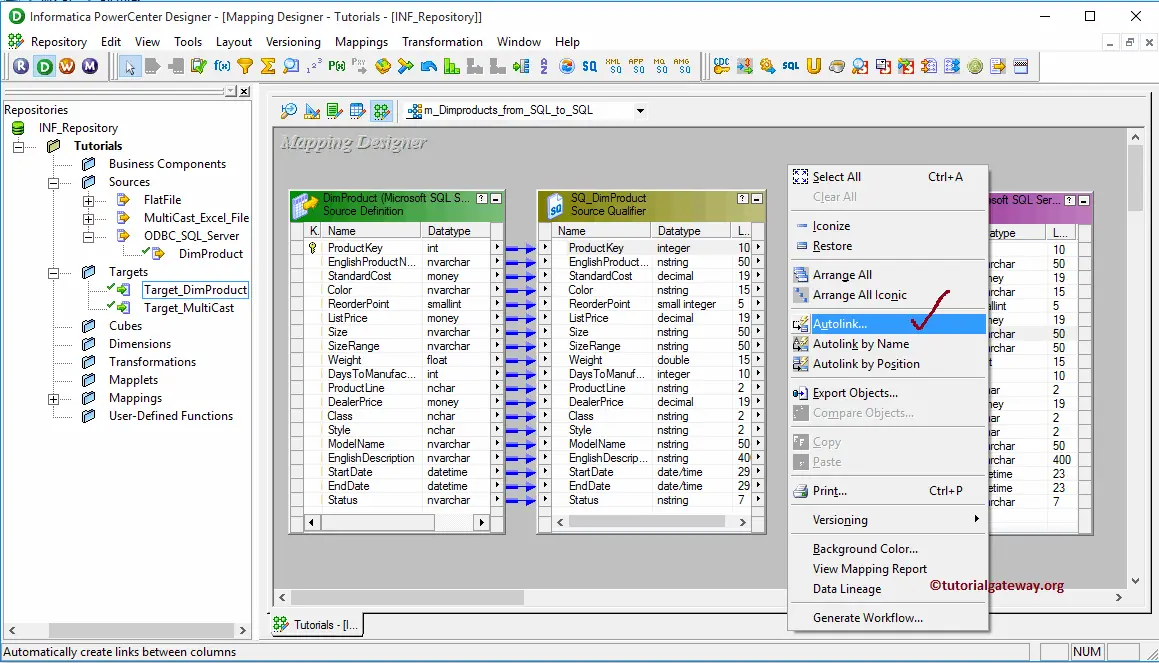
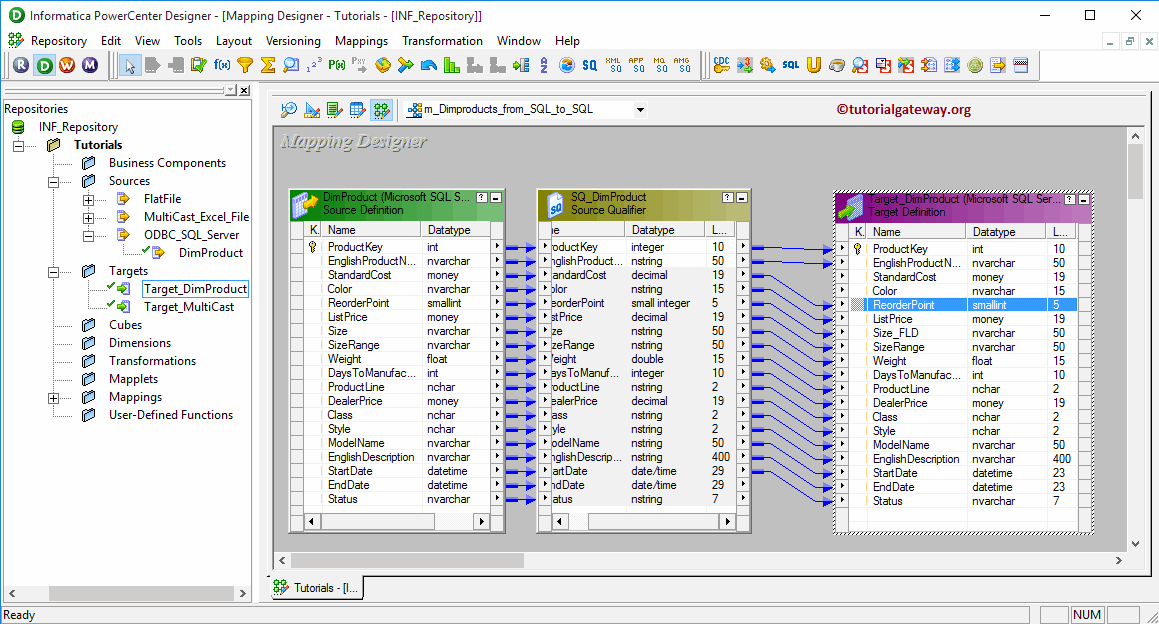
STEP 4: We must connect the source qualifier with the target definition. The PowerCenter Designer provides multiple ways to join them. The first approach is to right-click on the empty space present in the mapping designer will open the context menu. Please select the Autolink.. option from it.
The second approach is selecting all columns present in the Source Qualifier and dragging them to the target definition. In both these approaches, if there is any mismatch in the column names, we must attach them manually.
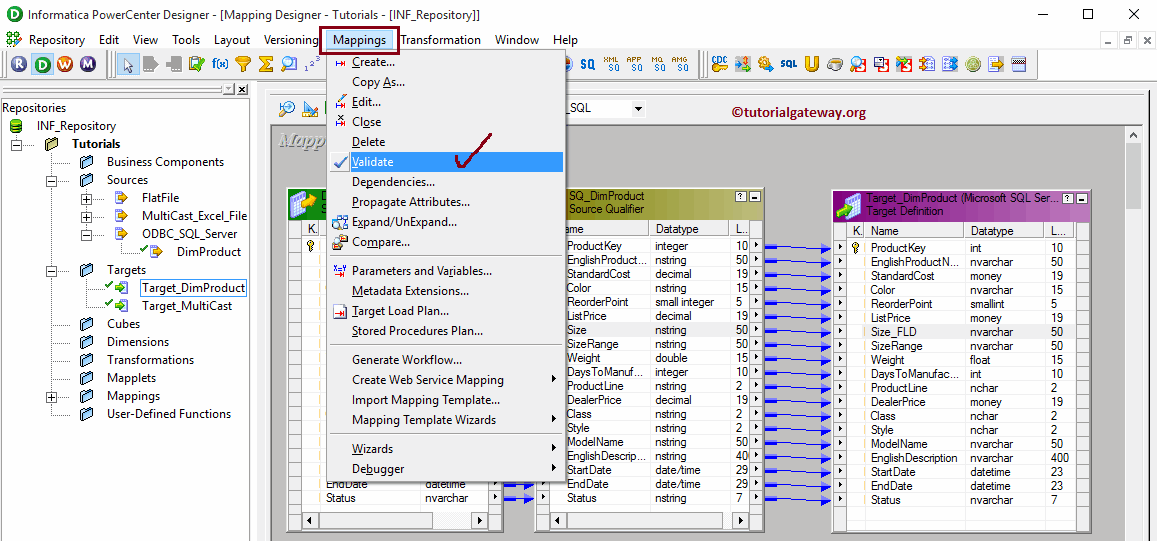
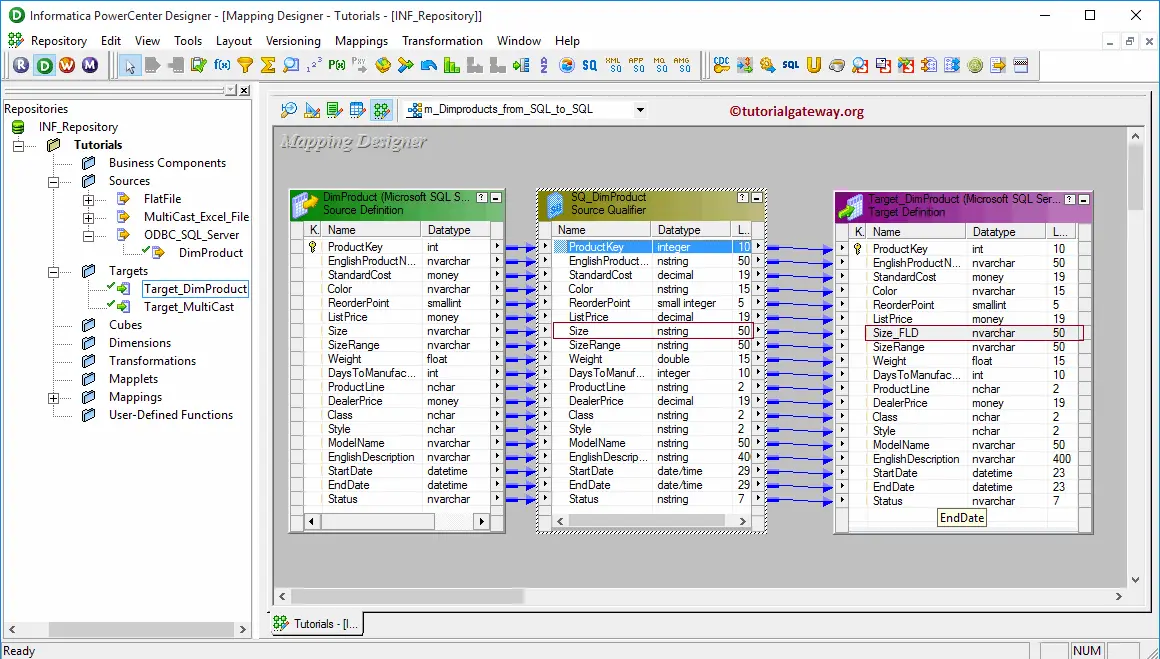
The screenshot below shows that we have a Size column in Source and Size_FLD in the target. In these situations, Auto link or dragging columns will not link them. So, please select the required column (Size) and drag it to the destination column (Size_FLD) to create the connection.
NOTE: Informatica Mapping Designer allows us to delete the wrong connections by selecting and deleting the link.
STEP 5: Let us validate it by going to the Mapping Menu bar and selecting the Validate option.