In this article, we will show you how to create a Reusable Session in Informatica with an example. For this example, we are going to use the Mapping that we created in our previous article.
Create a Reusable Session in Informatica
Creating a Reusable Session in Informatica follows two steps. So you have to follow the same procedure:
- Step 1: Configuring the Source and Destination connection. In this example, we are connecting to SQL Server Relational Database.
- Step 2: Creating a Reusable Session in Informatica..
Before creating a Reusable Session in Informatica, connect to the repository service. To connect with it, enter the Admin Console credentials. So, Please provide the appropriate Username and Password and click on the Connect button. For the Introduction and the non-reusable session creation, please Click Here!
From the below screenshot, see that we are in the Informatica Target Designer.
Configuring the Source and Destination connection
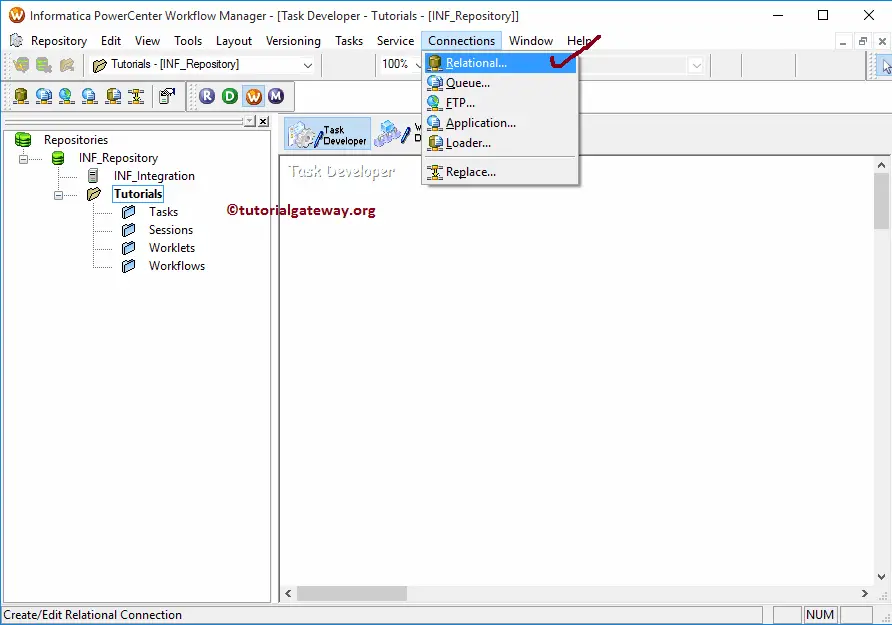
Before we start creating a Reusable Session in Informatica, we have to set the relational database connections. To do this, Please navigate to the Connections Menu and select the Relational option.
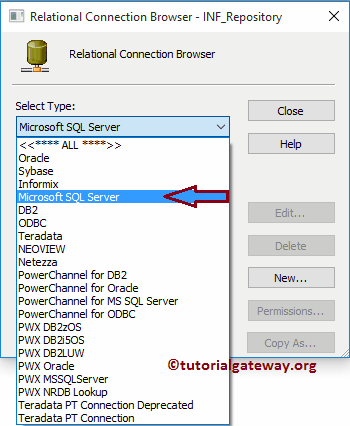
Selecting the Relational option opens a new window called Relational Connection Browser. It helps us to create a connection to our relational database.
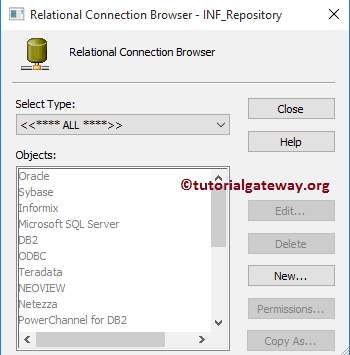
For this Informatica reusable session example, we used SQL as our source database. So, select the Microsoft SQL Server as the Select Type
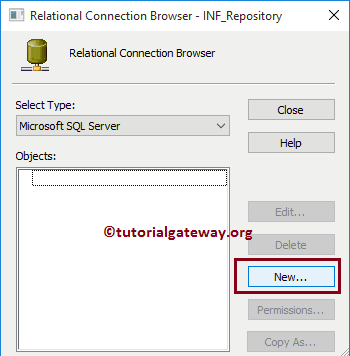
From the below screenshot, we don’t have any relational connections. To create a new one, click on the New button.
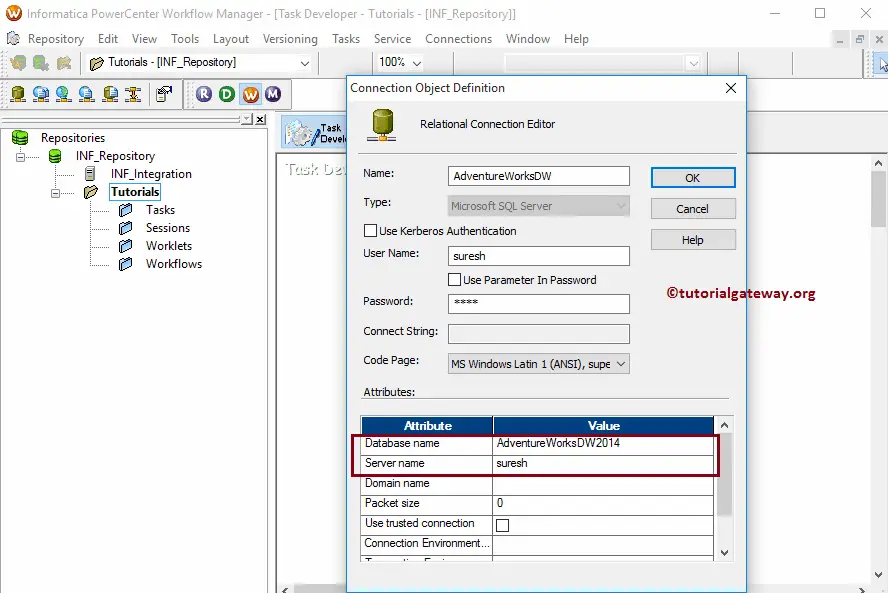
Clicking the New button opens a new window Connection Object Definition
- Name: Unique name for this connection.
- Username: Username to connect with the database.
- Password: Provide the password for the above user.
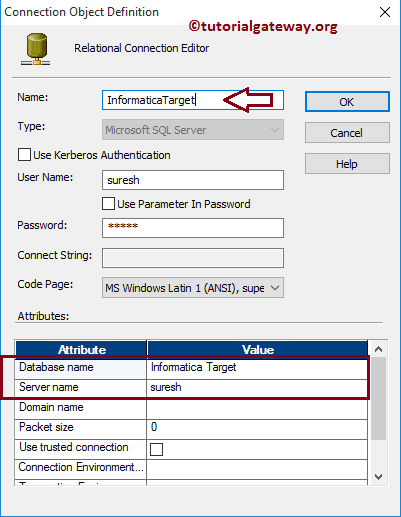
- Database Name: Name of a database that you are going to use. For this demo, we are using AdventureWorksDW2014.
- Server name: Here, write your server instance name.
Click the Ok button after you fill in the details.
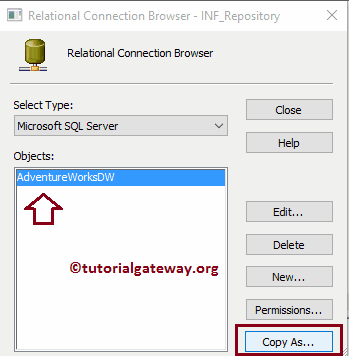
We are required to create one more connection string for our target database. Although we can build using the steps discussed earlier, we copy the above connection using the Copy As.. option.
It opens the Connection Object Definition window for the target. So, please specify the connection name, database name, and the remaining details.
Reusable Session in Informatica
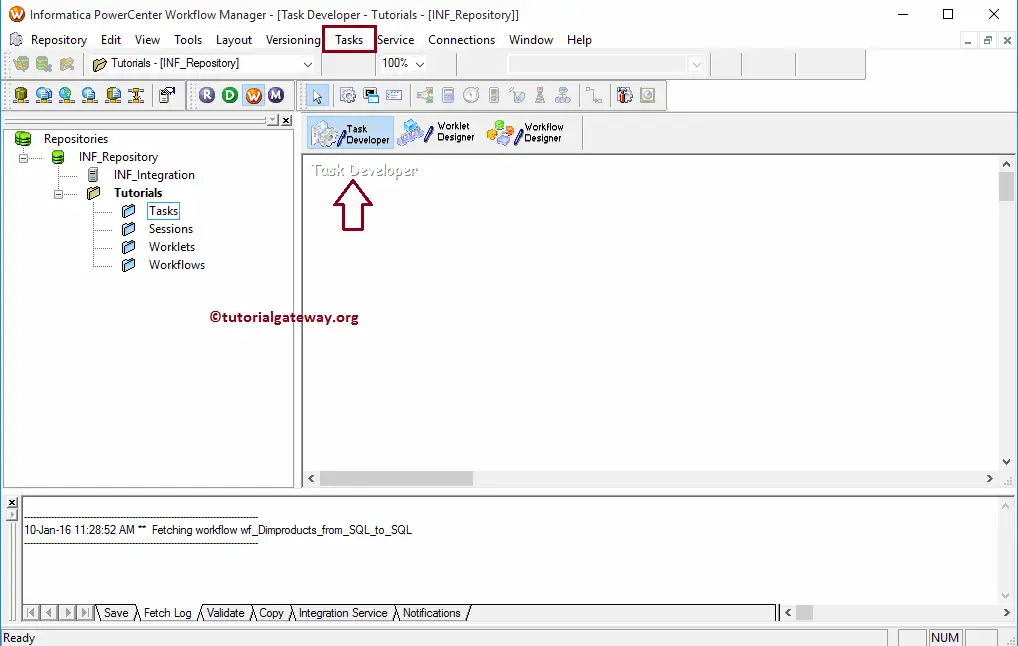
To create a reusable Session in Informatica, Within the Task Developer, Please navigate to the Tasks Menu and select the Create option.
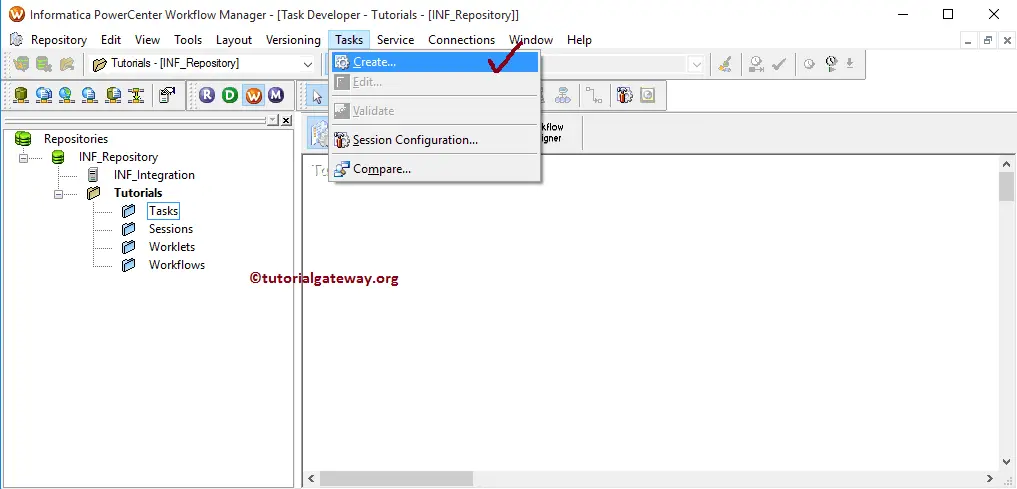
Once you select the Create option, the Create Task window will open. From the drop-down list, Please select the Session Task

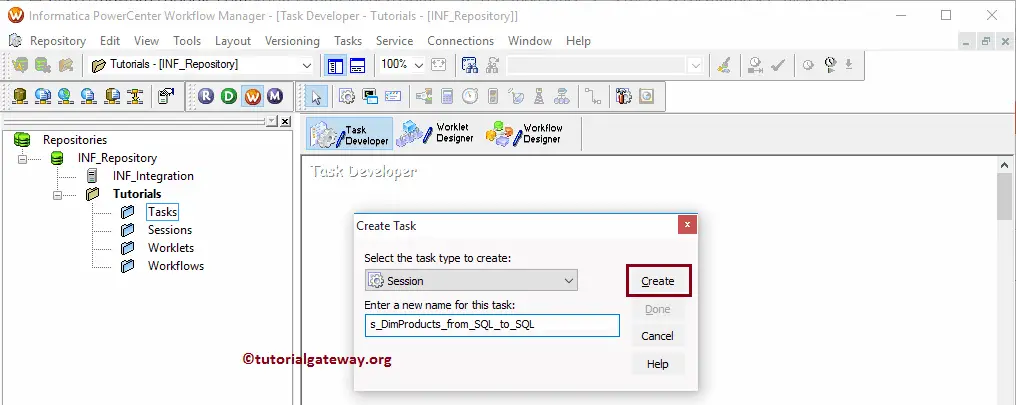
Next, you have to enter a New name for this Informatica reusable session task. Here we assigned the name s_DimProducts_from_SQL_to_SQL
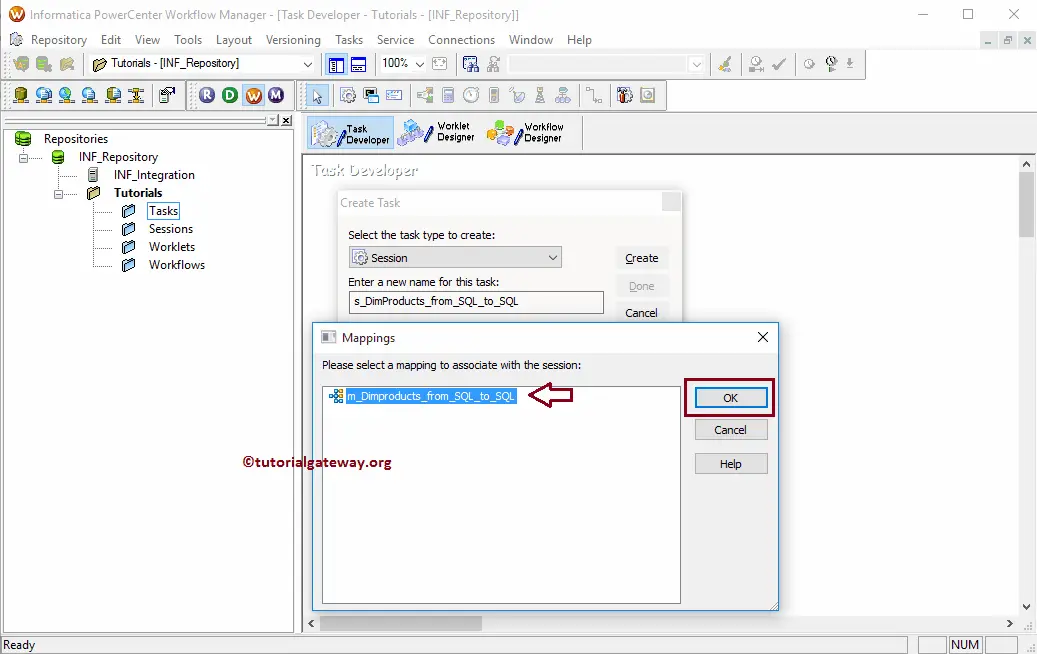
Once you click on the Create button, a new window called Mappings will open. Here we have to select the Mapping you want to associate with this session. From the following screenshot, currently, we have only one mapping, so we are choosing it.
TIP: Please refer Mapping article to understand the data transformation in the below specified mapping m_DimProducts_from_SQL_to_SQL
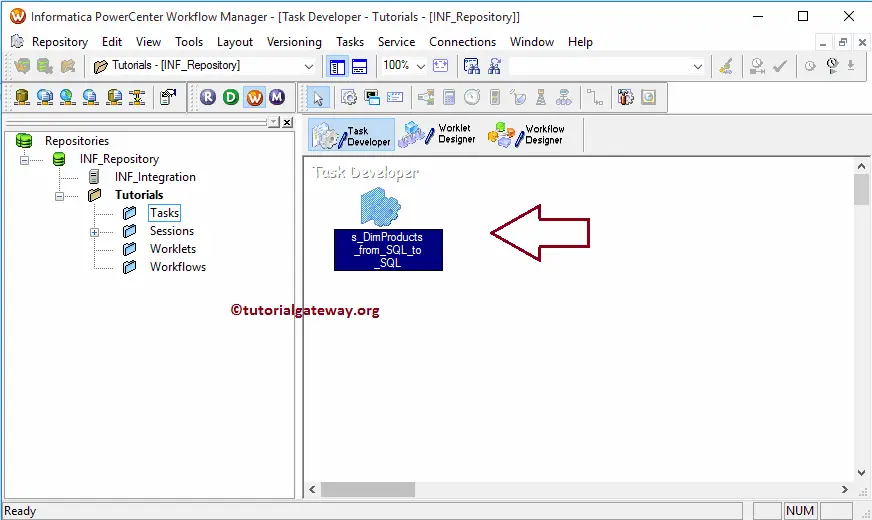
Our newly created Informatica reusable session task was added to the Task Developer. Before we were adding or linking to the Workflow, we had to change a few properties and configure the connection strings of a Source and target. To do so, double-click on our session task
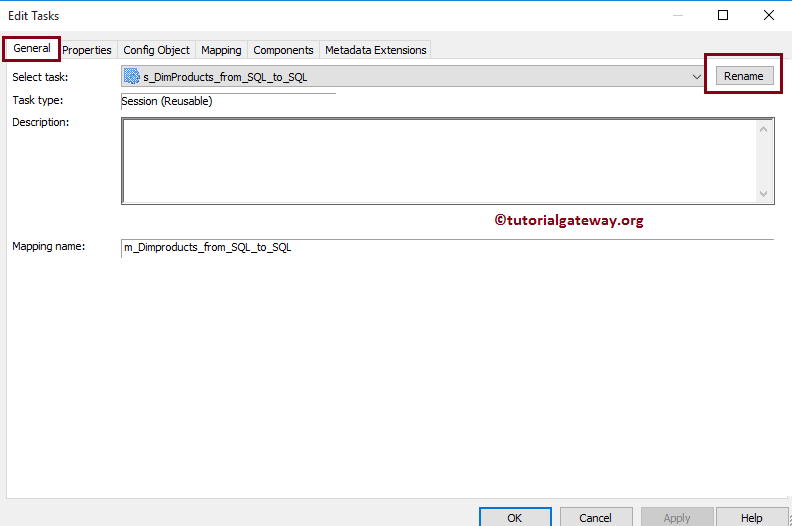
Double click on the Session task will open the following window. Within the General Tab, we can rename the Session Task to a more meaningful name. Please do not forget to provide a Task description for this Reusable Session in Informatica.
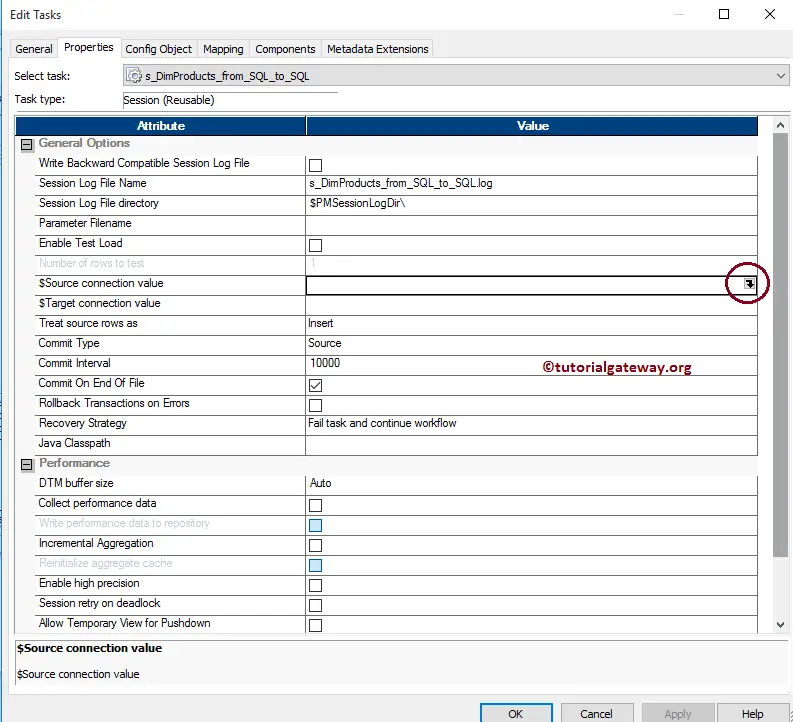
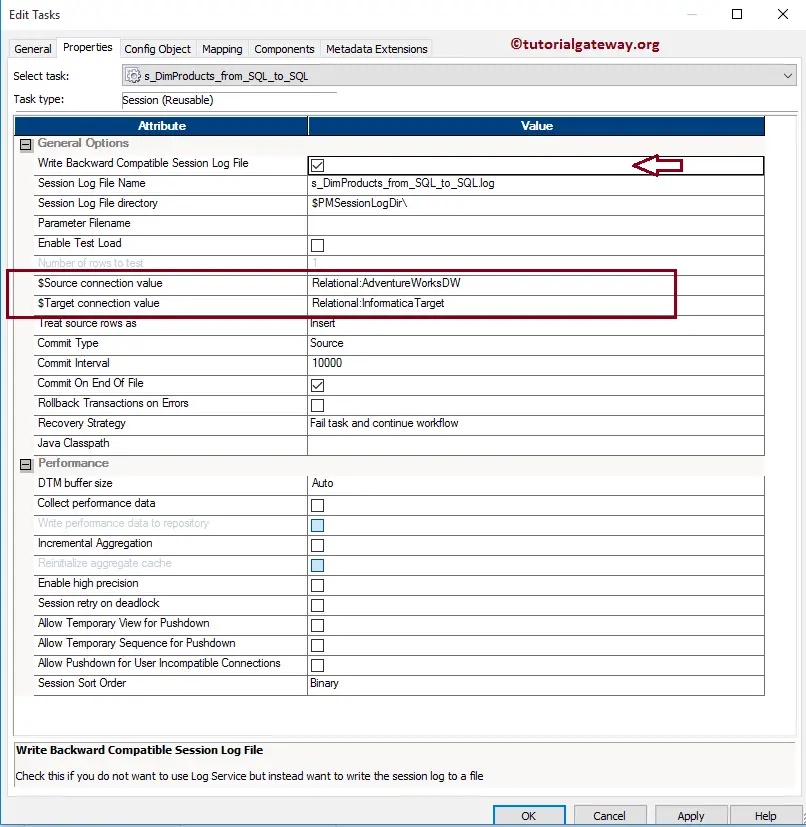
Within the Properties Tab, we have three common properties that we have to configure for the relational databases.
$Source connection value: This property will store the relational source information in the $Source variable. So, we have to configure the source connection by Clicking on the Arrow we marked below.
Once you click on the Arrow, a new window called Connection Browser opens. Since we are using the SQL as our source database, we are selecting the Microsoft SQL Server as the Select Type.
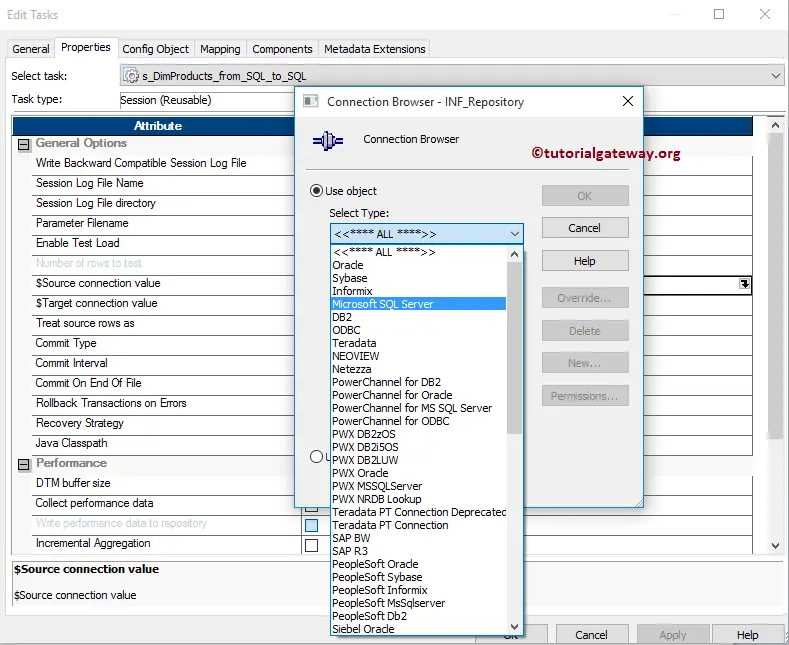
Next, we are selecting the already created connection i.e, AdventureWorksDW
TIP: If you want to create a new connection, use the New button to create one.

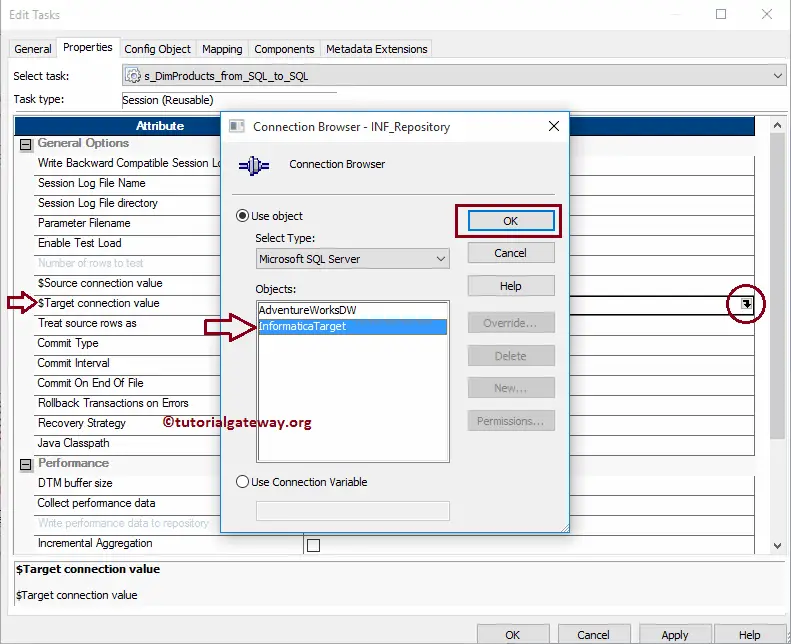
$Target connection value: This property will store the relational target information in the $Target variable. So, we have to configure the target connection by Clicking on the Arrow we marked below.
For this example, we are using the database as the destination so, we selected the Microsoft SQL Server as the Select Type and target as the Destination database name
Write backward Compatible Session Log File: If you checkmark this, Informatica generates the session file in text format so we can review it later. Otherwise, it generates in a binary format only.
Within the Config Object, we have to configure the Log options and Error handling. Here, we are considering and configuring the most common properties within this window.
- Save Session log for these runs: Please specify the integer number here. For instance, if you specify 3, the last three sessions are saved to our session log file
- Stop on Errors: How many errors do you want to allow? For instance, if we specify 3, the session runs until it encounters three errors.

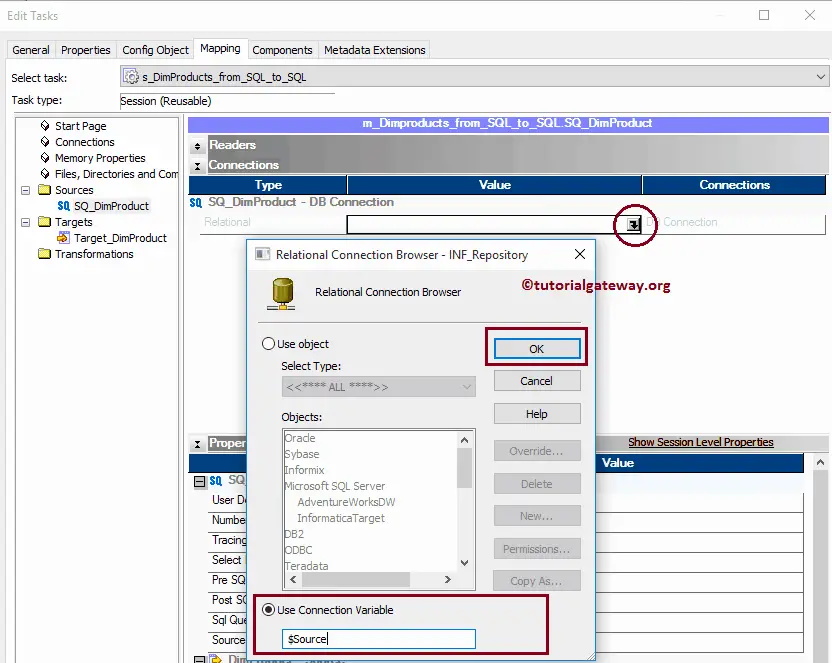
Within the mappings tab, configure the Source, target Connections, and some general properties. First, let us set the source connections by clicking on the Dimproducts Source present in the Sources folder.
Within the Connections, select the Arrow beside the relational type to open the Relational Connection Browser. This window helps to configure the source connections (creating and modifying). Here, we used the Connection variable we created in our earlier step, i.e., $ Source
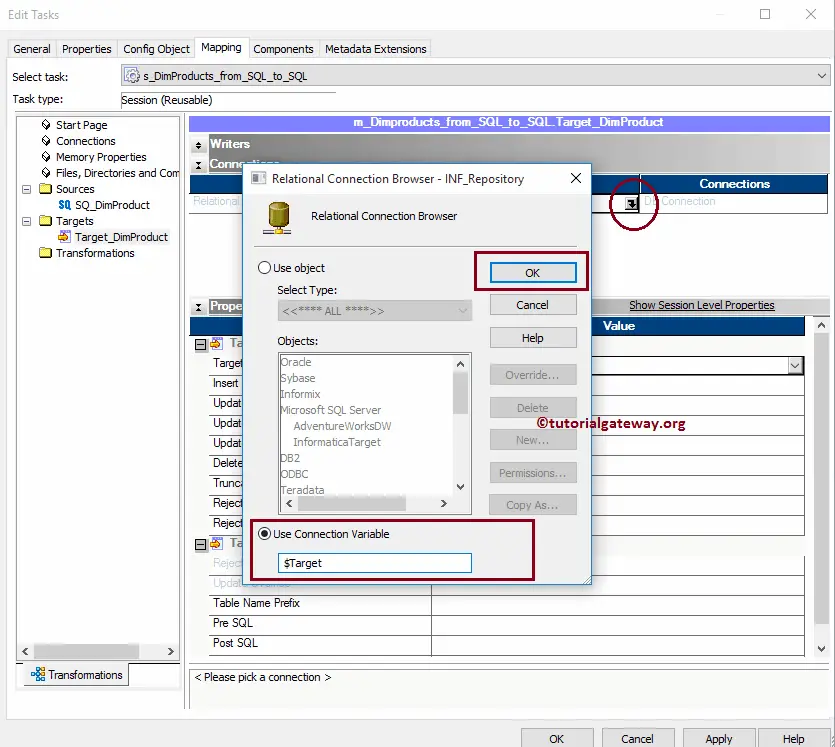
Now, let us configure the target connections by clicking on the Target_Dimproducts present in the Targets folder.
Within the Connections, select the Arrow button beside the relational type to open the Relational Connection Browser. Here, we are using the Connection variable that we created in our earlier step, i.e., $Target
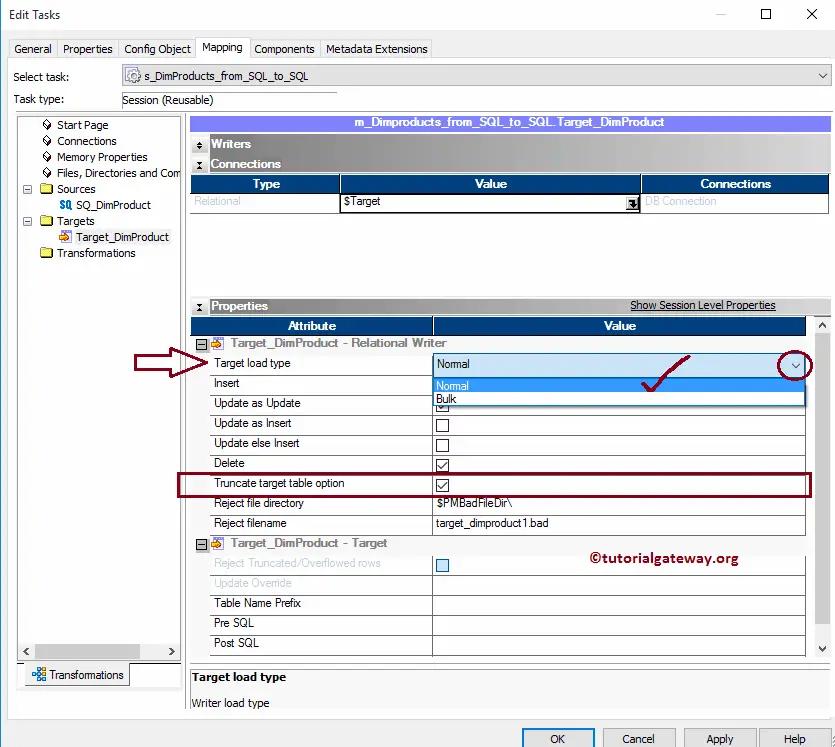
Within the Target properties, configure two common properties, and they are:
- Target Load Type: If the target table has indexes, use the Normal type otherwise, Bulk type. The bulk type inserts the data faster than Normal, but it does not support indexed tables.
- Truncate target table option: It truncates the data from the destination table. It helps us to insert fresh data for every successful run.
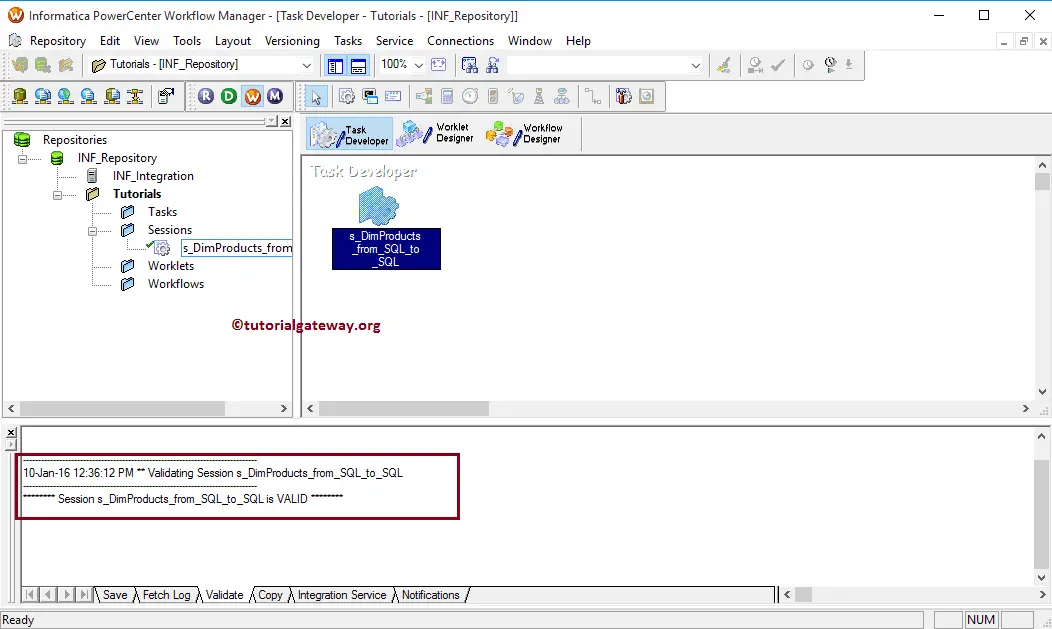
Once you completed creating the session task, we have to Verify the task before using it. For this, navigate to the Tasks Menu and select the Validate option.
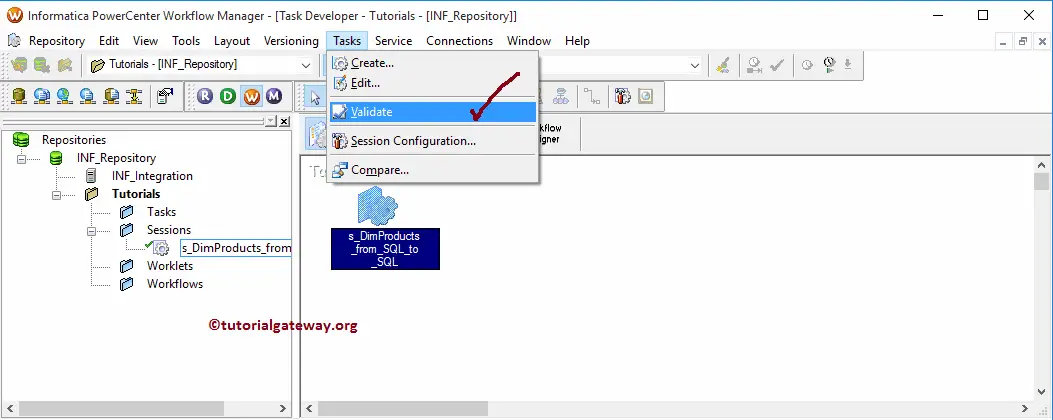
From the below image, see our Reusable session in Informatica is a valid one.