In this article, we will show you how to install Informatica on Windows (irrespective of the version) with screenshots. Installing this Client Server includes the following steps, so Please follow the steps in the same order we mentioned below:
- Step 1: Install Informatica Server.
- Step 2: Configure Repository Service and Integration Service. Please refer Admin Console article to configure the Repository and Integration Services.
- Step 3: Installation or Install Informatica Client.
Before we start installing Informatica on Windows,
- We need a Database Server (SQL or Oracle)
- Create a Database inside your server. Remember, this will be assigned while creating the Informatica Domain. Refer to Step 5B
- Create a database User and provide the administrator credentials to the above-created database. We are going to use these user credentials while connecting to the database. Refer to Step 5B
TIP: Please refer Download article to understand the steps involved in downloading the software version 9.6.1 or any version.
Step by Step process to install Informatica
Once you have extracted the dac_win_11g_infa_win_64bit_961 zip file, four ZIP files and one KEY file will open. Before installing on Windows, please select and extract all of them. The following screenshot will show you the ZIP files and extracted folders.
Installing Informatica Server
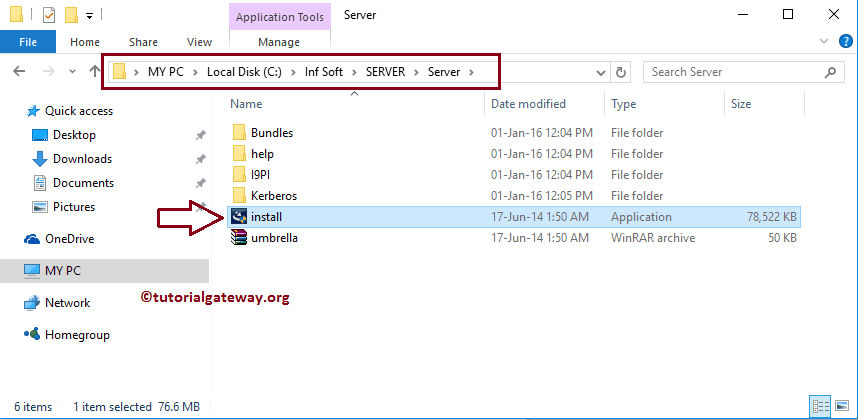
Please navigate your file system to the Server folder and click on the install.exe application as shown below.
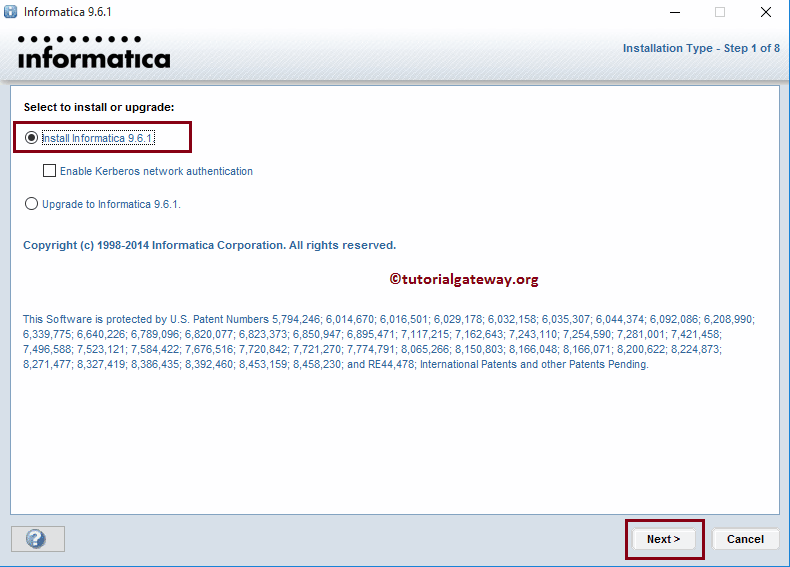
Step 1: Once you click on the install application, the installation wizard will open, as shown below. Here we have two options:
- If you are installing for the first time (like we do), then select the Informatica 9.6.1 version option.
- If you are upgrading from the previous version, such as 9.5 or any other then, please select Upgrade to 9.6.1
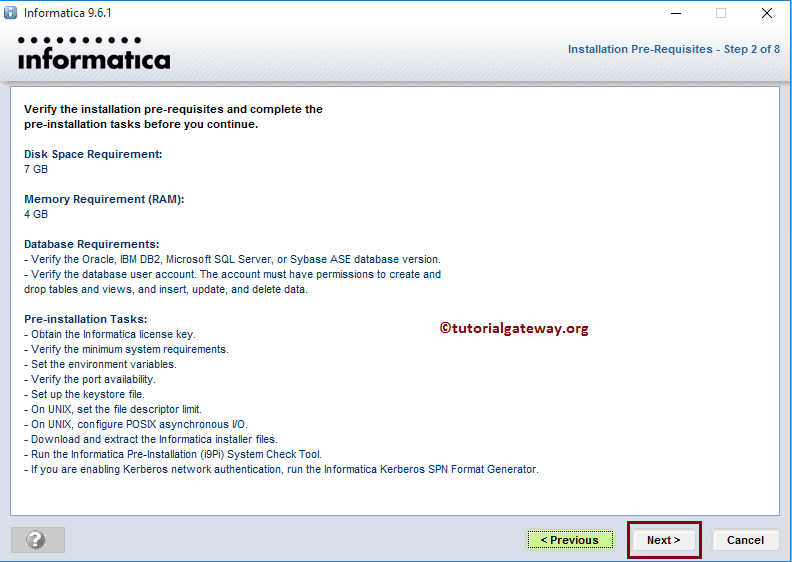
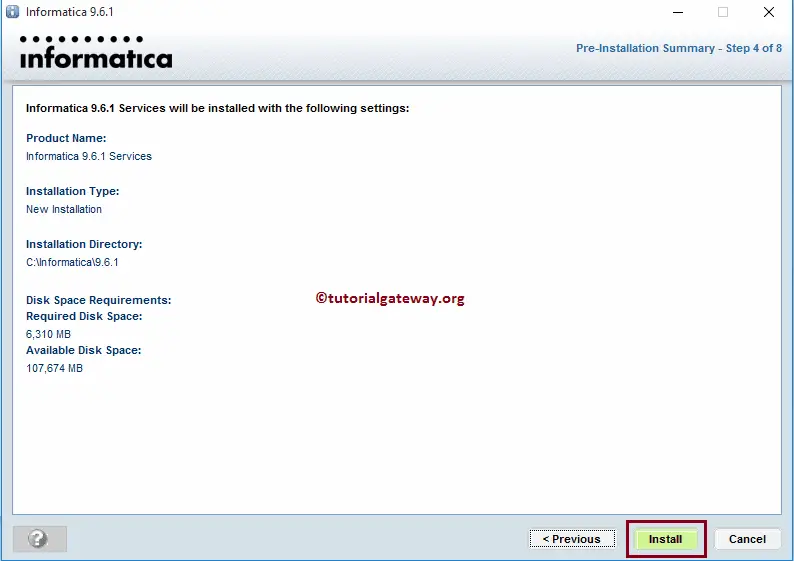
Step 2: Here, you can verify the Disk space, Software, and Hardware requirements to install the software.
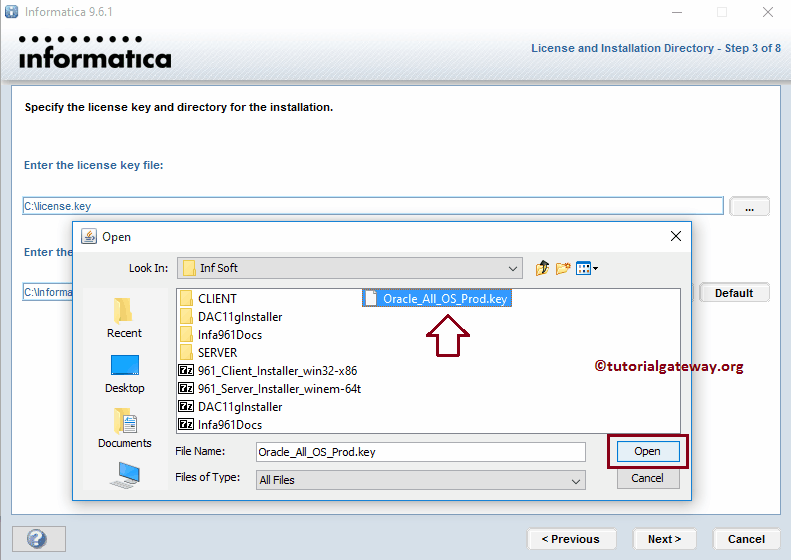
Step 3: Here, we have to select the Oracle license key. So click on the … button beside the first text box. It opens our file system to navigate and select the Oracle license key. From the below screenshot, you can observe that we picked the key from the Inf Soft folder.
NOTE: Here, you can also change the default installation directory.
Step 4: Click the Next button to start installing the Informatica server.
5th Step: Please wait until it installs 100%.
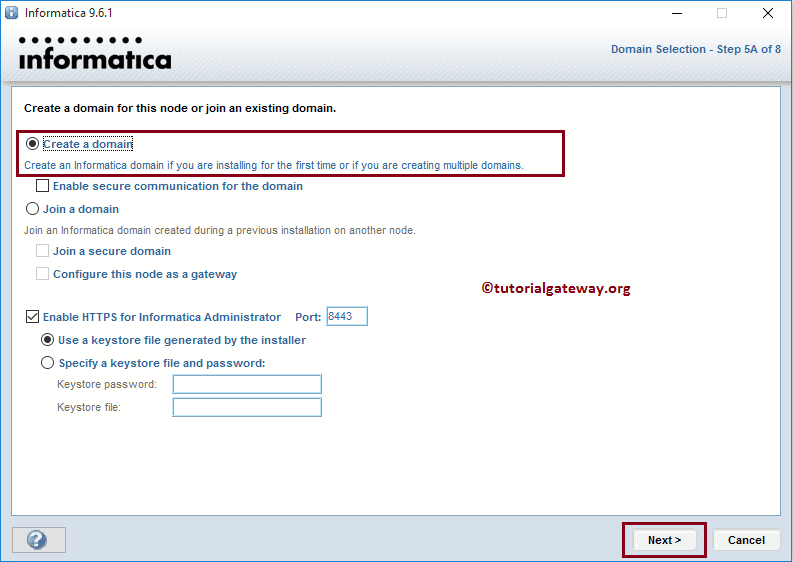
Step 5A: Once the installation process is completed, on the next page, we have multiple options. If you are installing Informatica for the first time, please leave the default settings and click the Next button:
- Create a Domain: This option will help you to create the domain. If you are installing it for the first time, then select this option. (Default).
- Join a Domain: You can select this option if you want to join the existing domain that was already created in your previous installation.
Step 5B: Within the first section, we have to configure the database settings.
- Database type: Please select the database type you are using.
- Database User ID: Please provide the Username to connect with the database.
- User Password: Please provide the password of the database user as mentioned above.
Within the second section of installing the Informatica server, we have a Database connection:
- Database address: Please provide the Hostname and Port number of the above-specified database. The default port number for SQL Server is 1433.
- Database Services Name: Please provide the database name you already created.
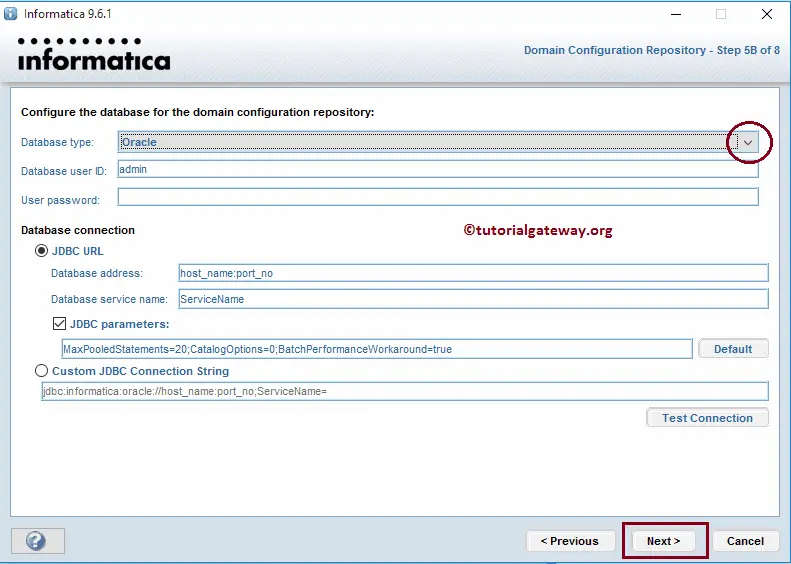
Please fill in your database details. Before you click on the Next button, Please test your connection setting by clicking on the Test Connection button.

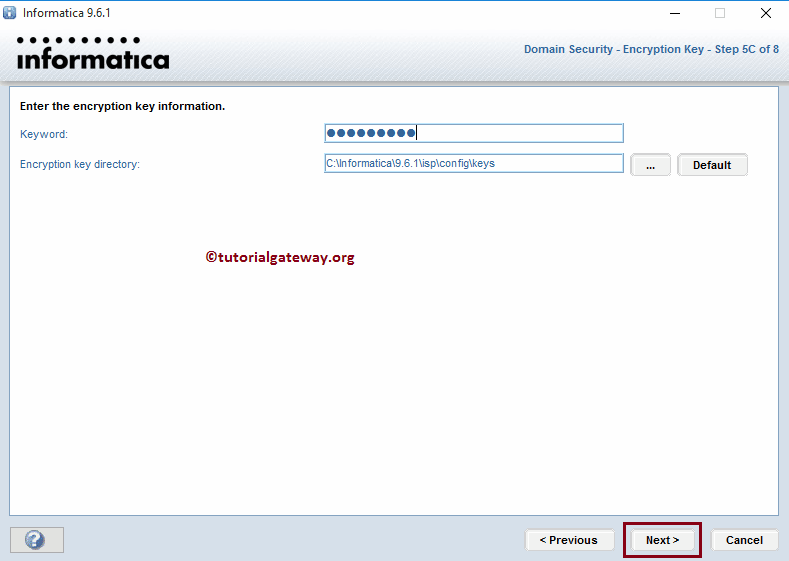
Step 5C: Here, we have to specify the encryption key details (which are a combination of upper case, lower case, and a special character). It is just for domain security.
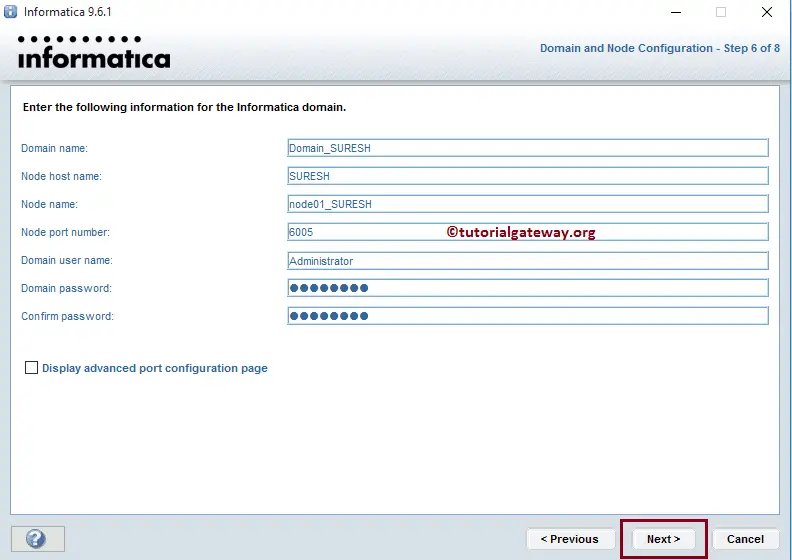
Step 6: Please provide the Domain password to install Informatica and confirm it by retyping it.
- These are the credentials we will use to log in to the Admin Console. So, Please note down the Domain username as the Username and the Domain password as the password.
- Please note down the Domain Name, Hostname, and port number. Because we will use these values while Adding the Domains and Repository services in the Repository.
Step 6: If you want the service under a different account, please checkmark the Run under a different user account option and provide the Username and password.
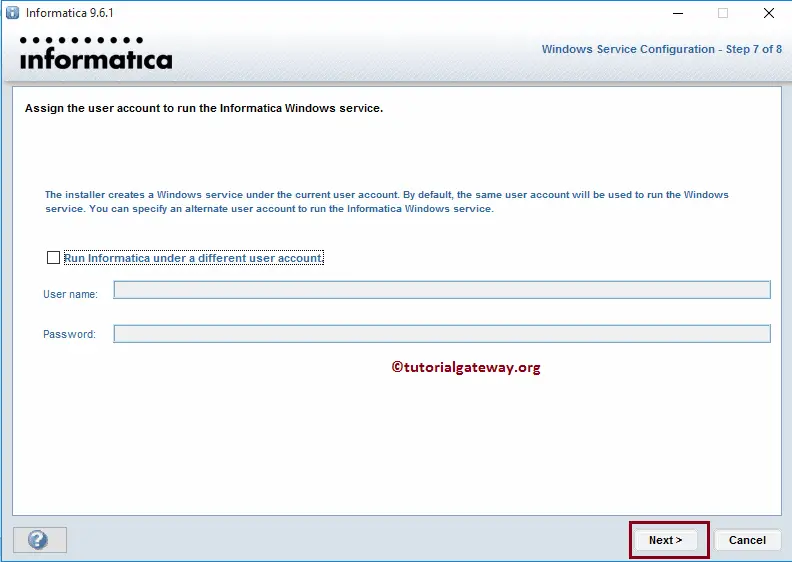
Once you click on the next button, the following screenshot will be displayed. From the below screenshot, you can observe that We successfully installed the Server into our local hard drive

Please click the Administrator home page URL to open the Admin Console. We have to configure the Repository Service and Integration Service on the Home page.
Install Informatica Client
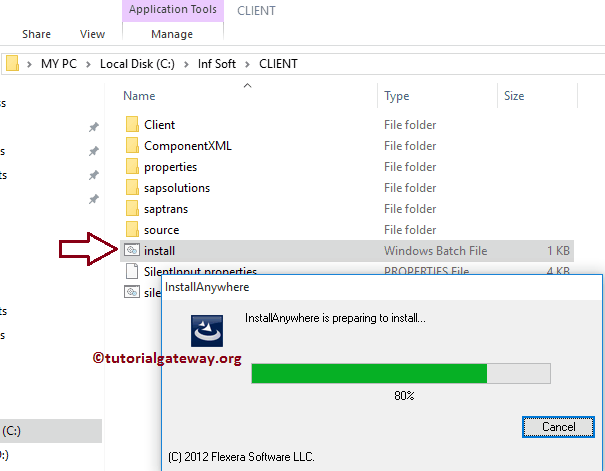
Once you completed configuring the Repository Service and Integration Service. Please navigate your file system to the Client folder and click on the install client batch file, as shown below.
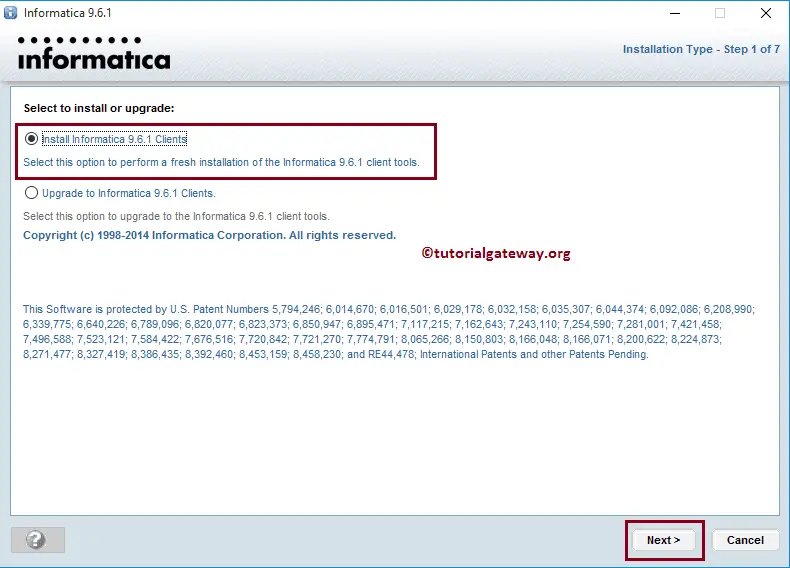
Step 1: Once you click on the install batch file, the installation wizard will open. Here we have two options:
- If you are installing the Informatica client for the first time (like we do), then select the install 9.6.1 Clients option.
- If you are upgrading from the previous version, such as 9.5 or any other Client, then select Upgrade to 9.6.1 Clients
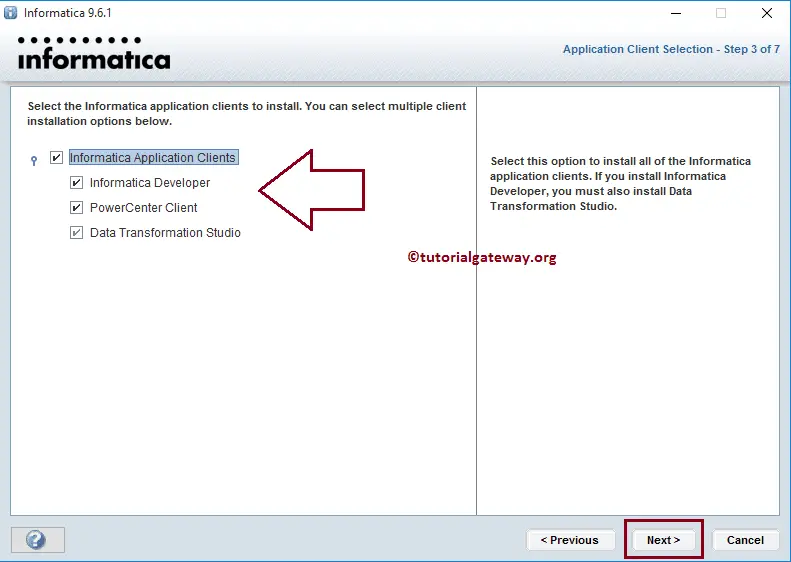
Step 3: Please select all the checkmarks and click the Next button.
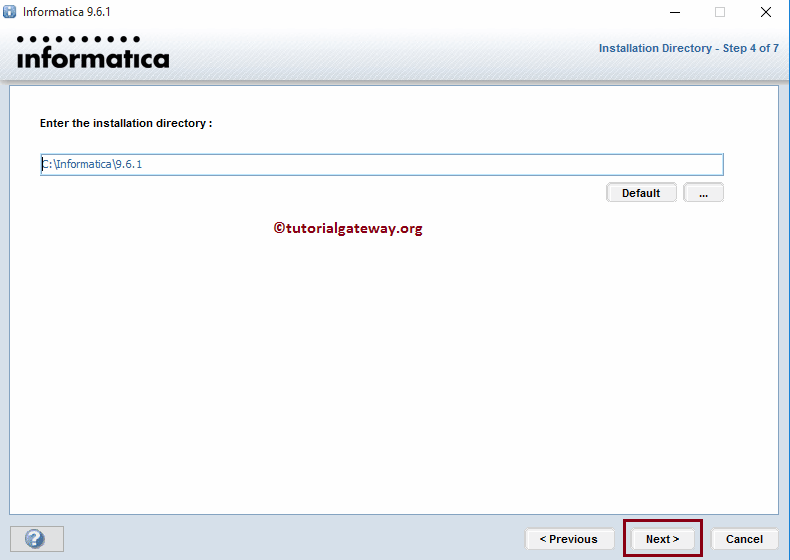
Step 4: Here, you can leave the default installation directory or change it by clicking the … button.
Here, we have multiple options to choose from:
- Install Data Transformation Studio and a Standalone copy of Eclipse: If you are installing the software for the first time, please select this option. Because this will create a standalone copy of Eclipse
- Install Data Transformation Studio on an existing Eclipse installation: This option will add the development environment to the existing installation of Eclipse.
Click the Next button to start installing the Informatica client.

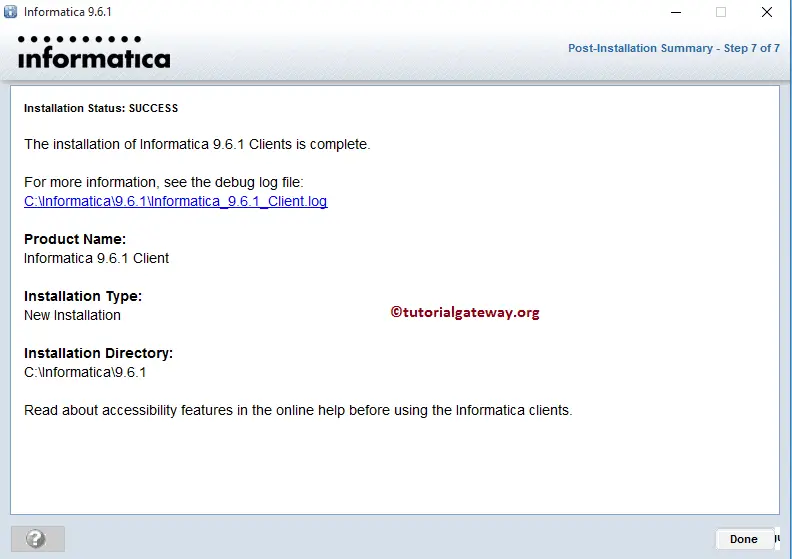
Step 6: Please wait until it installs 100%. From the below screenshot, you can observe that we successfully installed the client.
Comments are closed.