In this article, we will show you how to create Informatica Workflow using Wizard with an example. Please refer Workflow article to understand the steps involved in creating Informatica Workflow manually.
Creating Informatica Workflow using Wizard
Before we start creating Informatica Workflow using Wizard, First connect to the repository service using the Admin Console credentials.
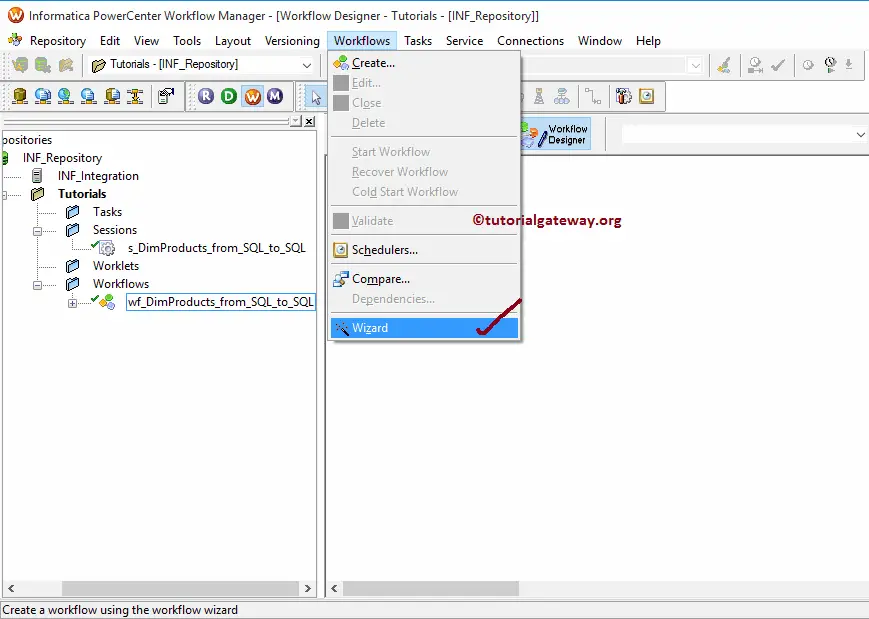
To create a new Workflow using Wizard, first, we have to go to the Workflow Designer tab. Next, Please navigate to Workflows Menu and select the Wizard option.
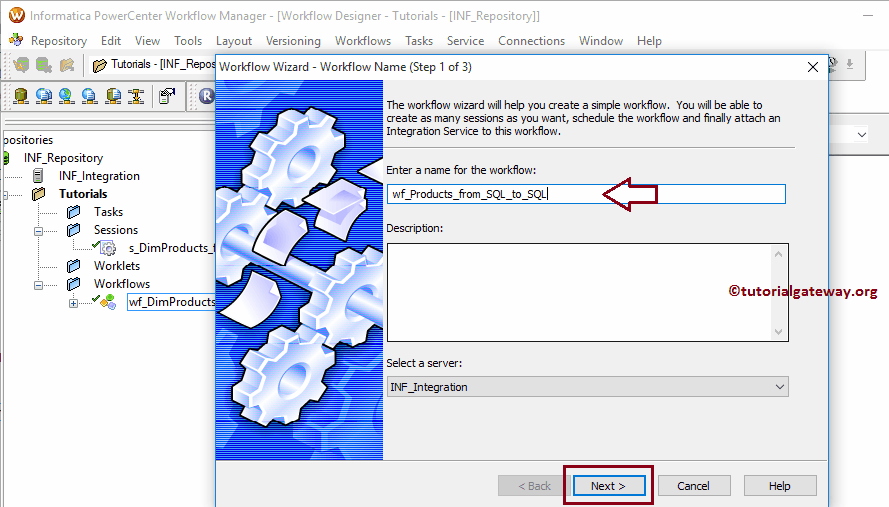
Selecting the Wizard option opens a new window called Workflow Wizard. Please provide a unique name, and description and select the Integration service from the drop-down list.
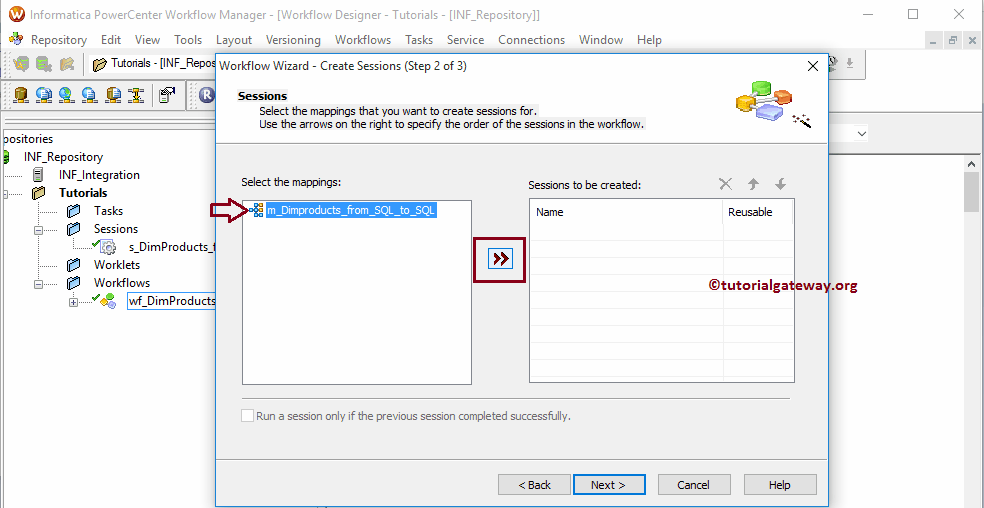
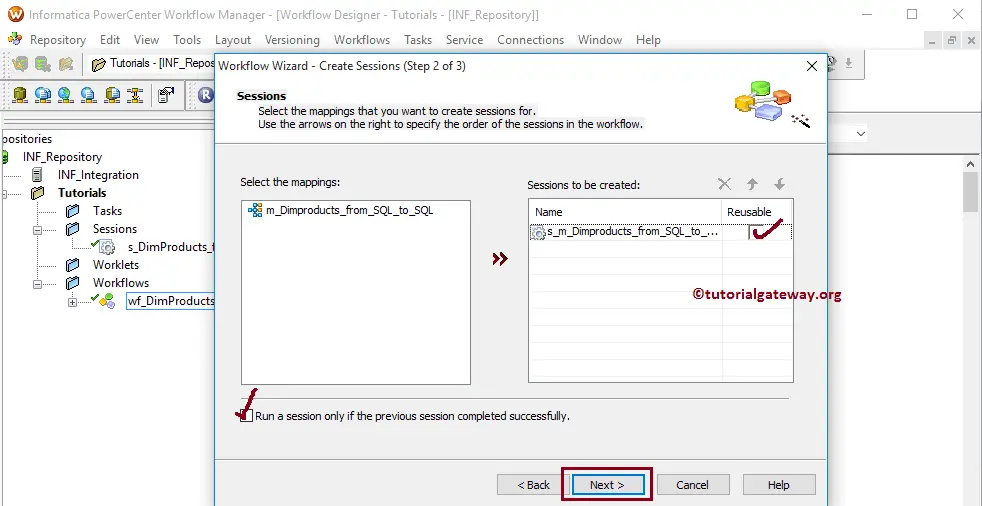
Within Step 2, we have to select the mapping from the Select the Mappings section.
From the following screenshot, we have only one mapping. So we are selecting it. Once you choose the Mapping, click on the >> button to create the session for the selected mapping.
TIP: Please refer Mapping article to understand the data transformation in the below mapping m_DimProducts_from_SQL_to_SQL
Once you click on the >> button, the session task is created automatically. By check-marking, the Reusable option will make this session a reusable session task.
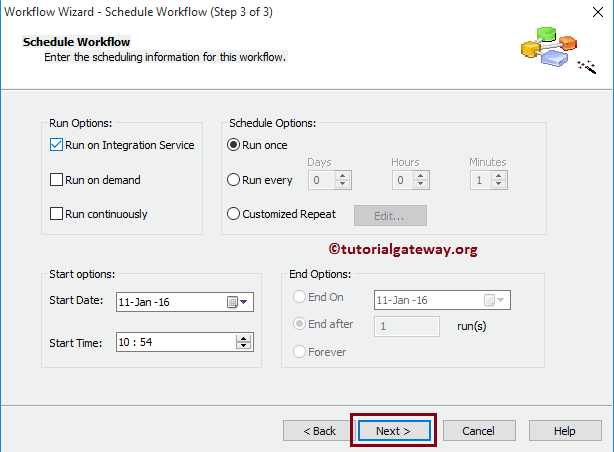
Within Step 2, we have to schedule the workflow. Here we have three Run options:
- Run On Demand: You have to start the workflow as per your requirements.
- Run Continuously: Workflow will run continuously.

Next,
Run On Integration Service: Here, you have an option to schedule the workflow. For instance, if you want to load data from a text file to SQL Database every Monday, then you schedule the workflow on Monday 1 AM.
Before we click on the finish button, check the details. If you find any issues, click the Back button to alter the workflow.

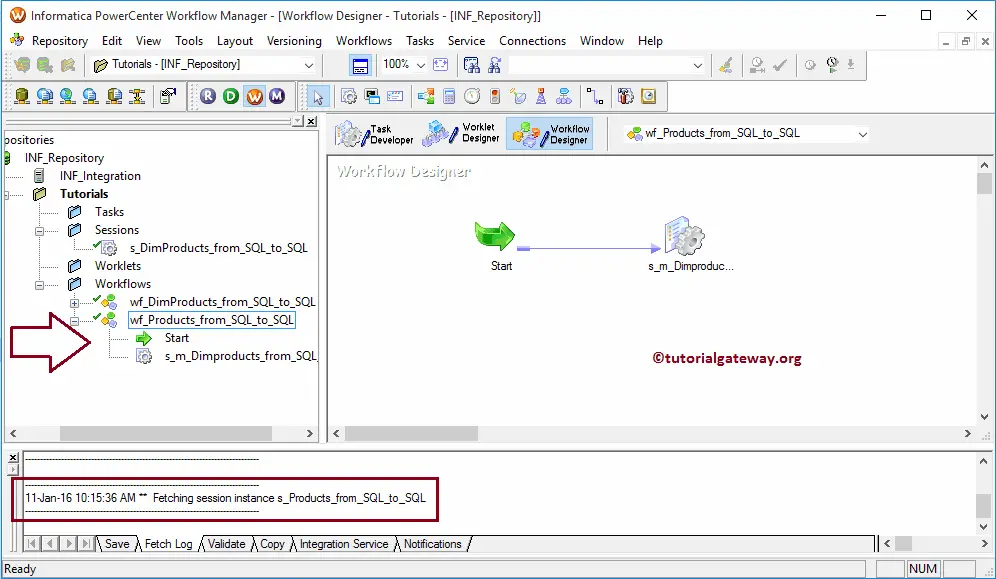
From the below screenshot you can see the new workflow
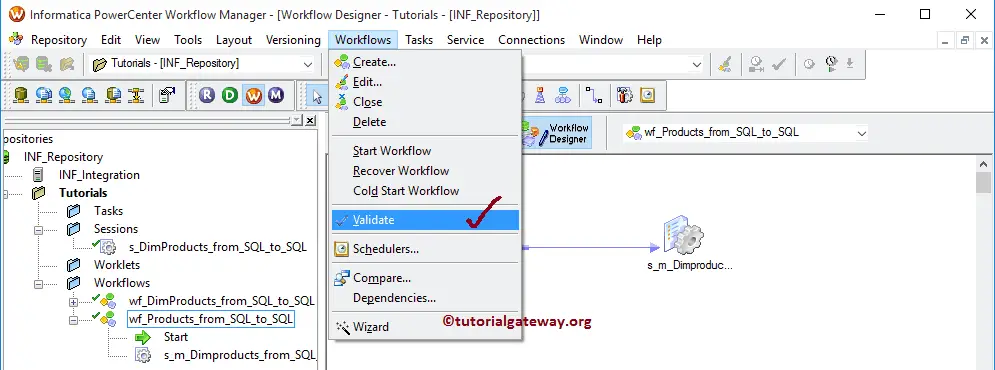
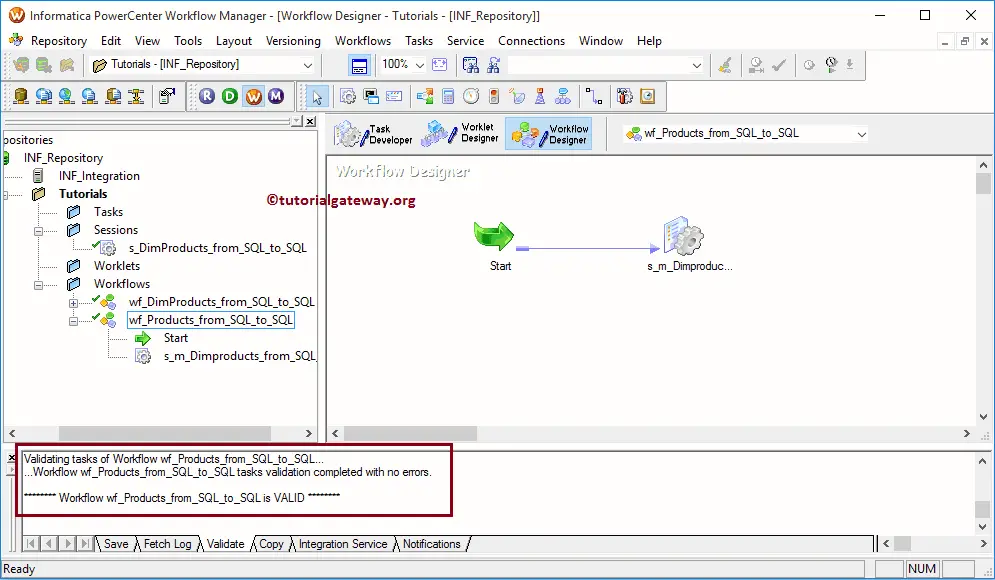
Once you finish creating the Informatica Workflow using Wizard, we have to Validate the task. For this, navigate to the Workflows Menu -> Validate option.
From the below screenshot, you can see that Our Informatica workflow is a valid one.
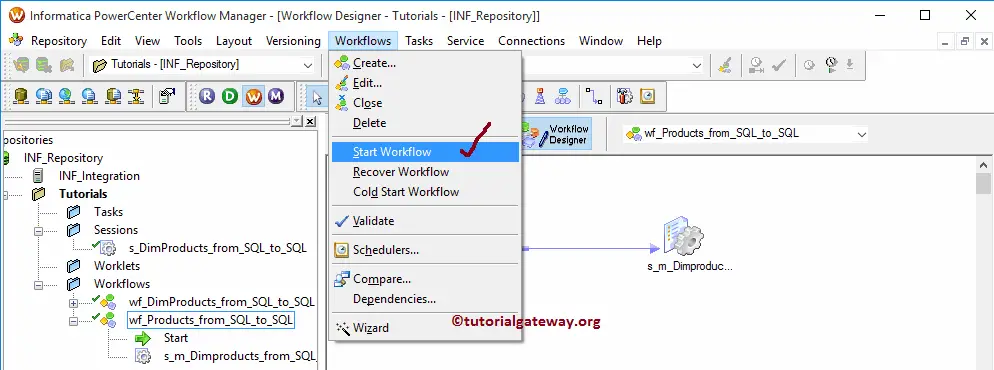
Let us start the Informatica Workflow by selecting the Start Workflow option.
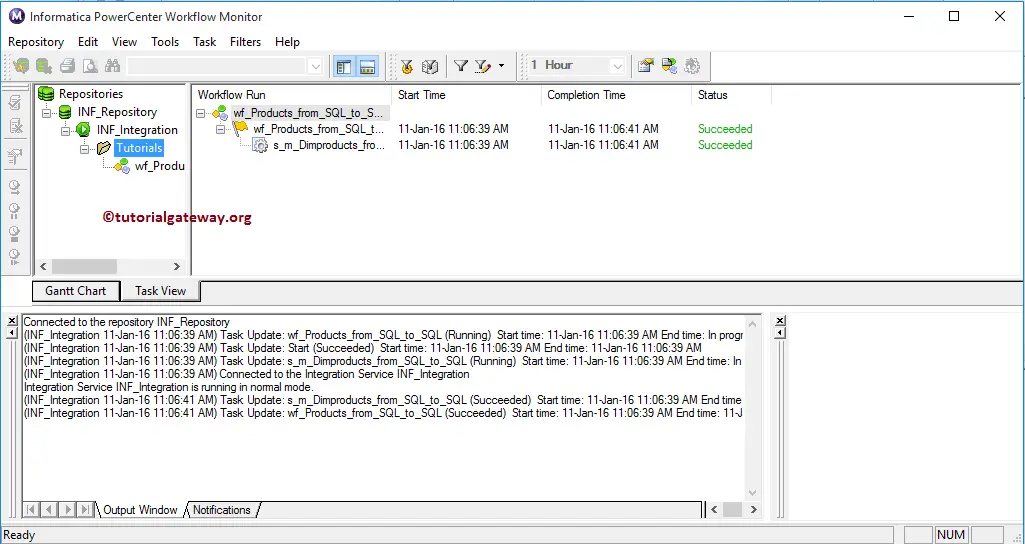
Once you select the Start Workflow option, the Informatica PowerCenter Workflow monitor opens to monitor the workflow. As you can see, the workflow was executed without any errors.
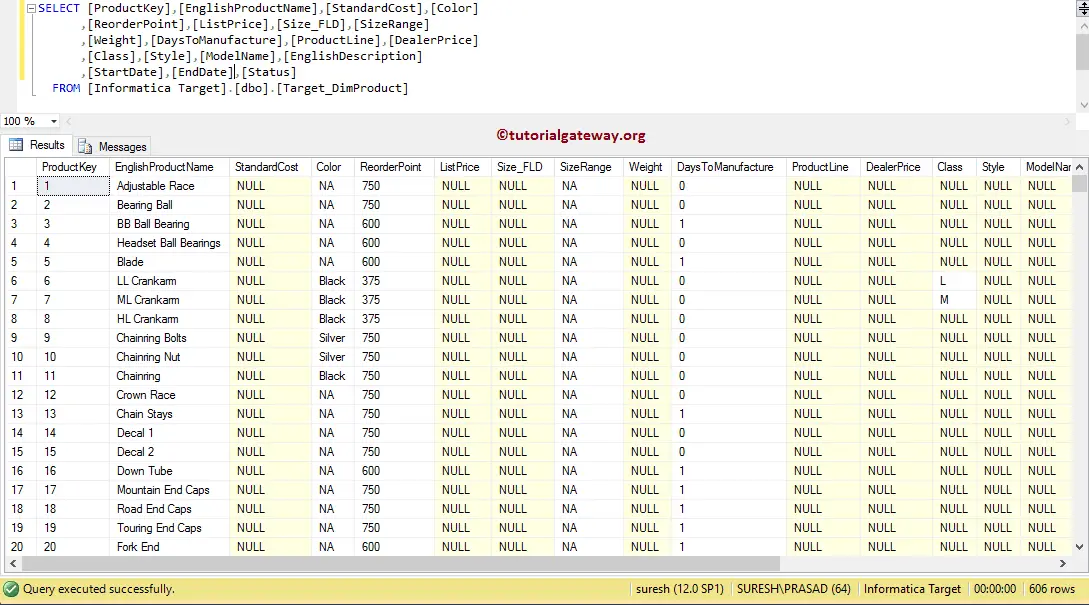
Let us open the Management Studio to check whether we successfully transferred the data from AdventureWorksDW to the target SQL Server database.