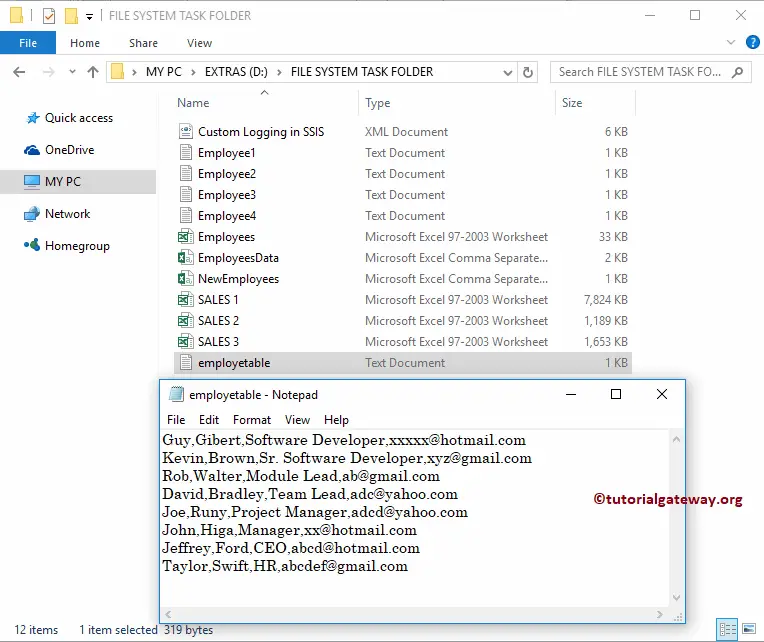
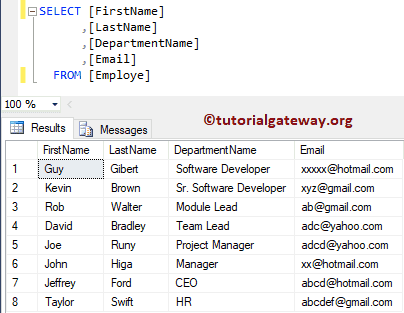
In this article, we will show you how to Export Data from SQL Server to Flat File in Informatica with an example. For this Informatica Export Data from SQL Server to Flat File example, we are going to use the below show data (Employe table)
Export Data from SQL Server to Flat File in Informatica
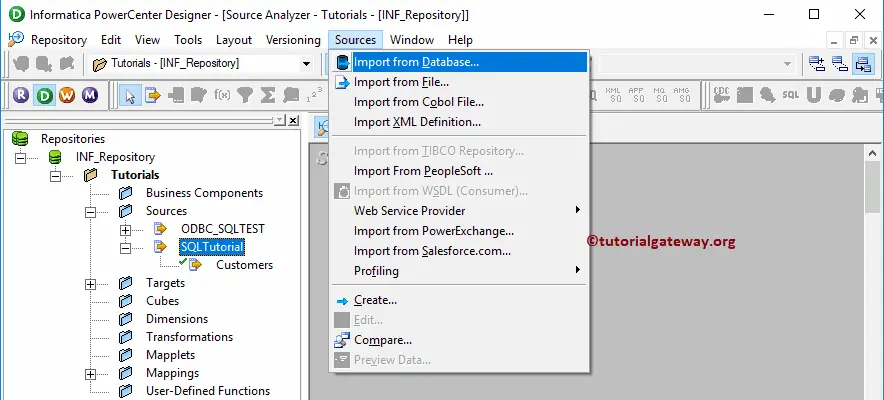
Before we start configuring the Informatica to Export Data from SQL Server to Text File (or Flat File). First, connect to Informatica repository service by providing the Admin Console Username and password you specified while installing Server. For the remaining Sources and Destinations >> Click Here!
Step 1: Create a Source Definition to export data from SQL to Flat File in Informatica
Please navigate to Source Analyzer to define your Informatica Sources. As we said before, we are using the Employee table present in the SQL Server database as our source definitions. So, go to the Source menu and select the Import from Database.. option.
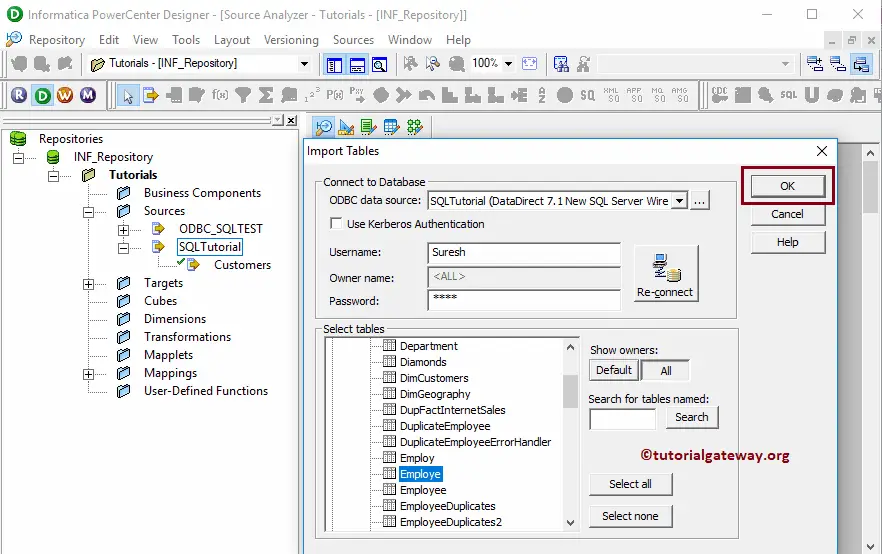
Please select the ODBC connection that will connect the Informatica with the SQL Tutorial Database. To create a new one, please refer to the ODBC Connection article.
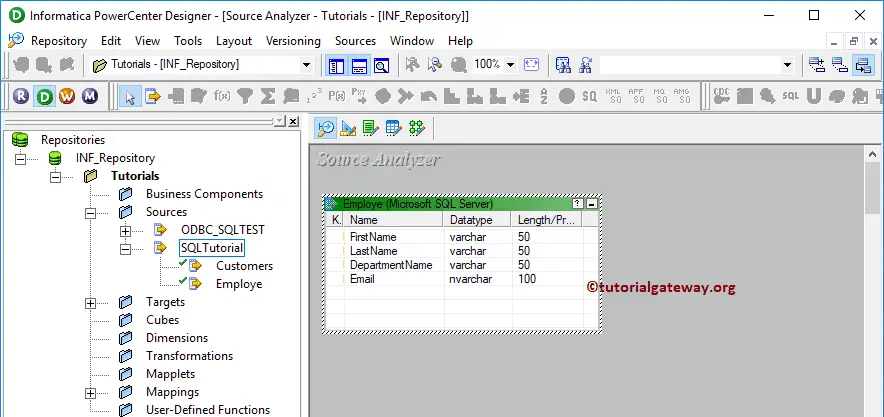
From the below screenshot, we are selecting the Employee table from our SQL Tutorial database.
It will add the table definition (Column Names, and appropriate data types) inside our workspace under the Source Analyzer. Please refer Database Source to understand the creation of source definition
Step 2: Create Target Definition to move data from SQL to Text File in Informatica
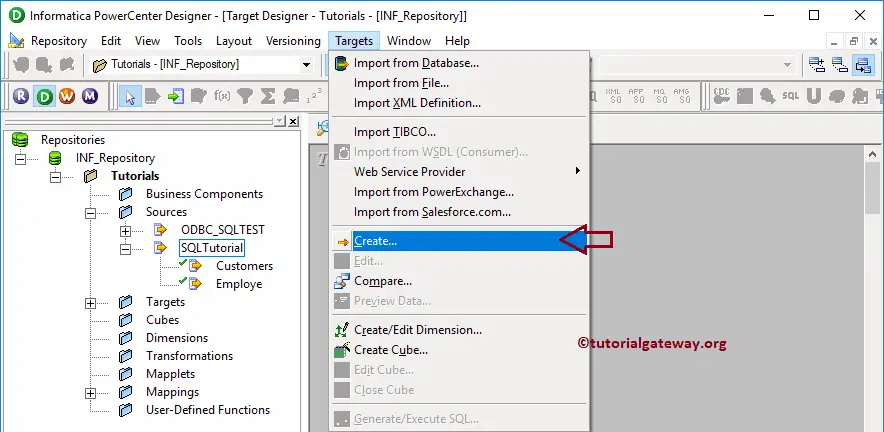
Please navigate to Target Designer to define the Target. In this Informatica Export Data from SQL Server to Flat File example, our task is to create a Text File target. So, go to the Targets menu and select the Create option.
Once you select the Create option, a new window called Create Target table displayed. Please provide a unique name for the target table, and select the database type as Flat File.
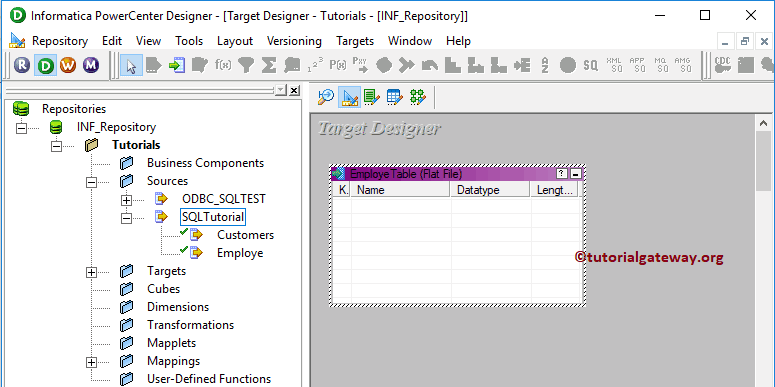
Once you complete, Please click on the Create button to create a new empty table in our PowerCenter Target Designer.

From the below screenshot, see that we successfully created a new empty table in our Target Designer.
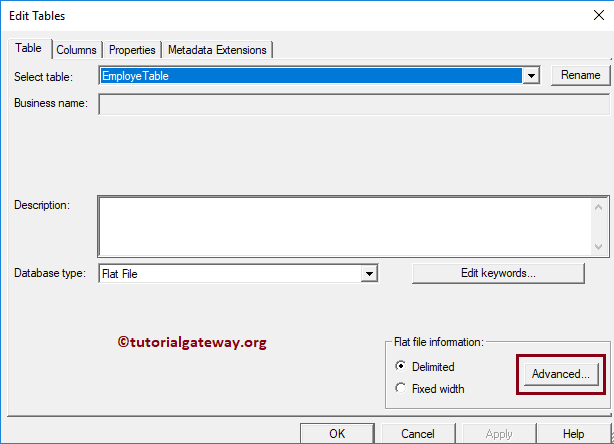
To add new columns, we have to edit the table definition. It can be done by Right-click on the table, and select the Edit.. option from the context menu. Once you select the Edit.. option, a new window called Edit tables will open.
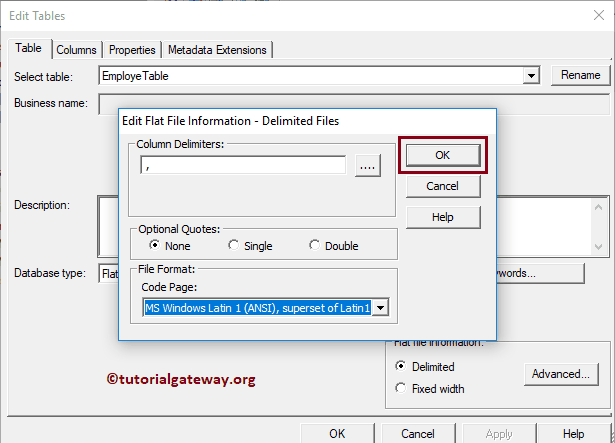
By default, Flat File columns separated by the Comma Delimiter. But, you can control the same by clicking the Advanced button
Here, you can change the Column Delimiter, and you can add Single Quoted, or double quotes each column value.
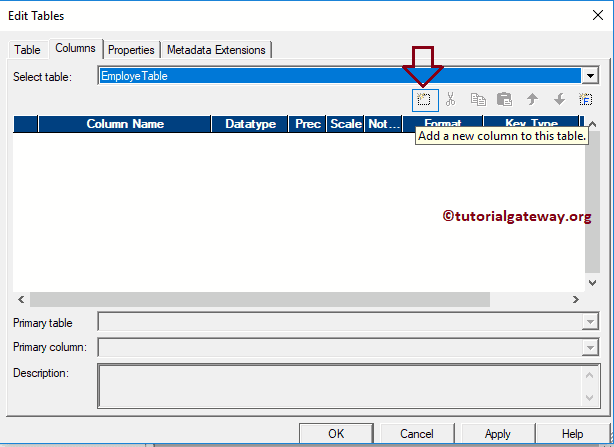
Next, go to the Columns Tab to add new columns. Please select the first button (before the scissors symbol). It will open the empty row to add Column Name, Data Type, Precision (if required), Scale (if needed).
If it is a primary key, change the Key type to primary and check to mark the Not Null option (if your column doesn’t allow null values)
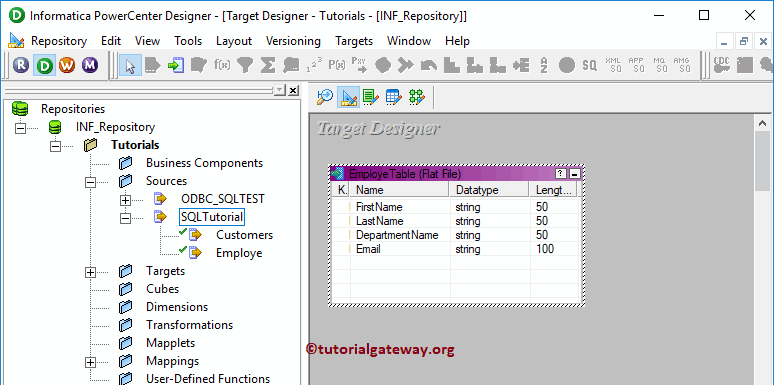
From the below screenshot, we added four columns.
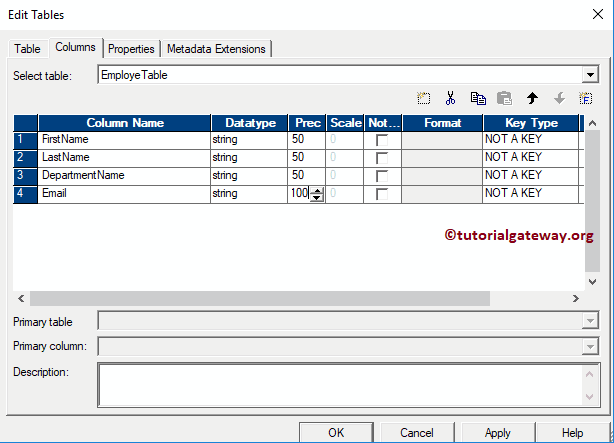
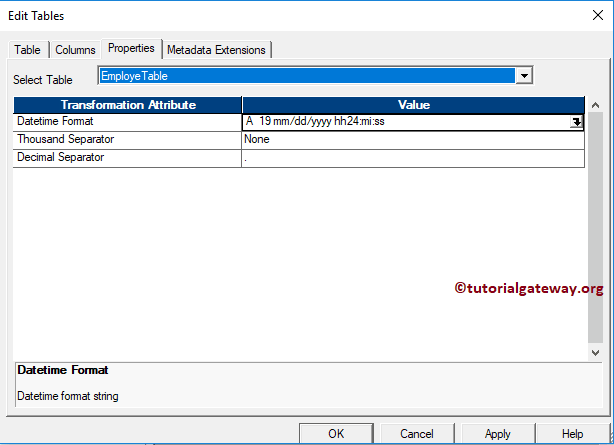
You can use the Properties tab to define the Date time Format or to change the default format. Once you added the required columns, Click OK to close the Edit tables window
Now you can that the target table had required column names.
Step 3: Create Mapping to export data from SQL to Flat File in Informatica
To create a new mapping, Please navigate to Mappings menu in Menu Bar, and select the Create.. option.
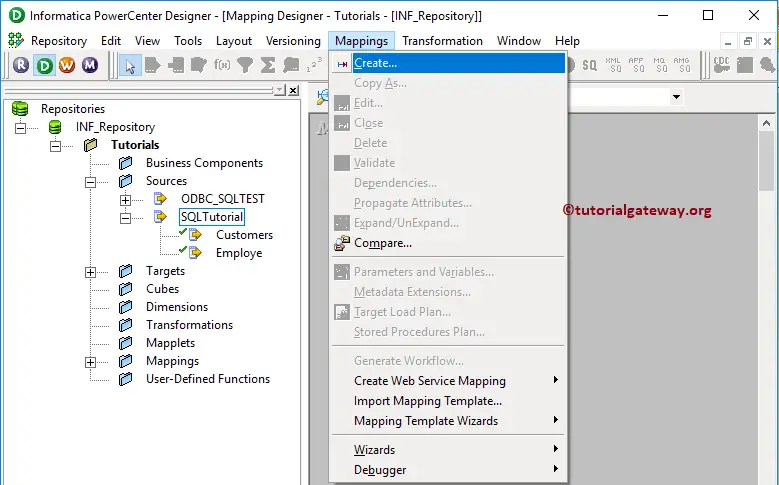
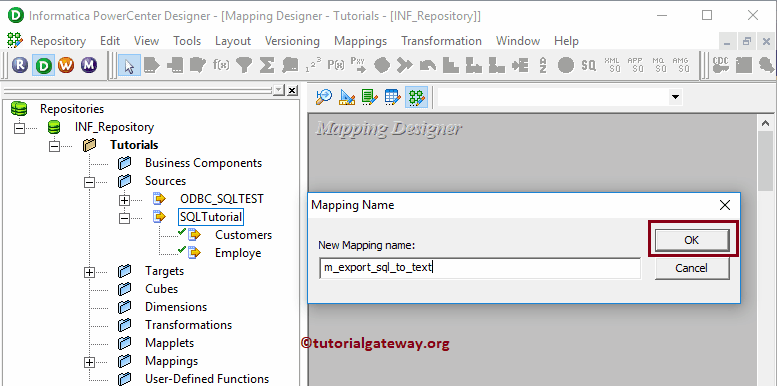
It opens the Mapping Name window to write a unique name for this mapping. Let me name it and click the OK button.
Drag and drop the Employe source definitions from Sources folder to the mapping designer. Once you drag the source, the Power Center designer automatically creates the Source Qualifier Transformation for you.
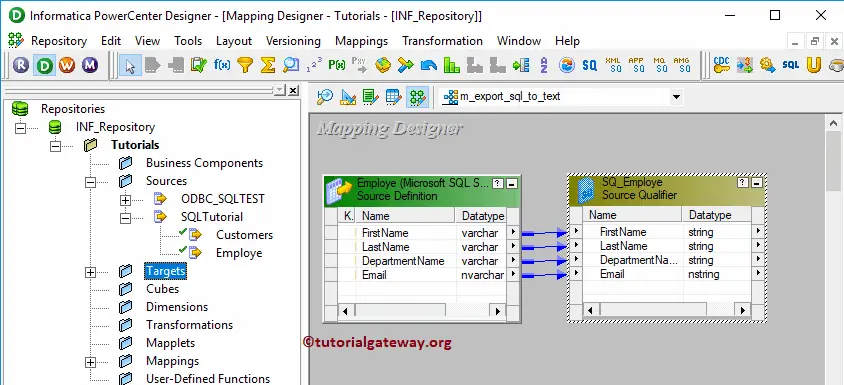
Next, Drag and drop the target definition from Targets folder to the mapping designer. Next, connect the Informatica Export Data from SQL Server to Flat File source qualifier with the target definition using the Autolink.. option.
Let us Save and Validate the mapping by going to Mapping and select the Validate option.

Step 4: Create a Workflow to move data from SQL Server to Text File in Informatica
After we finish creating the Informatica Export Data from SQL Server to Flat File Mapping, we have to create the workflow for it. Power Center Workflow manager provides two approaches to create a workflow.
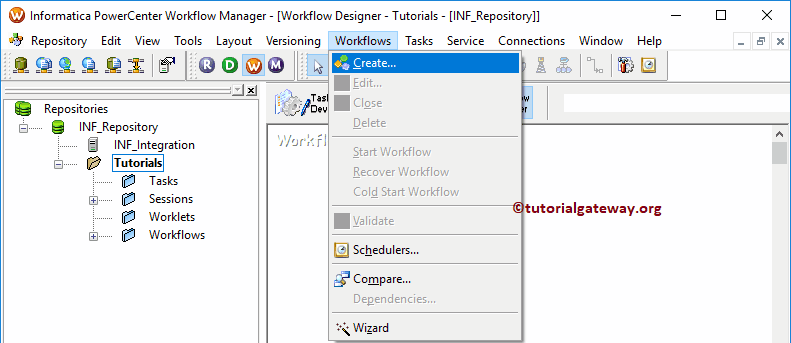
In this Informatica Export Data from SQL Server to Flat File example, we will create the Workflow manually. To do so, Please navigate to Workflows Menu and select the Create option.
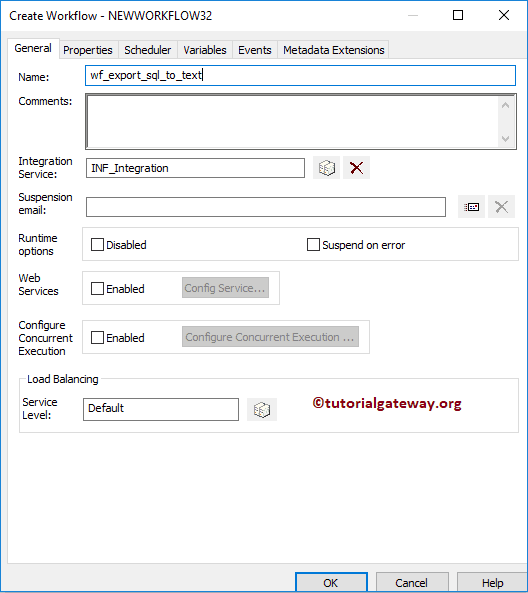
It opens the Create Workflow window. Please provide the unique name (wf_export_SQL_to_text) and leave the default settings.
Once we created the workflow, our next step is to create a session task for our mapping.
Step 4(a): Create Session to move data from SQL to Text File
There are two types of sessions in Informatica:
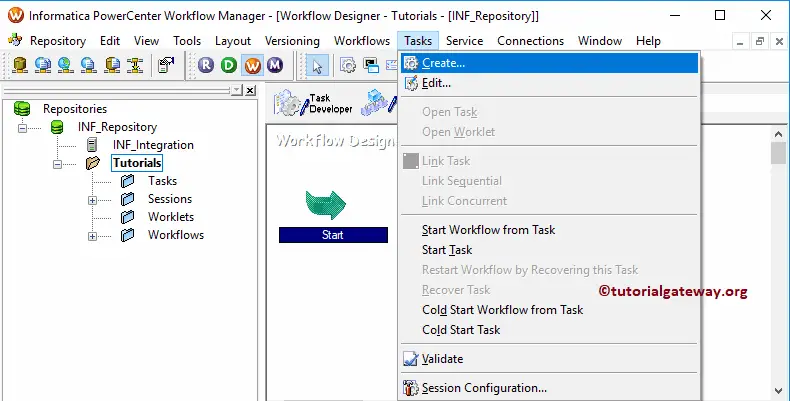
For this Informatica Export Data from SQL Server to Flat File example, we created a Non-reusable Session. To create Non-reusable Session, Please navigate to Tasks Menu and choose the Create option.
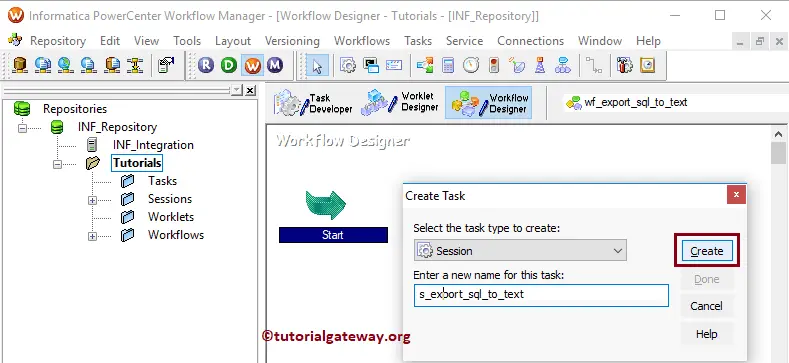
Please provide a unique name for this session. Here, we are naming it as s_export_sql_to_text
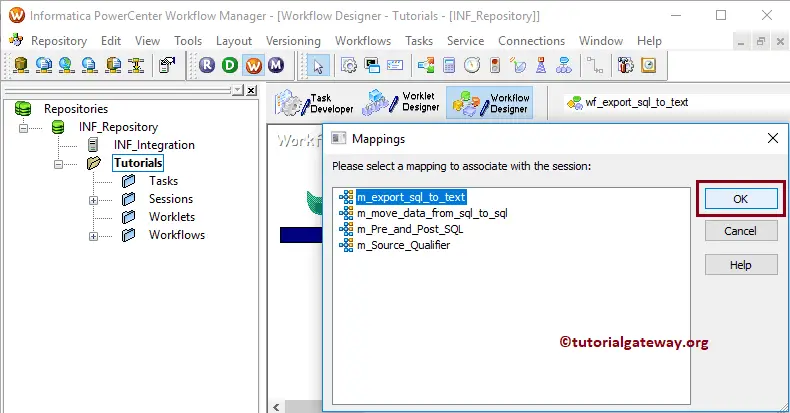
Once you click on the Create button, a new window called Mappings will open. Here you have to select the mapping that you want to associate with this session i.e., m_export_sql_to_text.
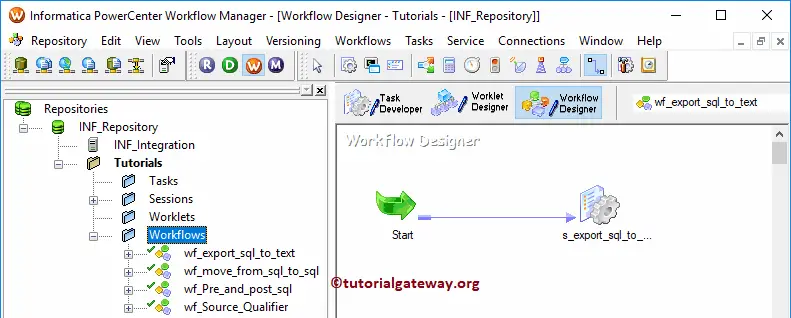
Please link the Start Task and the Session Task.
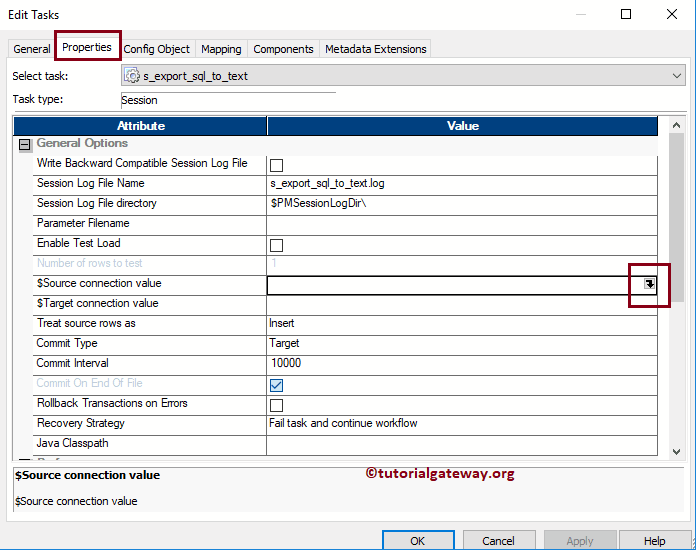
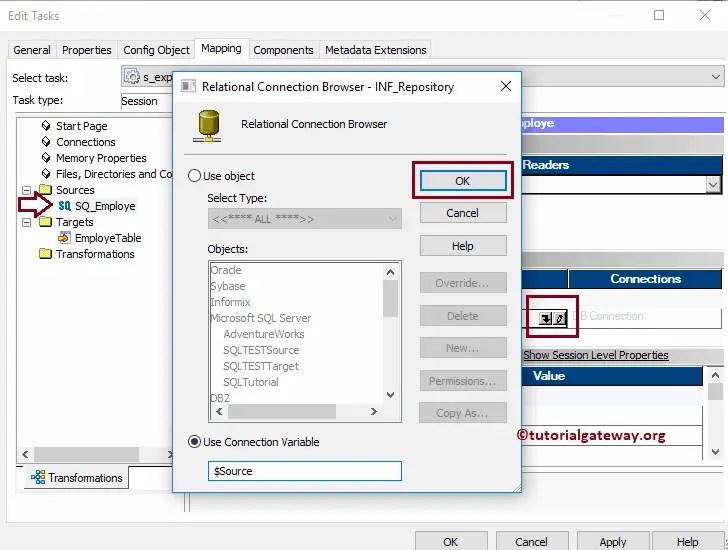
Double click on the Session task will open the Edit Tasks window. Within Properties Tab, we have configured $Source connection value. This property will store the relational source information in the $Source variable.
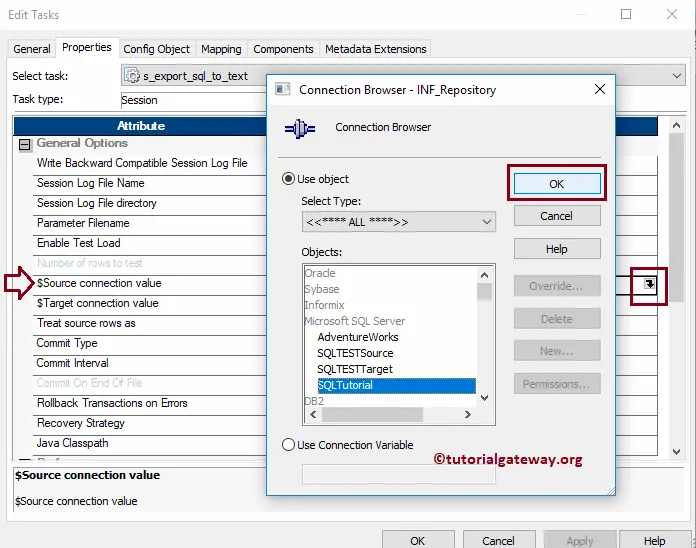
So, click on the Arrow we marked above, and select the SQL Tutorial as the source information.
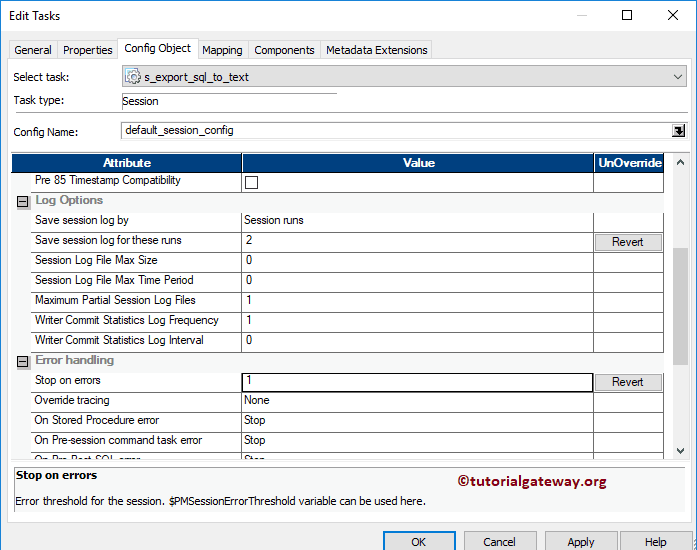
You can configure the Sessions Log properties, Error properties in Config Object
Within the mappings tab, we have to set the Source and Target Connections. First, let us configure the source connections by clicking on the SQ_Employe source present in the Sources folder.
With in the Connections, click on the Arrow button beside the Relational type, and Use Connection variable that we created earlier, i.e., $Source
Now, we have to configure the Target Connection. So, let us set the target connection by clicking on the Employetable present in the Targets folder.
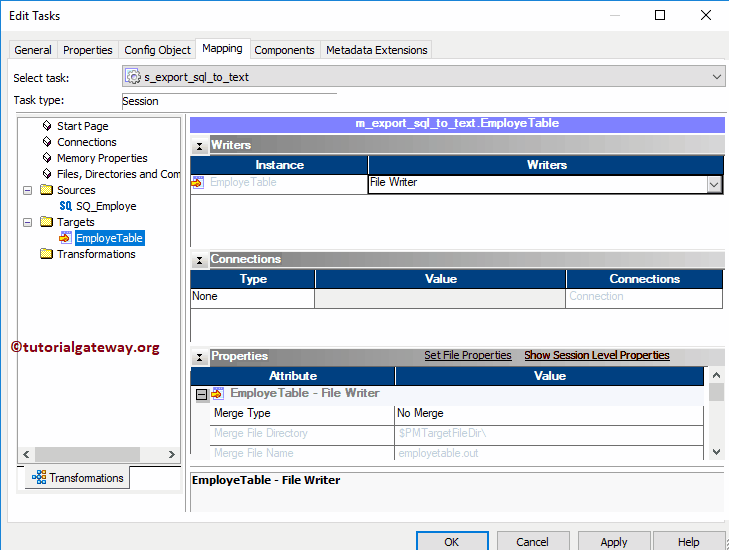
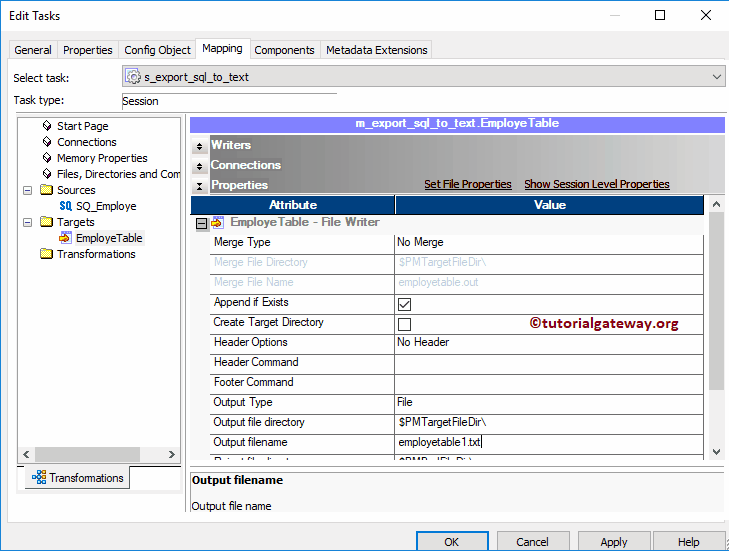
If your requirement is Merging the data, use this Merge Type property. For now, we are leaving it to the No Merge option. I suggest you explore the remaining options.
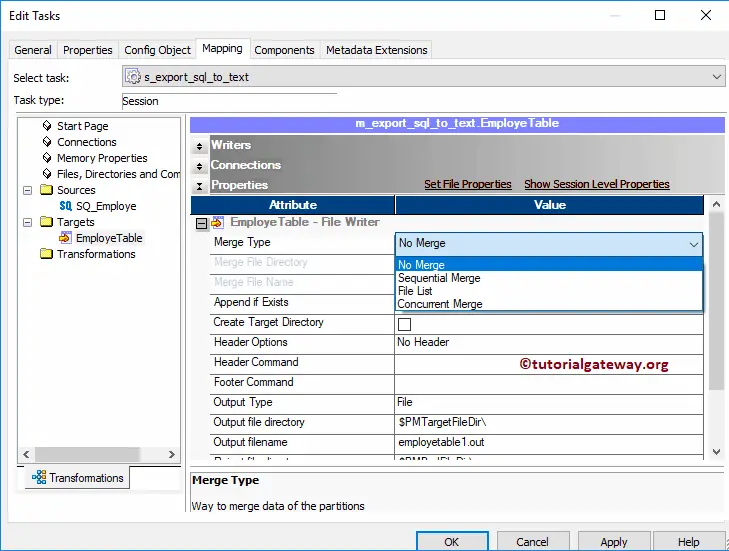
- Append If Exists: data appended if the file already exists.
- Output File Directly: Informatica will use the default directory, but you can change the directory by giving the full path.
- Output filename: Please change the extension to txt
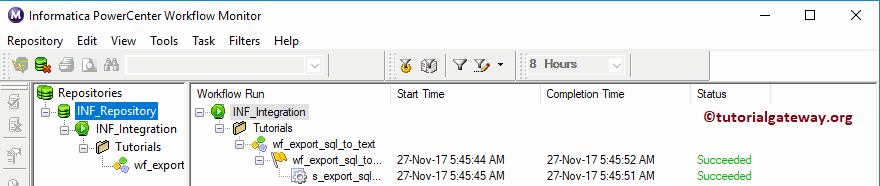
Next, navigate to Workflows Menu and select the Validate option to validate the Workflow. Now, Let me start the Workflow by selecting the Start Workflow option in Workflows Menu.

Once you select the Start Workflow option, the Workflow monitor will open to monitor the workflow. From the below screenshot, see our Informatica Export Data from SQL Server to Flat File workflow is executed without any errors.
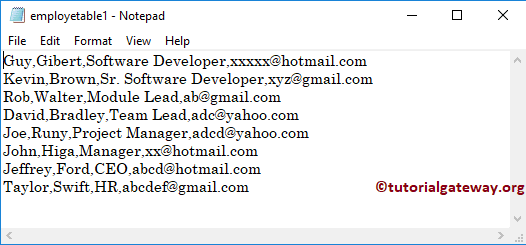
Let us open the default target location of the Informatica to check whether we successfully created a text file, and transfer the data from a source or not.

You can see the data inside the employee table text file.
Let me change the file location from Default Informatica destination to D folder, and also changing the name as employeetable. Next, Save and start the Workflow
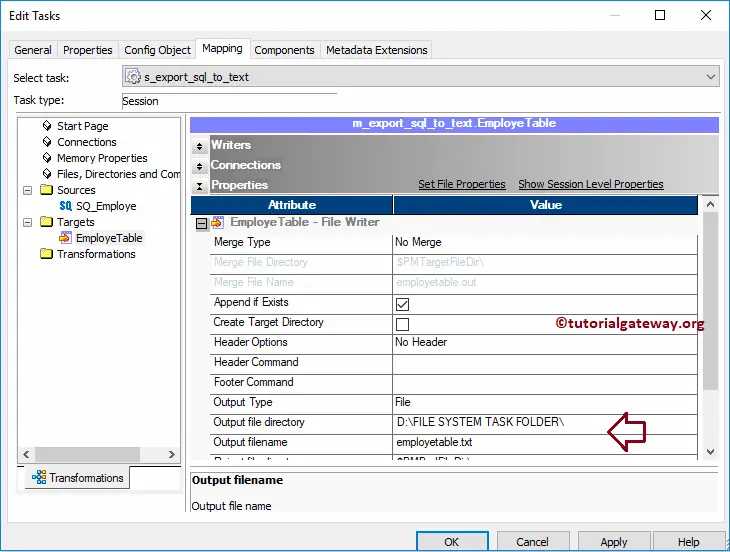
Now you can see the employeetable.txt in D drive