In this article, we will show you how to connect with the Relational databases using the Informatica ODBC Connection with an example.
For this ODBC Connection demo, we are using the Microsoft SQL Server as our relational database.
Steps involved in Informatica ODBC Connection
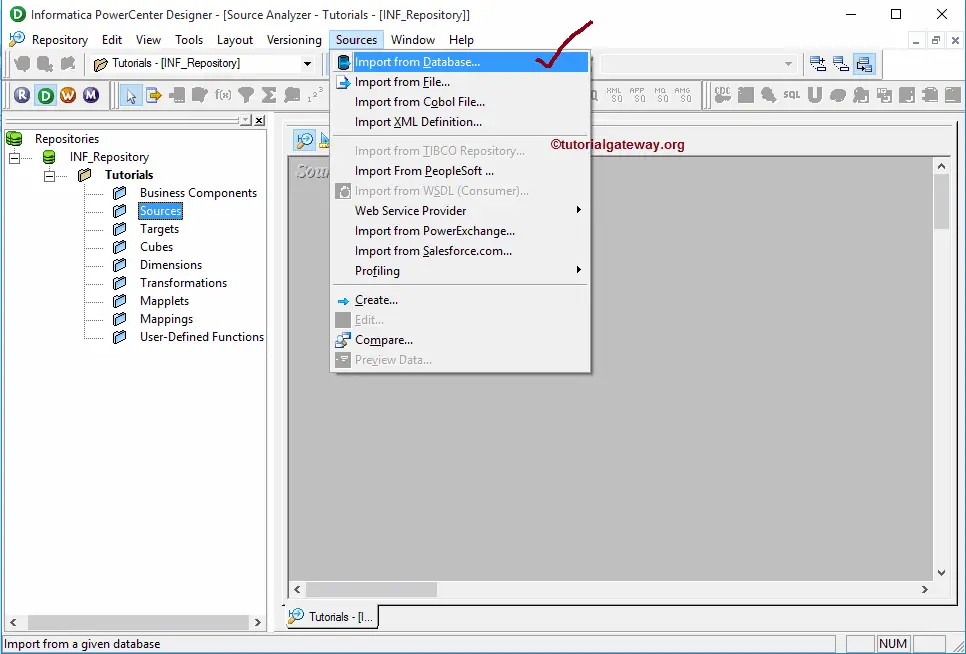
From the below screenshot, you can observe that we are in the Informatica Source Analyzer. Once you are in Source Analyzer, Please navigate to the Source menu and select the Import from Database.. option as shown below.
TIP: Please refer Source Analyzer article to understand the Informatica Source Analyzer. For the remaining Sources and Destinations >> Click Here!
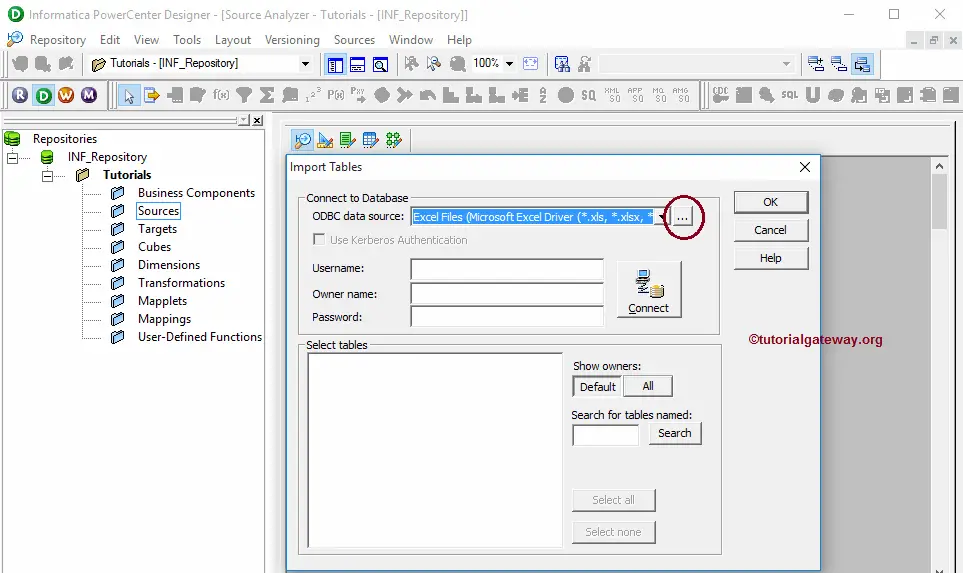
Once you choose the Import from Database.. option, the Import tables window will open. Currently, we don’t have any ODBC connection in Informatica to select from the drop-down list. To add a new one, please click on the …button.
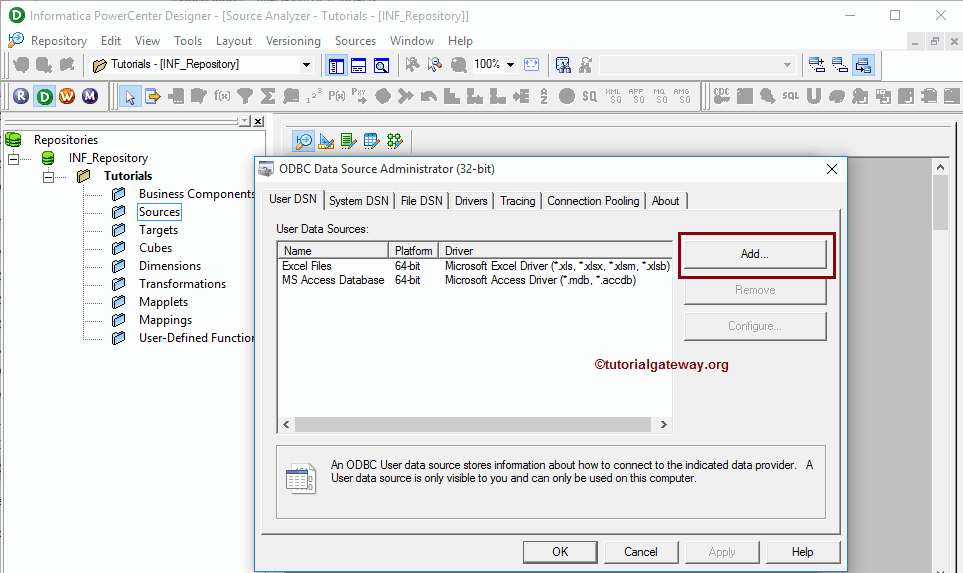
Once you click on the … button, ODBC Data Source Administrator Window will be opened to add a new ODBC connection in this ETL. Click on the Add button to do so.
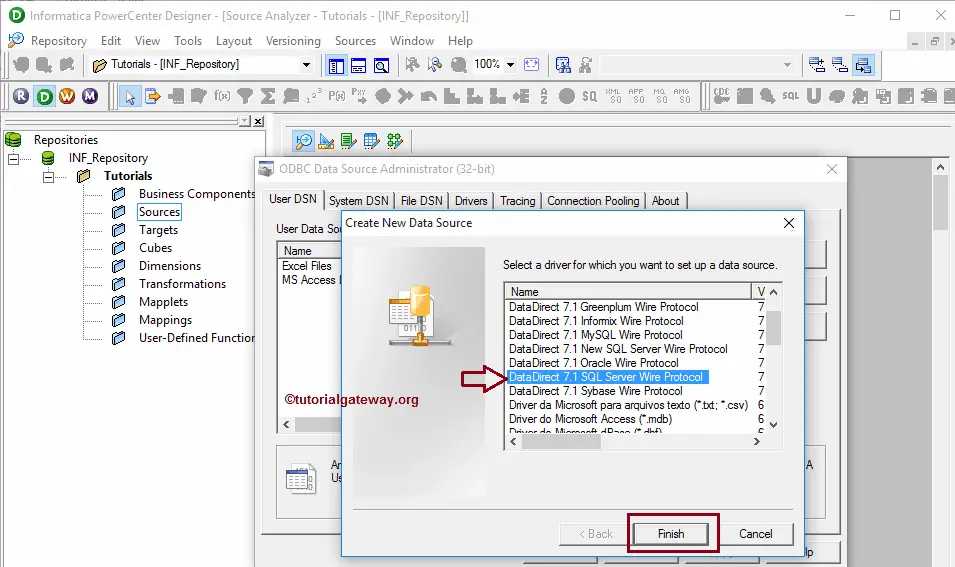
Once you click the Add button, Create a New Data Source window will open. Here we have the option to select the required database from the available list. As we said before, we are using SQL Server, so we choose the DataDirect 7.1 SQL Server Wire Protocol for this example.
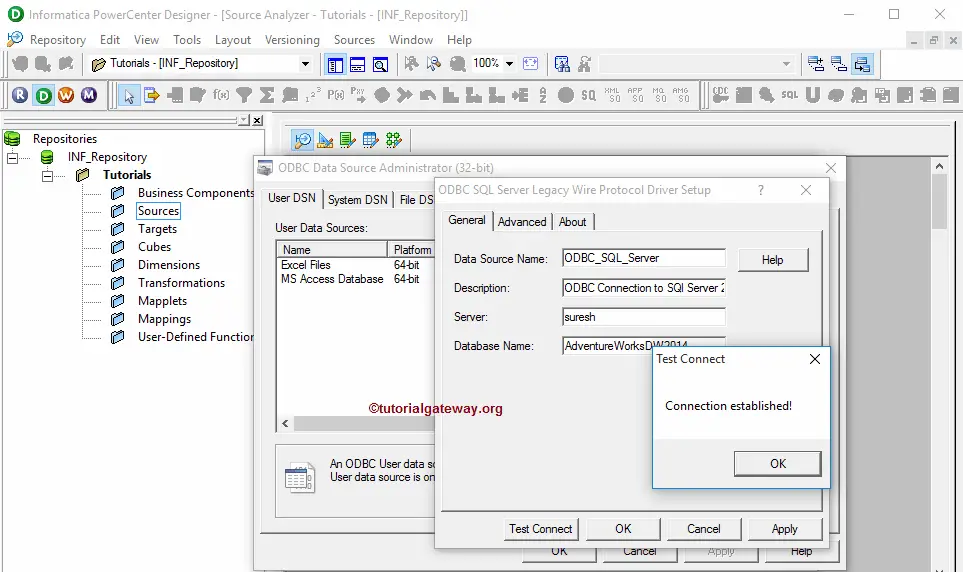
It will open the new pop-up window called ODBC SQL Server Legacy Wire Protocol Driver Setup. Here we have to fill in the required details to connect with our database.
- Data Source Name: Please specify a unique name for this Informatica ODBC Connection.
- Description: Please specify a valid description of the connection we will establish.
- Server: Please specify the SQL Server instance name.
- Database Name: You must write the SQL database name from which you want to extract the data. For the time being, we are selecting the Adventure Works DW 2014.
Once you have done, click the Apply button and then click the OK button to close the window.
NOTE: Once you fill in the required details, It is always advisable to Test your connection using the Test Connection button
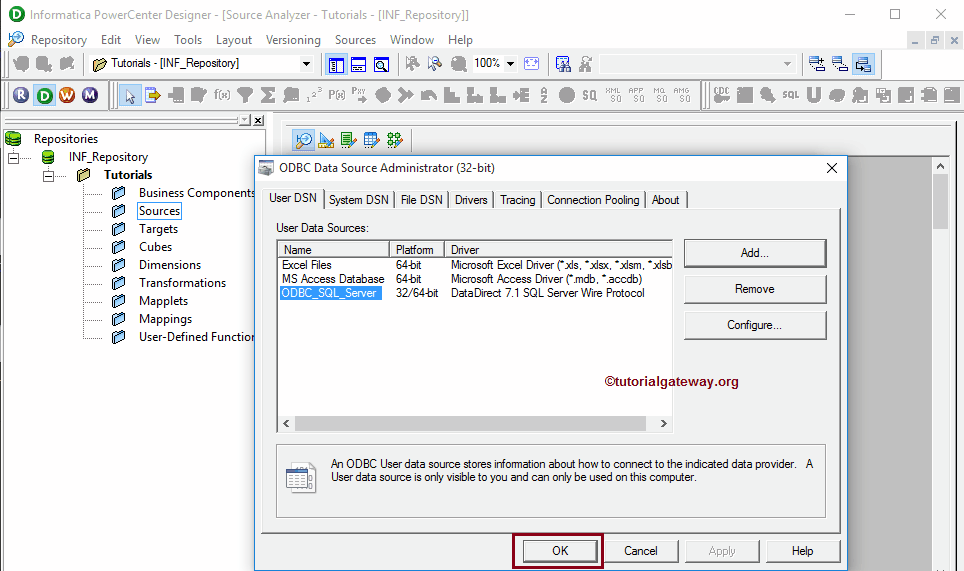
From the below screenshot, you can see our newly created ODBC Connection, so click the OK button. If you want to select this connection as a data source then, Please refer to the Database Source article.