The Transaction Control Transformation in Informatica allows you to control the Transactions within the Transformation. For example, using this transaction Control Transformation, you can Commit or Rollback the records (or rows) passing through it.
For this Transaction Control Transformation example, we will use SP Source and Destination tables.
Transaction Control Transformation in Informatica Example
In this example, we will show you how to use Transaction Control Transformation to perform the Rollback Transaction. Before we start configuring, let me connect with the repository service.
To do so, we have to provide the Admin Console credentials. So, please provide the appropriate username and password you specified while installing the Server.
TIP: We explained everything about the Transactions and their functionalities in the SQL Transaction article.
Source Definition for Transaction Control Transformation in Informatica
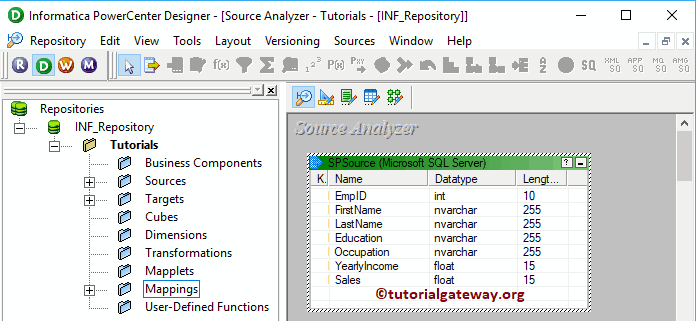
Once you have connected successfully, Please navigate to Source Analyzer and define your Sources. In this Transaction Control Transformation example, we use the Sp Source table from the SQL Server database as our source definitions. Please refer to Database Source to understand the steps involved in creating the Informatica source definition
Create a Target Definition
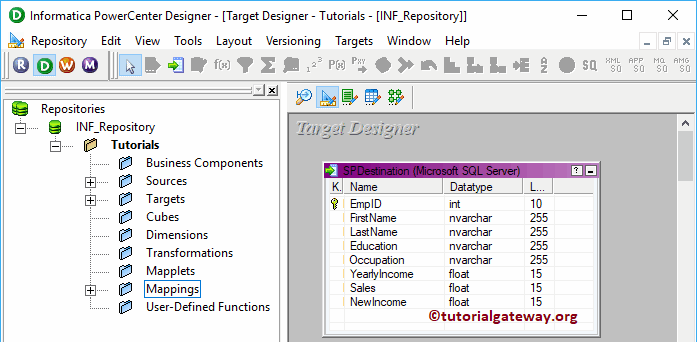
Please navigate to Target Designer to define the Target. In this Informatica Transaction Control Transformation example, we use the existing SQL table (SP Destination) as our target definition. You can refer to Create Target Table to understand the process of creating a target definition
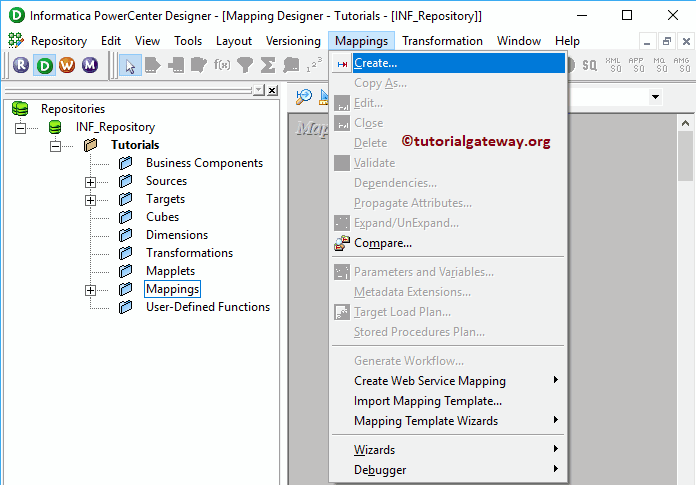
Create Mapping
To create a new mapping for Informatica Transaction Control Transformation, navigate to the Menu Bar Mappings menu and select the Create.. option.
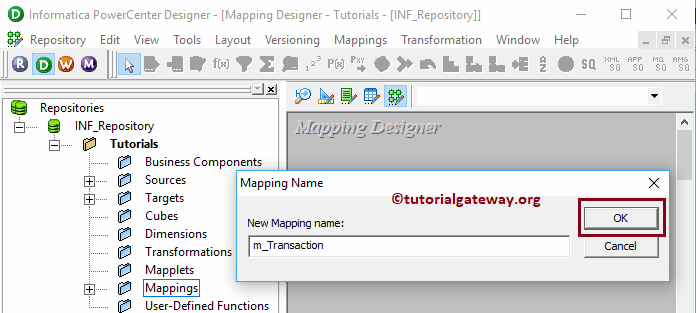
Once you select the Create.. option, a new Mapping Name window will open. Let me provide m_Transaction as the mapping name and click the OK button.
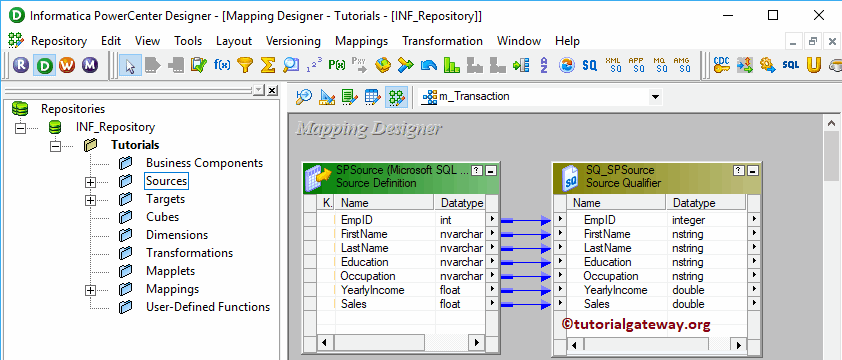
Drag and drop the SP Source from the Sources folder to the mapping designer. Once you drag the source, Power Center Designer will automatically create the Source Qualifier Transformation (default transformation) for you.
Create Informatica Transaction Control Transformation
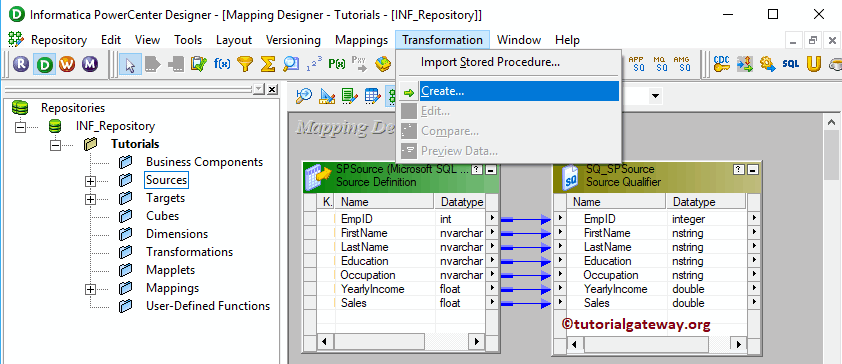
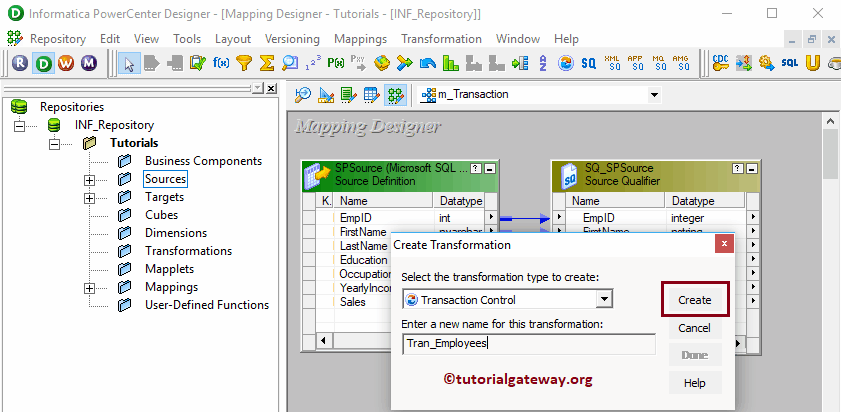
To create Transaction Control, navigate the Transformation menu in the Menu Bar. Next, select the Create.. option.
Selecting the Create.. option will open the Create Transformation window. Please select the Informatica Transaction Control Transformation from the drop-down list, provide a unique name (Tran_Employee), and click on the Create button.
B.y clicking OK will create the Transaction Control Transformation for you.
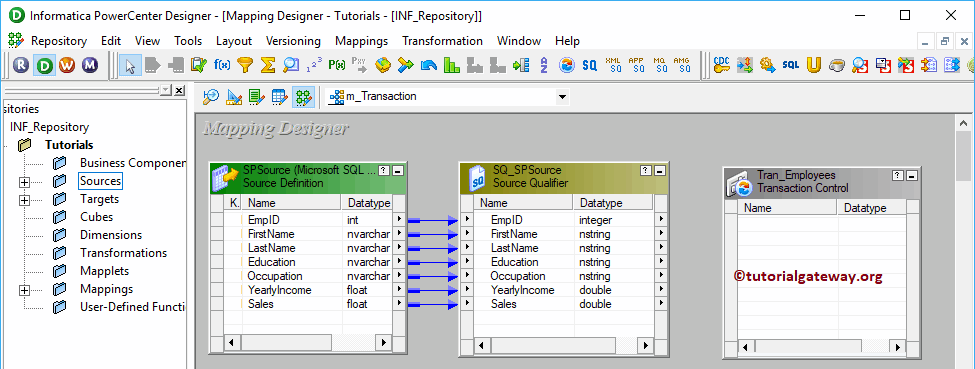
Let me drag all the fields available in the source definition to Transaction Control Transformation. Next, Drag and drop the target definition (SP Destination) from the Targets folder to the mapping designer. Connect the Transaction Control Transformation fields with the target definition using the Autolink.. option.

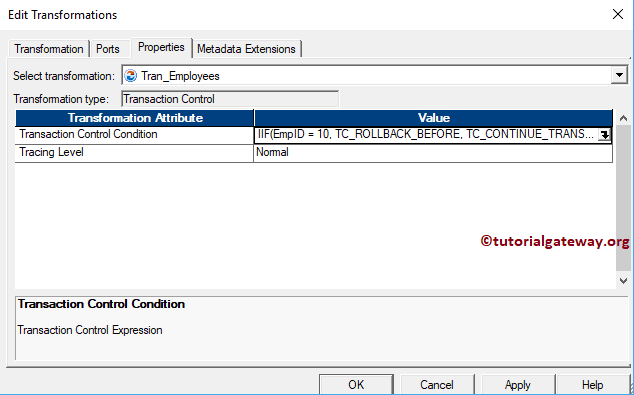
Double click on the Transaction Control Transformation to edit or configure the transformation. Next, please go to the Properties tab, and click on the Arrow beside the Transaction Control Condition to apply transactions at the mapping level.
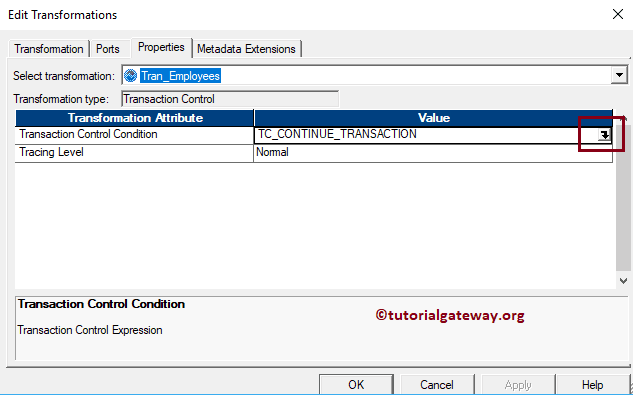
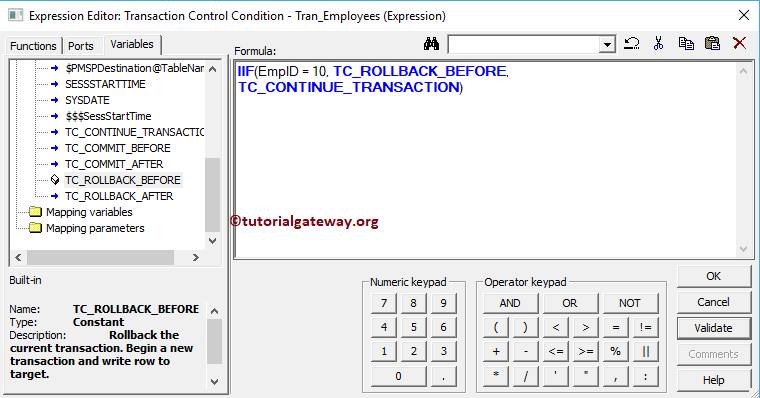
Once you click the Arrow, an expression window will open. The Expression window in Transaction Control Transformation uses the IIF Function to test each row against the condition.
The Informatica Transaction Control Transformation provides the following built-in variables to apply transactions. For demonstration purpose, let us take the SP Source table above, and the condition is EmpID = 5.
- TC_CONTINUE_TRANSACTION: This is the default value for this option. It does not perform any change for this row.
- TC_COMMIT_BEFORE: This is nothing but a Commit transaction in any relational database. If the condition is true, then it will first Commit the transaction. Next, it will begin a new transaction and write the current row. Example: It will commit records up to EmpID 4 and start a new transaction to commit records from 5
- TC_COMMIT_AFTER: If the condition is true, it will first write the current row and Commit the transaction. Next, it will begin a new transaction. Example: It will write and commit records up to EmpID 5 and begin a new transaction to commit records from 6
- TC_ROLLBACK_BEFORE: This is nothing a Rollback transaction in any relational database. If the condition is true, it will first Rollback the transaction. Next, it will begin a new transaction and writes the current row. Example: It will rollback records up to EmpID 4 and begin a new transaction to commit records from 5
- TC_ROLLBACK_AFTER: If the condition is true, it will first write the current row and then Rollback the transaction. Next, it will begin a new transaction. Example: It will rollback records up to EmpID 5 and begin a new transaction to commit records from 6
Click Apply and click OK to close the Informatica Transaction Control Transformation window.
Before we close the Mapping, Let us Save and Validate the mapping by going to the Mapping Menu bar and selecting the Validate option.
Create a Workflow for Transaction Control Transformation in Informatica
After you finish creating the Transaction Control Transformation Mapping, we have to create the Workflow for it. PowerCenter Workflow Manager provides two approaches to creating a workflow.
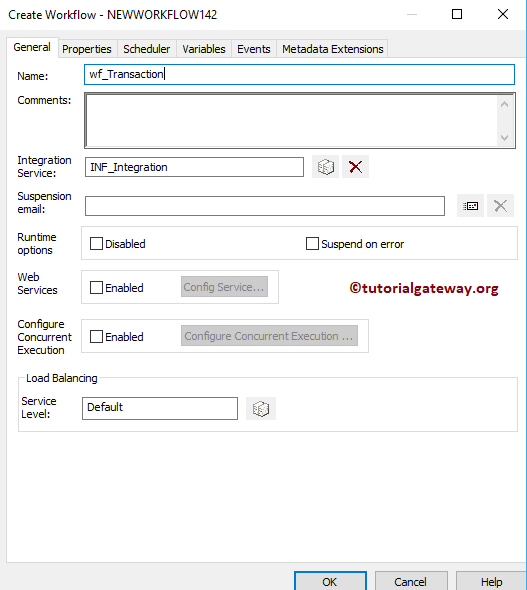
In this Transaction Control Transformation example, we will manually create the workflow. To do so, navigate to the Workflows Menu and select the Create option.
It will open the Create Workflow window. Please provide the unique name (wf_Transaction) and leave the default settings.
Once we have created the workflow, our next step is to create a session task for our mapping.
Create a Session for Transaction Control Transformation in Informatica
There are two types of sessions:
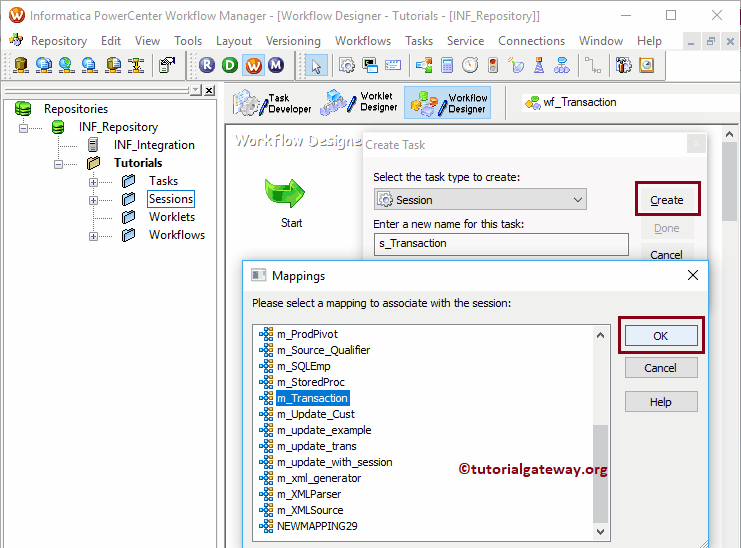
For this Informatica Transaction Control Transformation example, we created a Non-reusable Session. To create a Non-reusable Session, navigate to the Tasks Menu and select the Create option as shown below.
Here, we are naming this session as s_Transaction. Once you click the Create button, a new Mappings window will open. Select the Mapping (m_Transaction) you want to associate with this session.
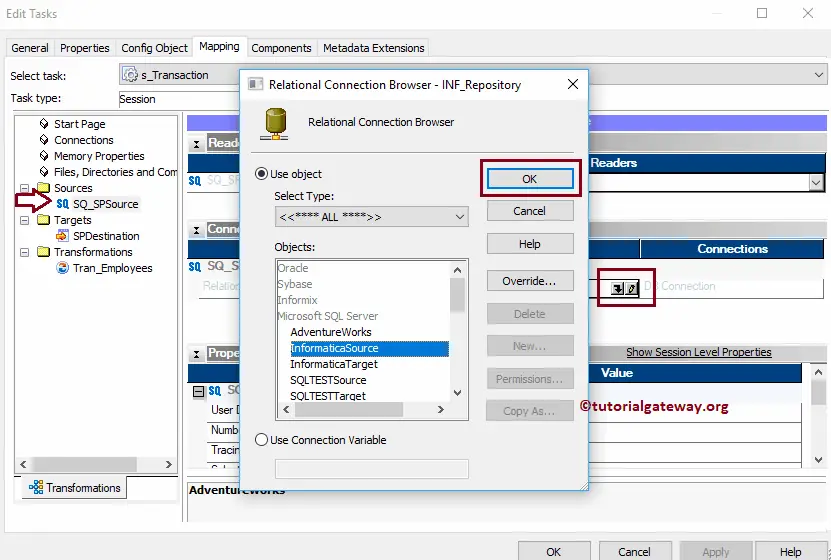
Double click on the Session task, which will open the Edit Tasks window. Next, we must configure the Source and Target Connections within the mappings tab.
First, let us configure the source connections by clicking on the SQ_SPSource source present in the Sources folder. Within the Connections, click on the Arrow button beside the Relational type, and select the Database Object (Database Name) i.e., Source
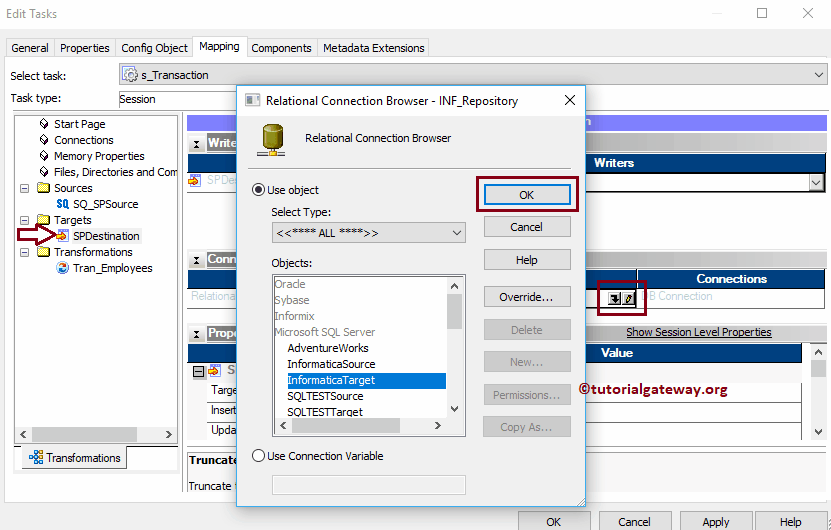
Now, we have to configure the Target Connection. So, click on the SPDestination present in the Targets folder. Within the Connections, click on the Arrow button beside the Relational type, and select the Database Object (Target Database Name), i.e., target
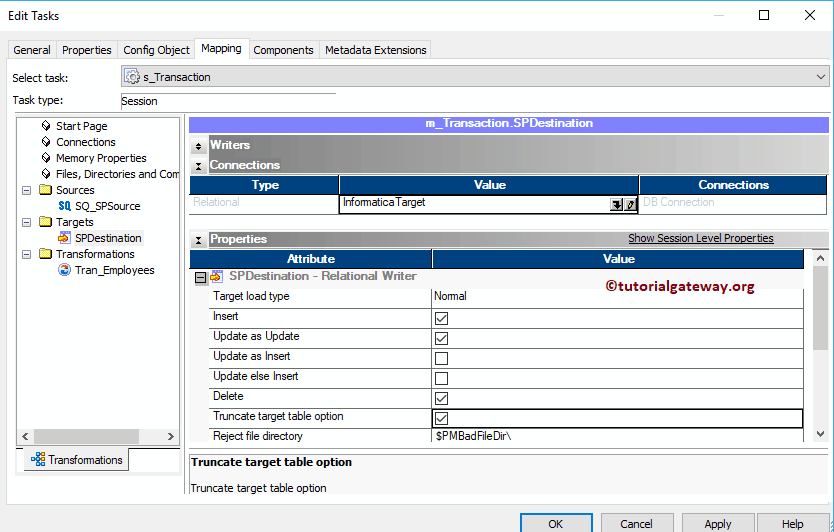
Please change the Target Load Type to Normal or Bulk per your requirements. Let me checkmark the Truncate target table option as well.
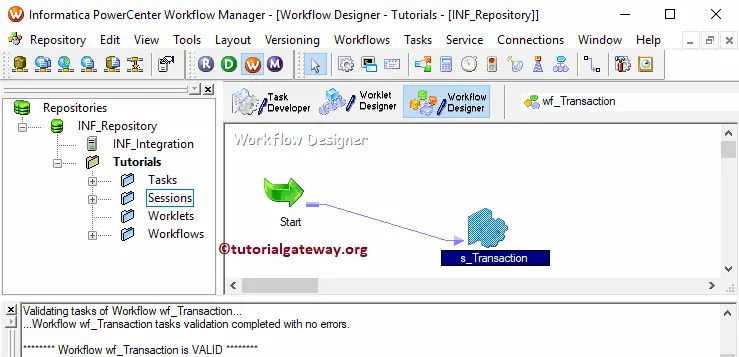
Next, navigate to the Workflows Menu and select the Validate option to validate the Workflow.
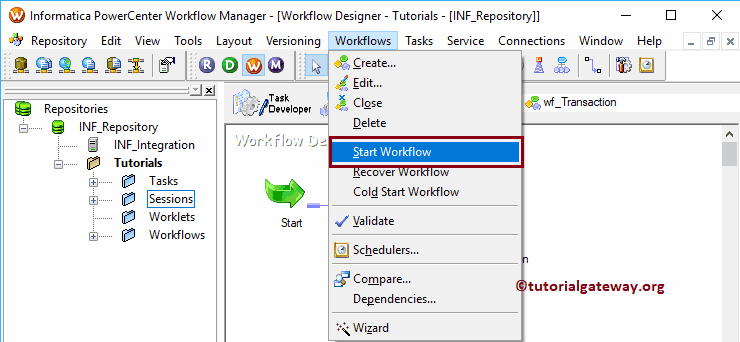
Now, Let me start the Informatica Transaction Control Transformation Workflow. To do so, navigate the Workflows menu and select the Start Workflow option.
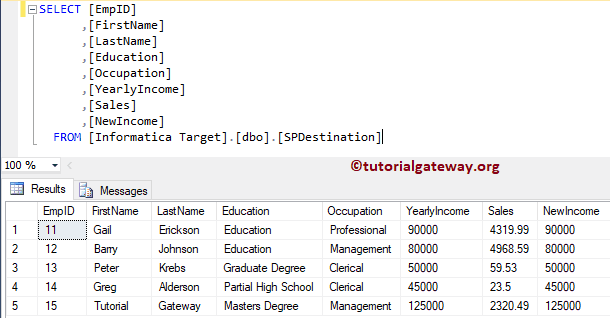
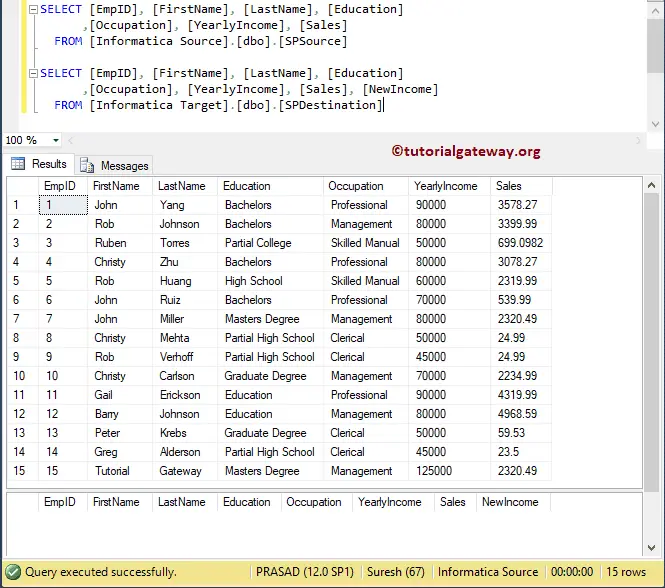
Let us open the SQL Server Management Studio and write the following SQL Query to check whether we successfully transferred the data from a source or not. As you see our target table is displaying records where EmpID = 10. Because Rollback will start before processing the record whose EmpID is 10
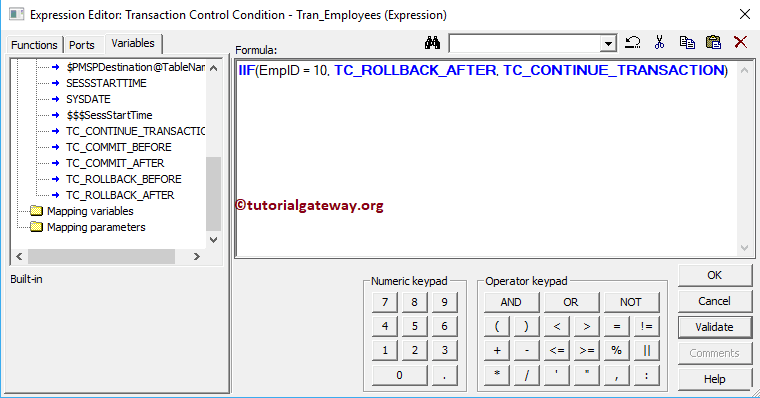
This time we will use the TC_ROLLBACK_AFTER as the second argument in IIF. It means the Rollback option will perform after passing the EmpID 10.
As you can see, our target table is displaying records where EmpID is greater than 10