The Normalizer Transformation in Informatica is an Active and Connected transformation. This Normalizer transformation is used to normalize the denormalized data. Or you can simply say, divide a single in a table into multiple rows.
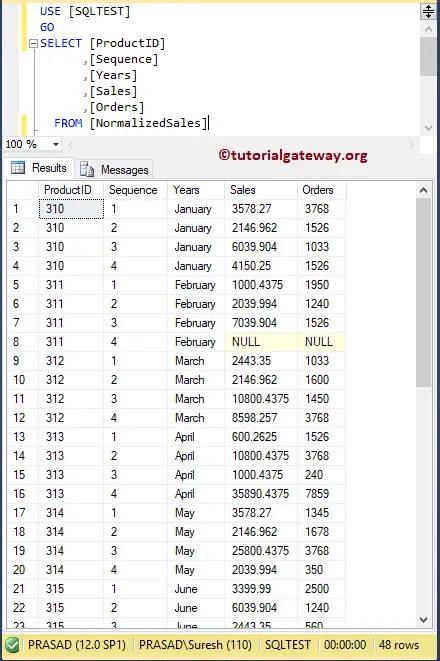
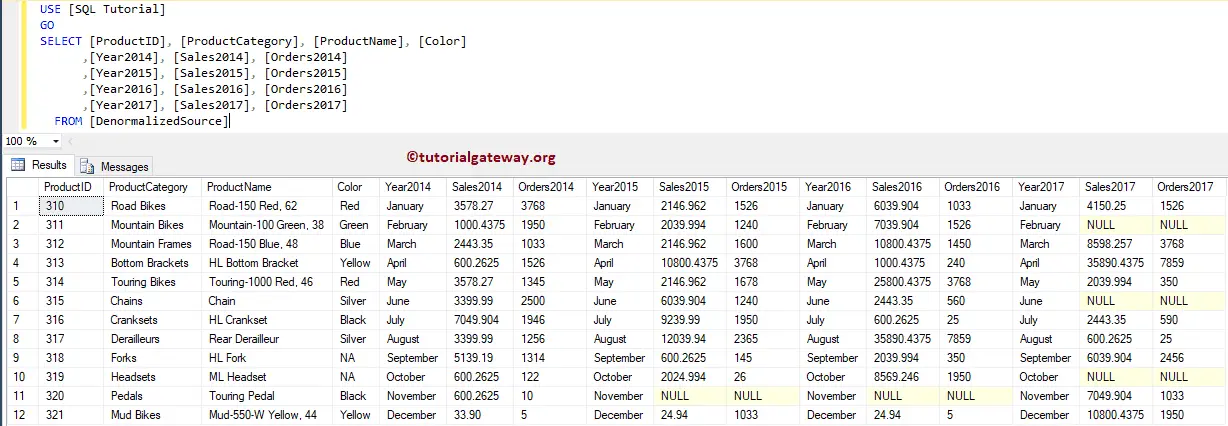
For this Informatica Normalizer transformation example, we are going to use the below show data (Denormalized Source table)
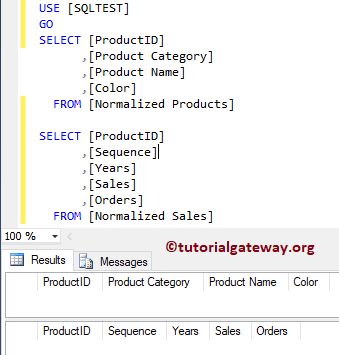
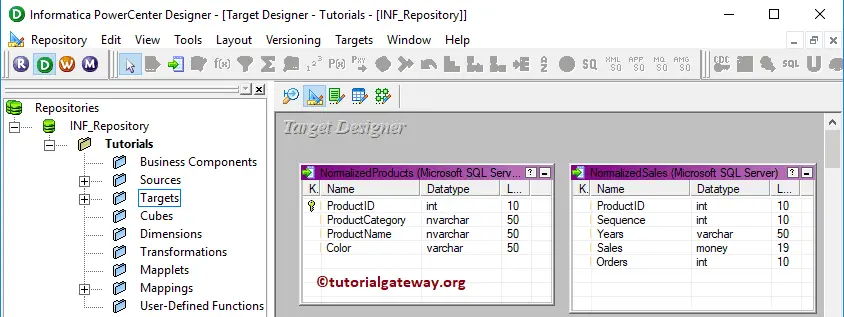
The destination tables are:
Normalizer Transformation in Informatica Example
Before we start configuring the Normalizer Transformation, First let me connect with the repository service. To do so, enter the Admin Console username and password you specified while installing the Server.
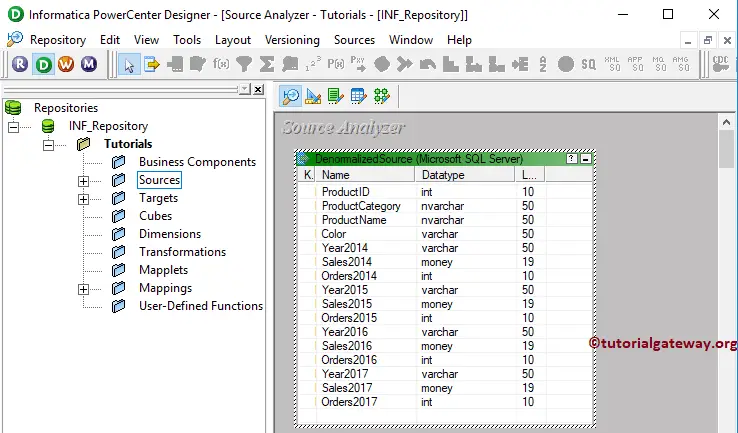
Create Normalizer Source Definition
Once you have connected successfully, Please navigate to Source Analyzer and define your Sources. In this Normalizer Transformation example, we are using the Denormalized Source table from the SQL Server database as our source definitions. Please refer Database Source article
Create Target Definition
Please navigate to Target Designer and define the Target. In this Informatica Normalizer Transformation example, we are using the already created SQL tables (Normalized prosecutors and Sales) as our target definition. Please refer Target table using Source Definition to understand the target definition
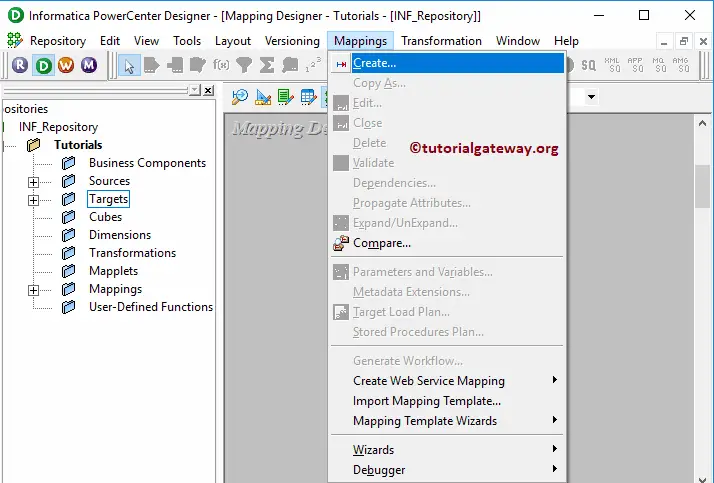
Create Informatica Normalizer Transformation Mapping
To create a new mapping for Normalizer Transformation, Please navigate to the Mappings menu in Menu Bar, and select the Create.. option.
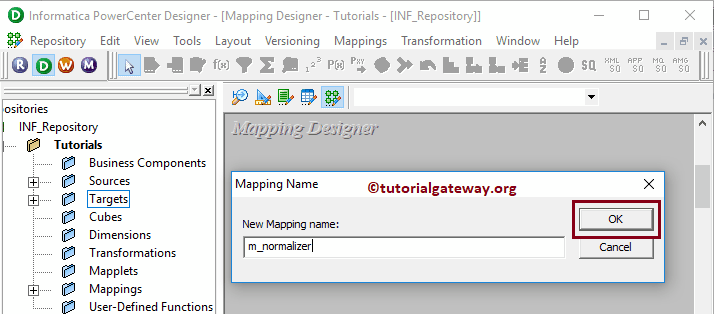
It opens the Mapping Name window to write a unique name (m_normalizer) for this mapping. Next, click the OK button.
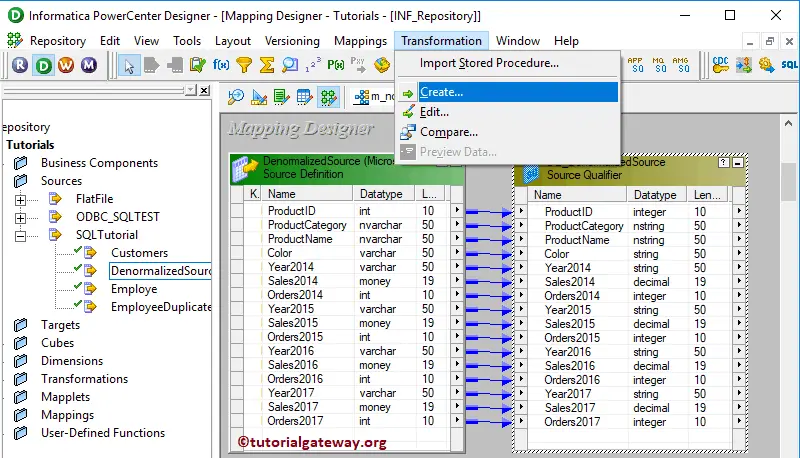
Drag and drop the DenormalizedSource source definitions from the Sources folder to the mapping designer. Once you drag the source, the Power Center designer automatically creates the Source Qualifier for you.
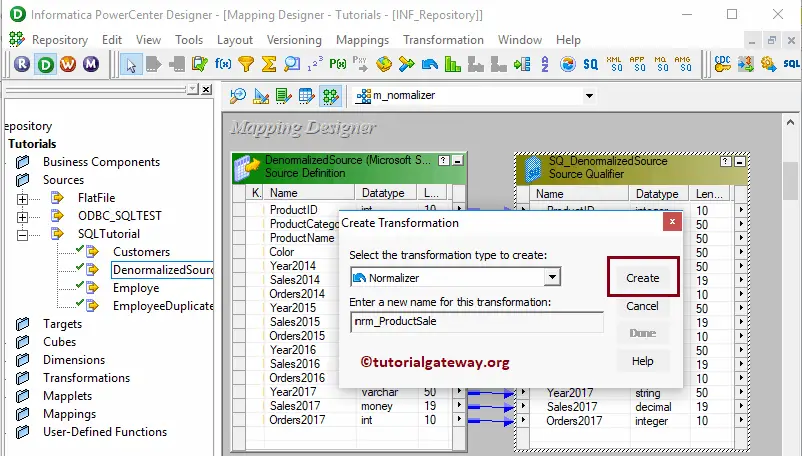
Next, let me create a Normalizer Transformation in Informatica. To do so, Please navigate to the Transformation menu and select the Create.. option
It opens the Create Transformation window. Please choose the normalizer transformation and provide the unique name (nrm_ProductSale) and then click on Create button
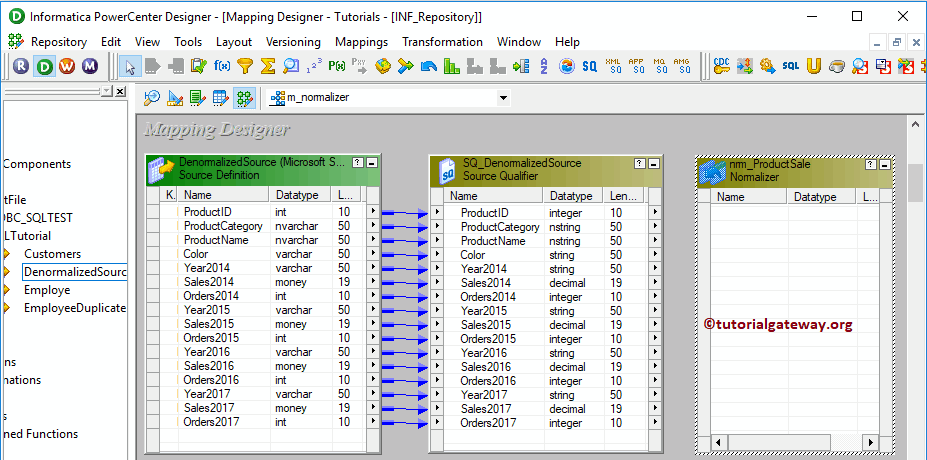
Now you can see the Informatica Normalizer Transformation in your mapping area. Remember, you can’t simply drag and drop fields from Source Qualifier to Normalizer. So, we have to create the fields inside it explicitly.
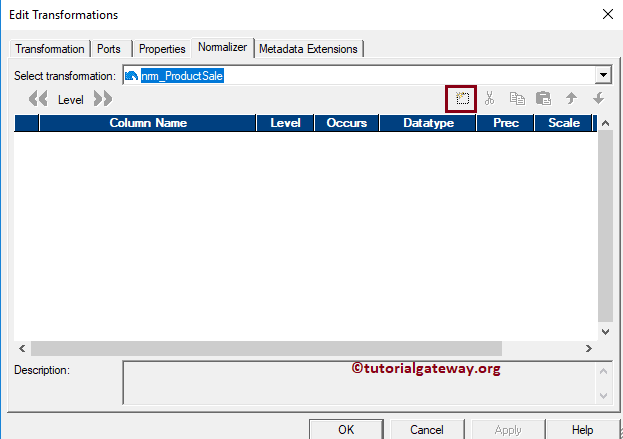
Double click on the Normalizer to edit the Transformation. Next, go to the Normalizer tab, and use the New Field option to add new fields.
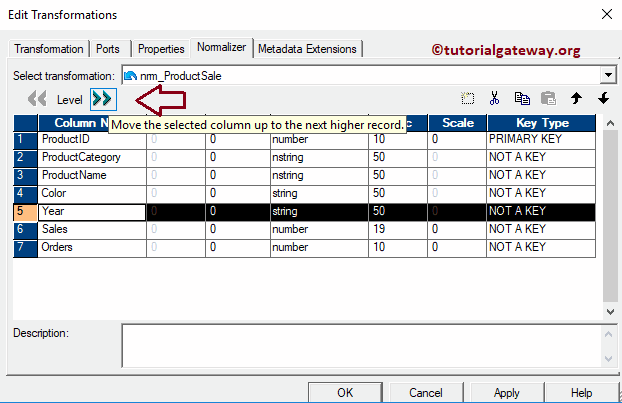
From the below screenshot, you can observe that We added 7 new columns using the New Port button. Remember, both the Data type and Precision should match the input and output fields.
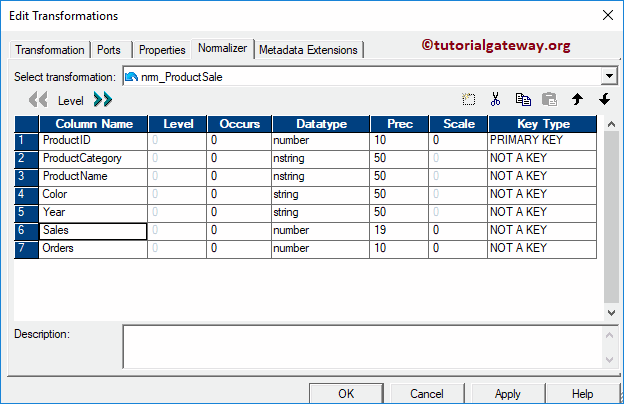
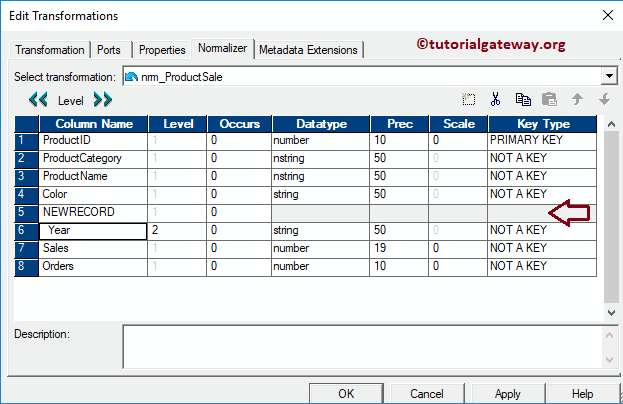
Next, we selected the Year column and clicked the Right Shift button beside the Level.
It creates a Level field and shifts the Year column to Level 2.
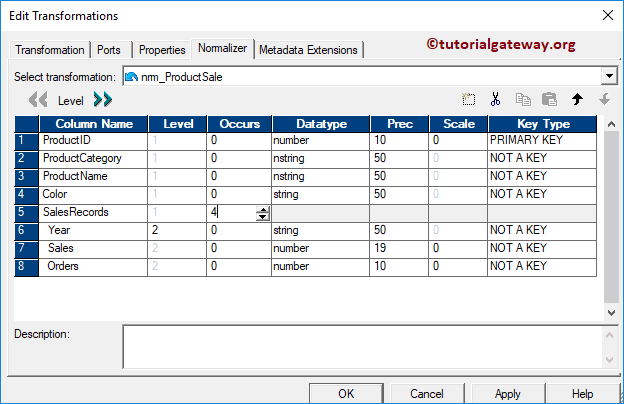
Similarly, we added the Sales and Orders columns to Level 2. In our Source table Year, Orders, and Sales are repeated for 4 times (2014, 2015, 2016, and 2017). That’s why we assigned 4 to Occurs. If this is not the case, then use an appropriate number.
Now you can see the Number of Input and Output ports that are automatically created by the Normalizer Transformation in Informatica.
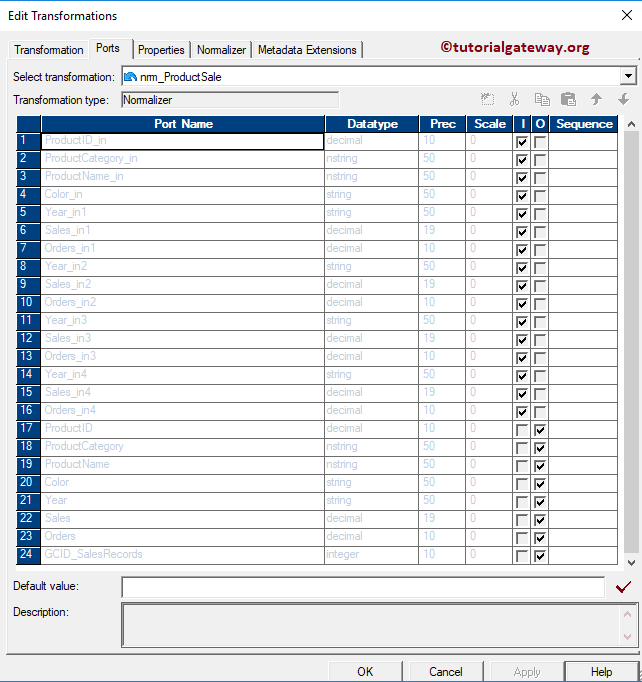
You can see the Normalizer will all the required Field names. Now we have to connect the Input and Outputs to this.
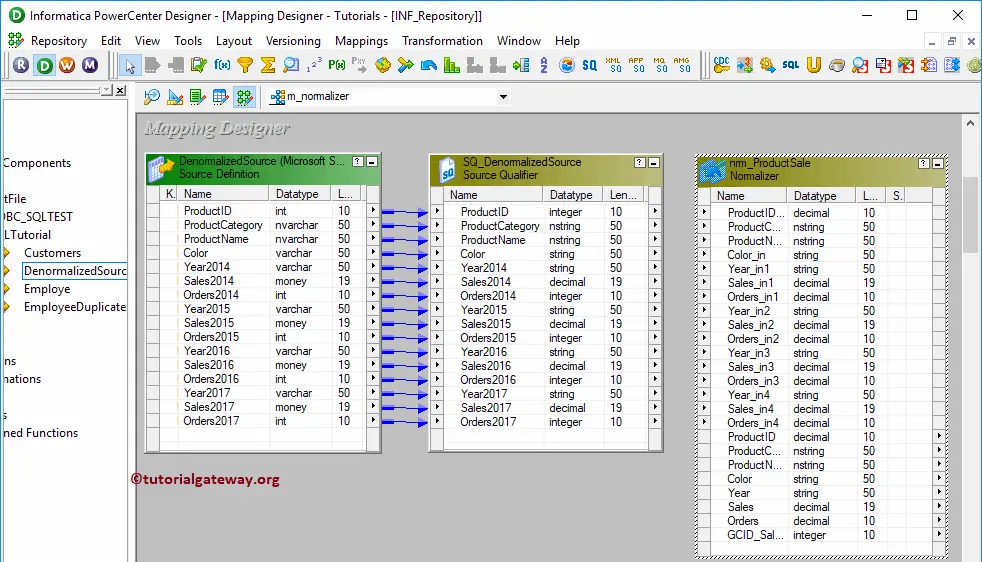
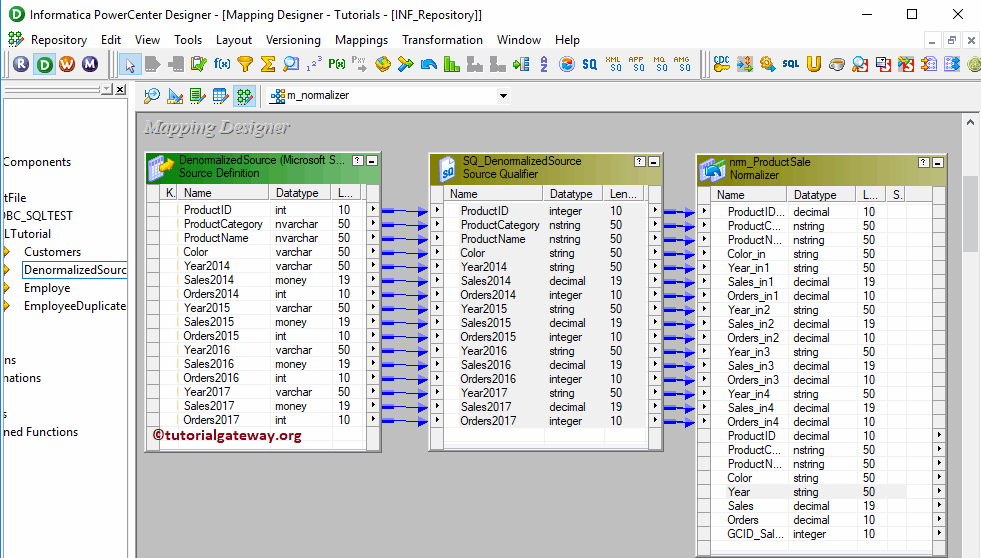
First, we connected the Source Qualifier with the Informatica Normalizer Transformation.
Next, Drag and drop the target definition from the Targets folder to the mapping designer.
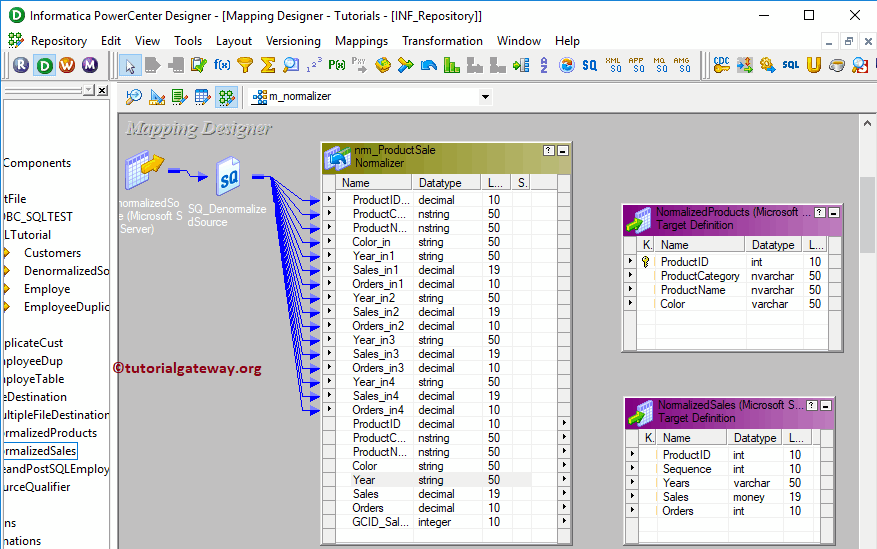
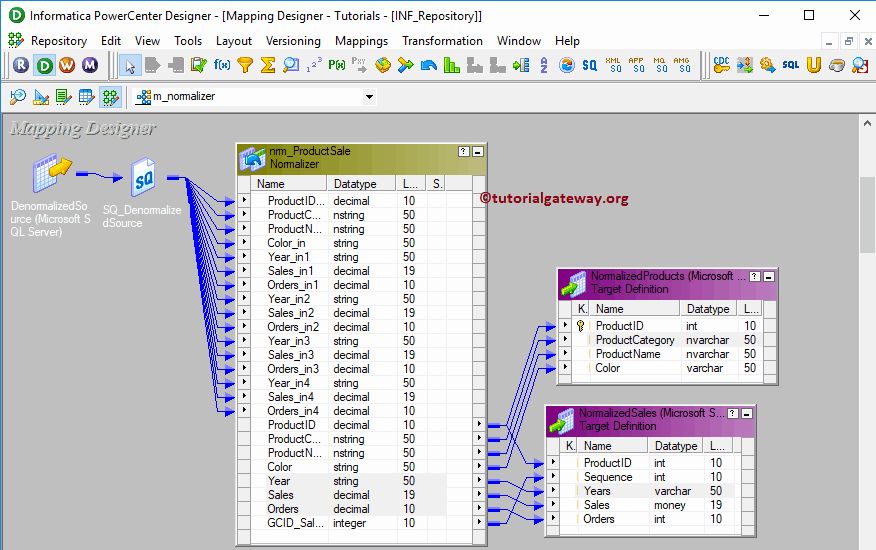
Connect the Output fields from the Normalizer transformation to the target definitions using the Autolink.. option. Before we close the Normalizer transformation Mapping, Let us validate the mapping by going to Mapping and selecting the Validate option.
Create Normalizer Transformation in Informatica Workflow
After we finish creating the Mapping, we have to create a workflow for it. Power Center Workflow manager provides two approaches to create a workflow.
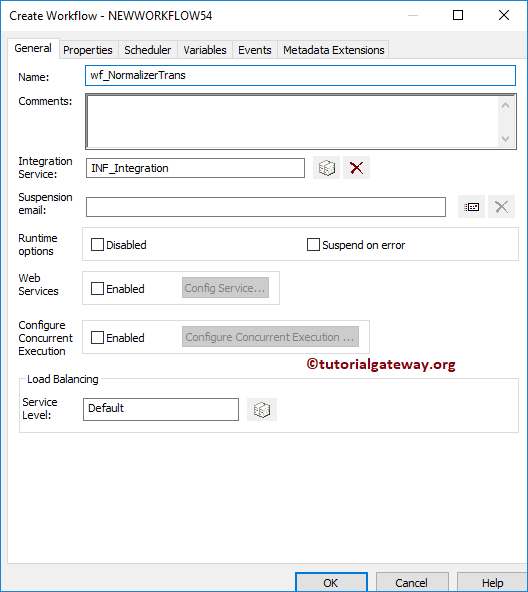
In this normalizer example, we will create the Workflow manually. To do so, Please navigate to the Workflows Menu and select the Create option.
It opens the Create Workflow window to provide the unique name (wf_NormalizerTrans) and leave the default settings.
Once we created the workflow for Normalizer Transformation, our next step is to create a session task for our mapping.
Create Normalizer Transformation Session
There are two types of sessions:
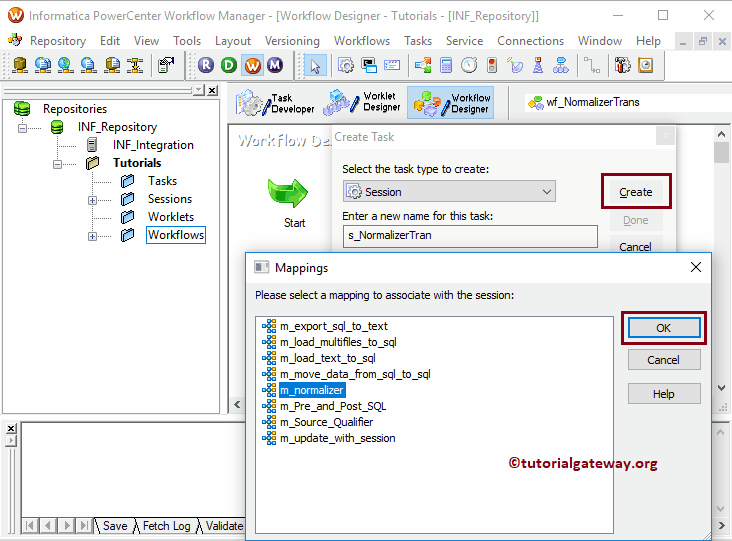
For this Normalizer transformation example, we will create a Non-reusable Session. To create, Please navigate to the Tasks Menu and select the Create option.
Please provide a unique name for this Informatica Normalizer transformation session. Here, we are naming it as s_NormalizerTran. Once you click on the Create button, a new window called Mappings will open. Here, we are selecting the m_normalizer.
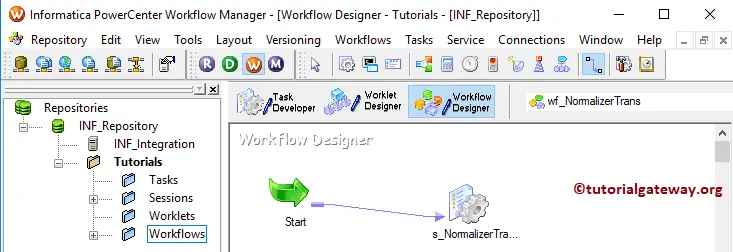
Please link the Start Task and the Session Task.
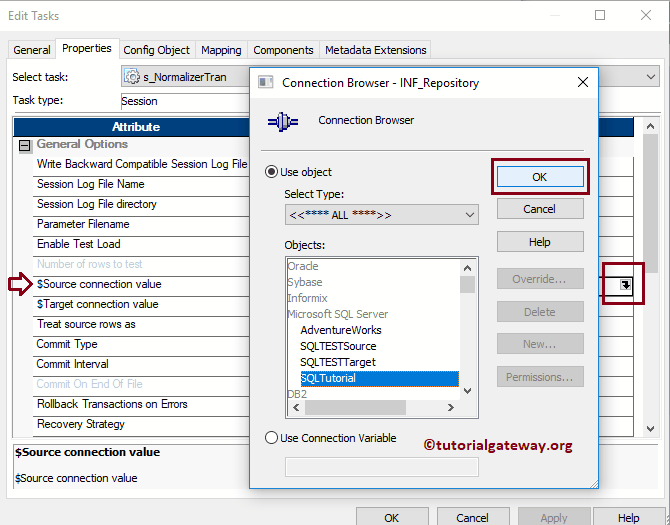
Double click on the Session task will open the Edit Tasks window. Within Properties Tab
$Source connection value: This property will store the relational source information in the $Source variable. So, click on the Arrow we marked below, and select the SQL Tutorial as the source information.
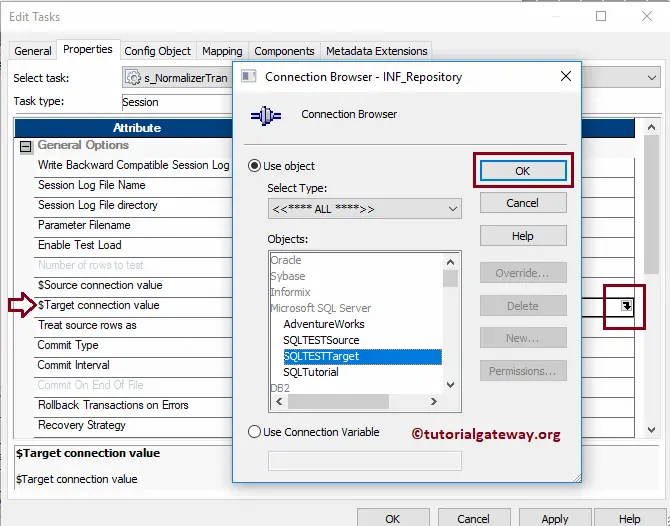
$Target connection value: This property will store the relational target information in the $Target variable. So, click on the Arrow we marked below, and select the SQL Test target as the Target information.
Within the mappings tab, we have to configure the Source and target Connections. First, let us configure the source connections by clicking on the SQ_DenormalizedSource source present in the Sources folder.
Within the Connections, click on the Arrow button beside the Relational type, and use the Connection variable that we created before, i.e., $Source

Now, we have to configure the Target Connection. So, click on the NormalizedProducts present in the Targets folder.
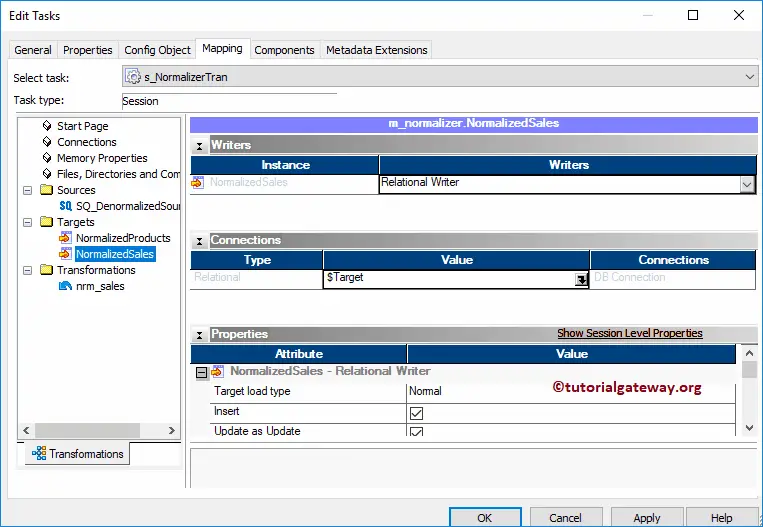
Within the Connections, click on the Arrow button beside the Relational type, and use the Connection variable $Target
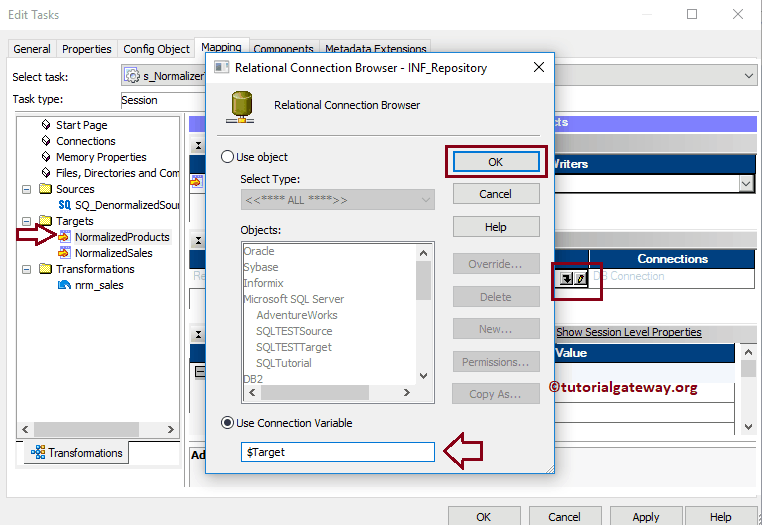
Do the same for the NormalizedSales Target
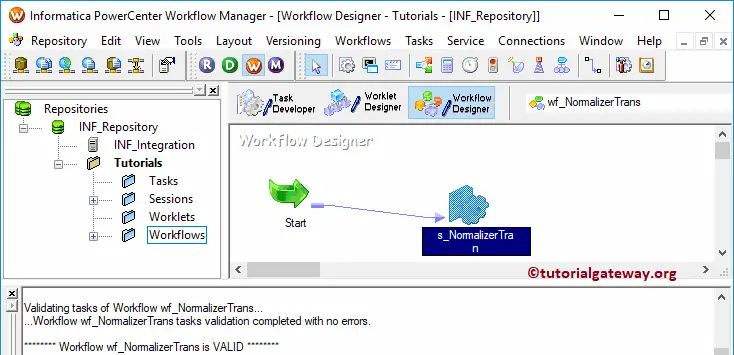
Next, navigate to the Workflows Menu and select the Validate option to validate the Workflow.
Now, Let me start the Informatica Normalizer Transformation Workflow. To do so, navigate to the Workflows menu and select the Start Workflow option.
Once you select the Start Workflow option, the PowerCenter Workflow monitor opens to monitor the workflow.
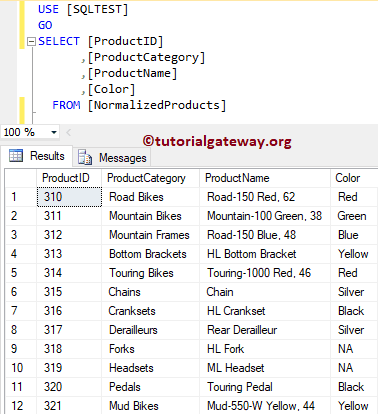
Let us open the SQL Server Management Studio to check whether we successfully Normalized the data or not. First, look at the products table:
Let me show you the sales.