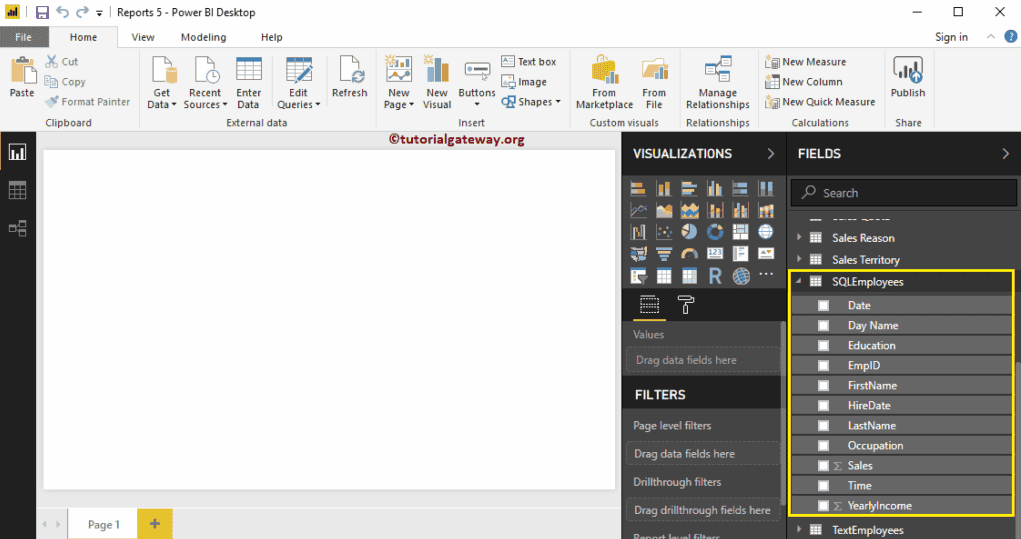
This article explains how to Format Dates in Power BI with an example. Using these PowerBI formatting Date options, you can extract the Year, Month, Day, Day Number, Day name, Month Start and Month End, etc.
There are a couple of ways to format dates, and we explain most of them. To demonstrate these date formats, we are going to use the sql table that we imported in the enter data article.
Power BI Format Dates
To format dates in any table, please click the Edit Queries option under the Home tab. Please refer to the entered data article.
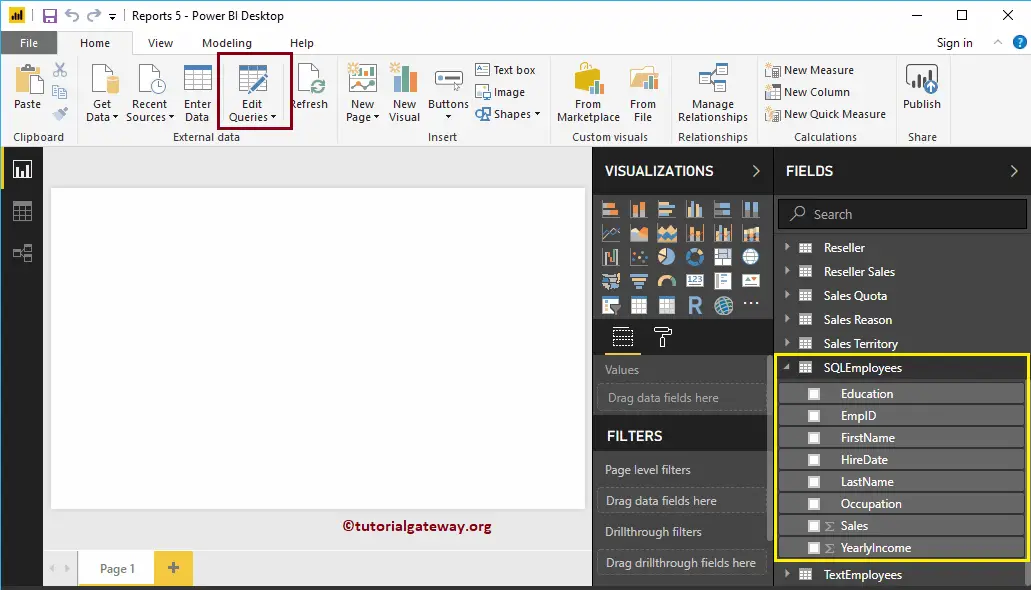
Clicking the Edit Queries option opens a new window called Power Query Editor. From the screenshot below, you can see the HireDate column. To demonstrate the date formatting options, we are going to use this column.
The first approach to Format Dates in Power BI
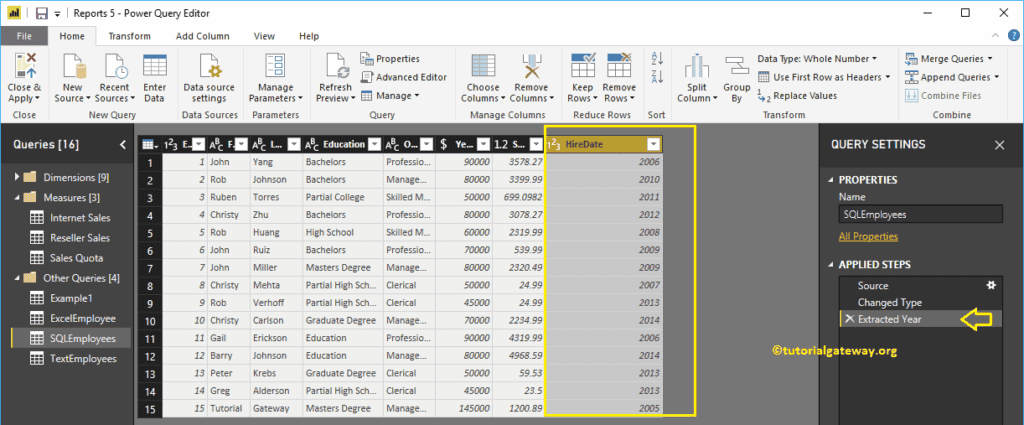
Please select the Date Column and right-click on it to open the context menu. Select the Transform option and select the formatting option. For now, we are selecting the Year. It means this property extracts and displays the Years from the Hire date.

From the screenshot below, you can see the date and time in the Hire date column replaced by the Extracted Year.
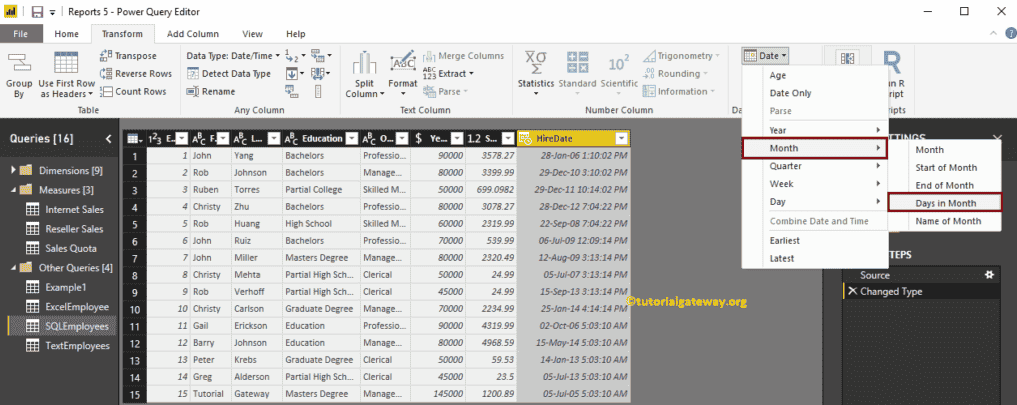
The second approach to Format Dates in the Power BI Transform tab
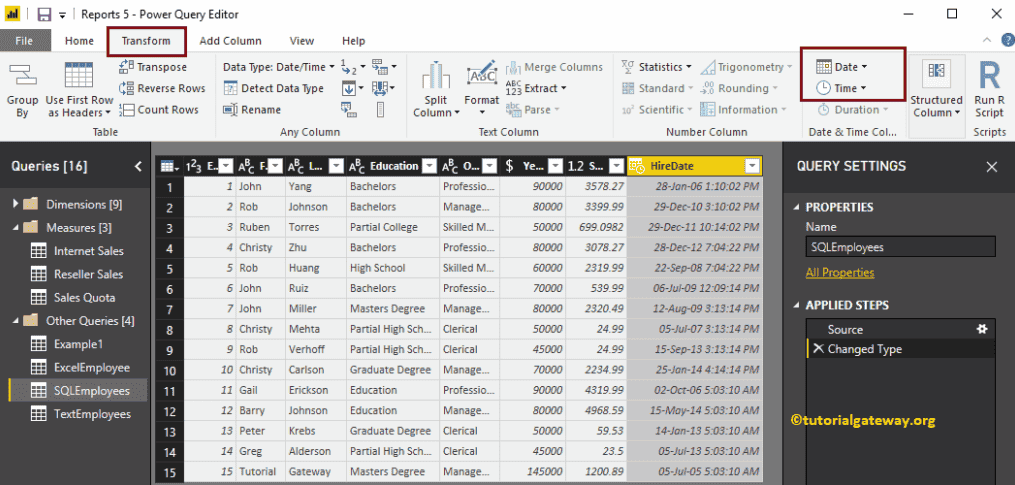
First, go to the Transform Tab. Under this tab, you can see the Date and Time options. You can use these drop-down lists to format the dates.
Clicking the down arrow beside the Date shows you the drop-down list of available date formats. For the demo purpose, we are selecting Days in Month.
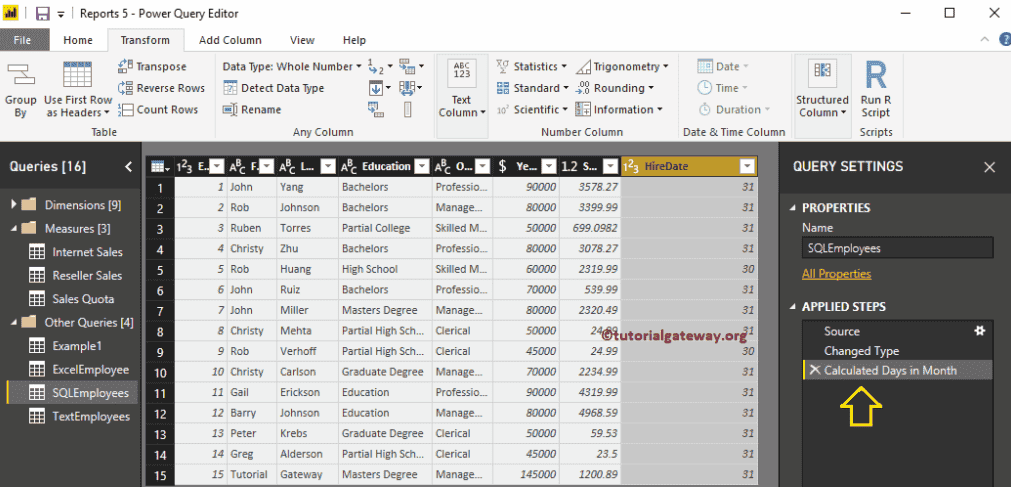
From the below screenshot, you can see the date and Time in the Hire date column replaced by the total number of days in a month.
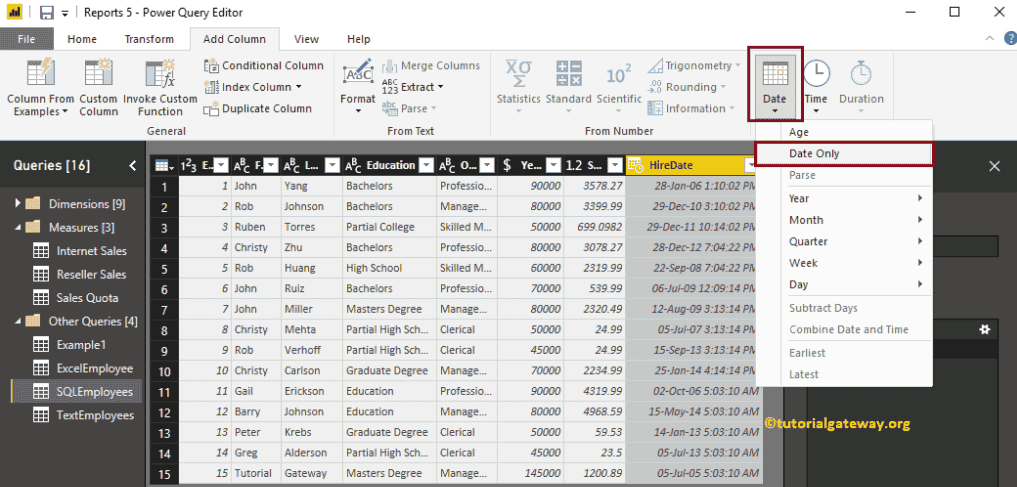
The third approach to Format Dates from the Add Column Tab
The above-specified approaches are replacing the existing column with the formatted date in Power BI. But, this approach adds an extra column for the formatted date.
First, go to the Add Column Tab. Under this tab, you can see the Date, Time, and Duration options. You can use these drop-down lists to format the date and Time. Let me select the Date Only option in Power BI.
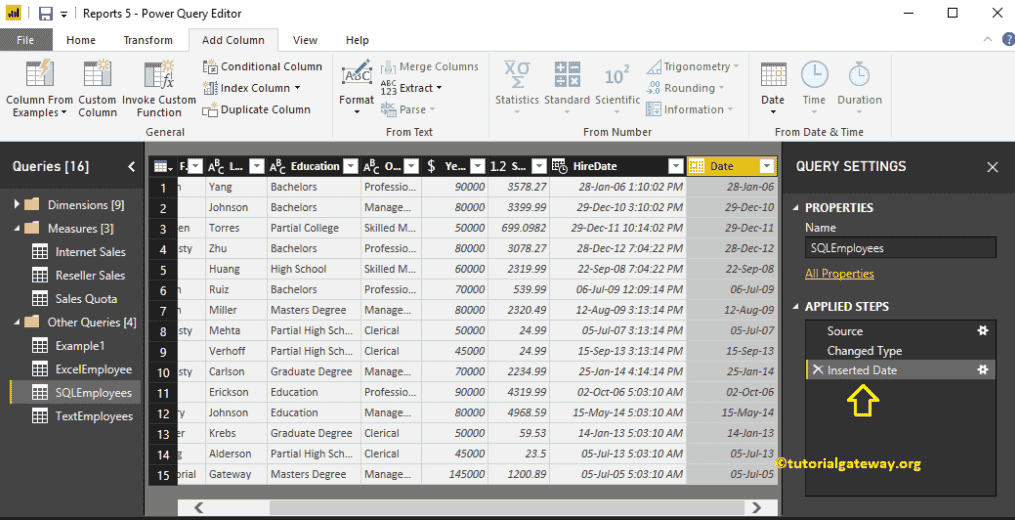
Now you can see the new column (extra column) displaying the date from the Hire date.
Let me Select Time Only.
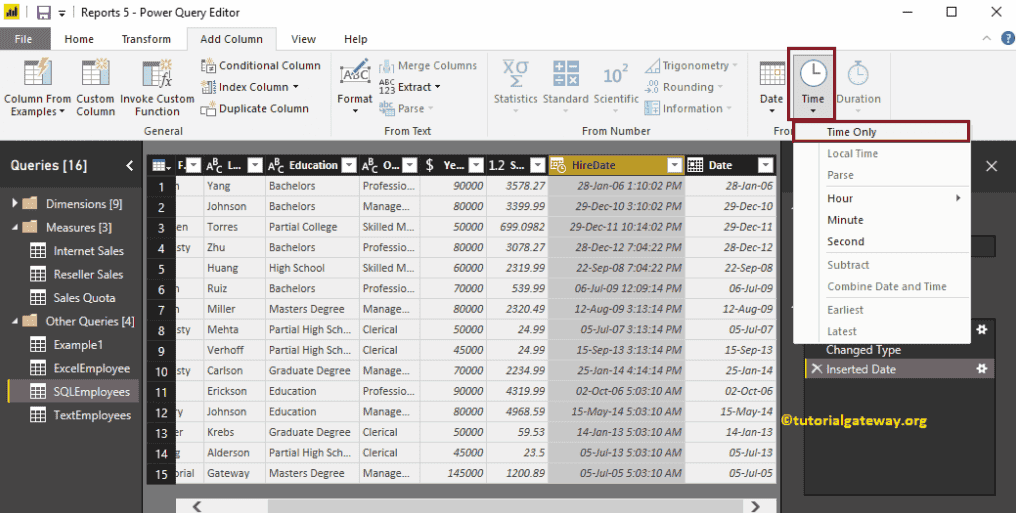
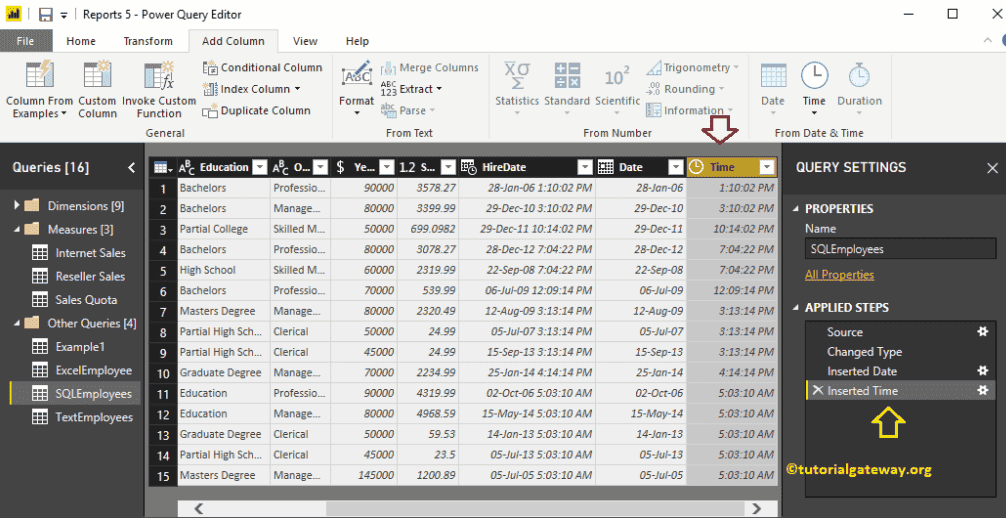
Now you can see the new column displaying the Time from Hire date
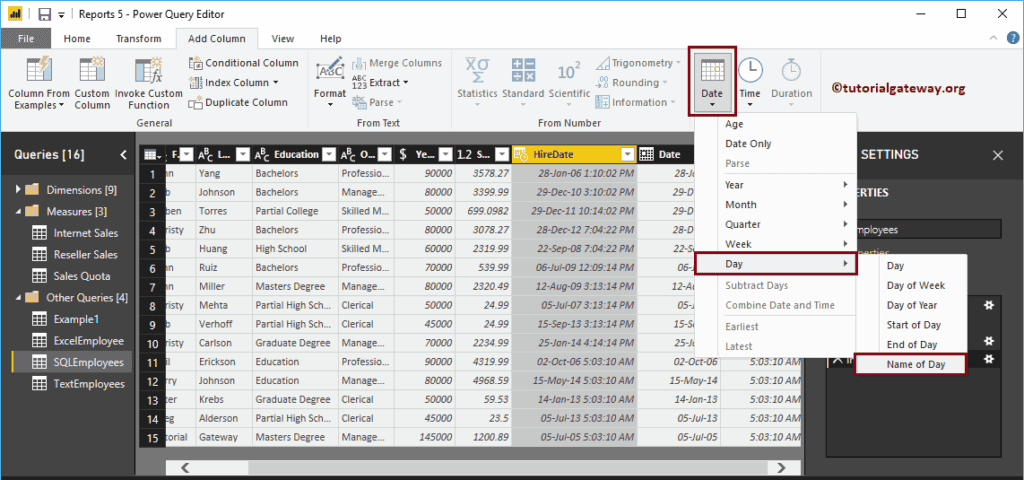
Let me select the name of the day.
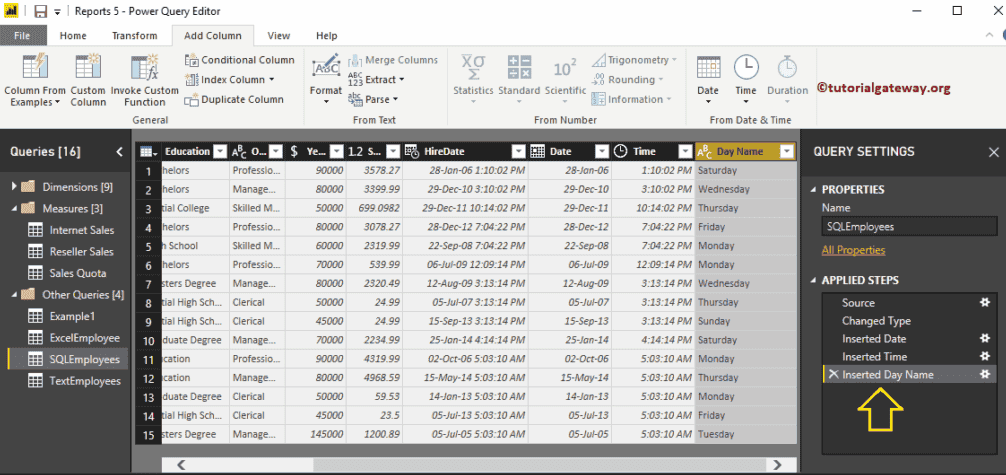
Now you can see the extra column displaying the day name. Next, hit the Close & Apply option under the Home tab to apply these changes.
Please wait until the changes are applied. Now you can see the Power BI Formatted Date, Day Name, and Time columns under the SQL Employee table.