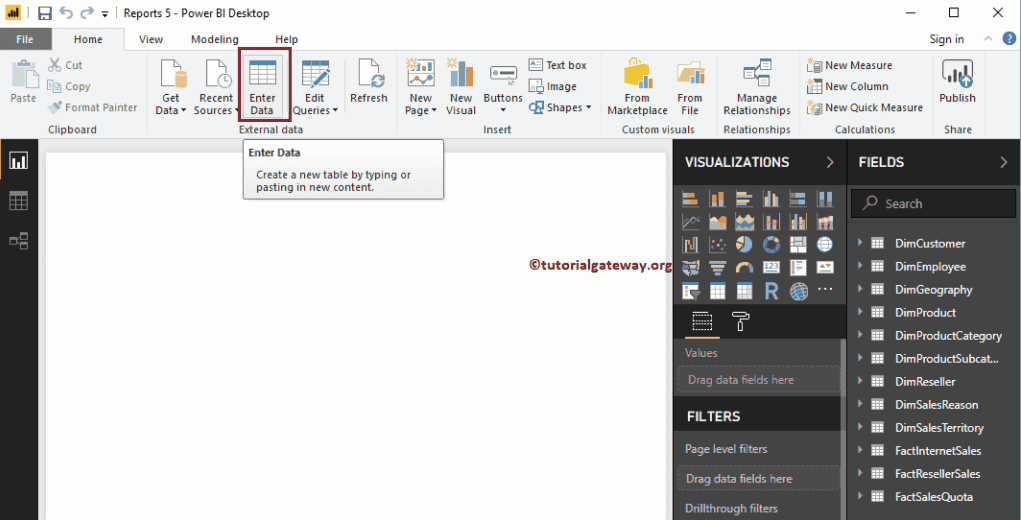
Let me show you how to Enter Data into Power BI Desktop with an example. In real-time, you might face a situation like manually entering table data or copying data from the text file to your work environment. In these situations, you can use the enter data option.
How to Enter Data into Power BI
Click the Enter Data option under the Home tab to enter new data into the Desktop. Please click the Marked one.
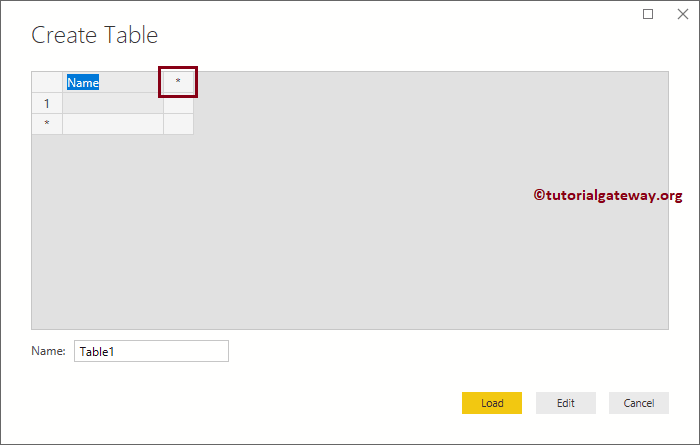
Clicking the Enter Data option opens a new window called Create Table. Here, you can create new columns and add new rows. Selecting the Column 1 header allows you to rename it.
Clicking the Column1 area allows you to add a new name. Let me change the Column 1 header to Name. Next, click on the * to add a new column.
Now you can see the New column in Power BI.

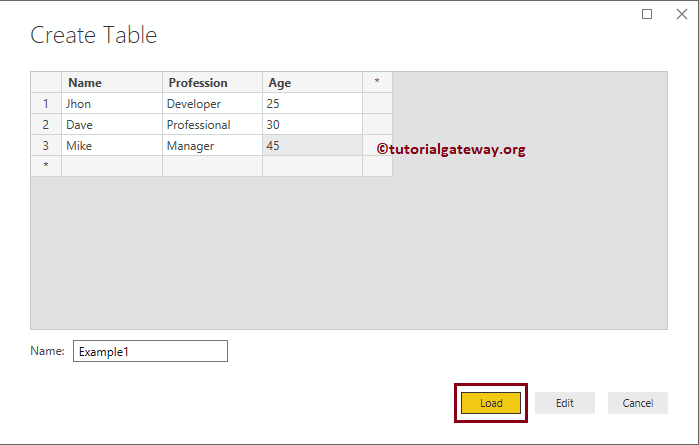
For demonstration purposes of how to create a table and enter Data into Power BI Desktop, let me add a few rows. Next, please use the Textbox beside the Name field to change the Table name. As you can see from the screenshot below, we changed the table name to Example 1.
Next, click the Load button to load this table into the Power BI desktop. You can also click the Edit button to edit these fields.
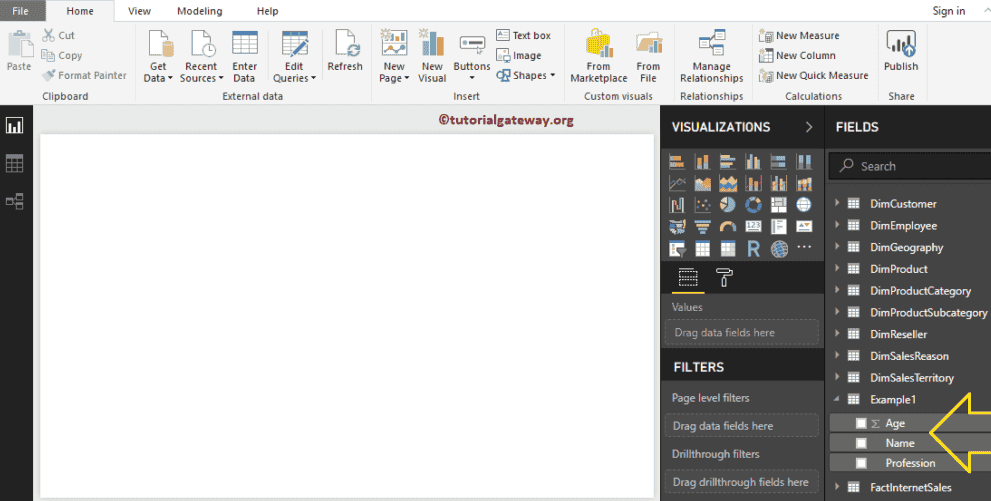
Please wait until the Load is completed. Now you can see the New table.
Enter data from the Excel file to Power BI Desktop
In this example, we explain the steps to paste the data from the Excel file to the Power BI desktop. First, let me open the Create Table window by clicking the Enter Data button.
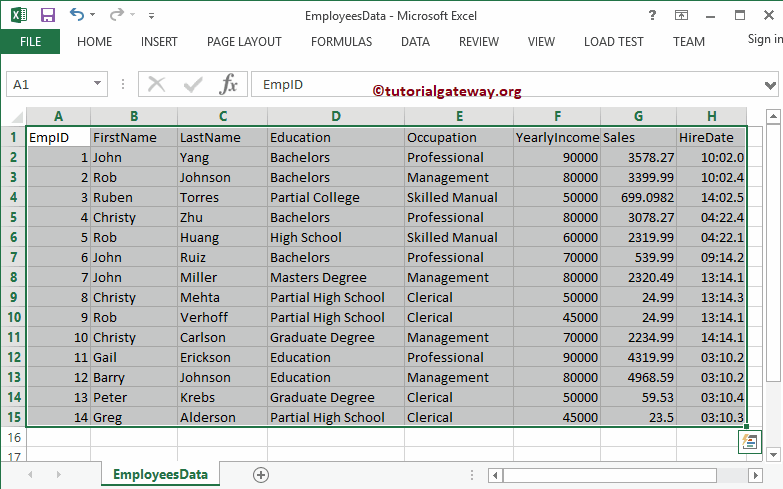
Let me copy the data present in the Excel file.
Paste it into the Create Table window (Control + C and Control + V). Remember, it automatically detects the column headers. Let me rename the table as ExcelEmployee and click the Load button.
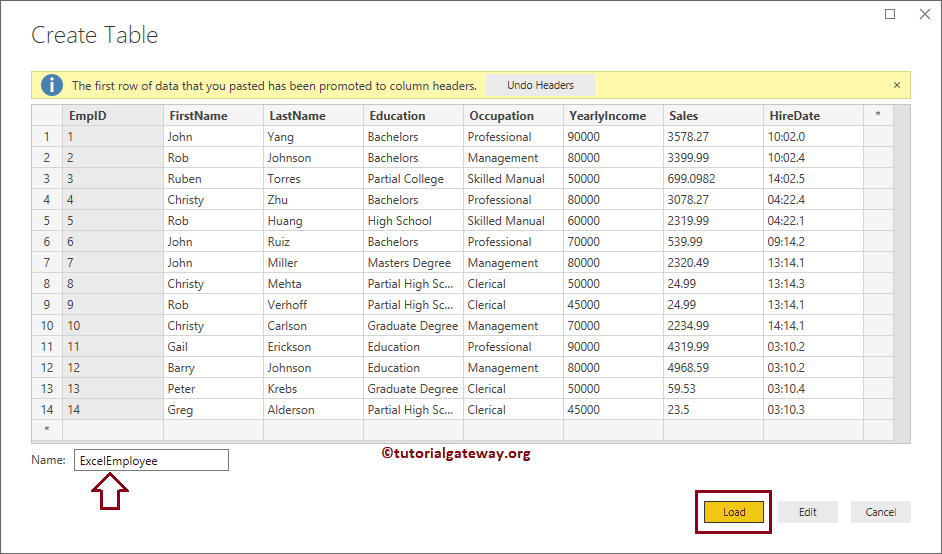
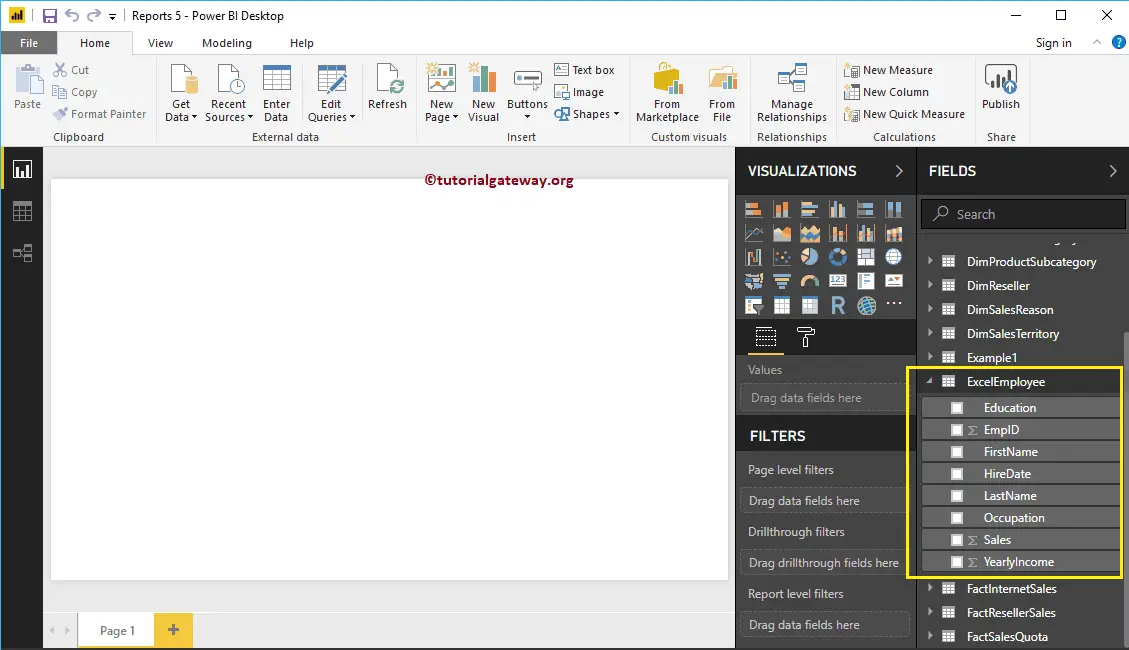
Now you can see the table
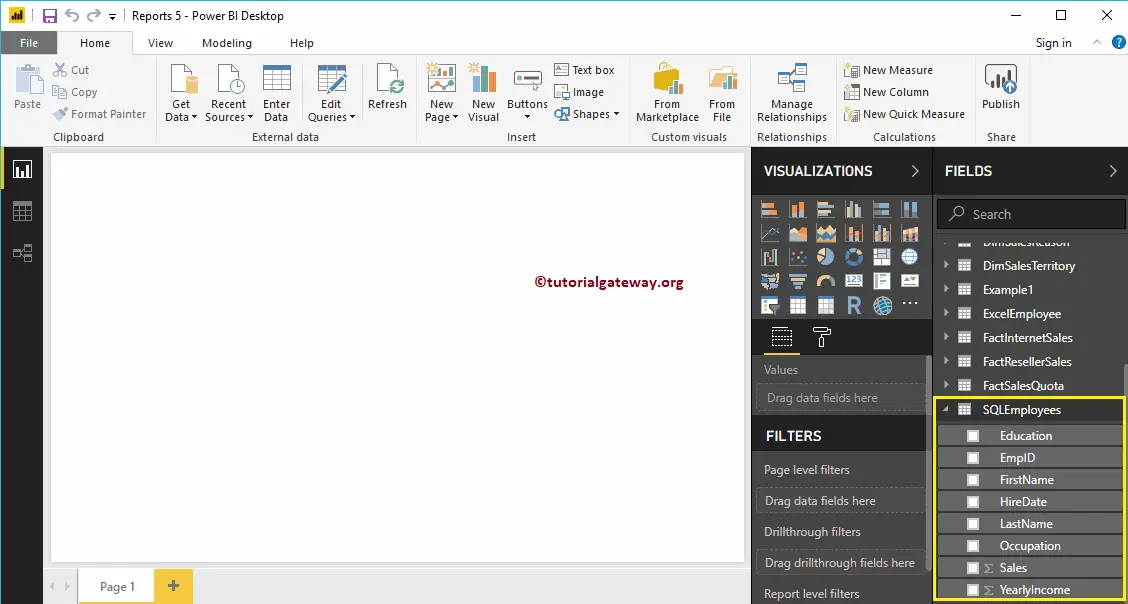
Enter data from SQL table to Power BI Desktop
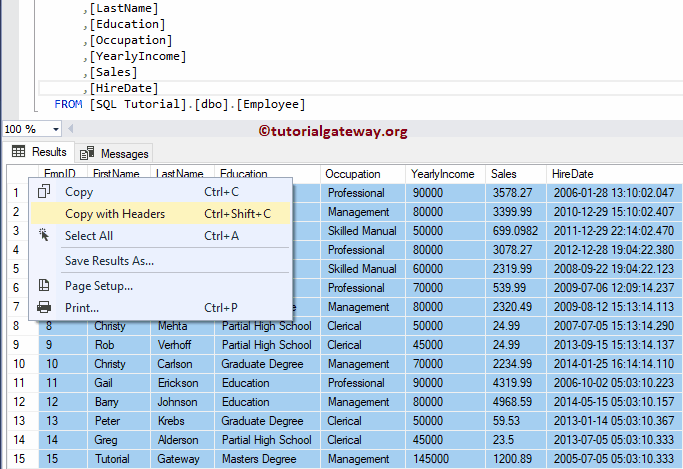
First, let me copy the data present in the SQL table
Next, paste it into the Create Table window. Please rename the table name as per your requirement and hit the Load button.

Now you can see the table
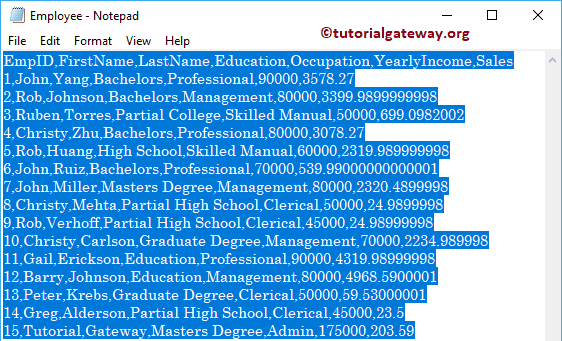
Enter data from a Text file to Power BI Desktop
First, let me open the text file. As you can see, the file is not formatted properly. Let me copy the content in this text file.
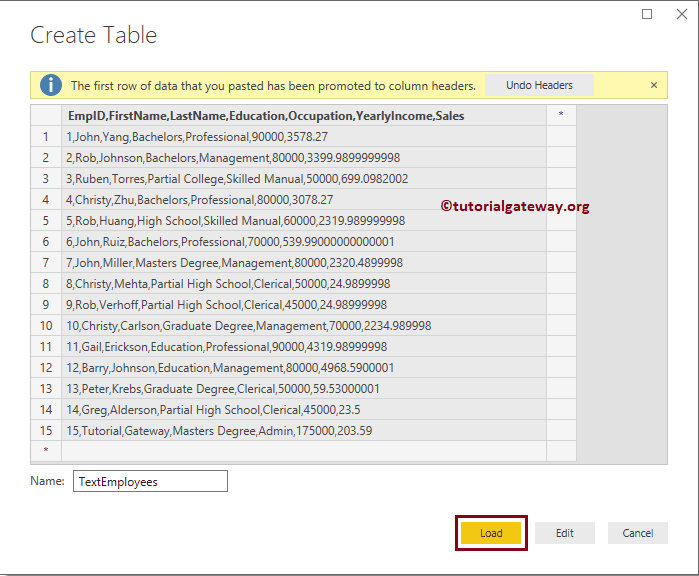
Next, we pasted it into the create table window. You can see from the screenshot below that all the information is stored in one column.
We can edit them by hitting the Edit button, but we will write a separate article to explain those techniques. Therefore, for now, we renamed the table name and loaded the table into the desktop.
Comments are closed.