In this article, we show the Step by step procedure to install QlikView Personal Edition (irrespective of the version) with screenshots.
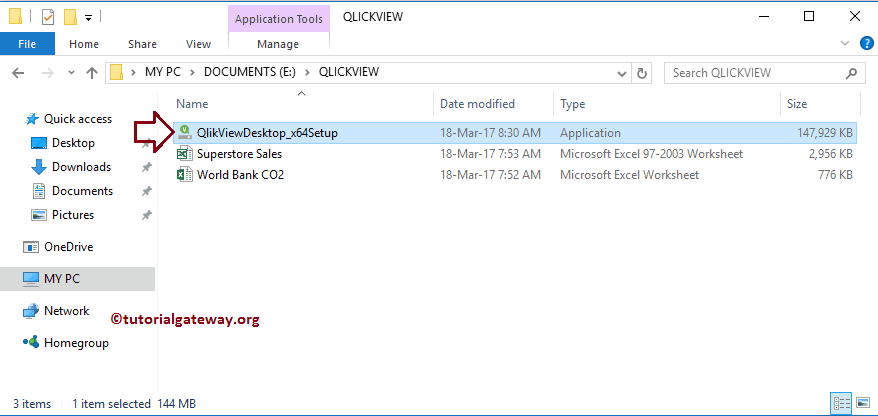
Step 1: If you have the installation CD, DVD, or any medium, then insert the installation media into the drive to install QlikView. Alternatively, Download the software from the website, then double-click on the QlikViewDesktop_x64Setup.exe.
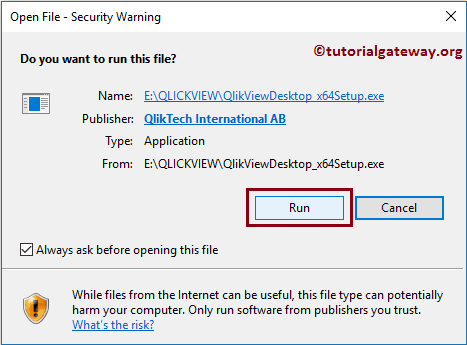
Depending upon the PC security settings, this security warning may appear. If so, then click the Run button.
TIP: Please refer to the Download article to understand the steps in downloading the QlikView software with images.
Steps to Install QlikView
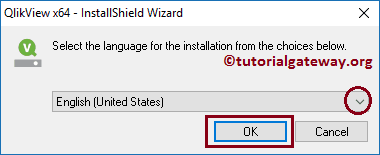
Step 2: Clicking the setup.exe opens a new installation wizard called InstallShield Wizard. Please select the language as per requirement and then click the OK button.
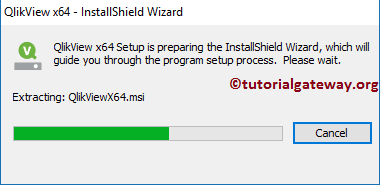
Once the OK button is clicked, the wizard automatically starts extracting the software, as shown below.
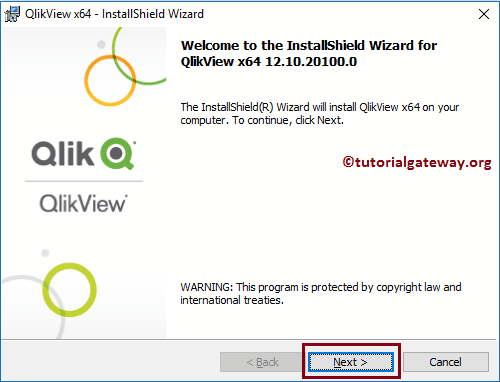
Step 3: After the software extraction finishes, it displays the Welcome screen to start the installation process. Please click on the Next button to start the actual install.
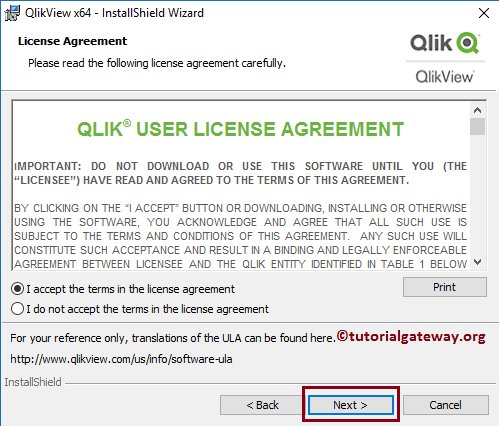
Step 4: Under the License Agreement page, select I accept the terms in the license agreement radio.
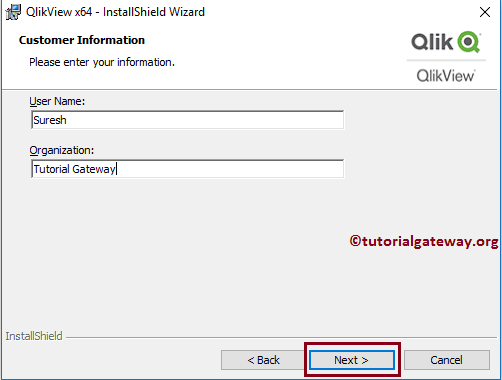
It displays the Customer Information page. Please provide the User Name and the Organization name.
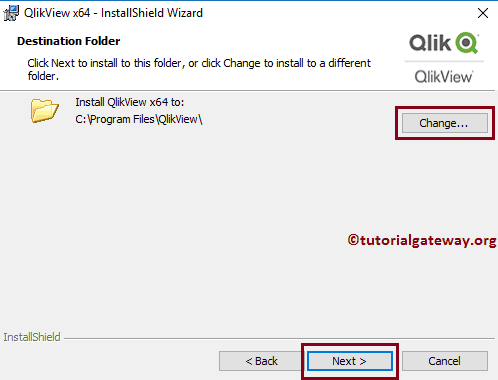
Under the Destination Folder page, one can change the default installation folder by clicking the Change button. Here, we are leaving the default settings and clicking the next button.
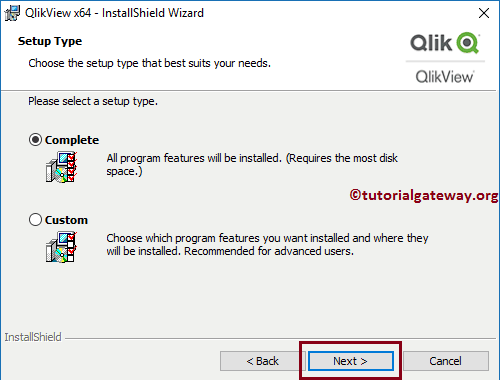
It asks whether to install the QlikView software entirely or customize the setting (Custom option). Please select the Complete option.
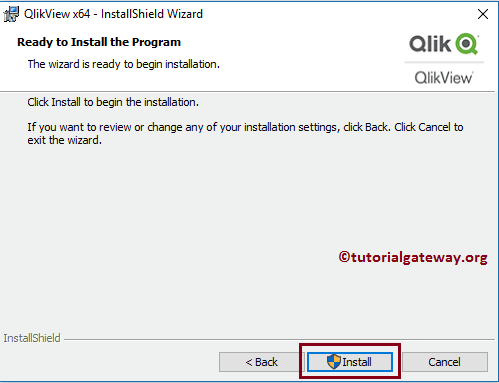
Under the Ready to Install program page, please click on the Install button.
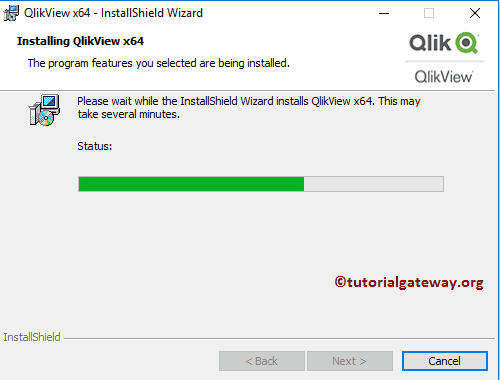
Once you click on that, it automatically starts the install process. Please wait until it finishes at 100%.
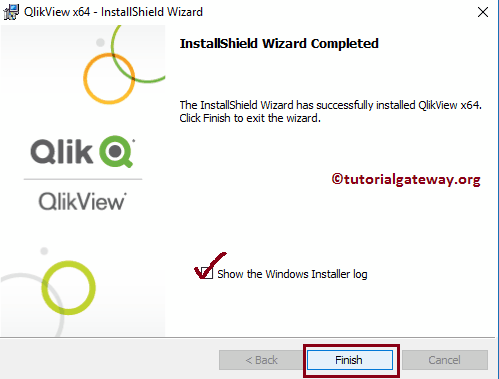
Once it completes the install, it displays the following page. Click on the finish button to complete the process.