In QlikView Personal Edition, we can’t work with Databases. It means we can only work with certain File types. This article shows you, How to import Data from Excel to QlikView with examples. For this demonstration, we use the data present in the Tableau default Superstore Sales.xls Excel file.
Import Data From Excel to QlikView
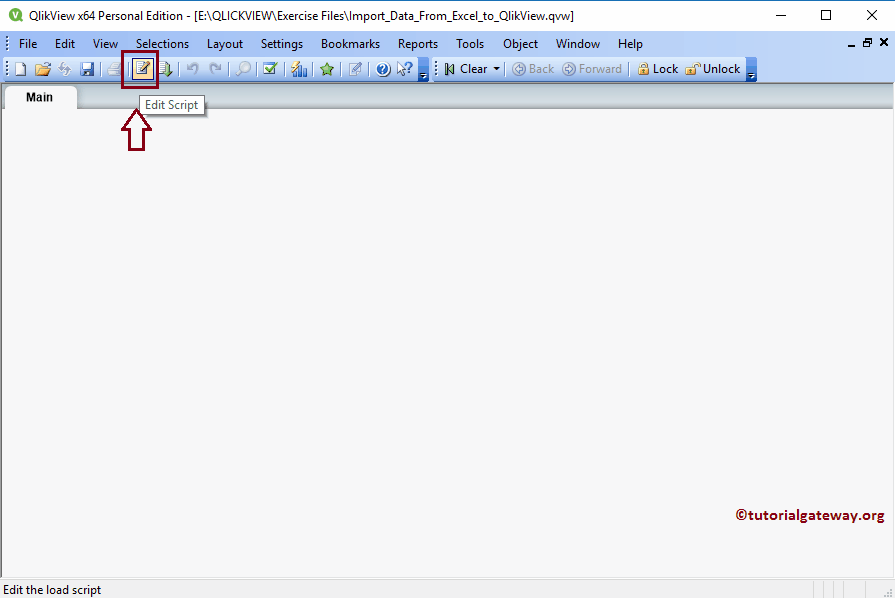
Please open the QlikView Personal Edition, and click on the Edit Script shortcut present in the toolbar.
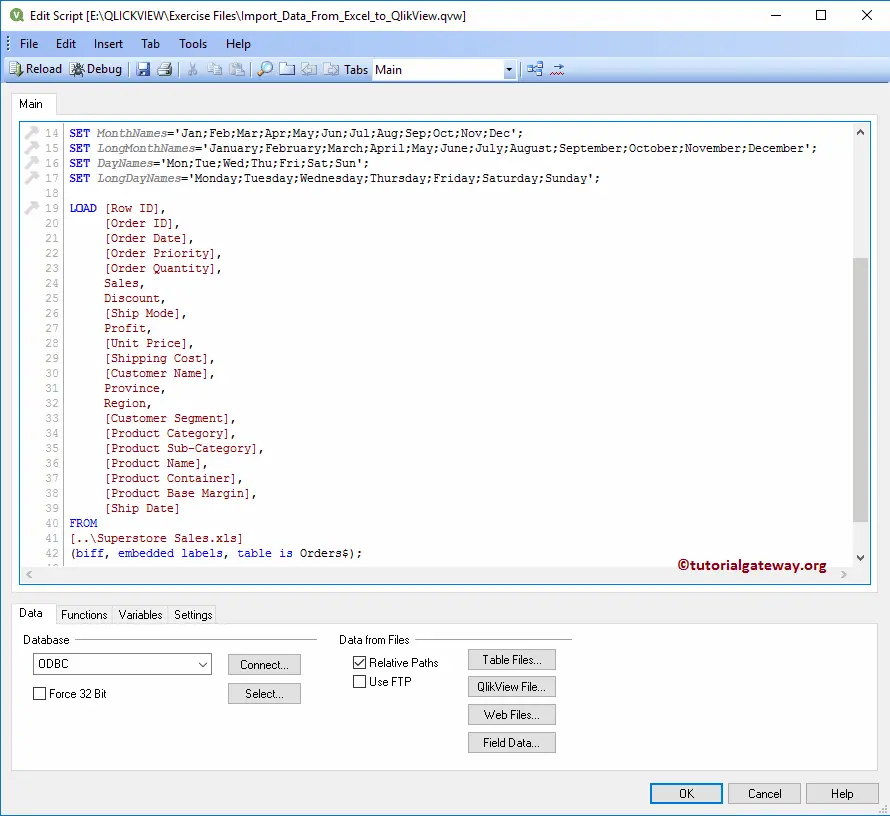
Once you click on the Edit Script shortcut, a new window called Edit Script will open. As you can see from the below screenshot, QlikView has generated some default SET statements. If you are using the Licensed version, you can use this window to import data from all the sources. But, as we are using the personal adding we can work only with Excel Files, Web Files, Filed data, and QlikView files.
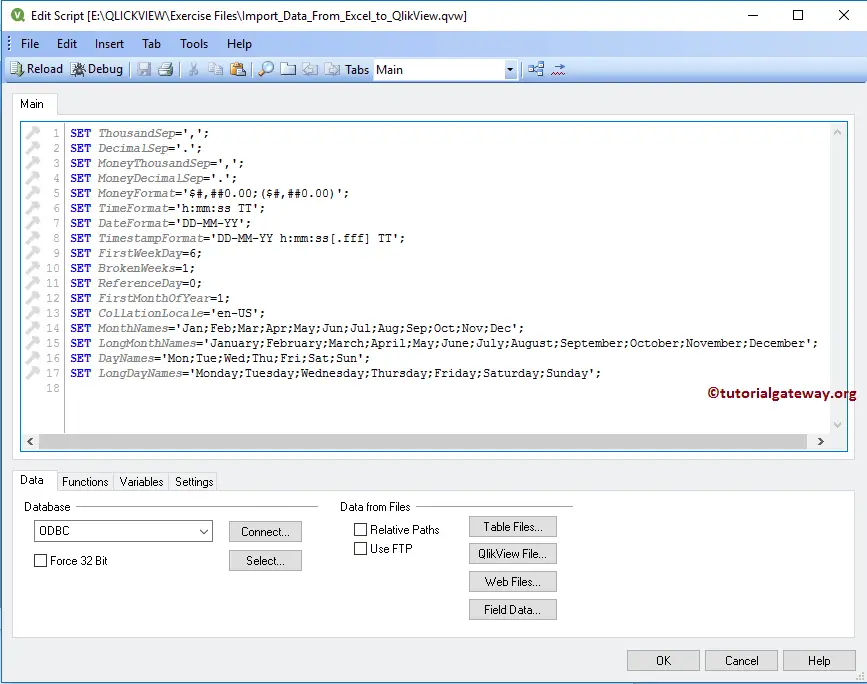
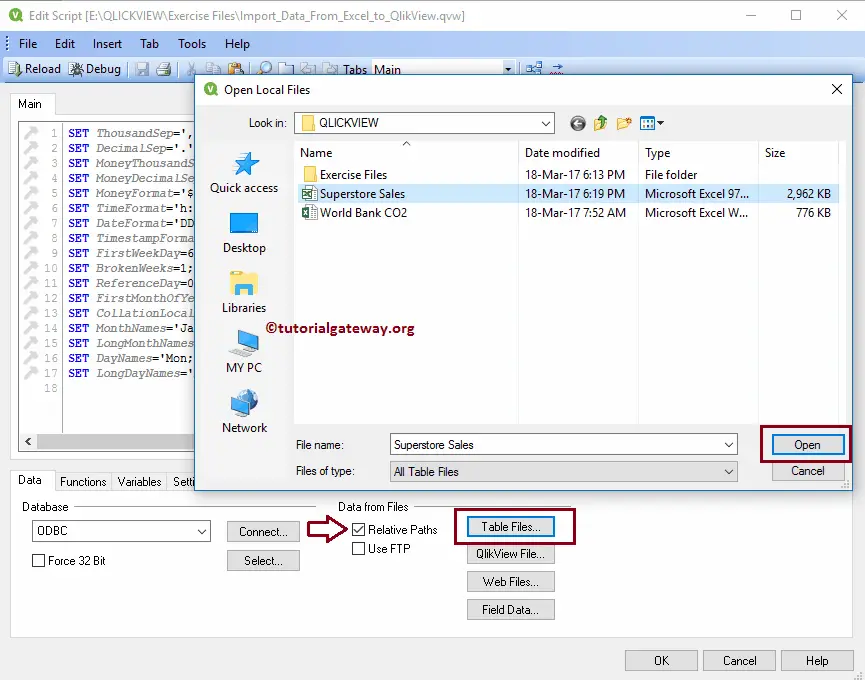
In this example, we will import data from Excel to QlikView so, we are clicking the Table Files.. option. Once you select this option, it will open the list of files available in your file system. Please navigate to the folder where your excel file resides, and then select the excel file as we shown below.
TIP: It is always recommended to check mark the Relative paths option. By this, QlikView will use the dynamic path as the source in the Load statement
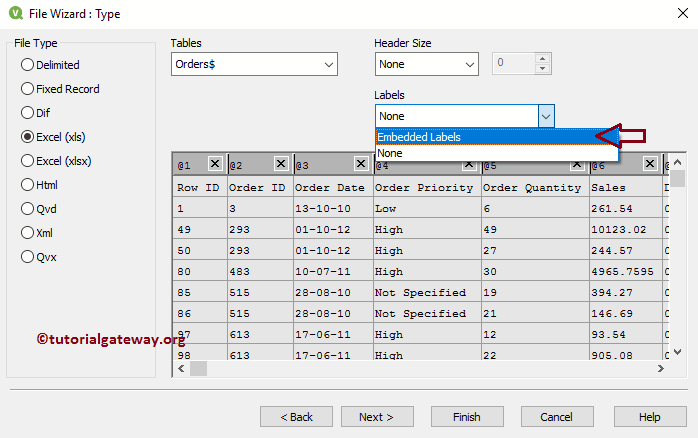
Once you select the required file, a new pop-up window called File Wizard : Type will be opened as we shown below.
- File Type: As you can see, QlikView is smart enough to select the File type, and if there is a mistake then you can change as per your requirements.
- Tables: This drop down list will select the first table (or sheet) from the file. But, you can change as per your requirements. Though we have three sheets in our excel file, for now we will stick to this Orders table only.
- Labels: Used to specify whether your sheet has the Column Name as the First row or not.

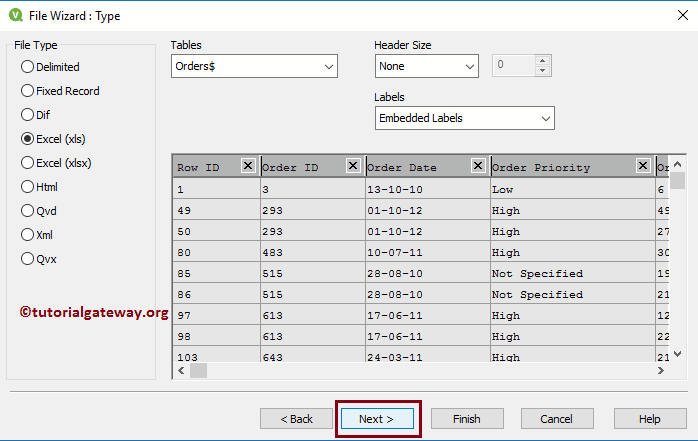
As you can see from the data, we had our column names as the first row of Orders table. So, we are selecting the Embedded Labels option
Once you are done, you can click Finish button to finish importing data. Let me show you, what happen when you click on the Next button
Once you click on the Next button, following page will be opened. You can use this page to format the bad data present in your table.
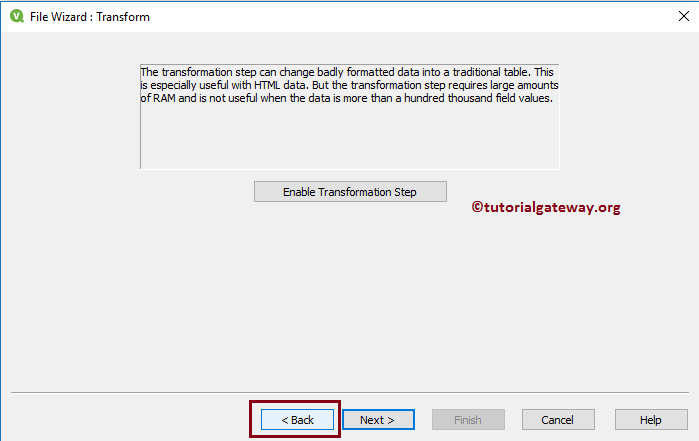
We will explain those features in the coming article so, for now click the back button , and then click finish button
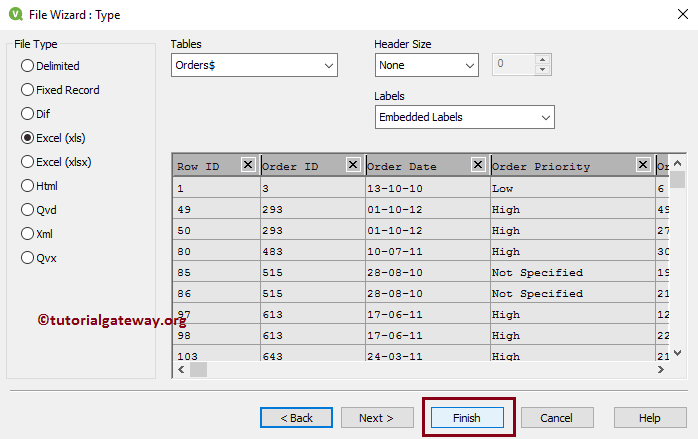
Once you click on the Finish button, a LOAD statement will be generated with list of all the available columns in our excel file.
Next, we are adding a Name to this data Source, or data table as QlikDataSource. Once you finished with the data, Please click on the Save to save the data source, and reload button. This reload button will load the data into the report so that, we can use this data source for the reports that we are going to create.
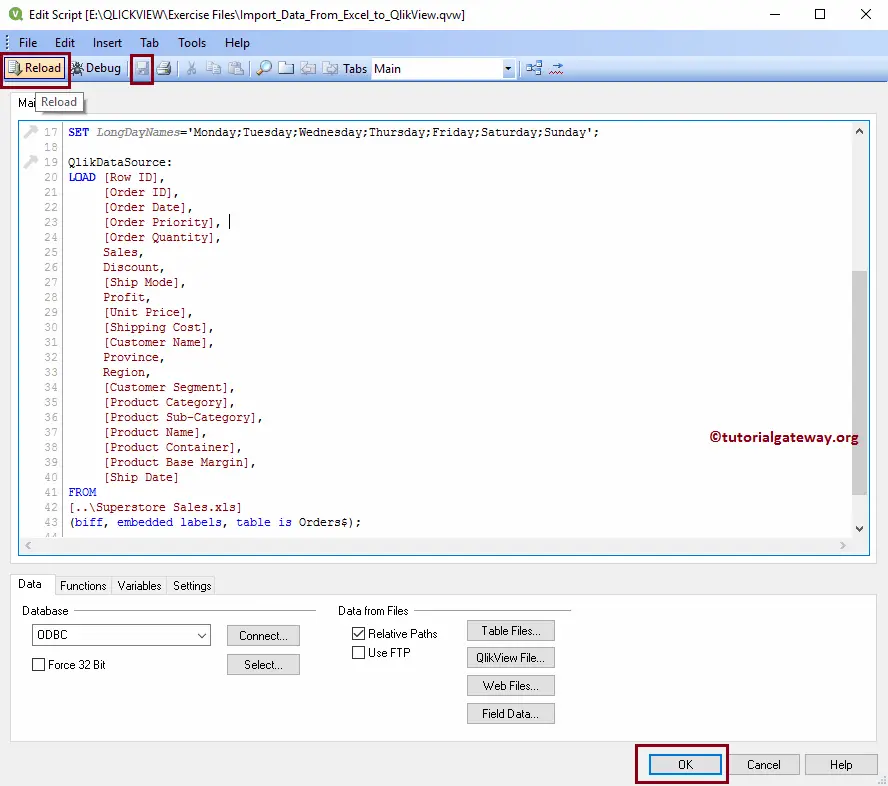
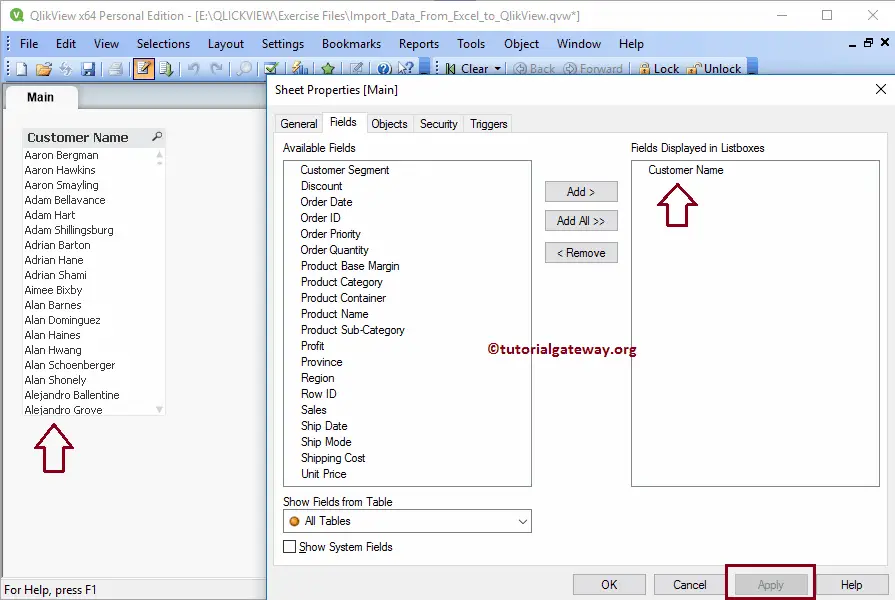
Once you click on the Reload button, it will open the following window. You can use this window to add Fields to the List boxes also. In general, we will leave it as it is, and click OK button
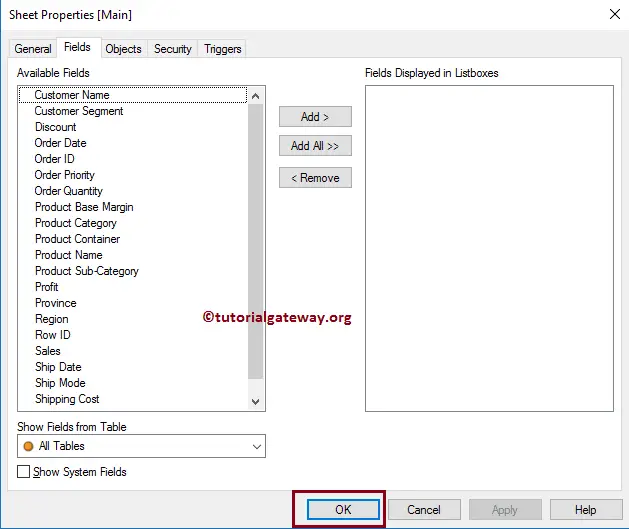
Before closing this window, let me add Customer Name filed to the List box filed for the demonstration purpose. Once you click on the Apply button, QlikView report will display the List box with all the existing customer names.