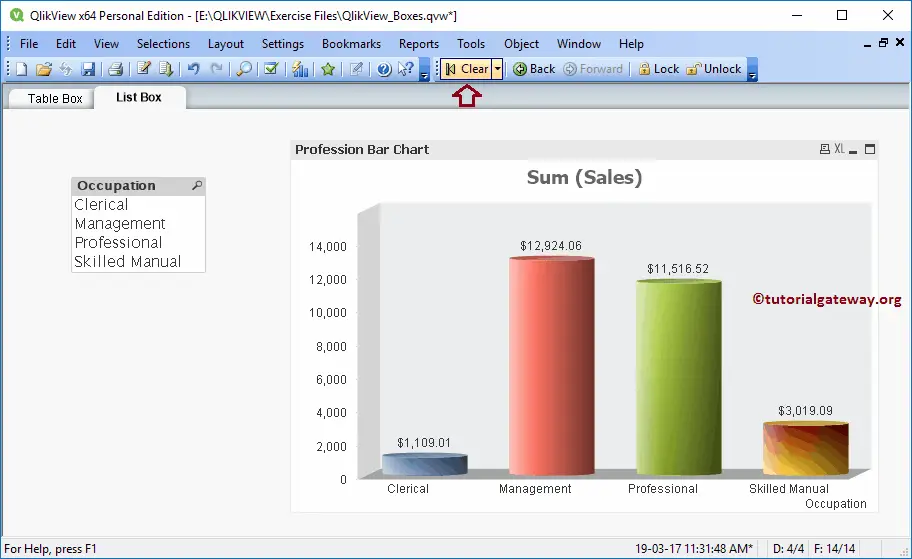
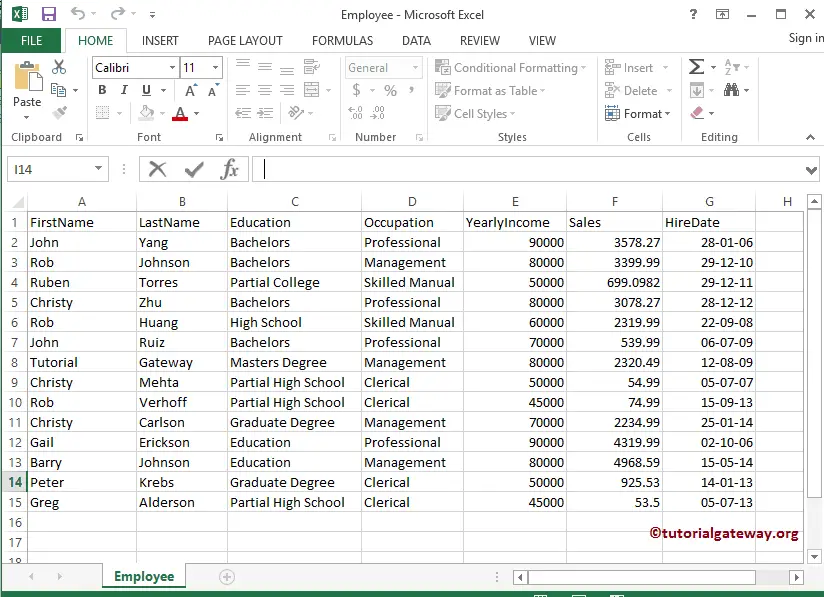
The List Box in QlikView is the most basic sheet object, which shows all the records in the selected column. For creating a QlikView list box example, we will use the data in the following Excel table.
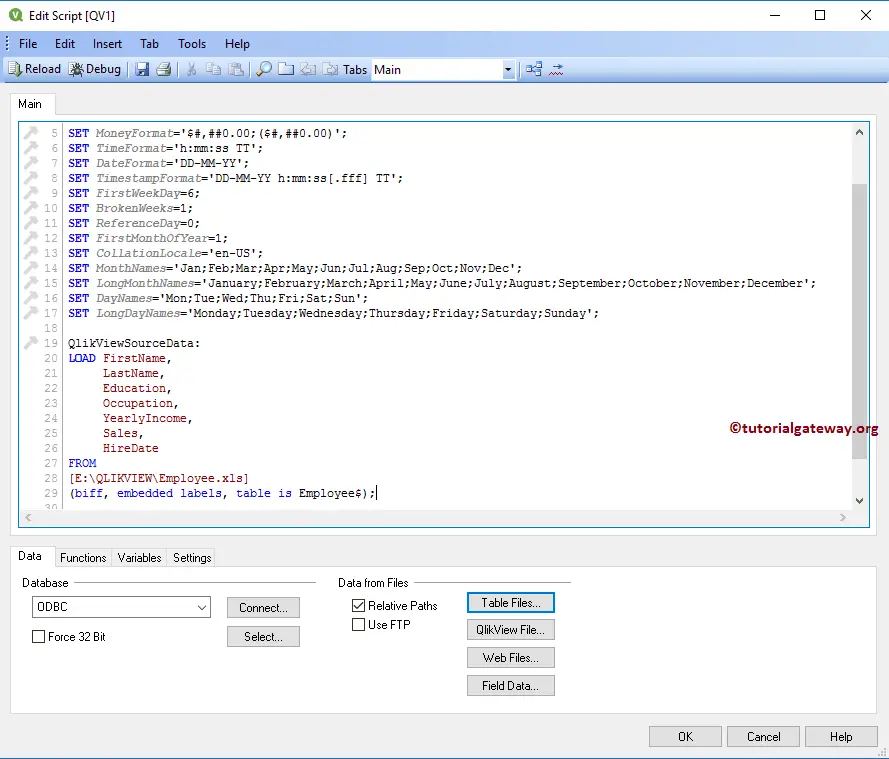
From the screenshot below, see that we are loading the above specified Employee excel sheet into QlikView.
Create a List Box in QlikView
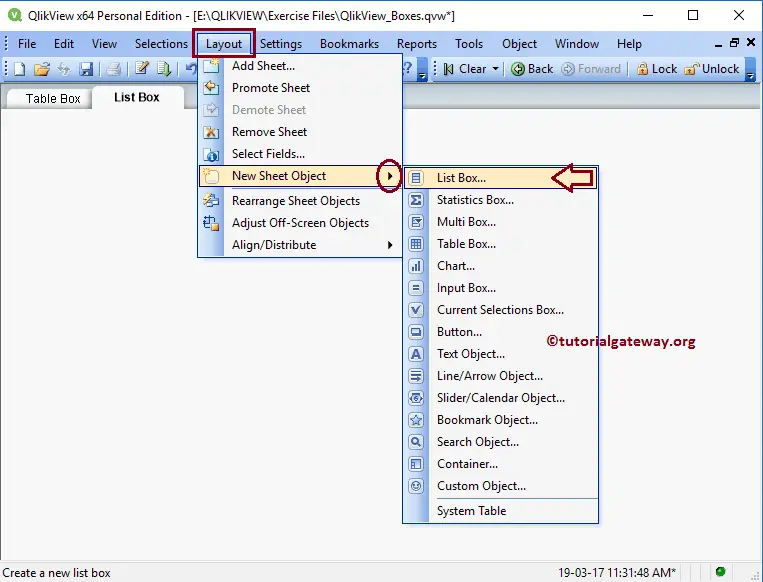
We can create a QlikView List box in multiple ways: Please navigate to Layout Menu, select the New Sheet Object, and then select the List Box.. option.
The second approach is to right-click on the Empty report area will open the Context menu. Next, select the New Sheet Object and then choose the shown option. Alternatively, click the Create List Box shortcut in the QlikView toolbar.
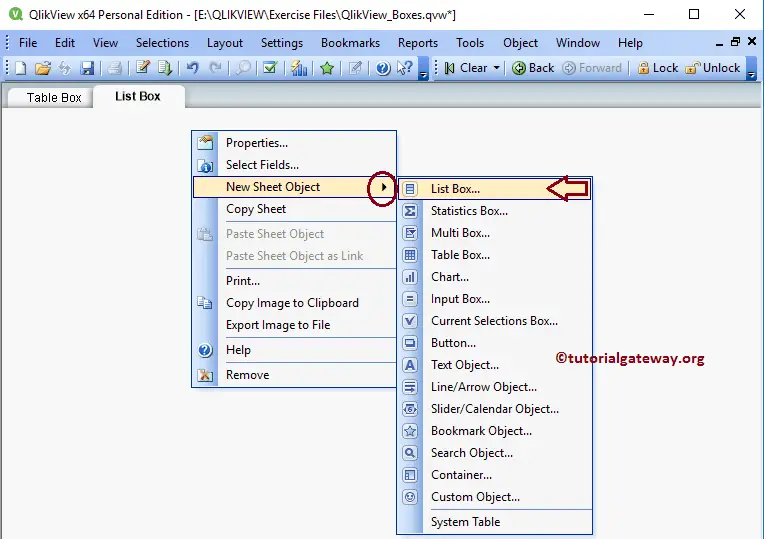
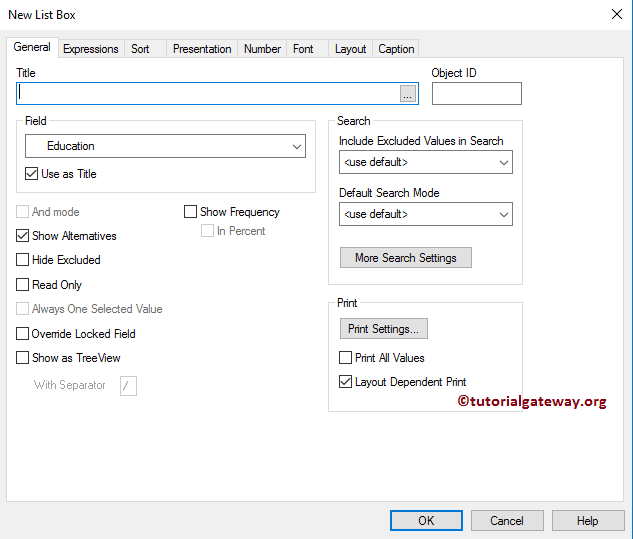
Either way opens a new window.
- Title: A custom title for the QlikView list box.
- Field: Please select the Column name to display in it. For example, select the State Column as the field to display the State Names from the database.
- Use as Title: Checkmark this option and use the Column name as the title.
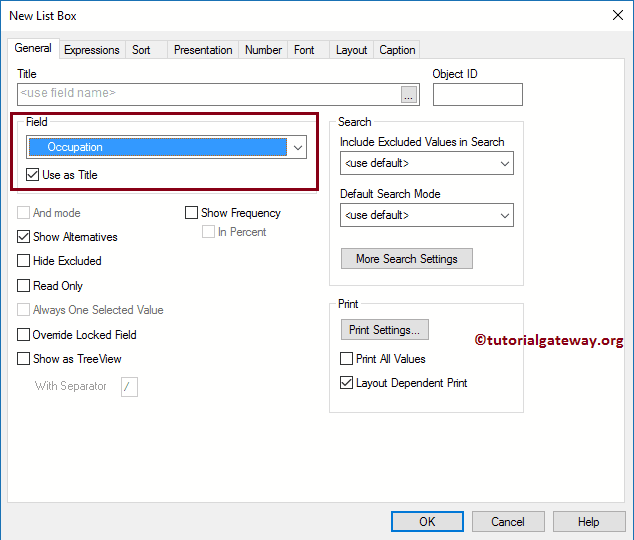
From the screenshot below, we are selecting the Occupation as the Filed Value. Next, we are using the filed name as the Title. Refer to the Import data from Excel to import the Excel tables into QlikView.
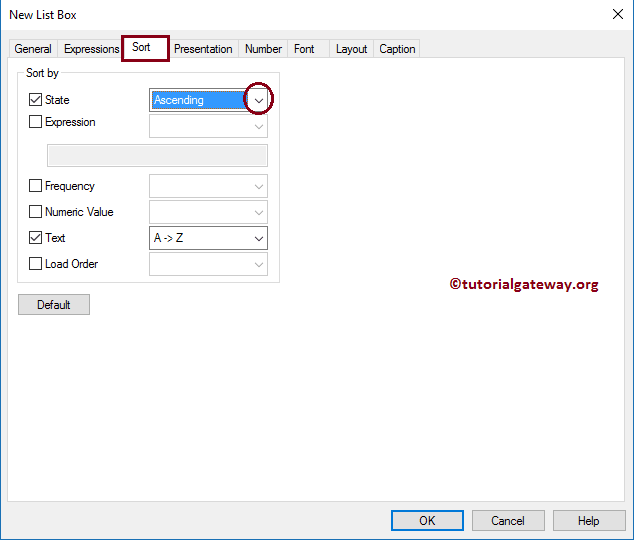
Let me sort the QlikView List box data in Ascending Order so it is easy to find the required field. Here, we can sort the Occupation data in Ascending or Descending order.
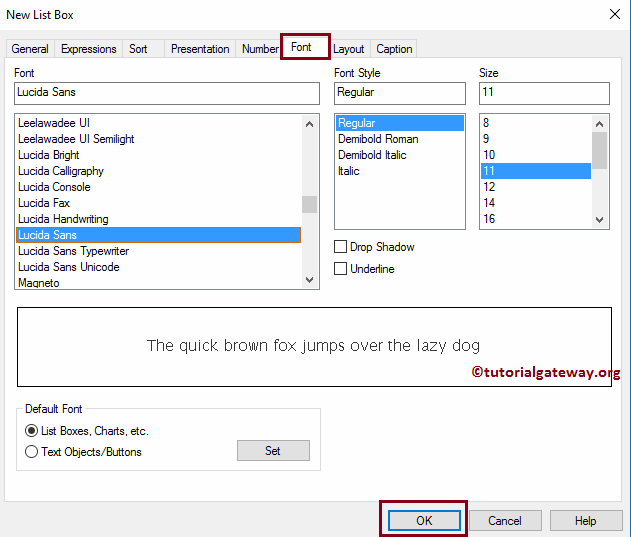
Please change the Font family, style, and size of the font as per requirements. From the below screenshot, see we changed the Font to Lucida Sans and the font size to 11
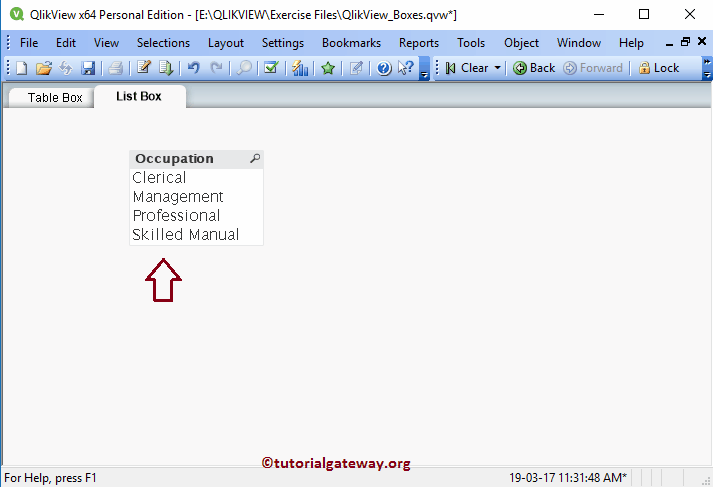
Now, see our newly created table List Box.
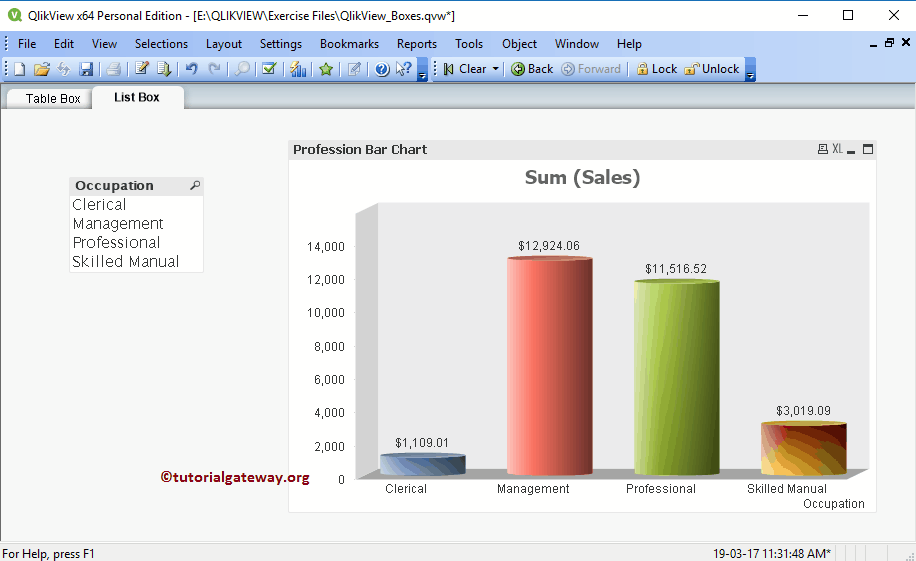
Use this QlikView List Box to filter the data in Charts or other boxes in the sheet. We are adding a Bar Chart to this existing sheet to demonstrate this concept.
From the screenshot below, see when we select the Professional and Management fields. The Bar chart displays the Bar for Management and professionals only.
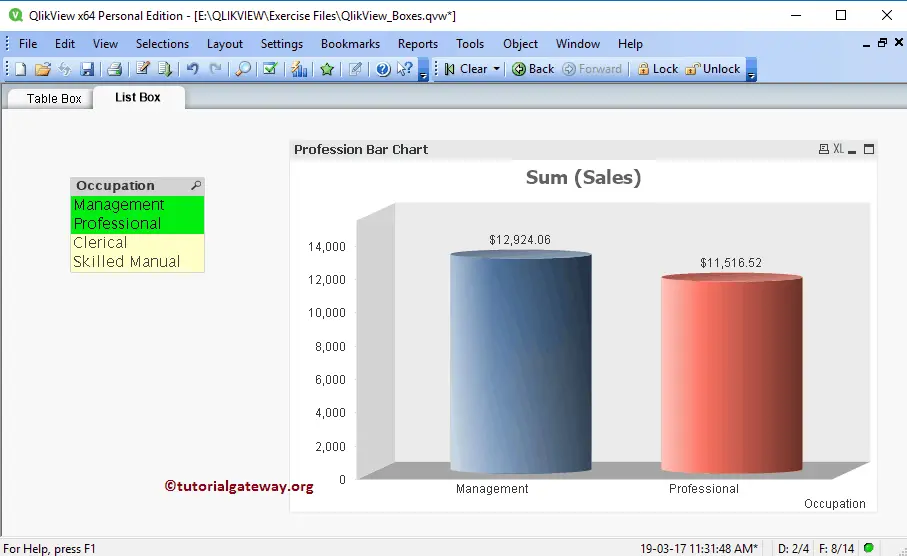
Use the Clear shortcut to undo the List box Filter or selection.
