Folders help you to organize the Dimension Fields and Measure Fields. In this article, we will show you how to Create Folders in Tableau reports with examples.
For this Create Folders demo, we are using the data source we created in our previous article. Please visit the Data Labels in Reports article to understand the Data Source.
Create Folders in Tableau
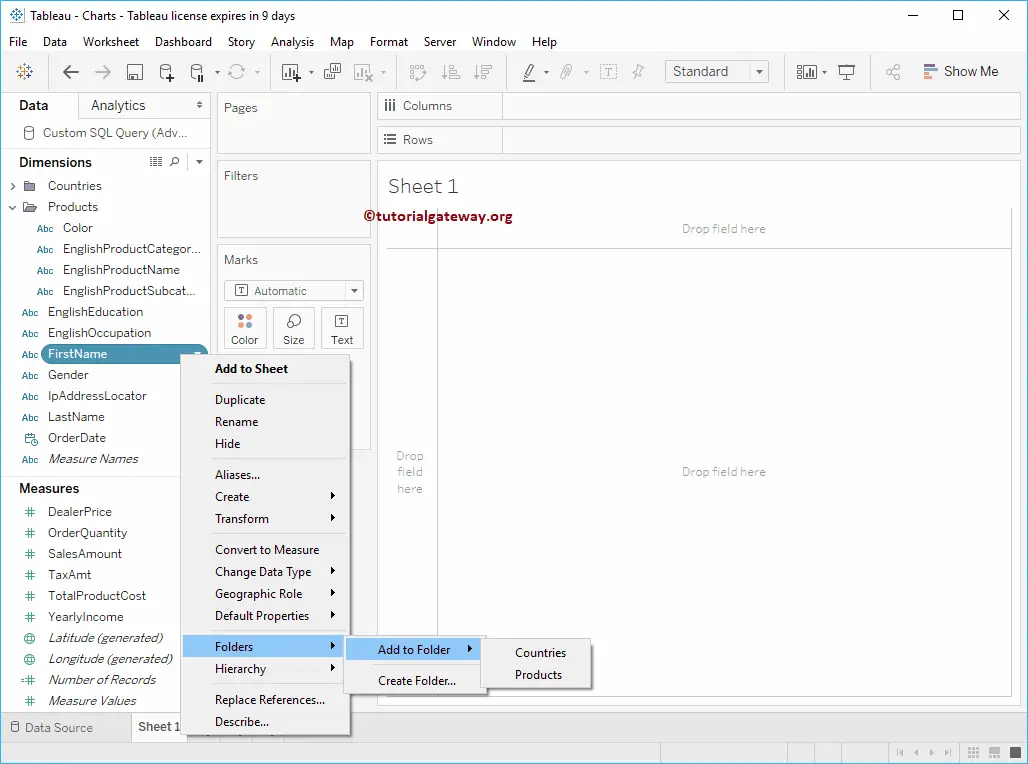
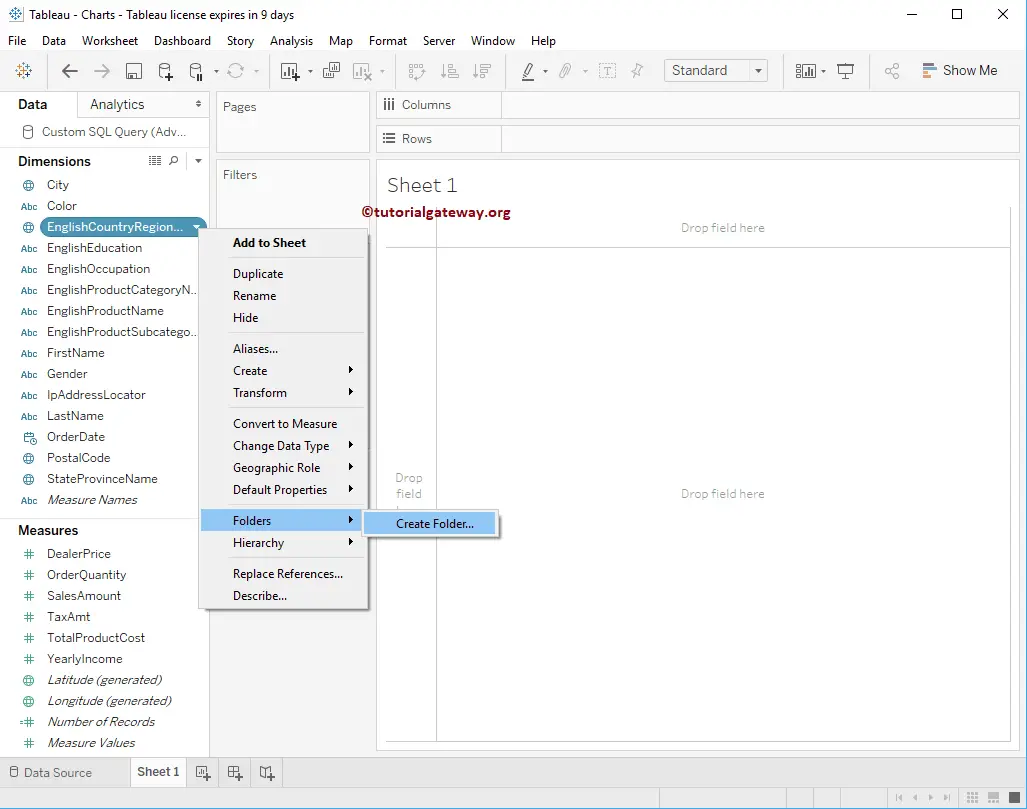
To create Folders in Tableau, select and right-click on the Dimension name for which you want to create a Folder. Next, select the Folders option from the drop-down menu, and then select the Create Folder… option
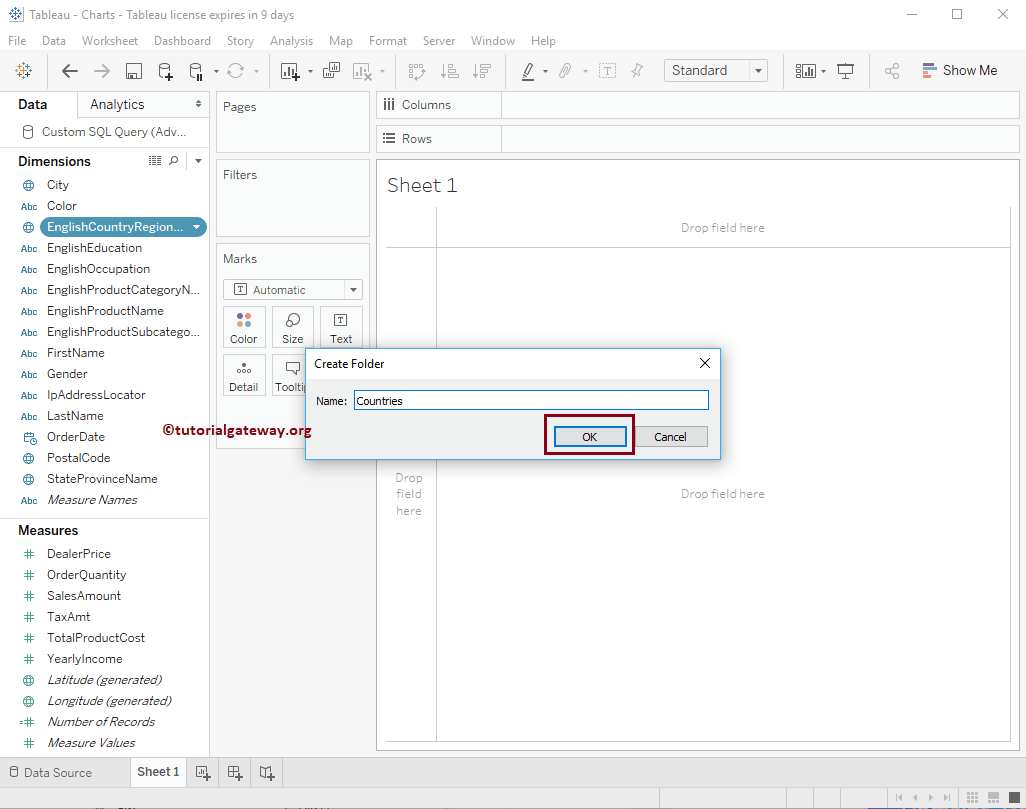
Once you select the option, a new pop-up window to name the Folder will open. We are naming the folder as Countries, as shown below.
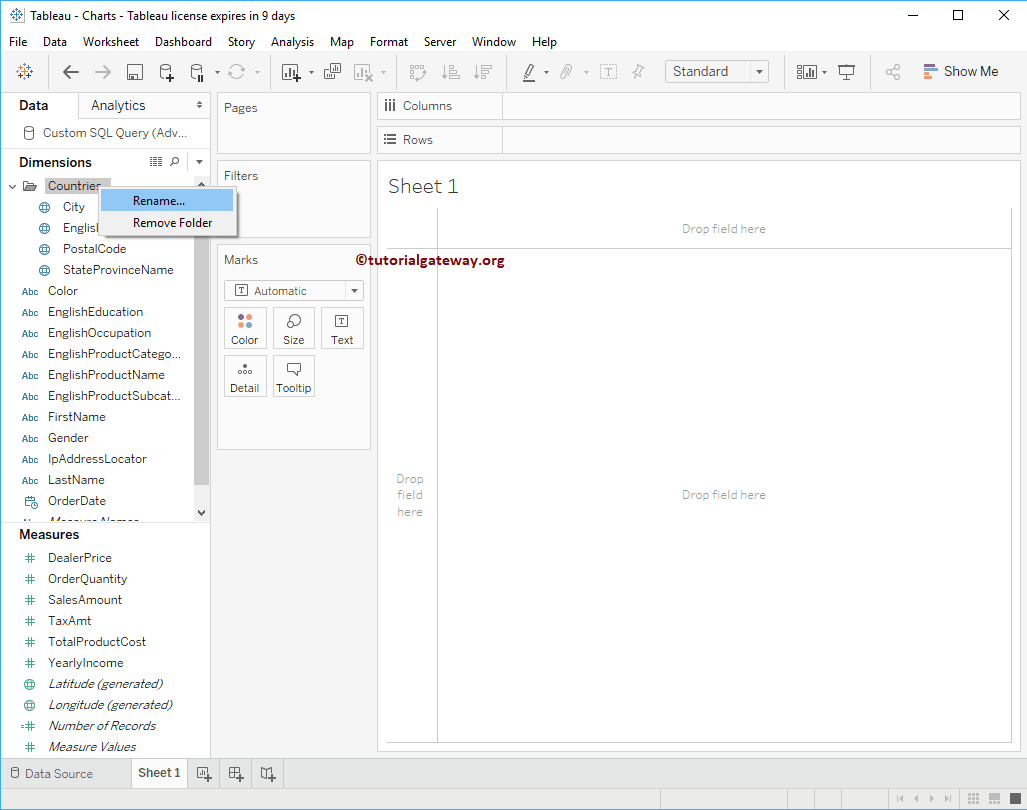
Once you click the OK button, you can see the newly created Folder with the English Country Region Name member.
Add Members to Folders in Tableau
To add new members to the folder, drag and drop the required dimension inside the Folder. In this example, we are adding the state Province Name to the Countries folder.

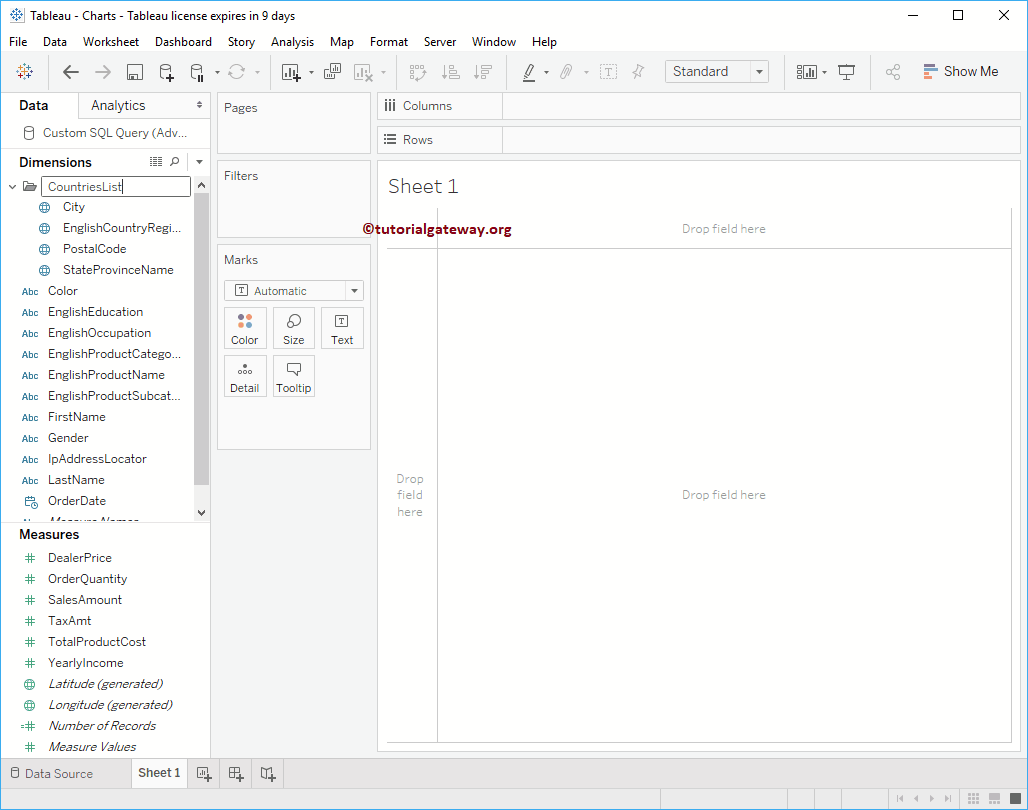
Rename Folders
To rename the folder, Right-click on the existing folder and select the Rename.. option from the context menu.
As you can see, we are renaming this folder as CountriesList
Remove Members from Folders in Tableau
To remove a member from the Folder, Drag and drop the required dimension outside the Folder.
First, select and right-click on the Dimension name. Next, select the Folders option from the drop-down menu, and then choose the Remove From Folder option. In this example, we are removing City from the CountriesList folder.

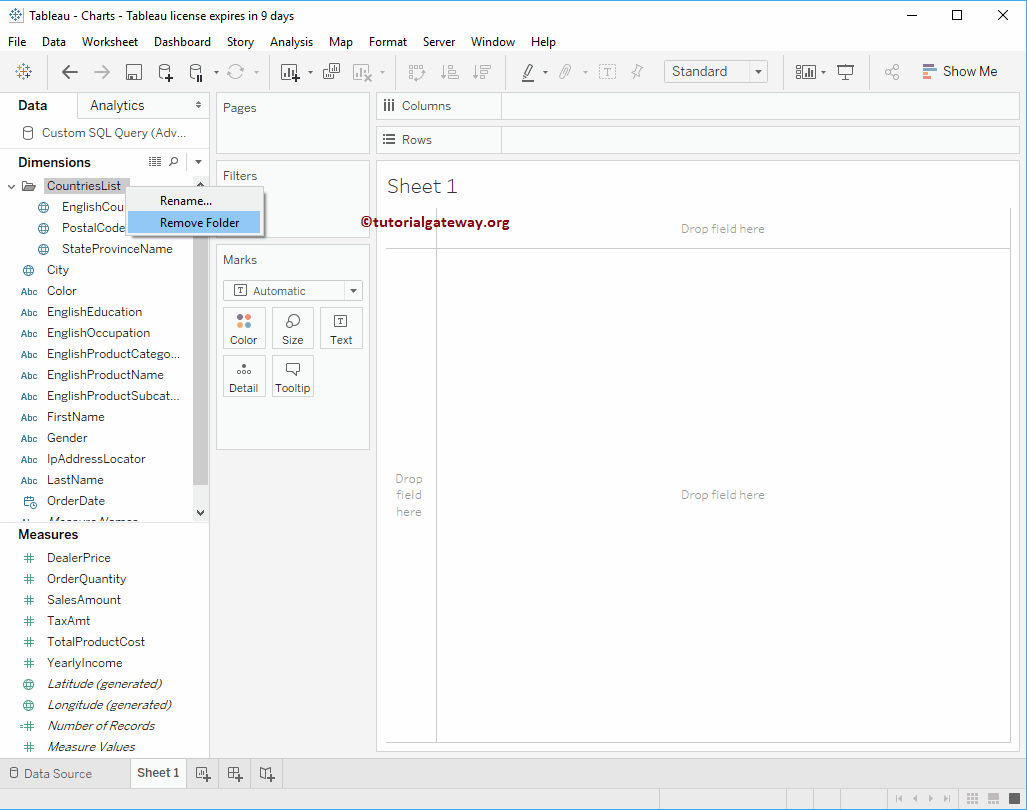
Remove Folders in Tableau
To remove a folder, Right-click on the existing folder and select the Remove Folder option from the context menu. It will remove the selected folder from the Dimension or Measure shelf.
From the below screenshot, you can see that we created multiple folders.
If you have multiple folders in your Dimensions or Measures Shelf. And if you are adding a new item to a Folder, then you have to pick the right folder.