In this article, we will show you step by step approach to Uninstall SQL Server Management Studio with screenshots. Remember, this will only uninstall SSMS but not the SQL Server instance. Before we start removing, let me show you, How the SQL Server Management Studio will look.
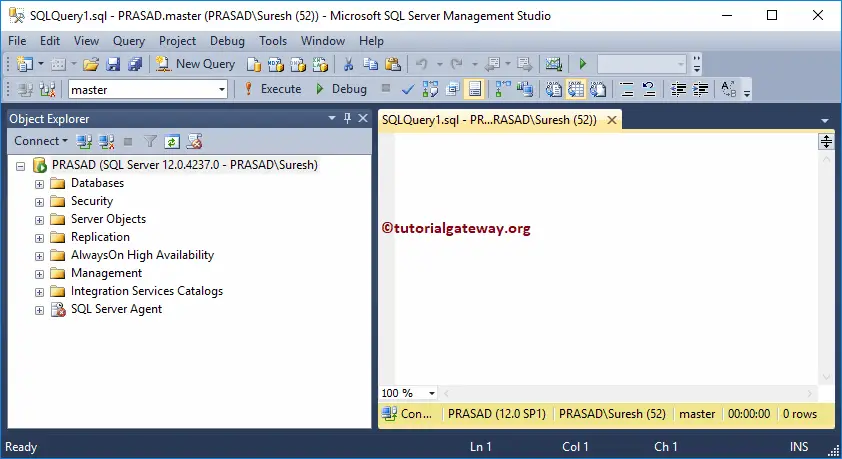
Uninstall SQL Server Management Studio
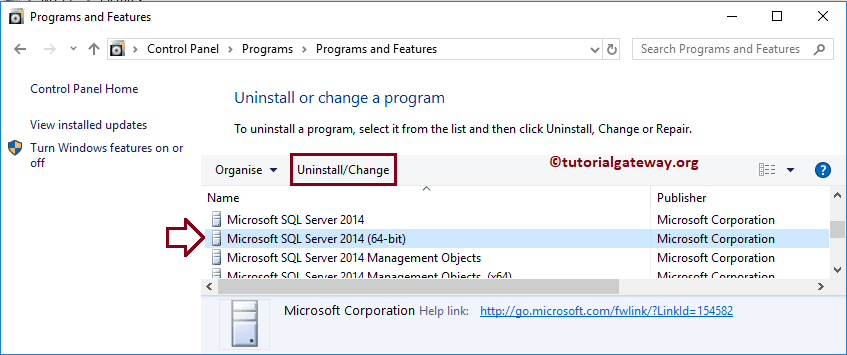
To completely uninstall SQL Server Management Studio, or any existing SQL Server component from your computer. First, go to Control panel -> Add or Remove Programs and find the Microsoft SQL Server (Version and Bit may be different in your case). Next, click on the Uninstall/Change button.
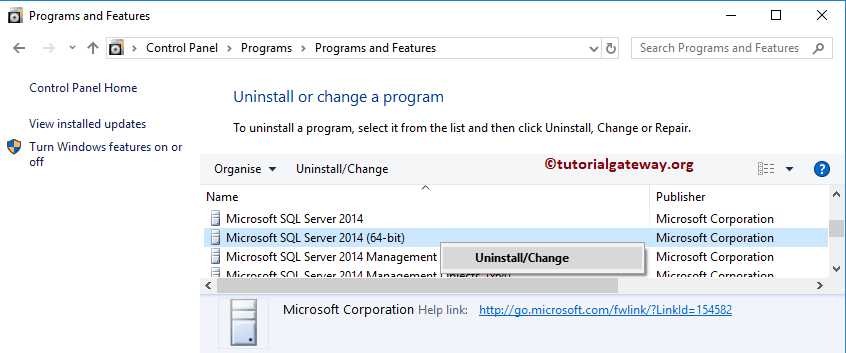
Or right-click on it will open the context menu. Please select the Uninstall/Change option
TIP: Please refer to Install Server to understand the steps involved in installing SQL Server.
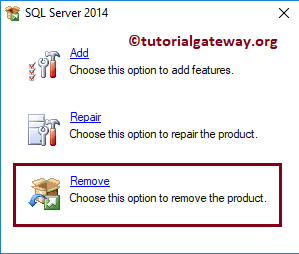
Either of the above methods will open the following window. Please click on the Remove hyperlink
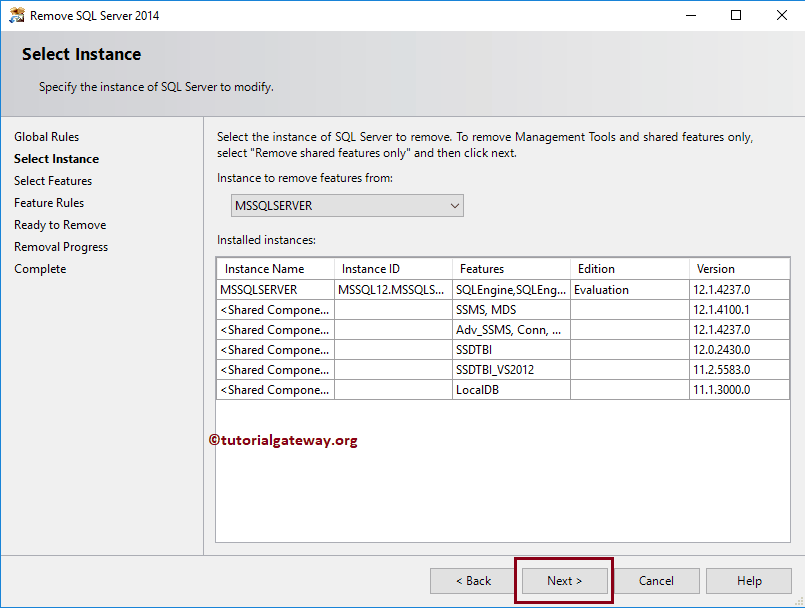
It opens a Remove SQL Server window. Here, MSSQLSERVER is the default instance that we previously installed in our system. If you install with Named instance, then select that named instance.
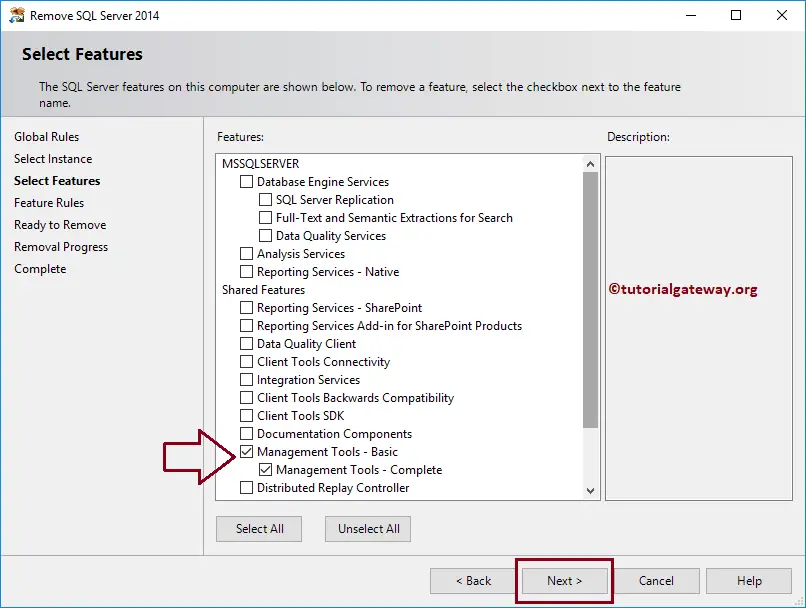
Select Features: Please select the features that you want to uninstall from your computer. The below screenshot will show you the list of pre-installed features in our local system.
To uninstall SQL Server Management Studio, Please check mark Management Tools – Basic and Management Tools – Complete features.
Click Remove button
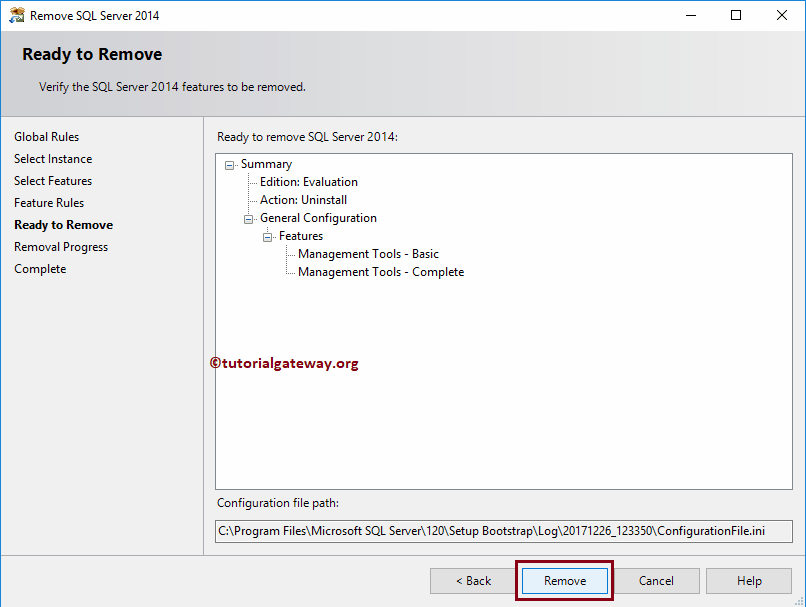
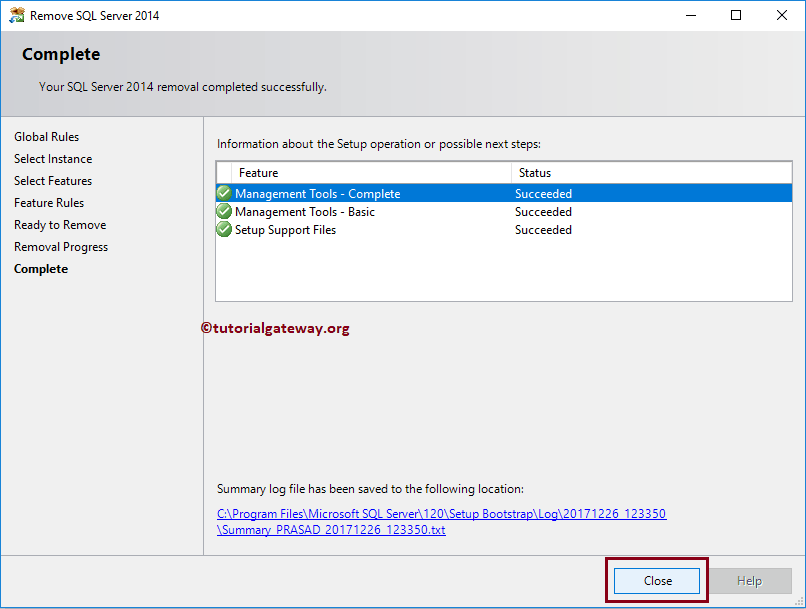
Allow a few minutes to remove SQL Server Management Studio completely. As you can see from the below screenshot, we removed SQL Server Management Studio entirely from our local system.
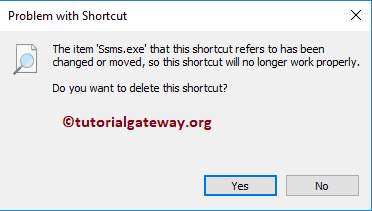
Let me try to open Management Studio. As you can see, it is saying ssms.exe is no longer working (completely removed SQL Server Management Studio).
