In this article, we show you step by step procedure to install SQL Server (irrespective of the version) with screenshots. If you have the installation CD / DVD, then insert the installation media into the drive to install.
Installing SQL Server
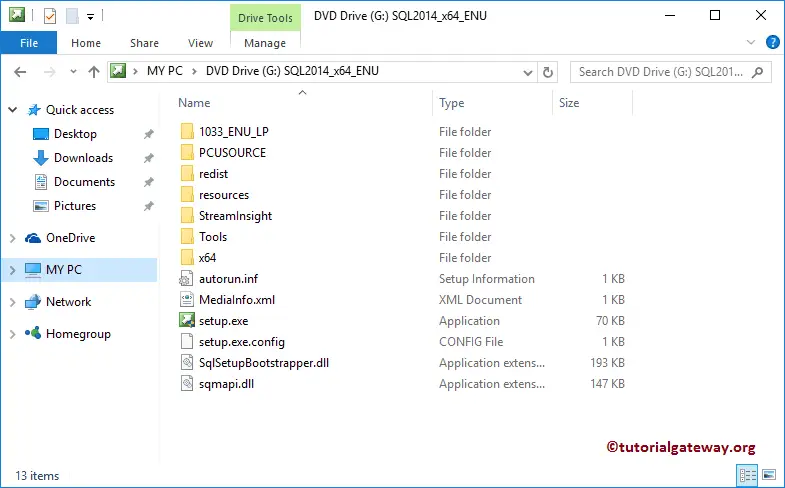
Click setup.exe File: Within the root folder, double-click on the setup.exe to install the software.
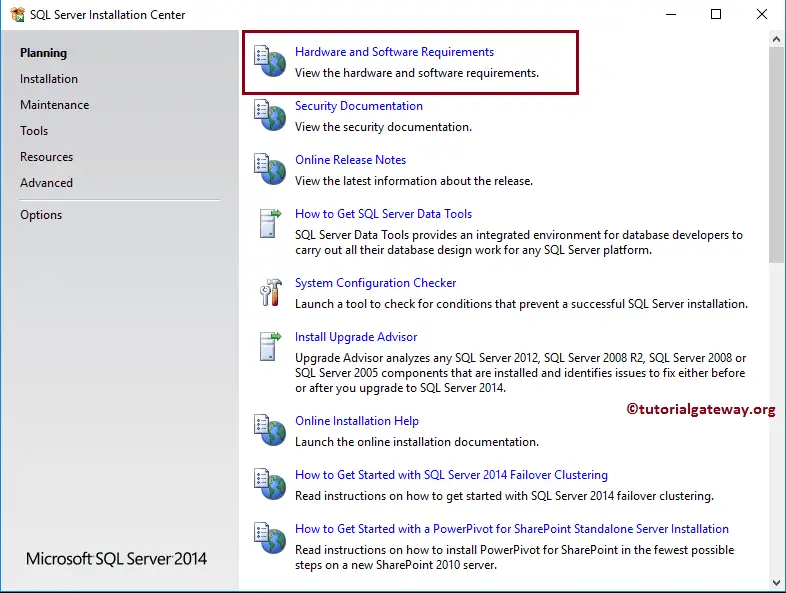
SQL Server Installation Center: Once you click on the setup.exe, a new installation wizard called Installation Center will be opened. Before you start installing the software, it is always recommended to check the Hardware and Software requirements that are required to install the SQL server.
Hardware and Software Requirements: Click on the Hardware and Software Requirements hyperlink under the Planning tab. And, if you don’t have any of that pre-requested software, then you have to install them before proceeding to the next step.
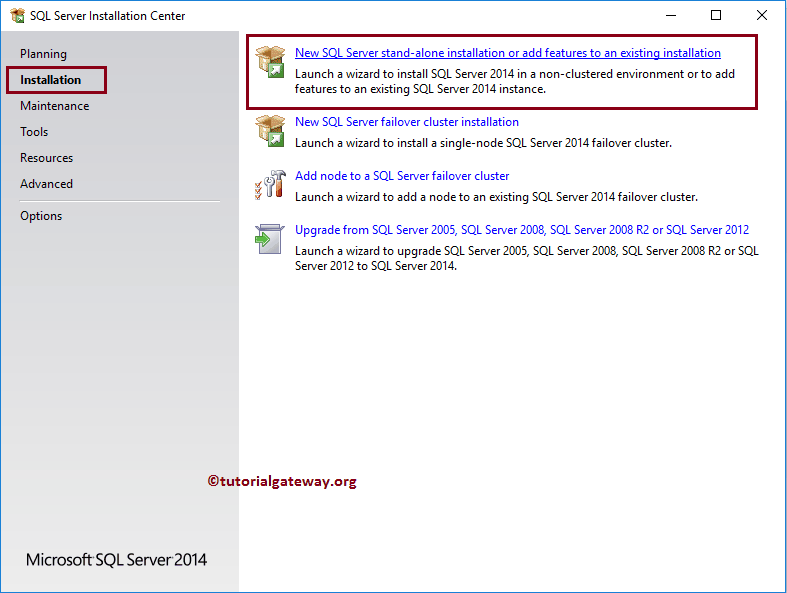
Go to the Installation tab and select either one or four:
- New SQL Server stand-alone installation or add features to an existing installation: If you are installing for the first time, or want to add additional features to the existing instance, then please select this option.
- Upgrade from SQL Server 2005, 2008, 2008 R2, or 2012: If you want to upgrade from the previous versions, select this option.
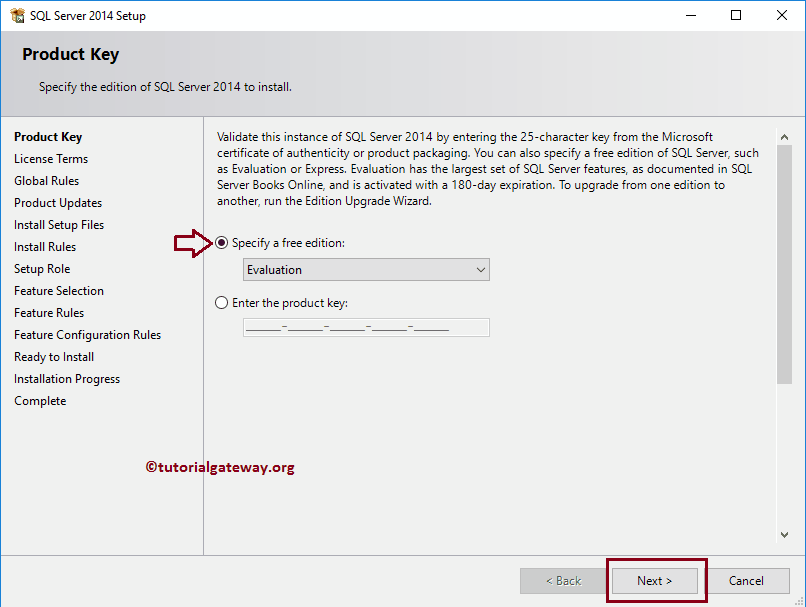
Specify the Sql Server Edition to Install: Once you select an Option, a new wizard called Setup (The version might be different for you) will open. On the first page, you have to enter the Product Key, or you can try the Evaluation period of 6 months by selecting Specify Free edition: Evaluation.
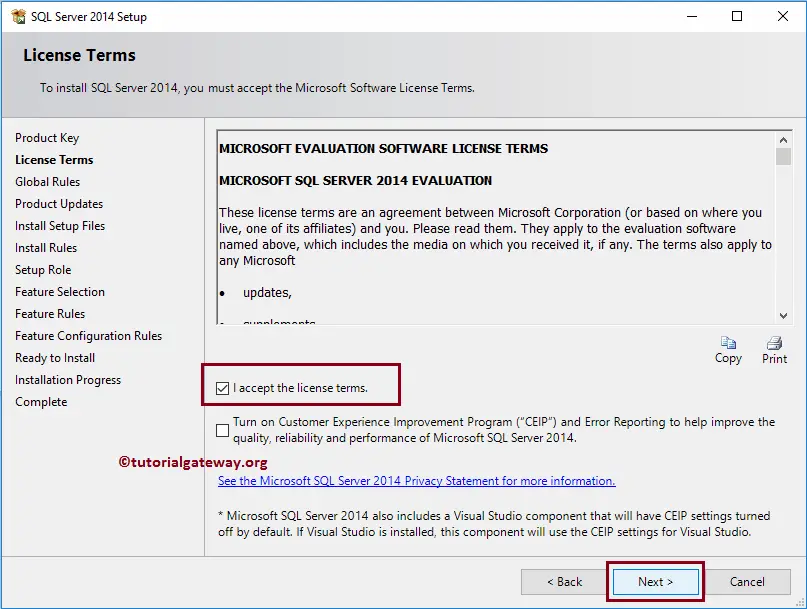
Installation License Terms: Checkmark both the checkboxes and click the Next button.
Check for Available Updates: Once you click the Next button, it will check for the list of available updates for installing SQL Server. And if there are any, then it will download and install them. Since we downloaded the latest step up the file, we don’t have any updates.
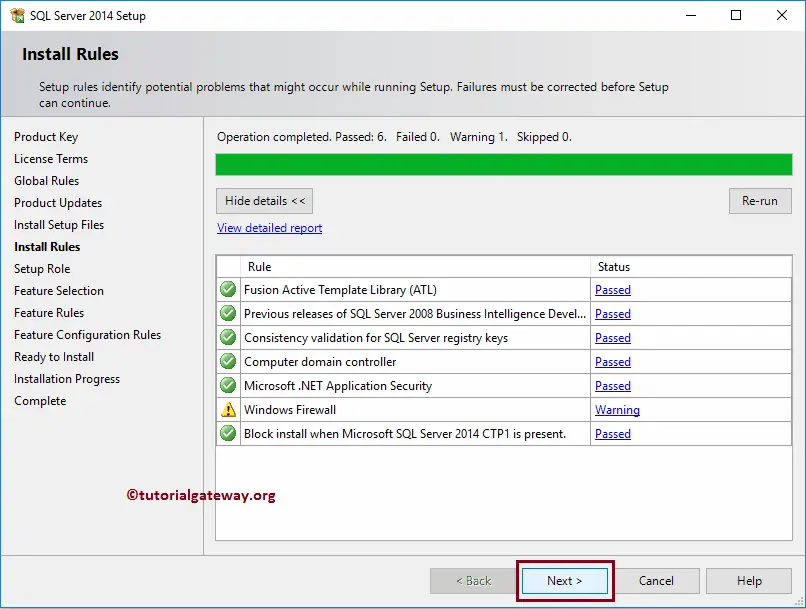
Install Rules: Next, it will enter into Install Rules window. And here, the setup will automatically advance and perform the operations. It has to pass all the rules present in this window, but you can leave this Windows Firewall warning. If you want to give the firewall, please disable the Windows firewall from your Windows settings (control panel).
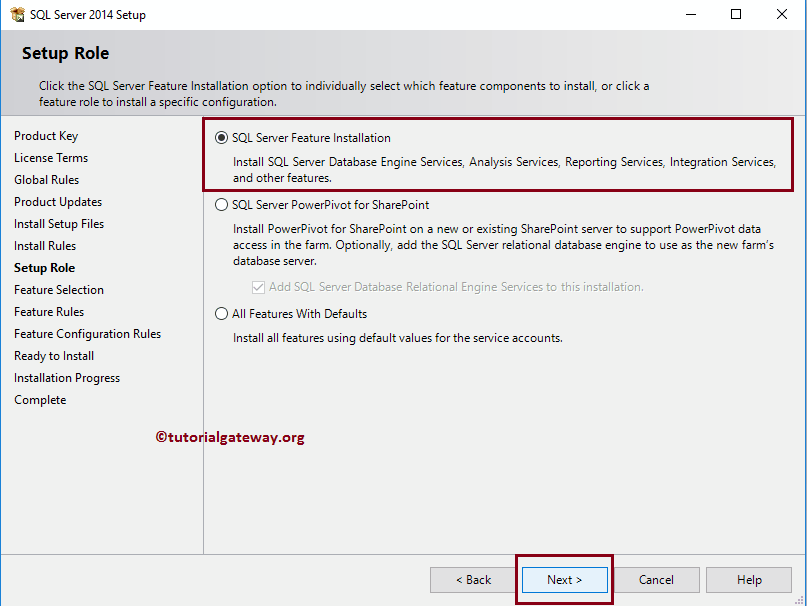
The Setup Roles: Once you click the Next button, it will enter the Setup page. Please select the first option, i.e., Feature Installation, as shown below. It will install SQL Server.
- Database Engine Services: To work with the Management studio.
- Analysis Services: To create Cubes so that we can use MDX queries on this multidimensional data. Please refer SSAS page.
- Reporting Services: It helps you to create Reports. Please SSRS page to understand the Reporting Services tutorials.
- Integration Services: It helps you to Extract, Load, and Transform data. Please SSIS page to understand the Integration Services tutorials.
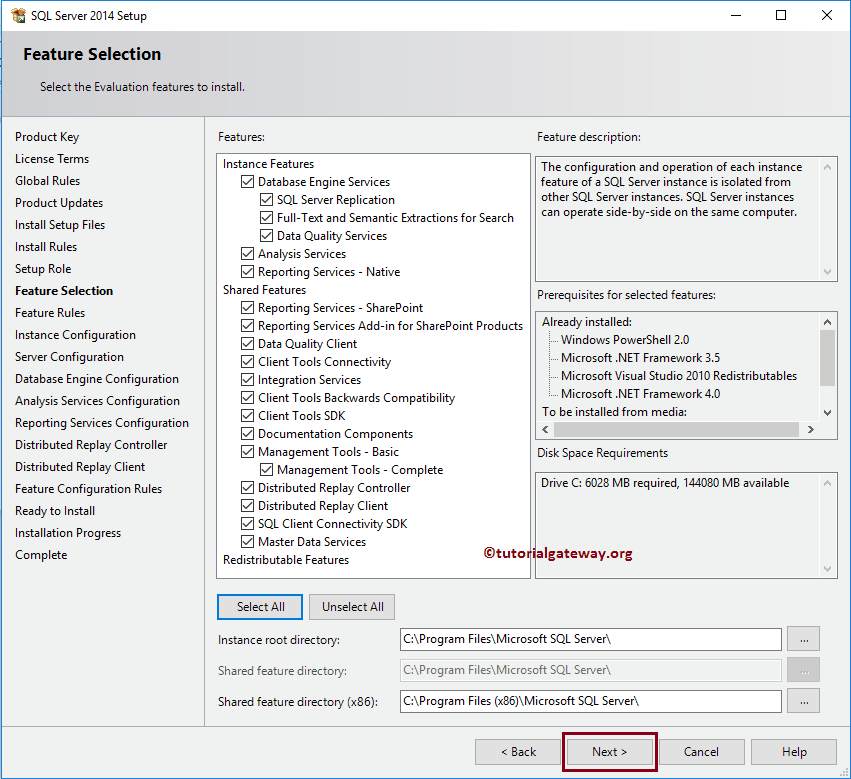
Feature Selection: Within the Feature Selection page, you must select the components you want to work with. We use this Server for transact queries, MDX, SSAS, SSRS, and SSIS tutorials. So, we are selecting all the available SQL Server components to install.
Instance Configuration: Once you click the Next button, it will enter the Instance Configuration page. Here you have to specify the instance name and the instance Id.
If you are upgrading, then select the default instance so that it will Update the existing install. Or, if you are installing Sql Server second instance (a system already had one instance), select the named instance and give a unique name.

Server Configuration: You can use the Service Accounts section under the Server Configuration Page to assign either a local system or a domain user account to the services. Please change as we have shown below.
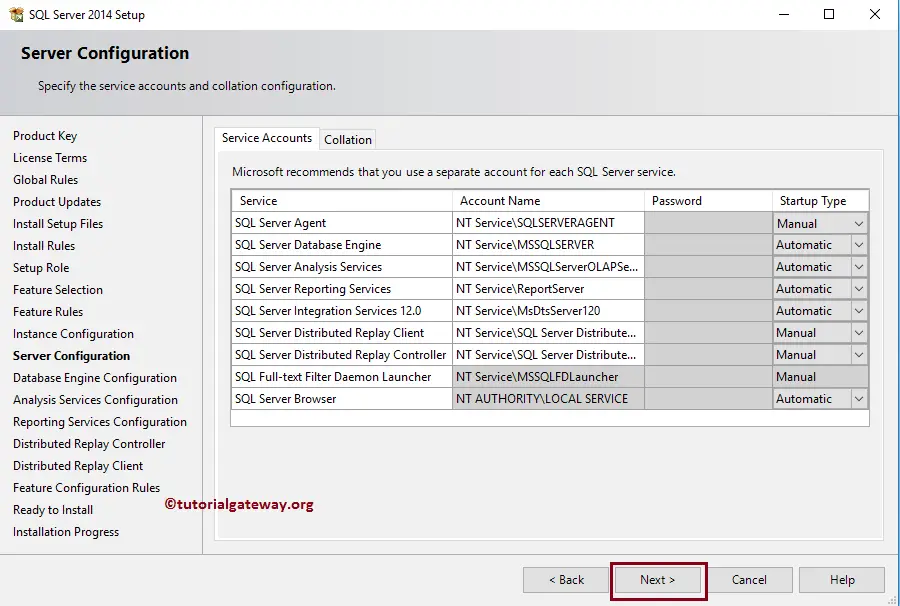
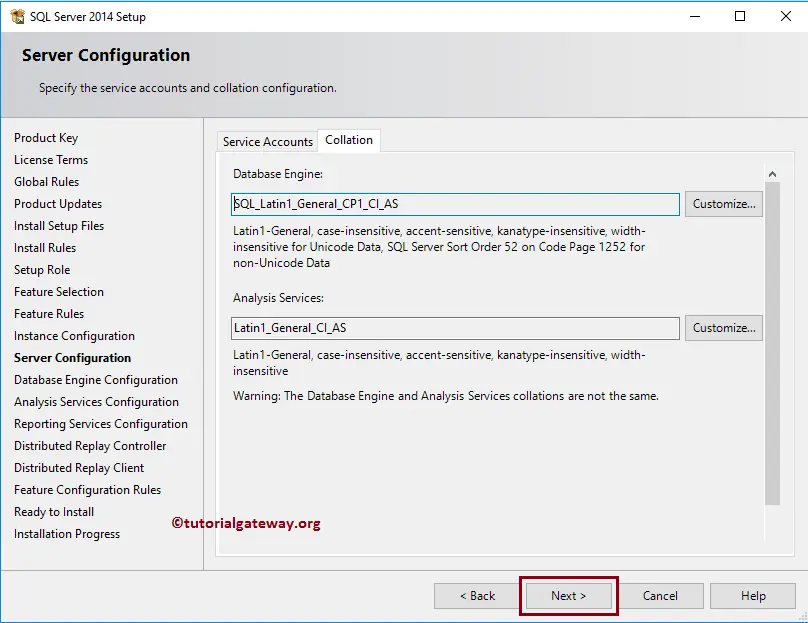
Collation Tab: Leave the Collation section to default settings while installing SQL Server.
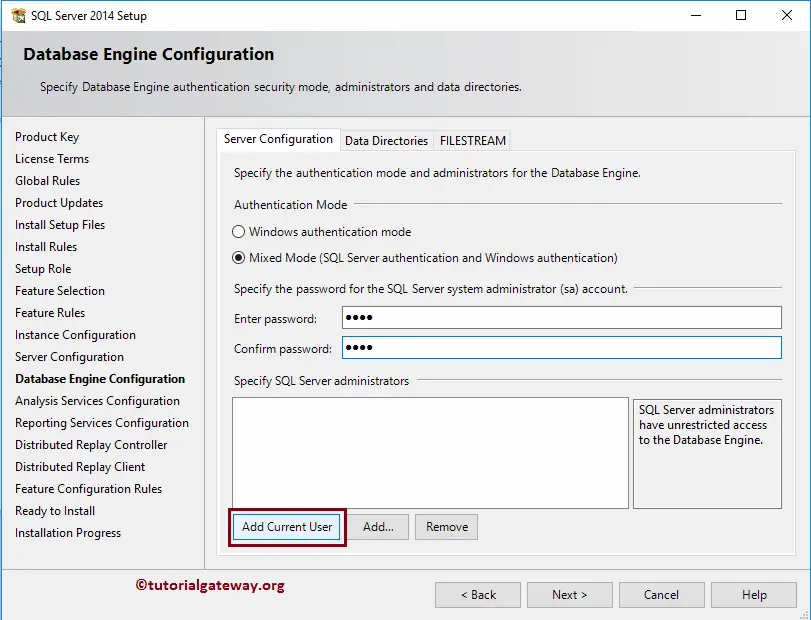
The Database Engine Configuration: Once you click the Next button, it will enter the Database Engine Configuration page. Here you have to specify the authentication mode.
If you select the Windows account, then step up will activate the sa account. Or, if you select Mixed Mode, you have to specify the strong password you will use to enter the database engine. Next, add the Users to access the database, and here we are adding the current user.
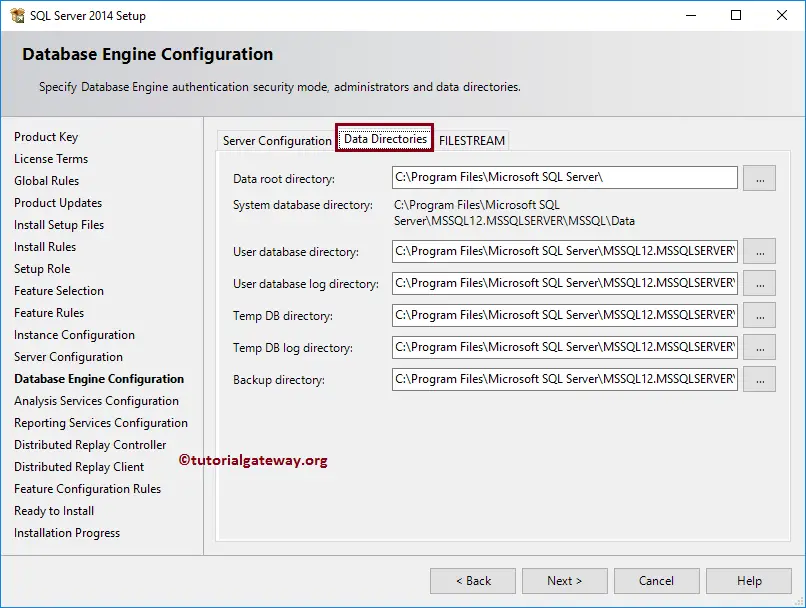
Data Directories Tab: Leave the data directories to default.
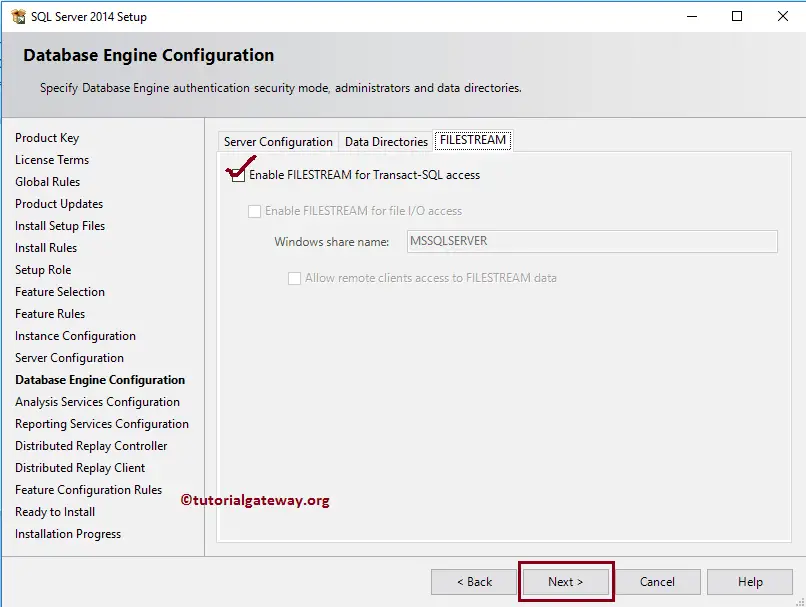
The FILESTREAM Tab: Checkmark the Enable FILESTREAM for Transact-SQL access.
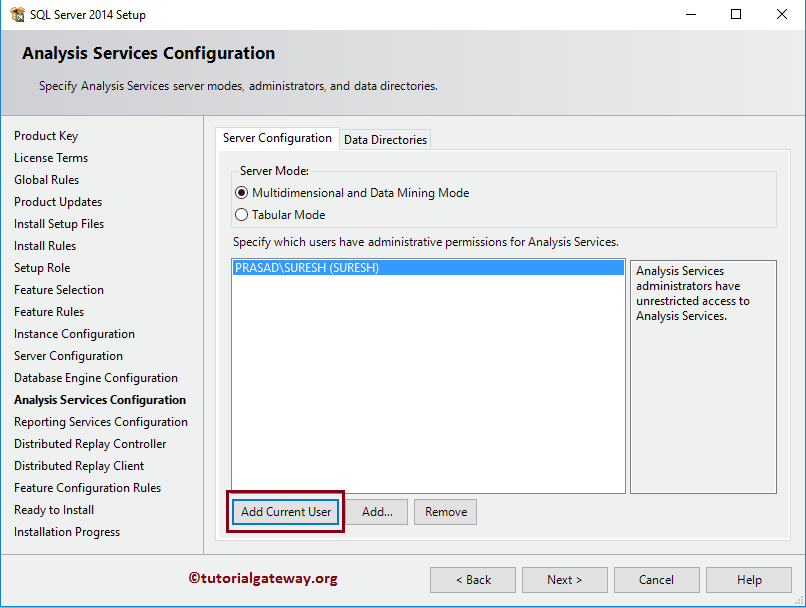
Analysis Services Configuration: Once you click the Next button, it will enter into the SQL Server Analysis Services Configuration page to install. Here you have to configure the Server and users to access the analysis services. Please select the Multidimensional and Data Mining Mode, and add the current user by clicking the Add Current User button. Use the Add.. button to add users to the service and the Remove button to remove the added users.
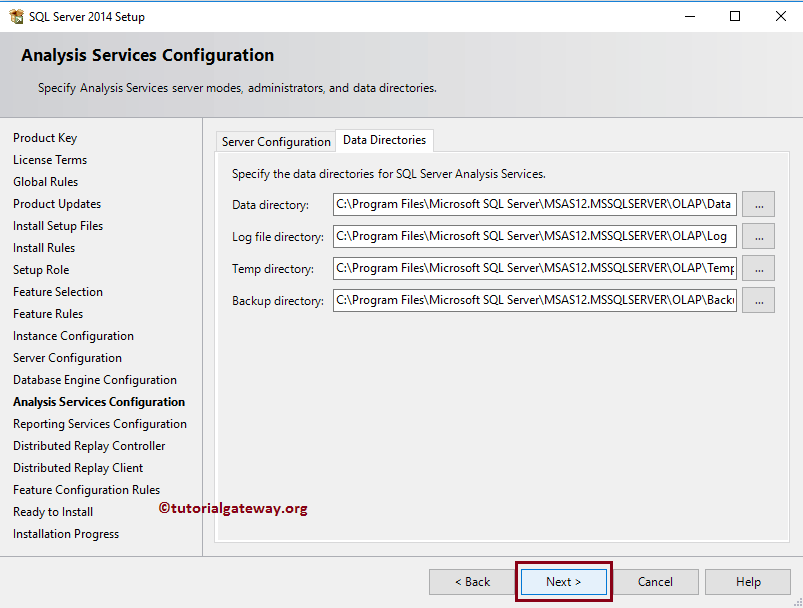
Analysis Services Data Directories Tab: Leave the data directories to default.
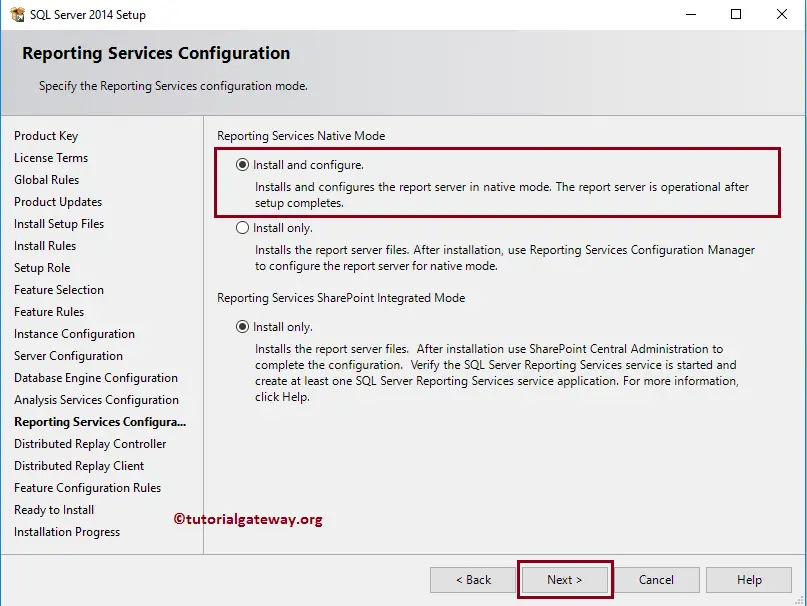
Reporting Services Configuration: Once you click the Next button, it will enter into Reporting Services Configuration page. Please select the Install and Configure option to install the Sql Server reporting service and also to configure it to native mode.
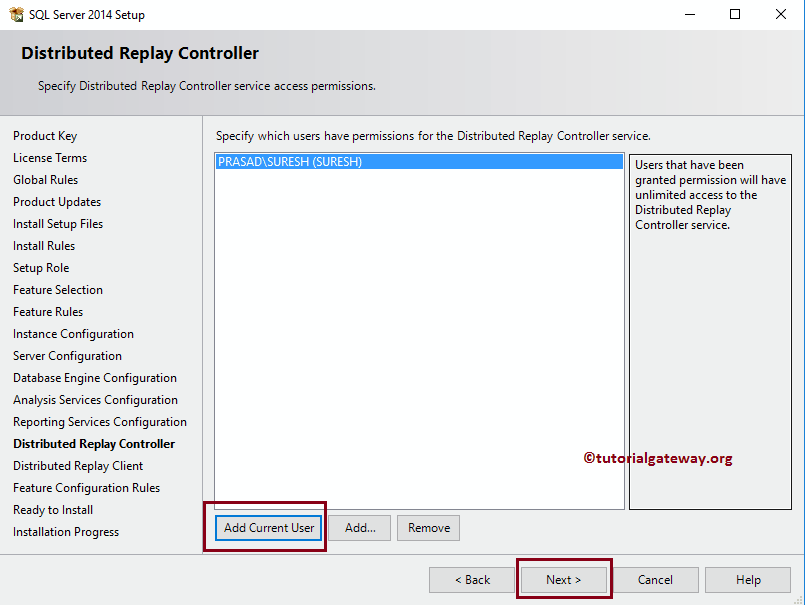
The Distributed Replay Controller: Under the Distributed Replay Controller page, we are adding the current user to access this service.
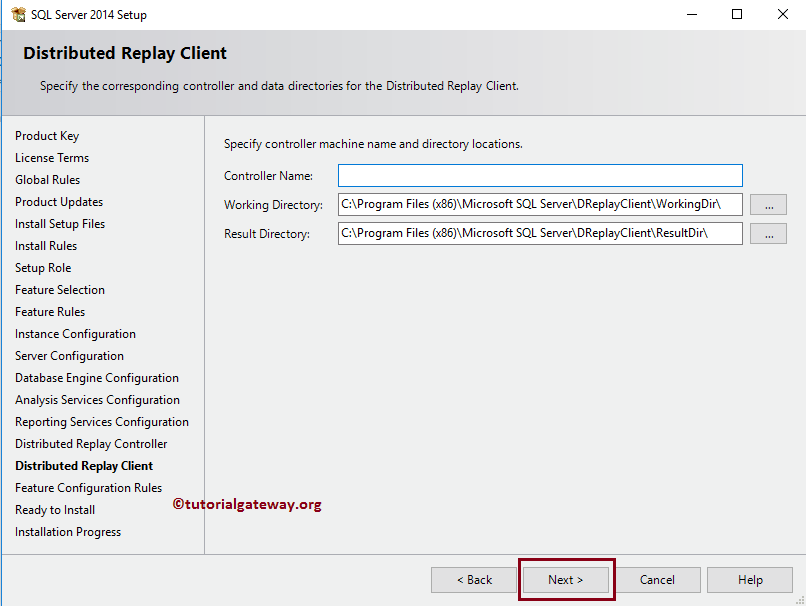
Distributed Replay Client: Within the Distributed Replay Client page, you have to specify the SQL Server Controller Machine name that you are going to use as a reply client.
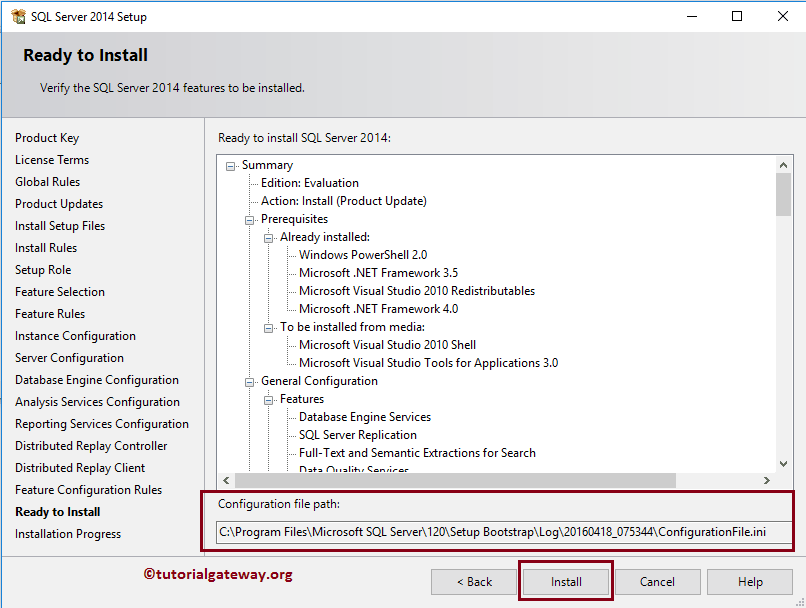
Ready to Install: Under the Ready to Install page, please cross-check the Configuration File path.
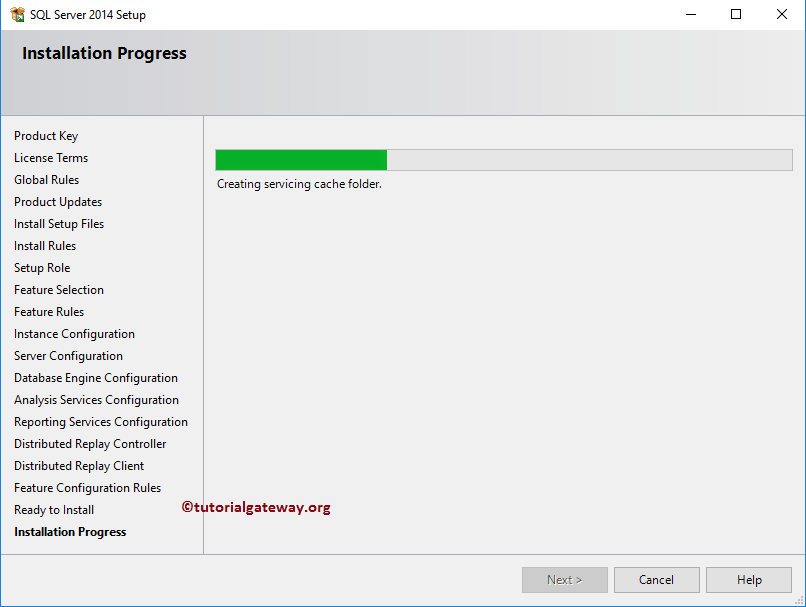
The Installation Progress: Once you click on the Install button, the Sql Server Installation Progress page will appear, and the installation process will be automatically advanced. Please wait until it installs 100%.
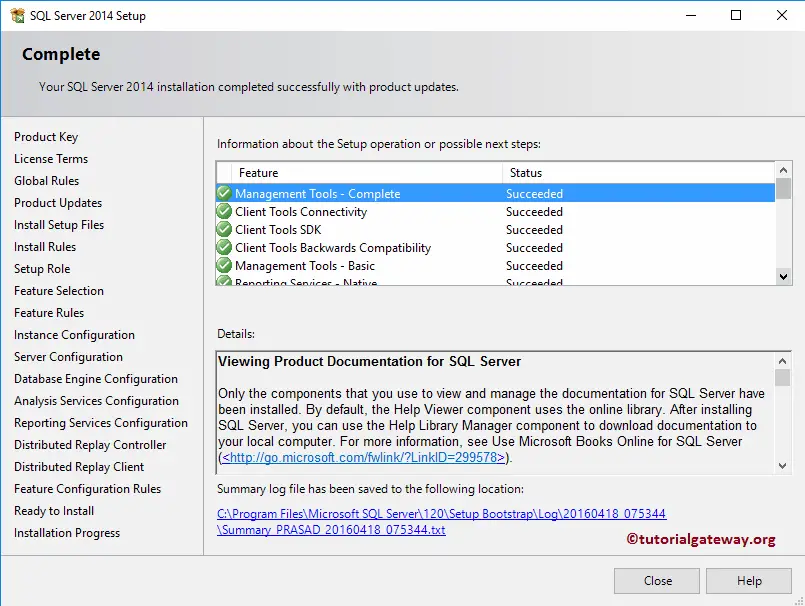
Complete Installation: Before closing the Setup or Installation Wizard, please check the status of each feature. If they are successful, then you are good to go.
I hope you understood the steps that are required to install the software along with Analysis Services and Reporting Services.
Comments are closed.