The SSIS Slowly Changing Dimension transformation coordinates the inserting and updating of records in data warehouse dimension tables. This transformation supports four types of changes, and in this article, we will explain SSIS Slowly Changing Dimension Type 2 (also called SCD Historical attribute or SCD 2).
SSIS Slowly Changing Dimension Type 2 (SCD 2): If you want to maintain the historical data of a column, then mark them as Historical attributes. If your Dimension table members (or Columns) are marked as Historical attributes, it will maintain the current record. And on top of that, it will create a new record with changing details. In real-time, the type of change provided by this SCD 2 or SSIS Slowly Changing Dimension Type 2 is beneficial. For example, if we want to maintain the Employee’s previous and current city or the Employee’s prior department and current department, we can mark these columns as Historical attributes. Before entering the example, let us see the data inside our Employees Dimension table.
NOTE: Since SSIS Slowly Changing Dimension Type 2 is maintaining historical data, as the data grows, SCD will be challenging to maintain the data.
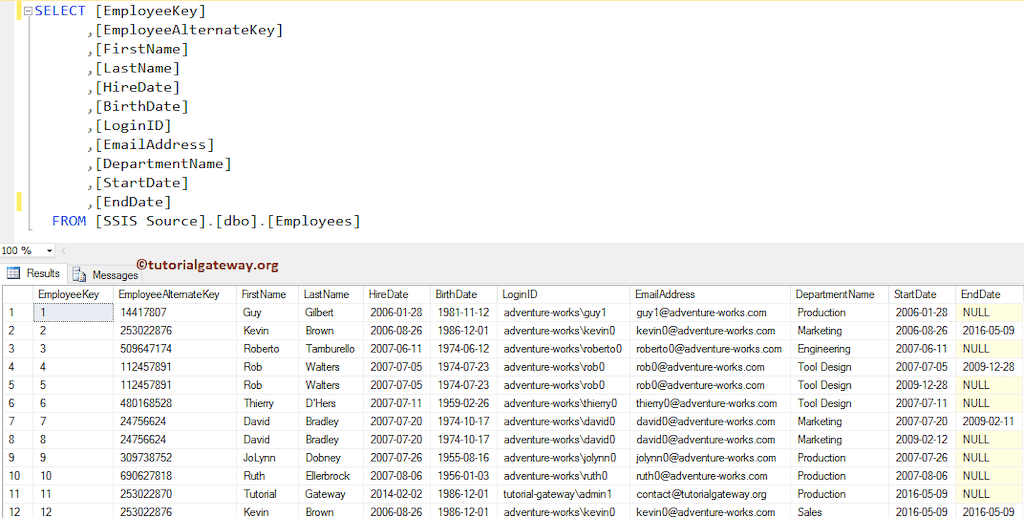
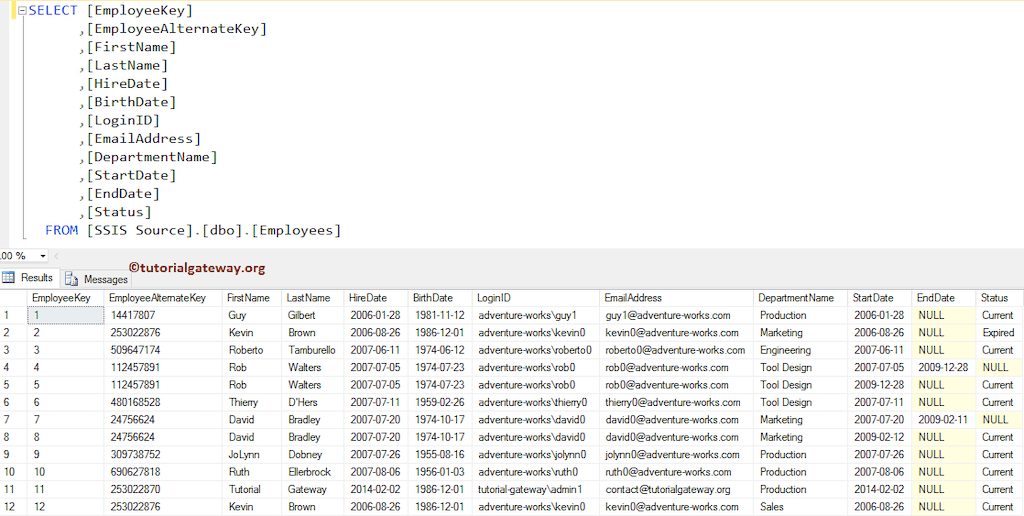
The following screenshot will show you the data inside our [Employees] table. We will use this data for this SSIS SCD 2 or Slowly Changing Dimension Type 2 demo. You can get the same data by selecting the TOP 10 records from the [DimEmployee] table in the [AdventureWorksDW2014] database.

The image below shows the data in the [EmployeeSource] table; we will update or insert these two records into the [Employees] table.
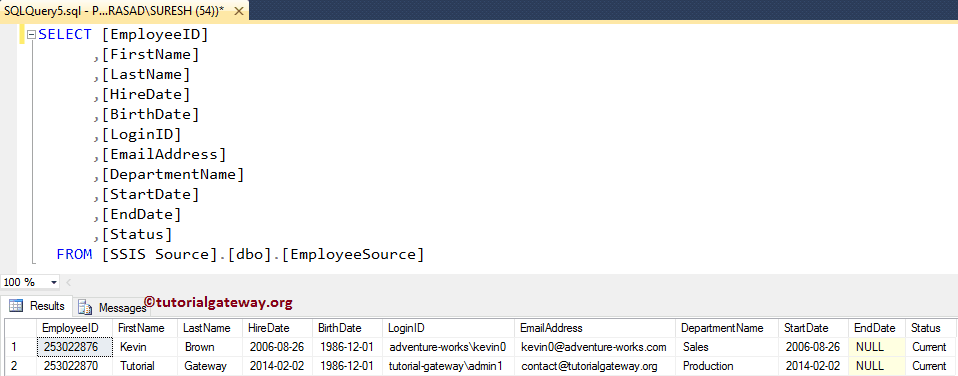
If you observe the above screenshot, the Department Name of the EmployeId (253022876) is different from the original value. It has changed from ‘Marketing’ to ‘Sales,’ We have a new record with EmployeId 253022870. Our task is to insert the new record and update the Department Name of the second record.
SSIS Slowly Changing Dimension Type 2 example
STEP 1: Open BIDS and Drag and drop the data flow task from the toolbox to control flow and name it SSIS Slowly Changing Dimension Type 2.
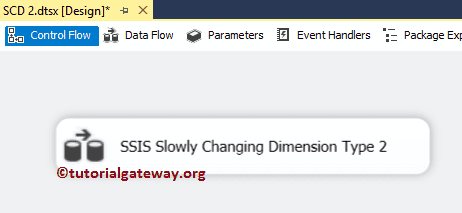
Double-click on it will open the data flow tab.
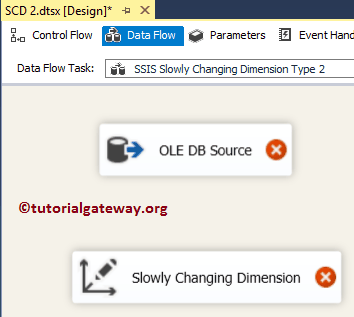
STEP 2: Drag and drop OLE DB Source, Slowly Changing Dimension from SSIS toolbox to data flow region
STEP 3: Double-click on the OLE DB source in the data flow region. It will open the connection manager settings and provide space to write our statement. Here, we use the already created OLE DB Connection Manager and EmployeSource table as the Source table. If you find any difficulty configuring, please refer to the OLE DB Source.
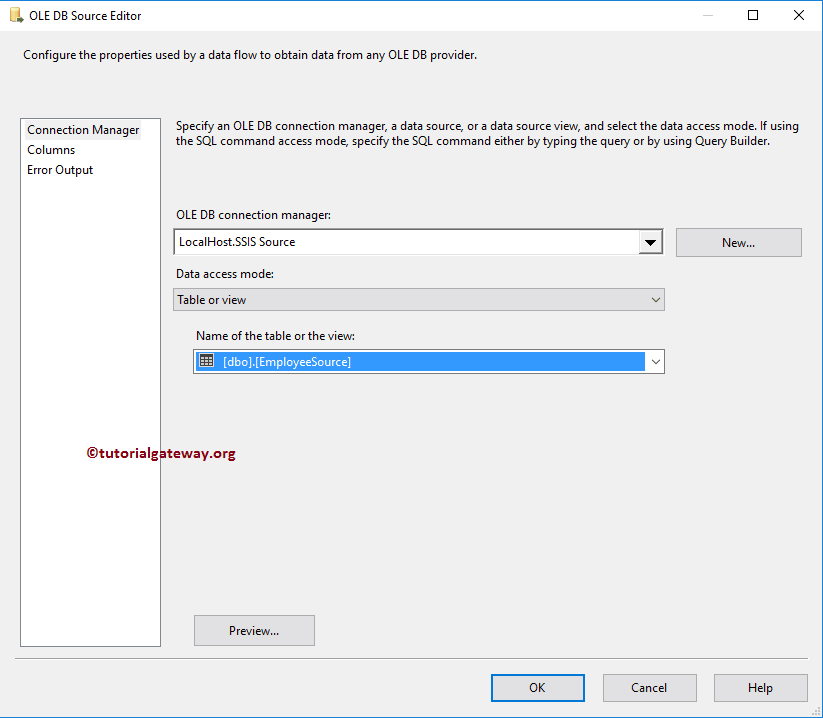
STEP 4: Click on the columns tab to verify the columns. In this tab, we can uncheck the unwanted columns also.

To use the OLE DB Source data, Please Drag & drop the blue arrow from the OLE DB Source to Slowly Changing Dimension Transformation to connect the data.
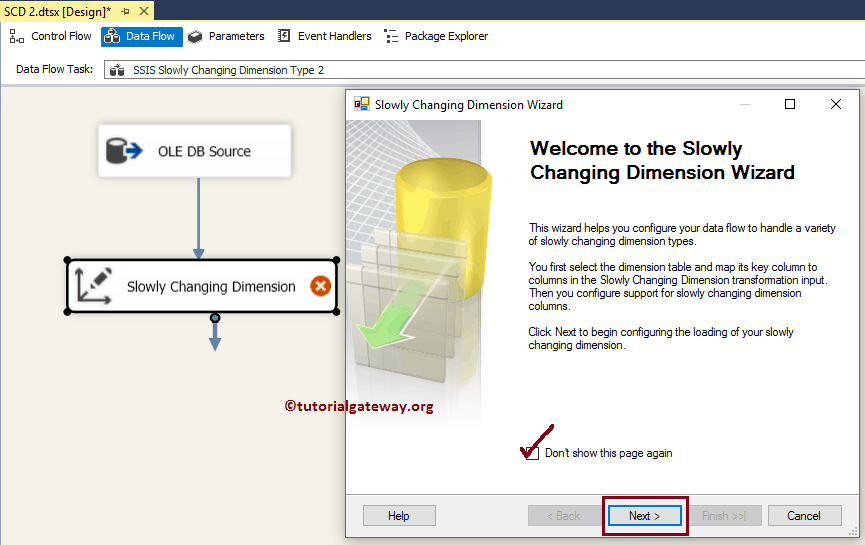
SCD 2 STEP 5: Double-click the SSIS Slowly Changing Dimension transformation to work with SCD type 2. Once you click on it, It will open Slowly Changing Dimension Wizard. The first page is a welcome page. If you don’t want to see this page again, Please tick the checkbox “Do not show this page again”. For now, click Next.
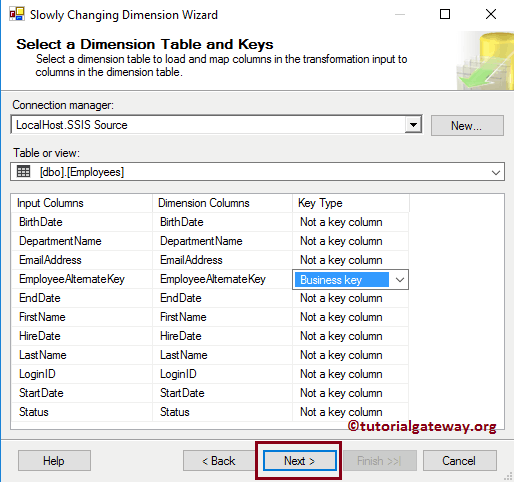
STEP 6: Select a Dimension Table and Keys: This page configures the Dimensional table information.
Connection Manager: This option provides a connection to the dimension table. Here we use the already created OLE DB Connection Manager, which connects to the database. You can change the connection manager settings by clicking the New button.

Table or View: This option is useful for selecting the Data Warehouse Dimension table or View on which you want to operate. Here we are choosing the Employees table.

- Input Columns: Columns that are coming from the OLE DB Source.
- Dimension Columns: Columns that are available in the Employees Dimension table.
- Key Type: To perform SSIS Slowly Changing Dimension 2 or SCD 2, we need at least one Business key. Here, we know the Employee Alternative Key is the key column. Please change the Key type from Not a Key Column to Business key.
STEP 7 – Columns: This is the main page in this wizard to create SSIS SCD 2 or Slowly Changing Dimension type 2. Here we have
- Dimension Columns: All the columns in the Dimension table will be available in this section. Here you have to select the columns you want to choose for Change Type. From the below screenshot, you can observe that we are selecting the Birthdate, Login ID, and Department Name columns.
- Change Type: Select the change type. In this example, we keep the default Fixed attribute as the change type for the Birthdate and Login ID columns. We want to maintain the historical data for the Department Name. So we selected this as a Historical attribute.
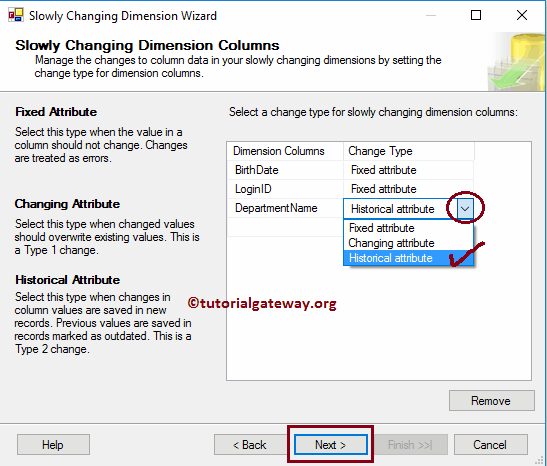
TIP: By default, the wizard assigns the Fixed attribute as the Change Type. But you can change them.
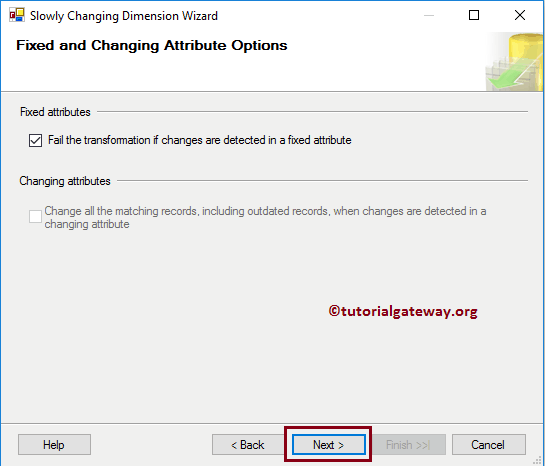
STEP 8 – Fixed and Changing Attribute Options: This page has two options, and we already explained the first option in the Type 0 article. We will disclose the second option in the next section.
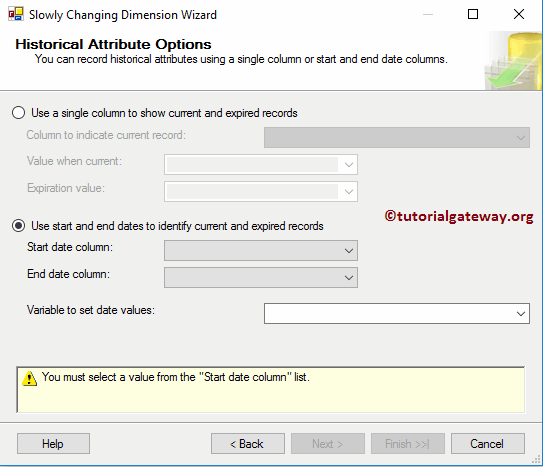
STEP 9 – SSIS Slowly Changing Dimension Historical Attribute Options: We have to configure the following option to maintain the historical data. First, we will show you the configuration setting of the second option, and later we will show the other option.
SSIS Slowly Changing Dimension or SCD Type 2 using Start Date and End Date: Please use the Use start and end dates to identify current and expired records option to use the Start and End dates.
- Start Date Column: Here, you must select the records’ starting date. For example, Employee Joining date or Production start date, etc.
- End Date Column: Here, you have to select the end date of the records (generally, the values will be NULL). For example, Employee End Date.
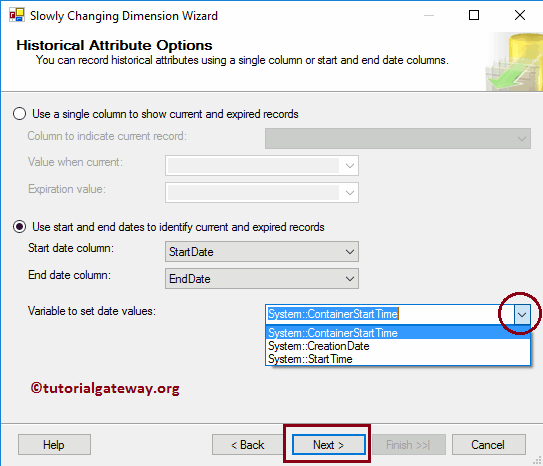
- Variable to set date values: Please specify the Starting date of the newly inserted record & End date of the current record.
From the below screenshot, you can observe that we selected the StartDate as the Start Date Column and EndDate as the End Date Column. The container starting time is the Starting date of the newly inserted record.
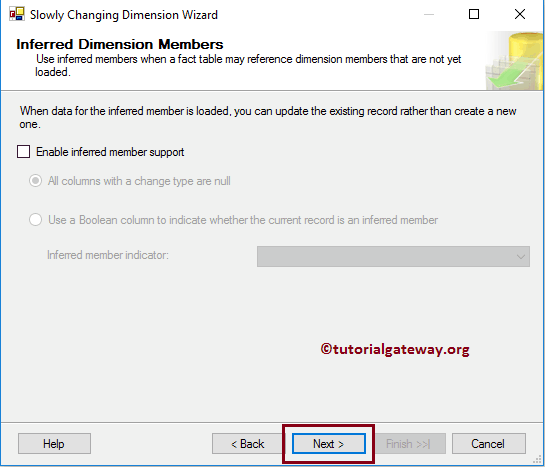
Inferred Dimension Members: We will discuss this option in the Inferred Dimension article. For this SSIS Slowly Changing Dimension or SCD type 2 example, we are de-selecting this option and clicking the Next button.
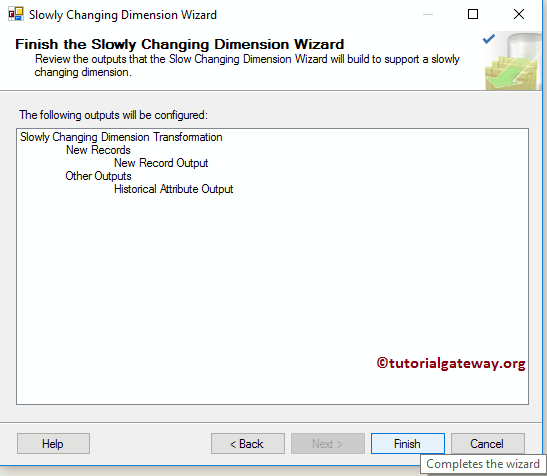
STEP 10 – Finish the Wizard: Click the Finish button to finish configuring the SSIS Slowly Changing Dimension, SCD Type 2
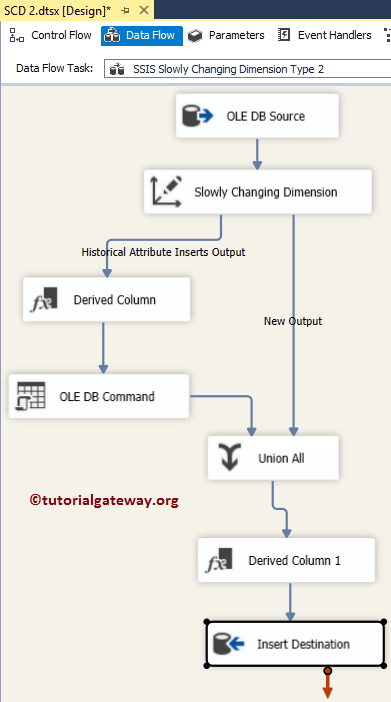
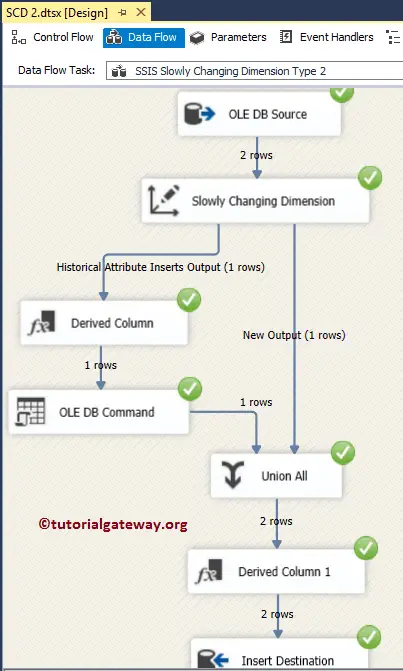
Once you click the finish button, our Data Flow will change automatically. If you observe the below screenshot, it added the Derived Column Transformation to set the End Date as the container starting time. OLE DB Command to update the End date (Null value) to the container starting time.
The Union All combines historical Data and New inputs. Derived Column Transformation to set the New record Start date as the container starting time. And the OLE DB Destination to insert new records into the Dimension table.
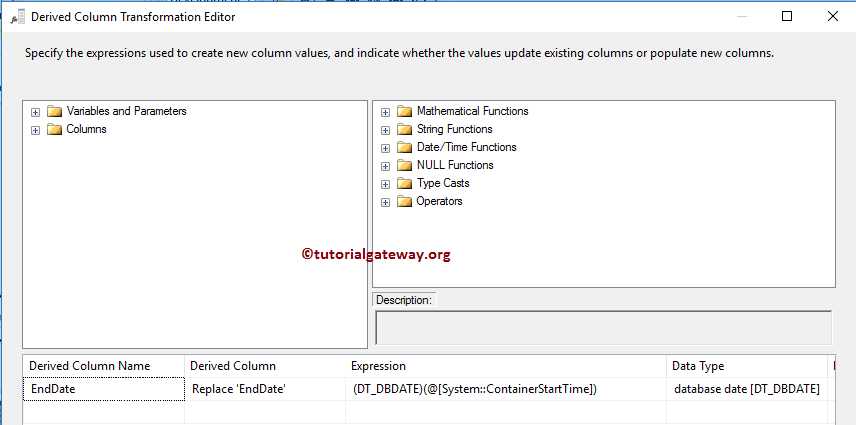
(Optional Step): Let us double-click on the Derived Column Transformation to check the automatically generated expression to set the End date.
(Optional Step): Let us double-click on the OLE DB Command Transformation to check the Update statement that was created automatically.

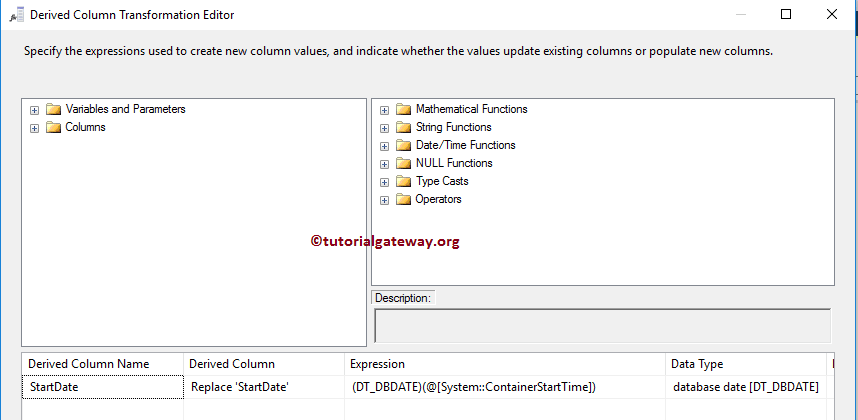
(This is an Optional Step): Let us double-click on the Derived Column to check the automatically generated expression to set the start date of new records.
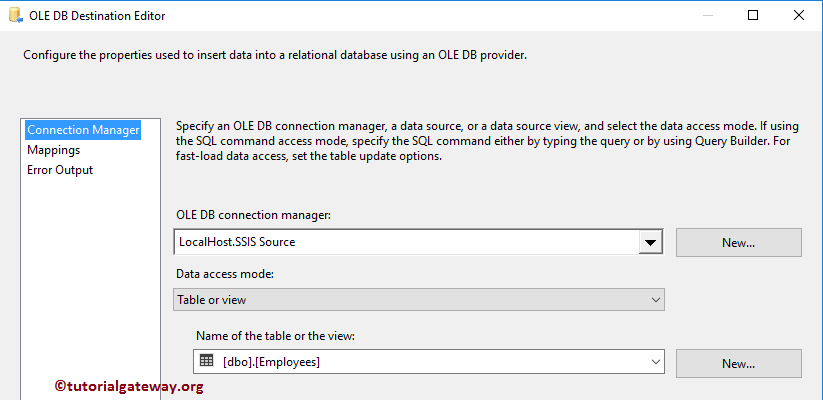
(Optional Step): Let us double-click on the OLE DB Destination. Check the automatically created destination, which includes the table name, connection manager setting, and mappings.
Click OK to finish our SSIS Slowly Changing Dimension Type 2 package design and run the SCD 2 package.
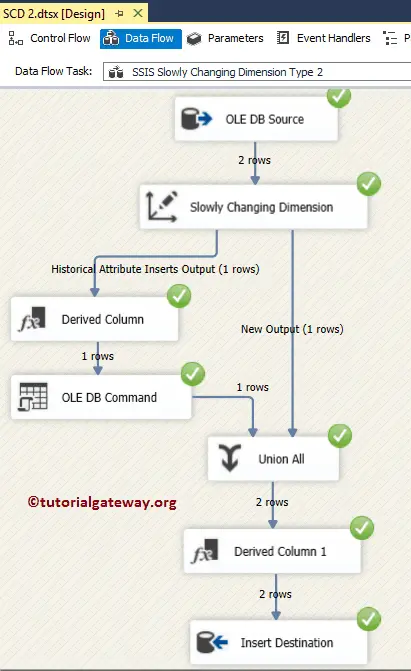
From the above screenshot, you can observe that two rows are coming from the OLE DB Source. One row is inserted directly, and the other row is maintained with historical information and then inserted.
Let’s open the Management Studio and check the results. If you observe the below records, our package
- Added New record of Employee Alternative key 253022870.
- Set the End date Employee Alternative key 253022876 and
- Added New record for Employee Alternative key 253022876 with updated department name.
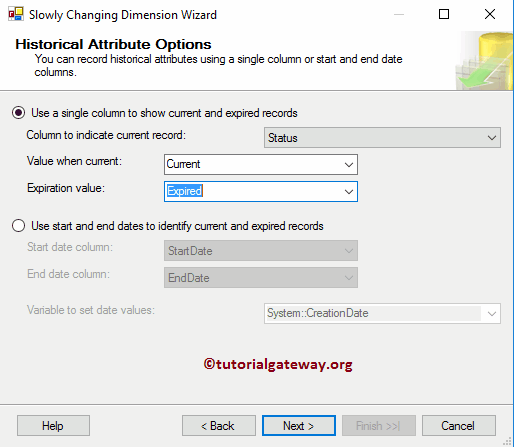
Let us see what will happen when we check the Use a single column to show current and expired records option for SSIS Slowly Changing Dimension Type 2:
- Column to indicate current record: Please specify the column name for current and expired records. Here we are selecting the Status column
- Value when Current: Here, you must specify the value that will appear for the current records.
- End Date Column: Here, you have to specify the value that will appear for the expired records.
Click OK to finish the SCD 2 or SSIS Slowly Changing Dimension Type 2 package design and let us run the package.
Let’s open the Management Studio and check the results. If you observe the below records, our SSIS Slowly Changing Dimension Type 2 package.
- Added New record of Employee Alternative key 253022870.
- Set the Status as Expired for the Employee Alternative key 253022876 and
- Added New record for Employee Alternative key 253022876 with updated department name and set the status as Current.
Comments are closed.