Union All Transformation in SSIS is used to combine data from multiple sources (excel files, flat files, etc.). Or multiple SQL tables and produce one output to store in the destination table. Union All Transformation in SSIS does not follow any particular order while merging the data and storing it in the destination table.
For example, the company has 100 stores, each maintaining its sales data. End of the day, they all belong to one company, and your job is to find out the one month or year sale for any single product. It is not practical to visit 100 stores or to cross-check 100 Excel or flat files and calculate the sales. In this situation, all you have to do is use SSIS Union All Transformation to combine all the 100 Excel files from 100 stores store them in the data warehouse, and then calculate the product sales from the database.
NOTE: Union All Transformation in SSIS will produce only one output, which does not support an error output.
Union All Transformation in SSIS Example
We have product sales data stored in three different excel files (SALES 1, SALES 2, and SALES 3, as shown in the below screenshot). And we want to export all the excel data into one SQL database table.

STEP 1: Drag and drop the data flow task from the toolbox to control flow and rename it as Union All Transformation. For more Transformations >> Click Here.
Double click on the SSIS Union All Transformation will take us to the Data flow region.
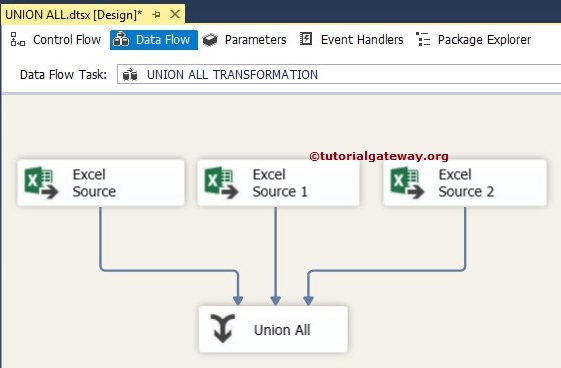
STEP 2: Drag and Drop three Excel sources from the toolbox to the data flow region
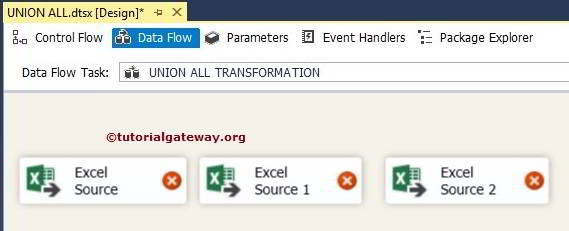
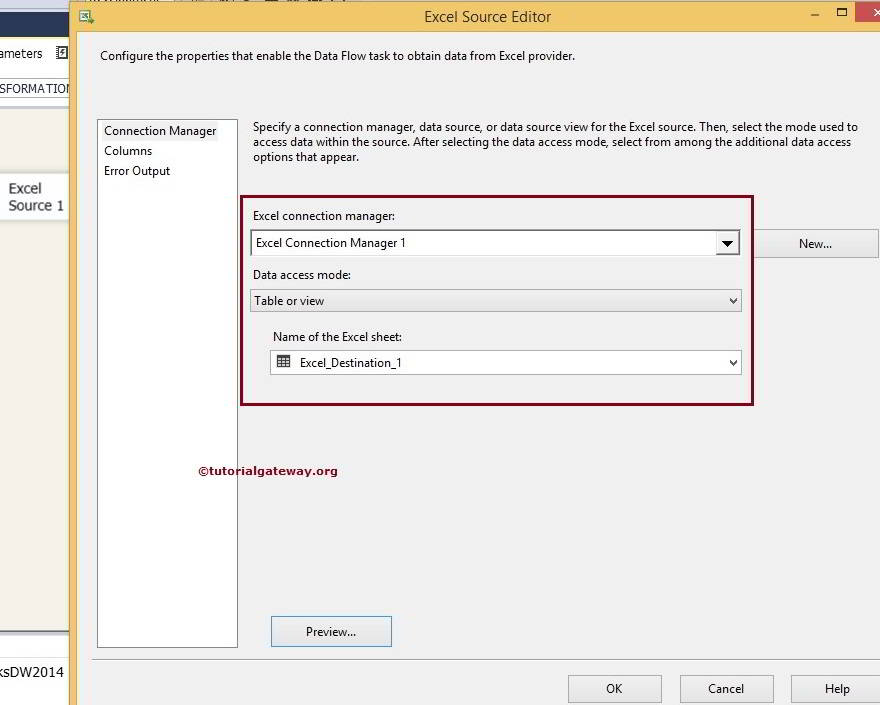
Double click on the first Excel source in the data flow region will open the connection manager settings and provide an option to select the table holding the source data.
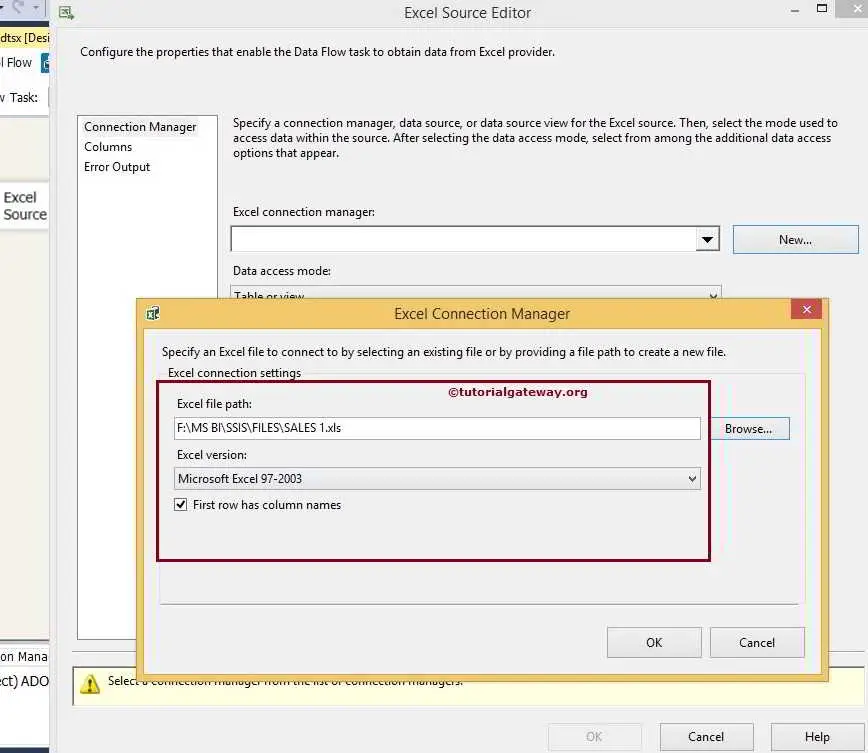
From the above SSIS Union all transformation screenshot, you can observe that we are selecting the SALES 1.xls file as a source. Click ok to select the table or Excel sheet that is holding the data.
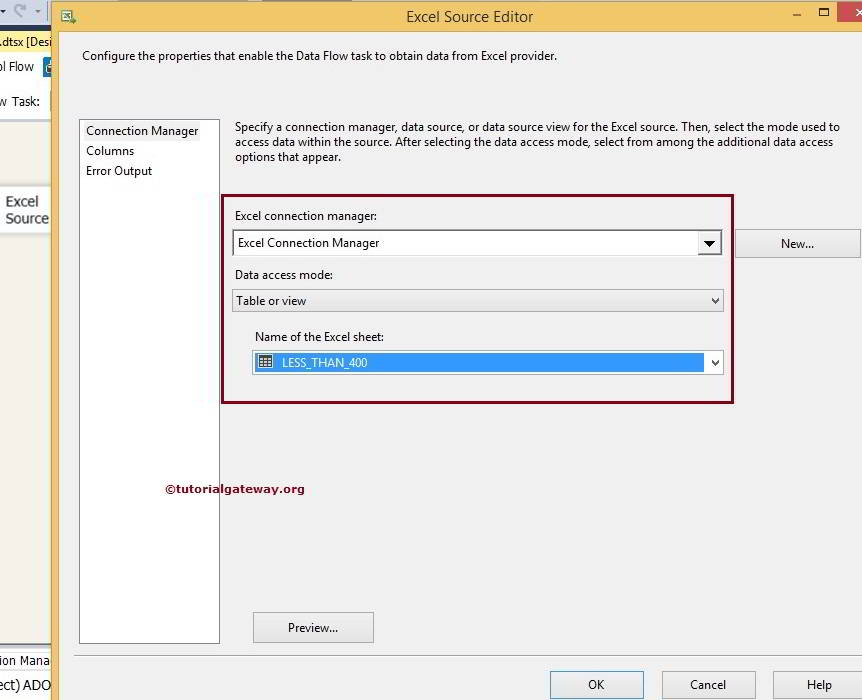
Here, we selected the LESS_THAN_400 Table present in the Sales1.xls
STEP 3: Click on the columns tab to verify the columns. In this tab, we can uncheck the unwanted columns also.

STEP 4: Double click on the second Excel source to configure it with the Sales 2 Excel file.
Do the same for another Excel file. Next, Drag and Drop the Union All Transformation into the SSIS data flow region.
STEP 5: Join all the Excel sources to the Union All Transformations by dragging the output arrows
STEP 6: Double click on the SSIS Union All Transformation will open the Union All Transformation editor window to configure it
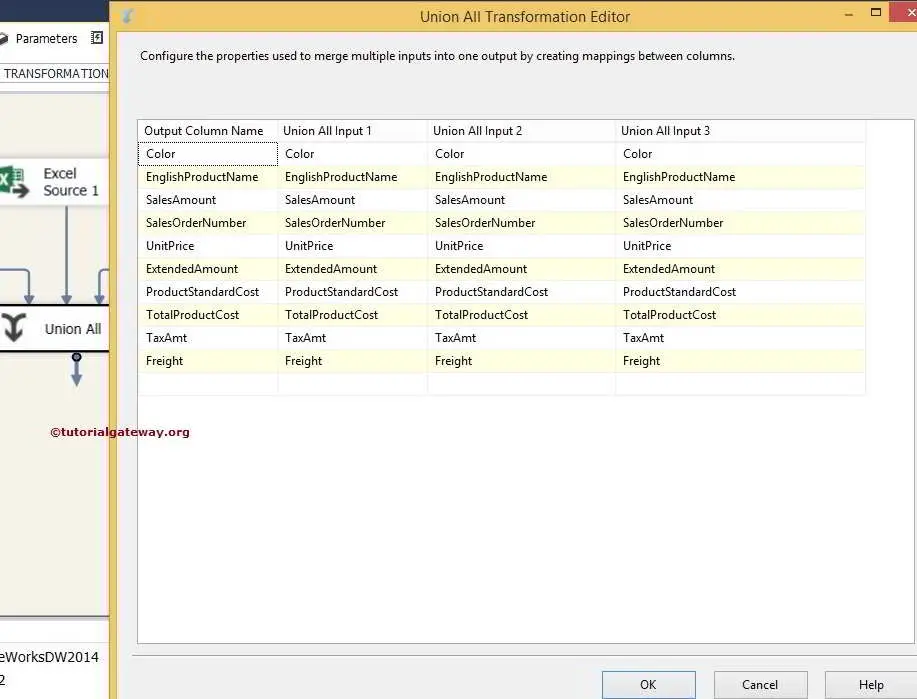
TIP: SSIS Union All Transformation editor automatically maps columns as long as the column names are the same. If they aren’t, then we have to do it manually. Please be careful with the data conversions while working with Excel.
STEP 7: Drag and drop the OLE DB destination and double-click on it to configure. Now, we have to provide the target’s Server, database, and table details.
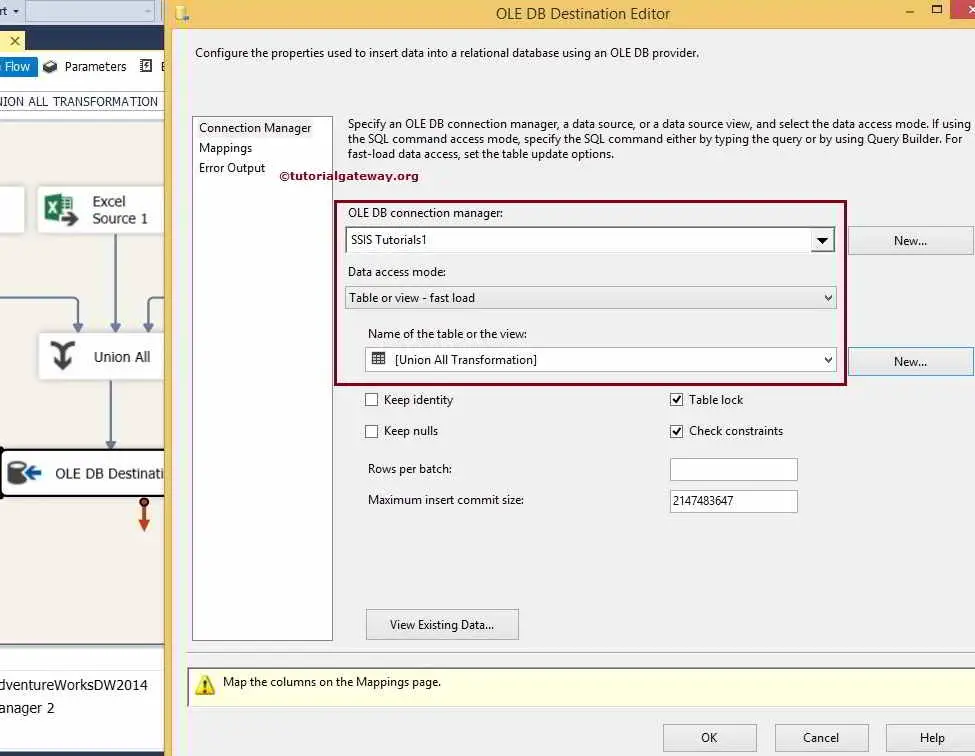
Here, we selected the database and the [Union All Transformation] table as destinations.
STEP 8: Click on the Mappings tab to check whether the SSIS Union All Transformation source columns mapped exactly to the destination columns.
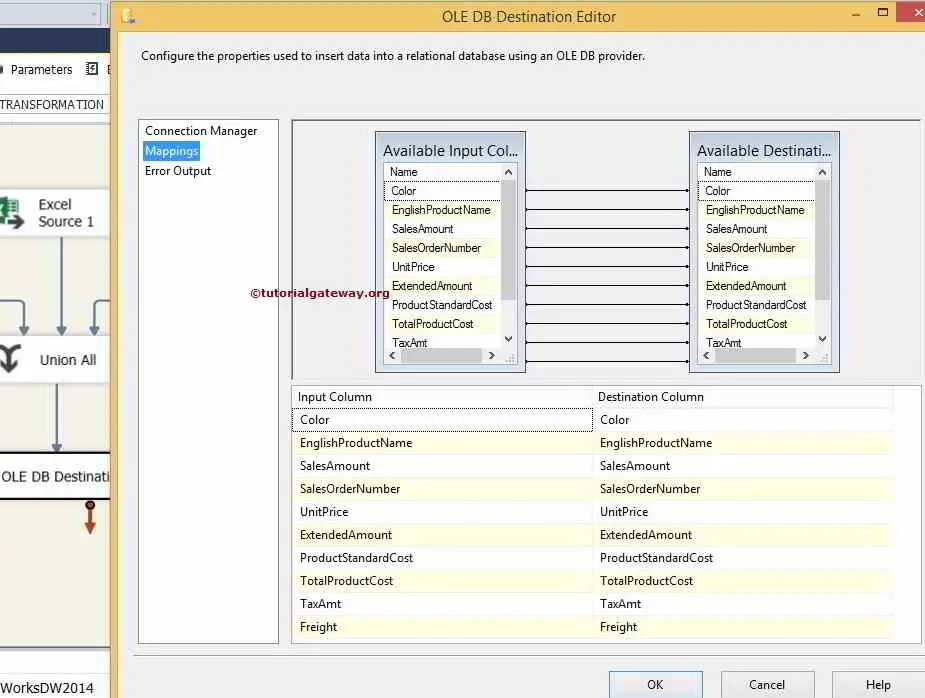
By clicking ok, we finish developing the Union All Transformation package. So, Let us run the package.

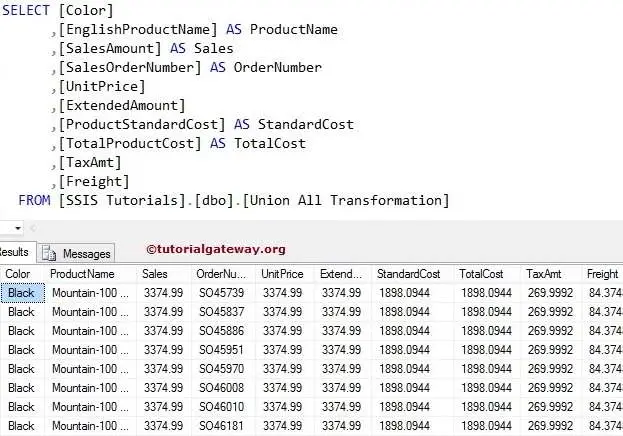
Let’s open the Management Studio and check the Union All Transformation result.
Comments are closed.