In this article, we are going to explain to you the Case Sensitivity problems that occur while working with SSIS Lookup Transformation with an example. In this example, we are going to use the OLE DB Connection to connect with SQL Server.
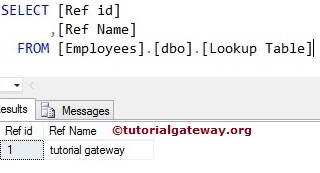
Before you start creating your SSIS lookup case sensitivity package, Let us see the Lookup table in SQL Server and its data
Now, let’s see the source data as well.
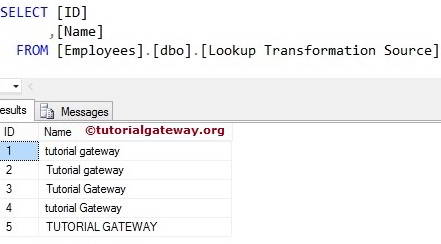
If you observe the lookup and source table, the Data is the same but differs in Case.
TIP: Please refer to the Lookup Transformation and Full Cache Mode article to understand How SSIS Lookup will Operate on Databases like SQL Server, Oracle, and DB2 servers using the OLE DB Connection Manager. For more Transformations >> Click Here.
Configuring SSIS Lookup Transformation
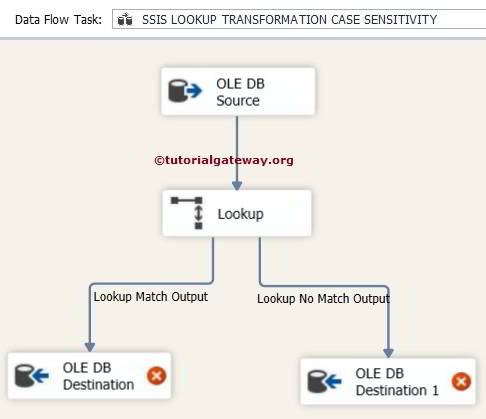
STEP 1: Drag and drop the Data Flow Task from the toolbox to the control flow region. And rename it as SSIS Lookup Transformation Case Sensitivity.
Double click on it will open the data flow tab.
STEP 2: Drag and drop OLE DB Source from the toolbox to the data flow region. Double-click on the OLE DB source in the data flow region, open the connection manager settings.
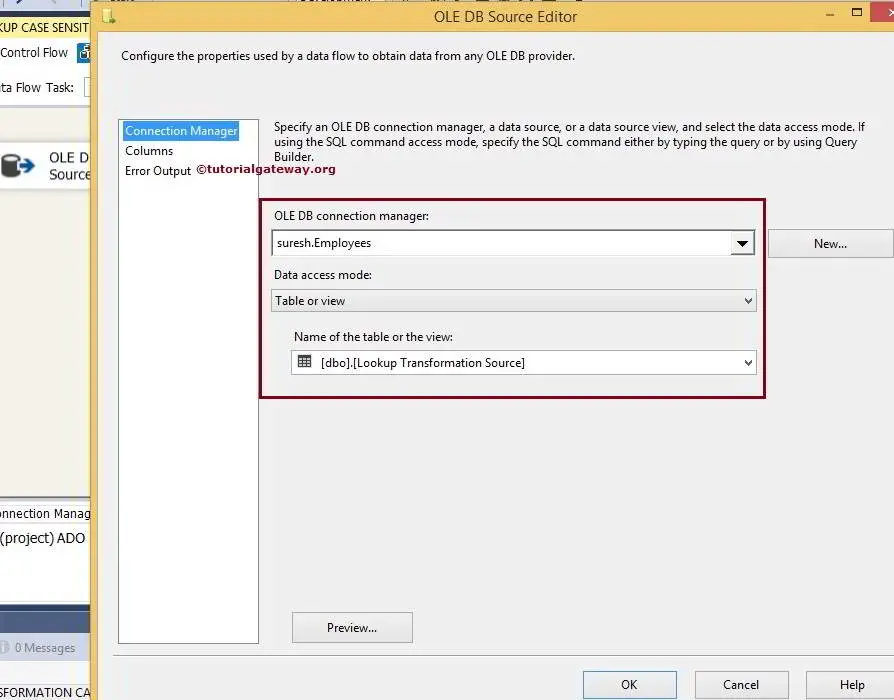
From the above screenshot, you can observe that We selected [Employees] Database as a source database and [Lookup Transformation Source] as a source table
STEP 3: Click on the columns tab to verify the columns. Here, we can uncheck the unwanted columns.
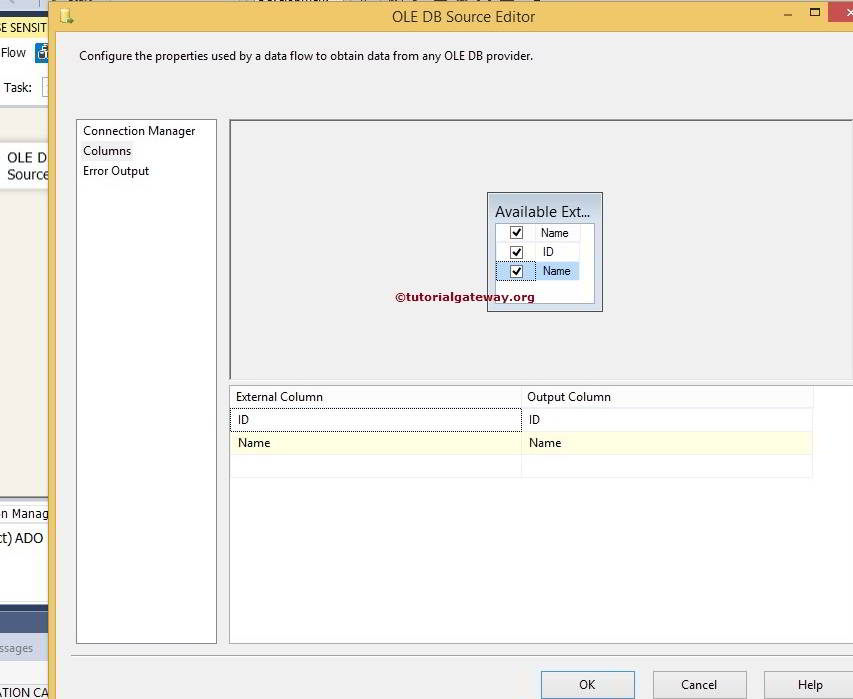
Click OK and Drag the Lookup Transformation from the toolbox to the Data Flow tab.
STEP 4: Double click on the Lookup Transformation to configure the lookup table (reference table).
In the General Tab, under “Specify how to handle rows with no matching entries”. Change the default Fail Component to Redirect rows to no match Output option. By changing this option, Unmatched rows are redirected to the No match output. Otherwise, the Package will Fail.
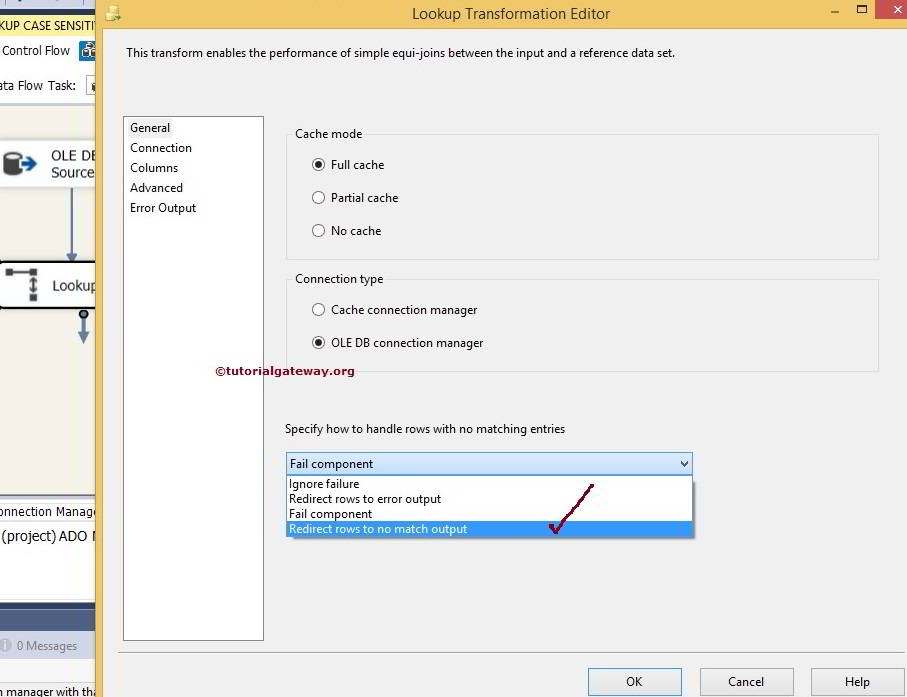
Under the connection type section, we selected the OLE DB Connection Manager because we are using the SQL Server table as a reference table. If you are using any cache file (.caw), use the Cache Connection Manager.
Click on the Connection Tab
STEP 5: Select from the list if you already created the OLE DB connection manager. Otherwise, click the New button and configure it. Here, we selected the Employees Database.
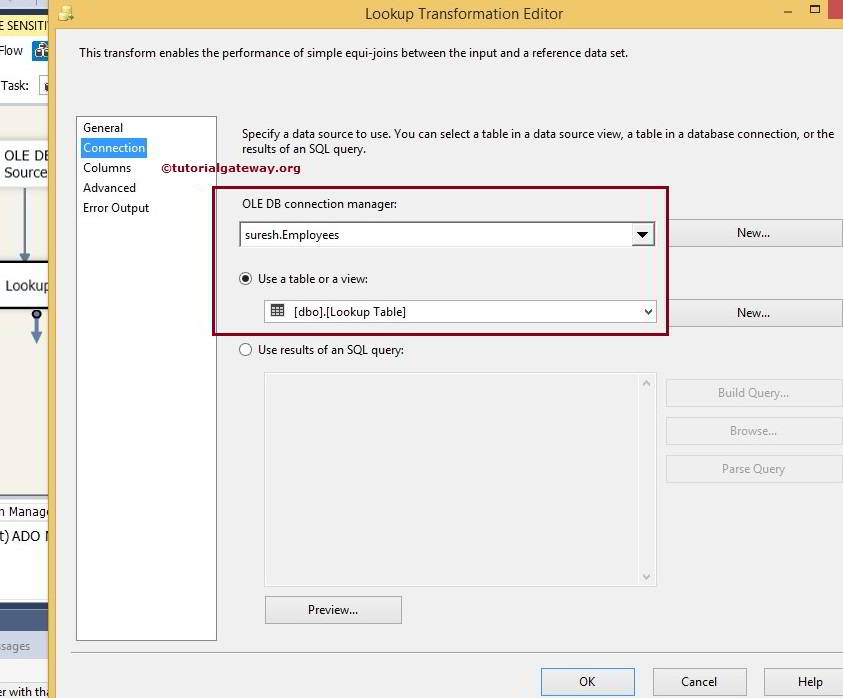
For this example, We are using the [Lookup Table] table as the lookup table or reference table. Source data is compared with the data presented in this table.
TIP: We should not use the whole table as the reference table. Perhaps you should use the SQL command to select the required column name you want to reference.
STEP 6: Click on the Available Input columns. Next, drag to the available lookup columns to create a join between the 2 data sets.
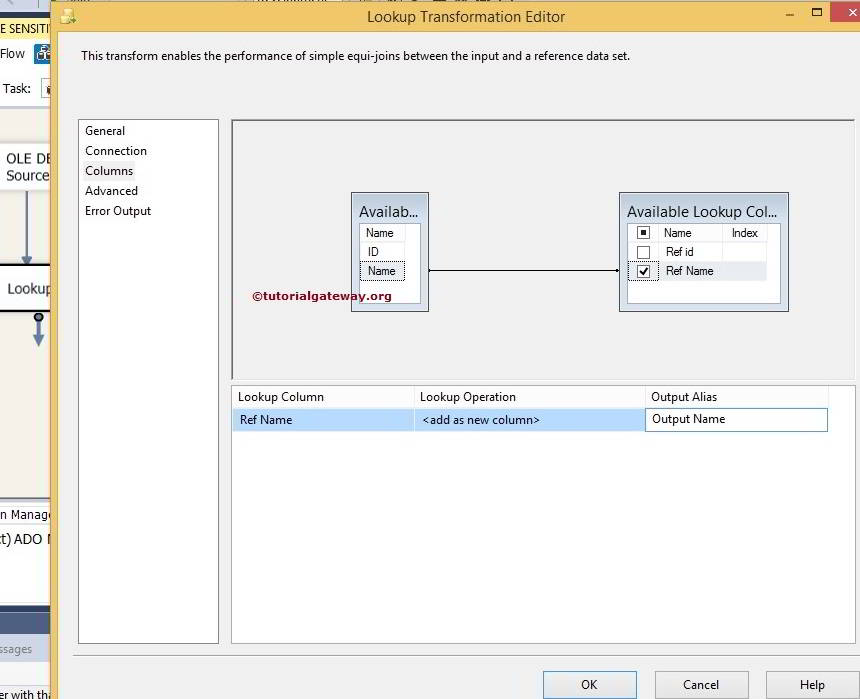
The name column in the source data will check against the [Ref Name] column in the lookup table.
- If each row of the Name column in the source data matches with any row of the [Ref Name] column in the lookup table, that row passes to the Matched Output.
- If each row of the Name column in the source data does not match with any row of the [Ref Name] column in the lookup table, that row will pass to No Match Output.
Sometimes, we may have extra columns in the lookup table that we want to pass to the matched output. In these situations, we have to checkmark that column in Available Lookup Columns.
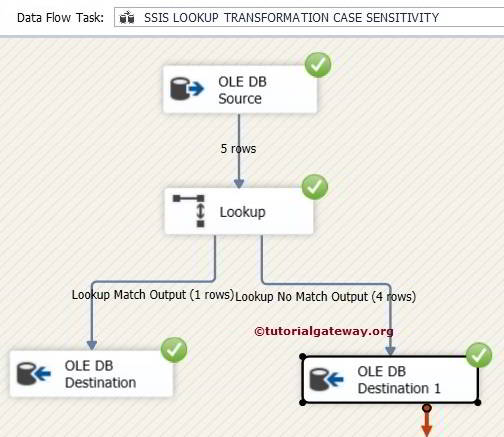
STEP 7: Drag and drop two OLE DB Destinations onto the data flow region. Next, drag the Output Arrow to this new OLE DB Destination. A pop-up window, Input Output Selection, appears, prompting you to select the Input-Output type: Lookup Match Output or Lookup No Match Output. Select Lookup Match Output and click OK.

When you drag another Output Arrow to OLE DB Destination 1, it automatically allocates Lookup No Match Output to it.
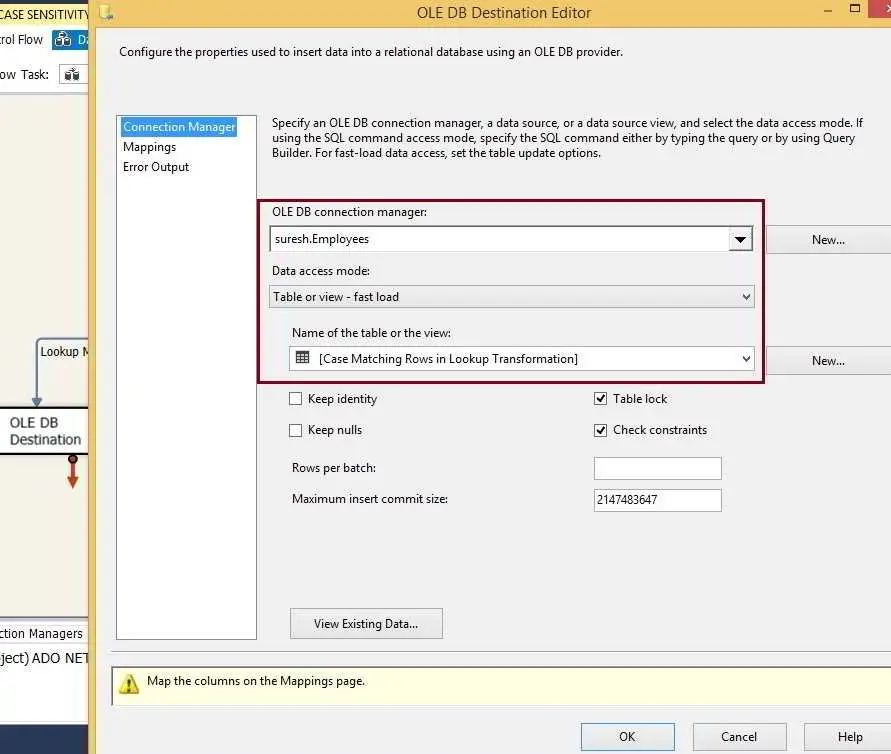
STEP 8: Double click on OLE DB Destination and select the OLE DB Connection manager. Next, select the [Case Matching Rows in the Lookup Transformation] table in the [Employees] Database to store the Matched Rows Data.
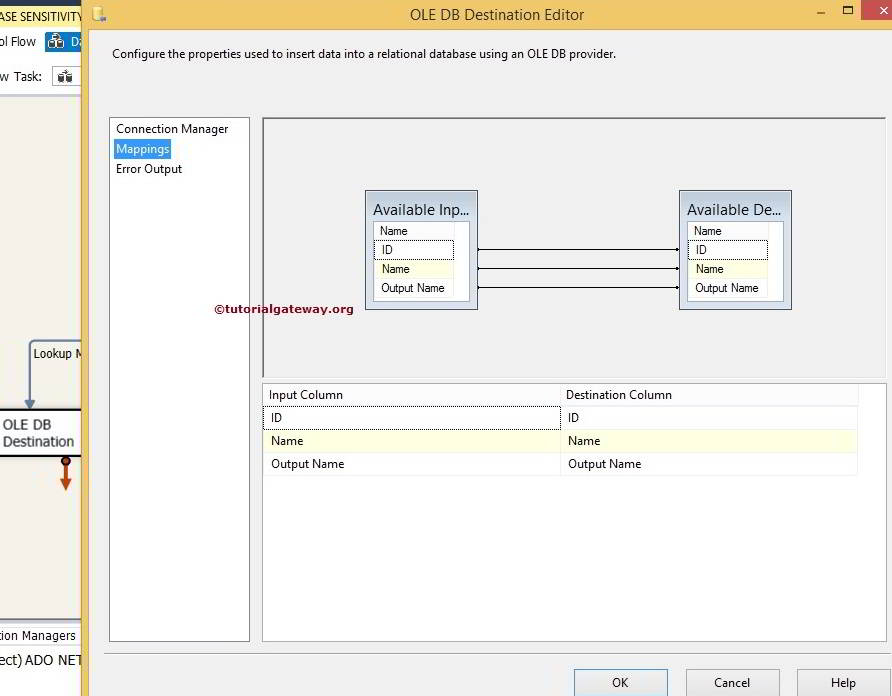
STEP 9: Click on the Mappings tab to check whether the source columns are mapped to the destination columns.
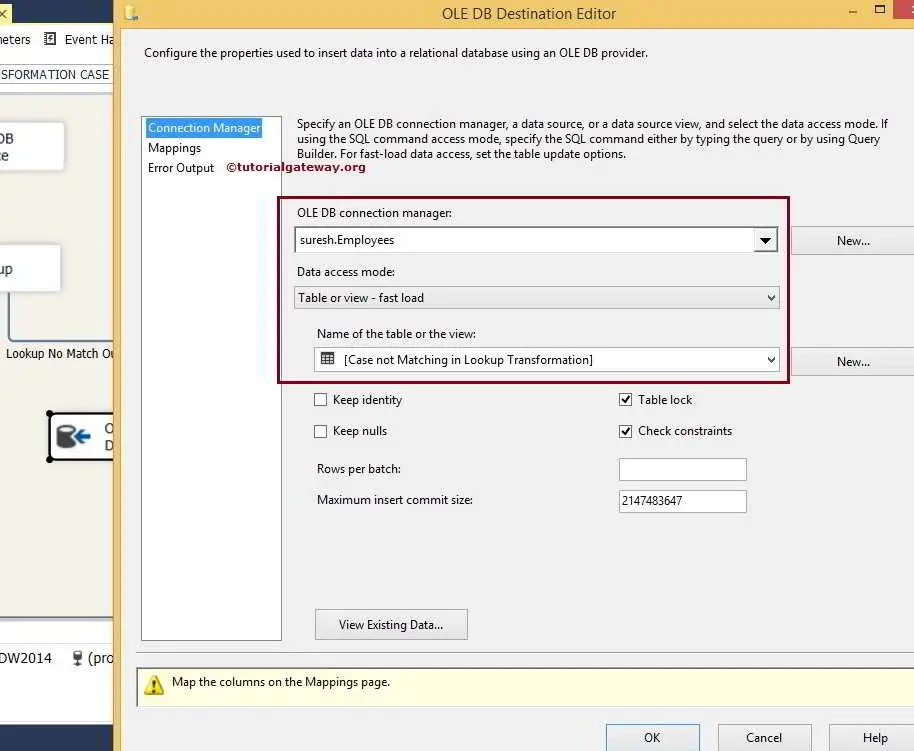
STEP 10: Now Double click on the OLE DB Destination 1 to configure the No match output. Here we will select the the [Case Not Matching in Lookup Transformation] table in the [Employees] Database to store the Not Matched Row Data.
Repeat STEP 9 and click ok to finish creating the SSIS Lookup Transformation Case Sensitivity Package.
Right-click on the SSIS Lookup Transformation Case Sensitivity Package in the Solution Explorer and select Execute Package.
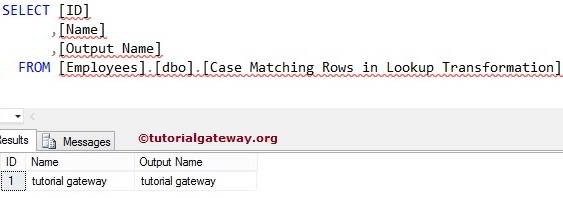
Let’s open the SQL Server Management Studio to view the Matched data of the SSIS Lookup Transformation Case Sensitivity package. Although each row in the source data matches with the lookup table, it displayed only one row as matching data. To eliminate these situations, use Character Map Transformation to convert all the source data into either lowercase or uppercase.
Let’s see the Unmatched Data
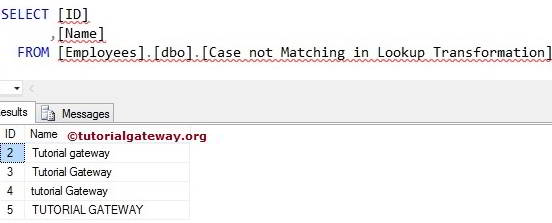
From the above screenshot, all the rows, which are not in lowercase, are treated as non-matching output.