In this article, we will explain how to perform SSIS Lookup Transformation in Full Cache Mode with an example. To use Full cache mode, we must use the Cache Connection Manager and SSIS Lookup Transformation.
Before you start creating your SSIS Lookup Transformation in the Full Cache Mode package, Please refer to the Lookup article to understand the properties.
TIP: Please refer to the Lookup Transformation and Case Sensitivity article to understand, How SSIS Lookup will Operate on Databases like SQL Server, Oracle, and DB2 servers using the OLE DB Connection Manager. For more Transformations >> Click Here.
Let us see the Lookup source table in our SQL Server and its data before creating the SSIS package.
SELECT [Country]
      ,[State]
      ,[City]
      ,[UnitPrice]
      ,[ProductStandardCost]
      ,[SalesAmount]
      ,[TaxAmt]
  FROM [Lookup Transformation Source]

Configure SSIS Lookup Transformation in Full Cache Mode
STEP 1: First, Drag and drop the Data Flow Task from the SSIS toolbox to control flow region and rename it as Lookup Transformation in Full Cache Mode.
Double-click on it will open the data flow tab.
STEP 2: Drag and drop OLE DB Source from the toolbox to the data flow region. Double-click on the OLE DB source in the data flow region, which will open the connection manager.
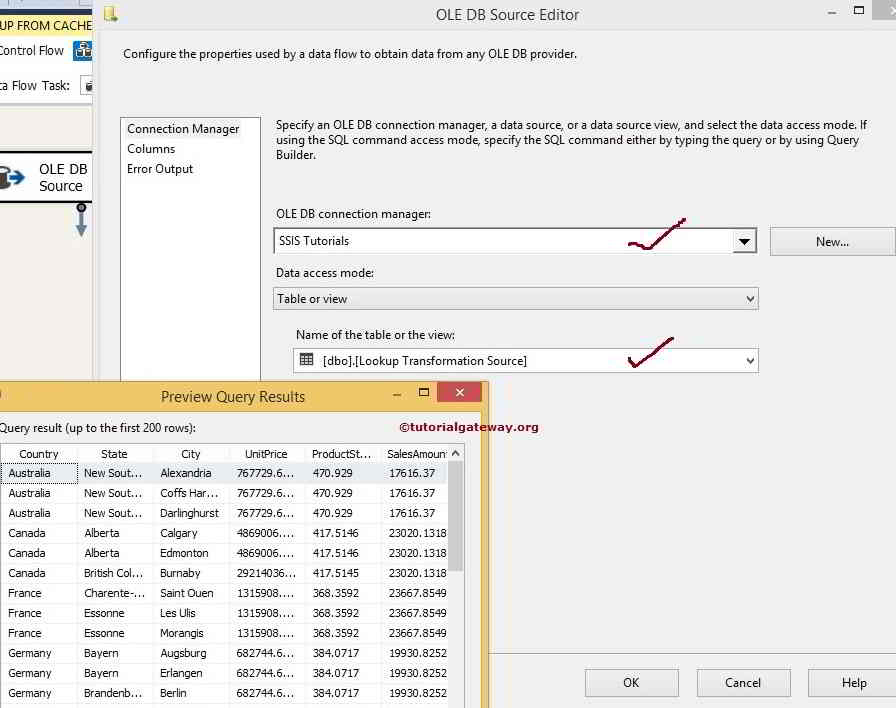
From the above screenshot, we selected the Lookup Transformation Source table present in the SSIS Database.
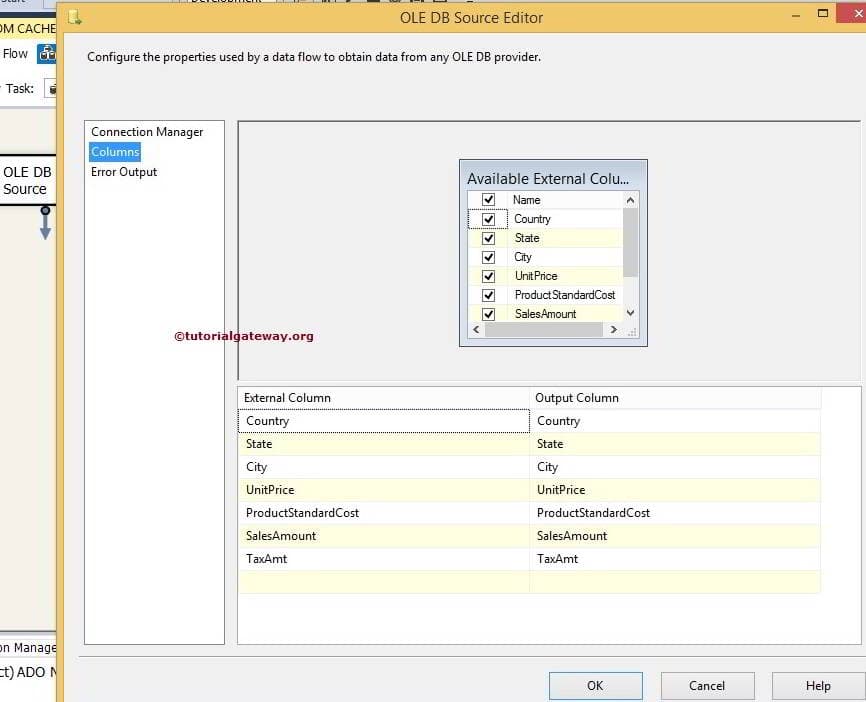
STEP 3: Click on the columns tab to check the columns. In this tab, we can uncheck the unwanted columns.
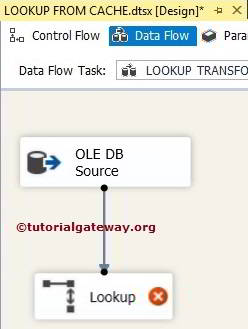
STEP 4: Add a Lookup Transformation to the Data Flow tab. Right-click on SSIS Lookup Transformation to configure Full Cache Mode.
In the General Tab, Under the connection type section, change the connection type from OLE DB connection manager to Cache Connection Manager because we use the cache file (.caw).
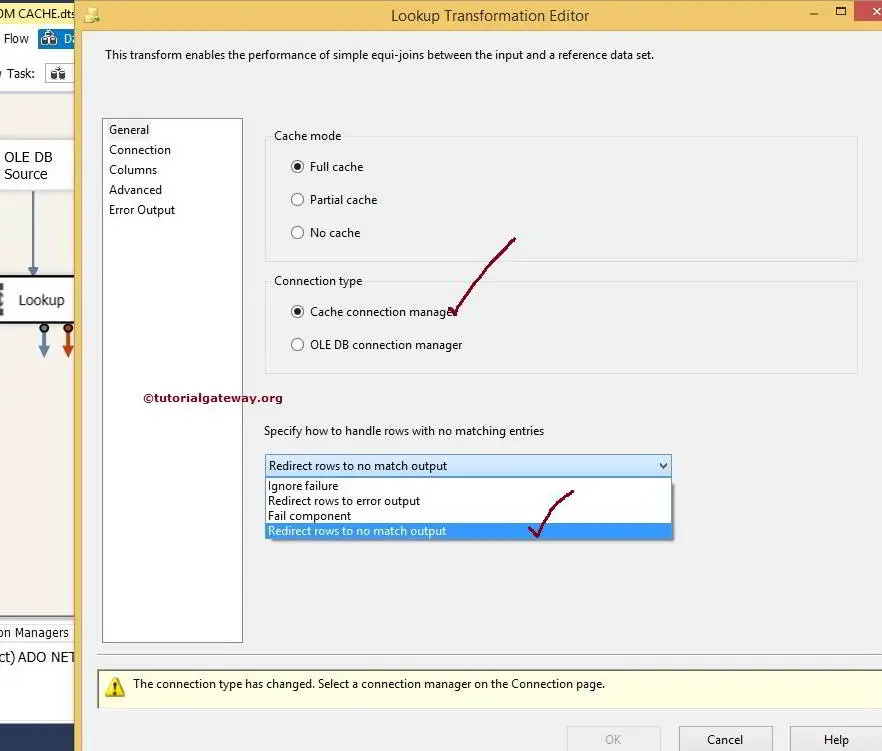
Under “Specify how to handle rows with no matching entries.” Change the default Fail Component to Redirect rows to no match Output option. By changing this option, Unmatched rows will redirect to No Match output. Otherwise, the Package will Fail.
STEP 5: Click on the Connection tab to configure the Cache Connection Manager. Click the new button to select the cache file in the local file system.
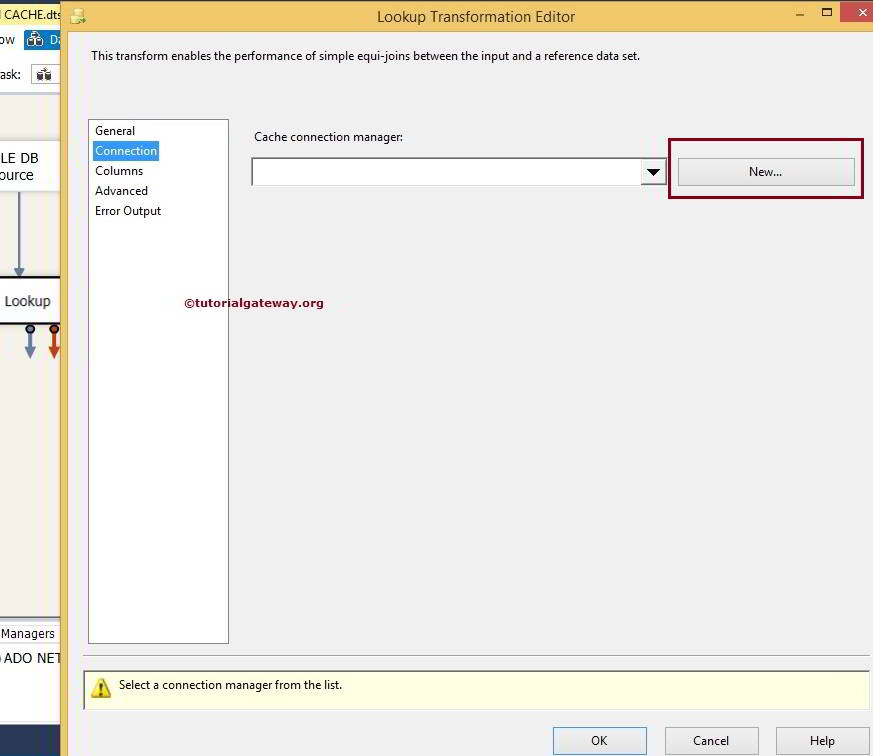
Clicking on the New button will open Cache Connection Manager Editor. Here, click on the Browse button to browse the local hard drive.
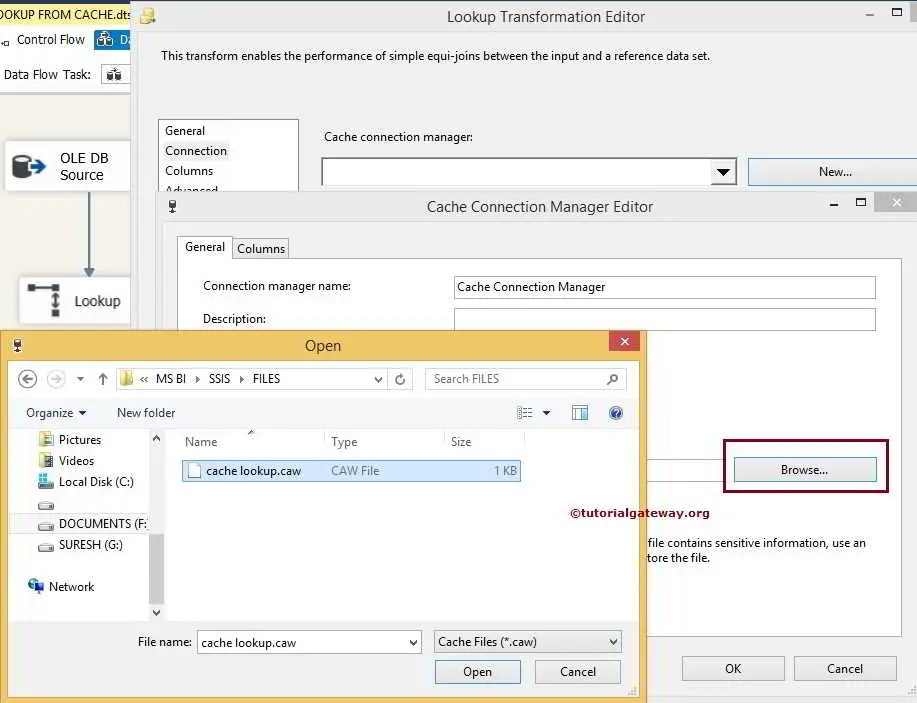
Here we selected the cache lookup.caw file, which we created in the Cache Transformation article from the file system.
Click the Columns Tab in Cache Connection Manager Editor
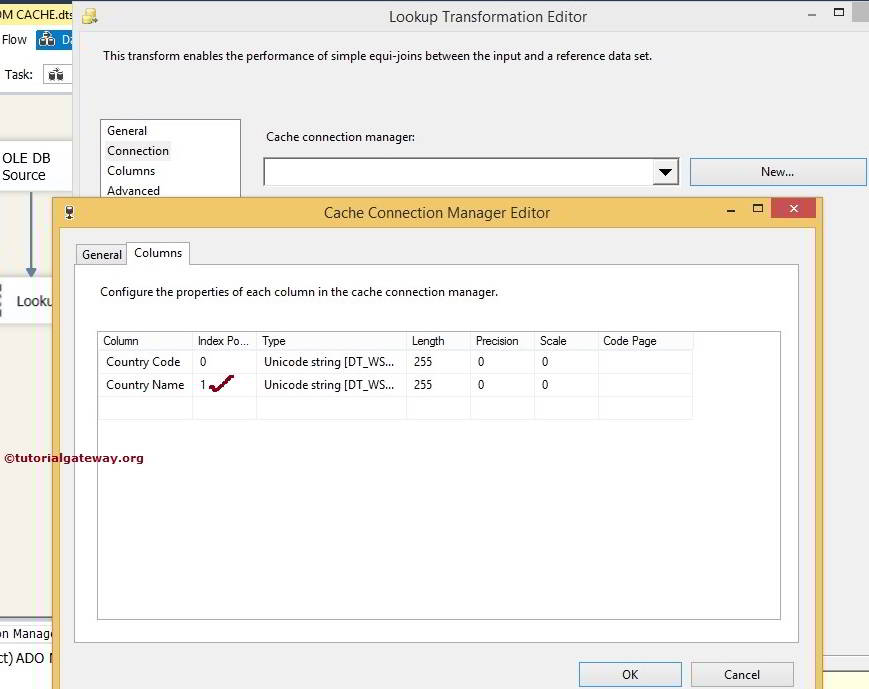
Check the index position of the lookup column (Here it is Country Name). If it is 0, change it to 1.
Click ok to finish configuring the SSIS lookup transformation Full Cache mode Cache Connection Manager. Now click on the Column Tab in Lookup Transformation Editor.
STEP 6: Click on the Available Input columns. Next, drag the source column to the available lookup columns to create a join between the 2 data sets.
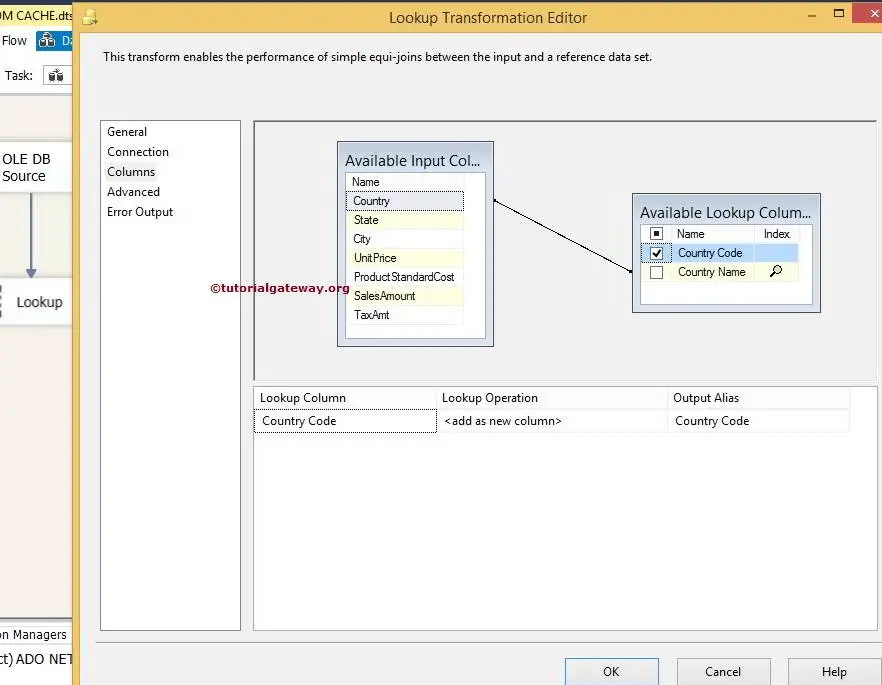
From the above, you can observe that a Country column in the source data will check against the [Country Name] column in the lookup table.
- If each row of the Country column in the source data matches any row of the [Country Name] column in the lookup table, that row will pass to the Matched Output.
- If each row of the Country column in the source data does not match with any row of the [Country Name] column in the lookup table, then that row is passed to No Match Output.
Sometimes, we may have extra columns in the SSIS lookup table that we want to pass to the matched output. In these situations, we have to checkmark that column in the Available Lookup Columns as we did for the Country Code column.
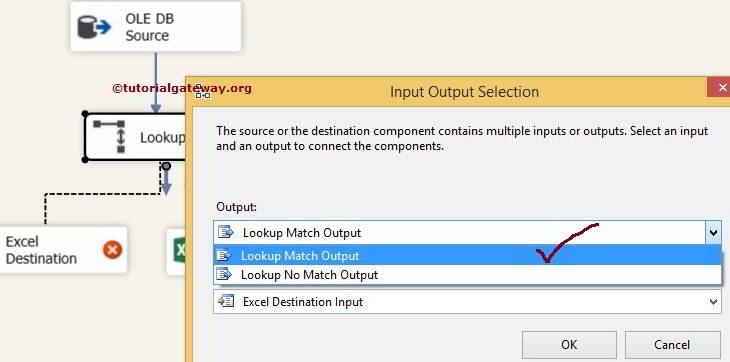
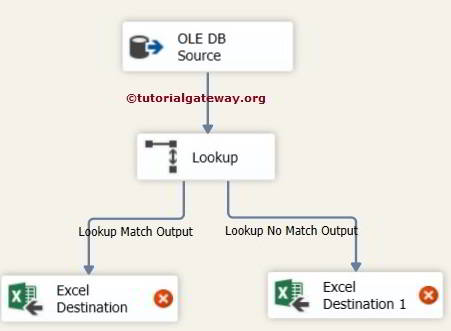
STEP 7: Drag two Excel Destinations onto the Data Flow tab and then drag the SSIS Lookup Transformation Output Arrow to one of the Excel Destinations. A pop-up window, Input Output Selection, will appear, prompting you to select the Input-Output type: Lookup Match Output or Lookup No Match Output.
Select Lookup Match Output and click OK.
When you drag another Output Arrow to Excel Destination 1, it automatically allocates Lookup No Match Output.
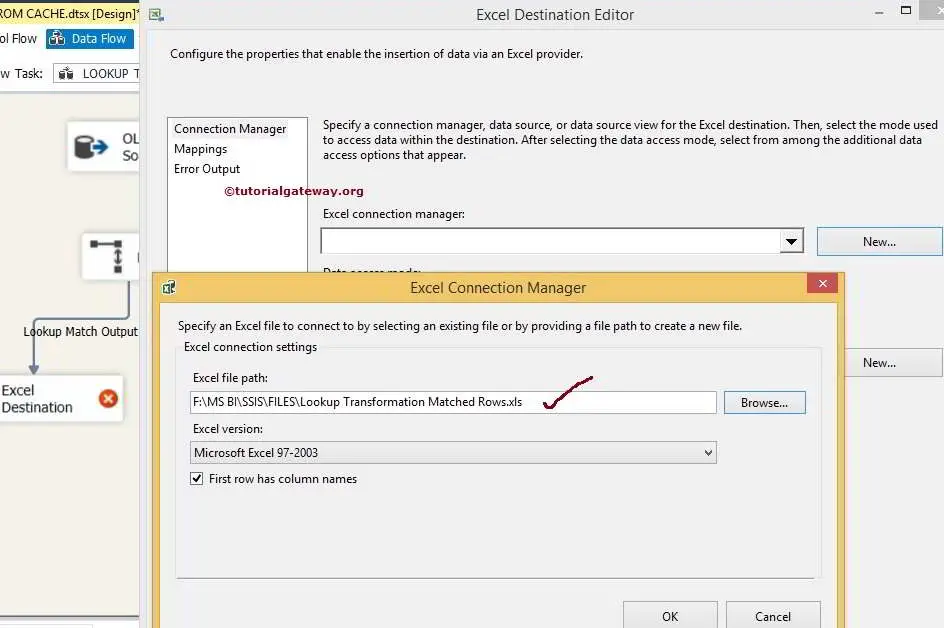
STEP 8: Double click on the Excel Destination to open the Excel Destination Editor. Click on the new button beside the Excel Connection Manager to configure the Excel Connection Manager.
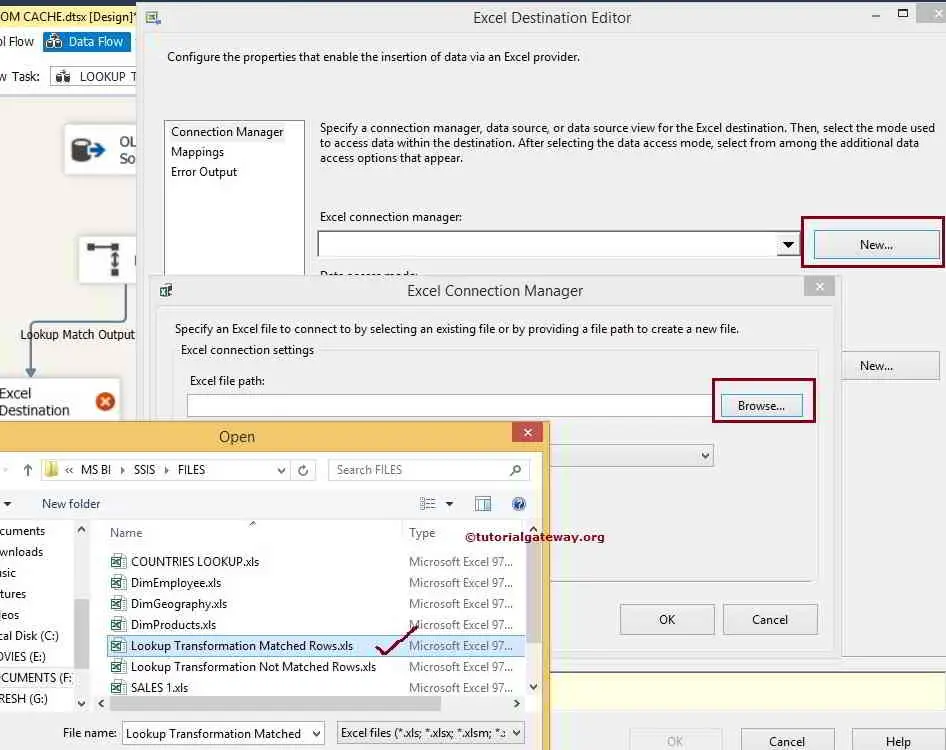
From the above screenshot, you can observe that we are browsing the SSIS Lookup Transformation Matched Rows.xls file located on our local hard drive as our destination file.
Now configure the table or worksheet if you already created it in an Excel file. Or click on a new button to configure it here.
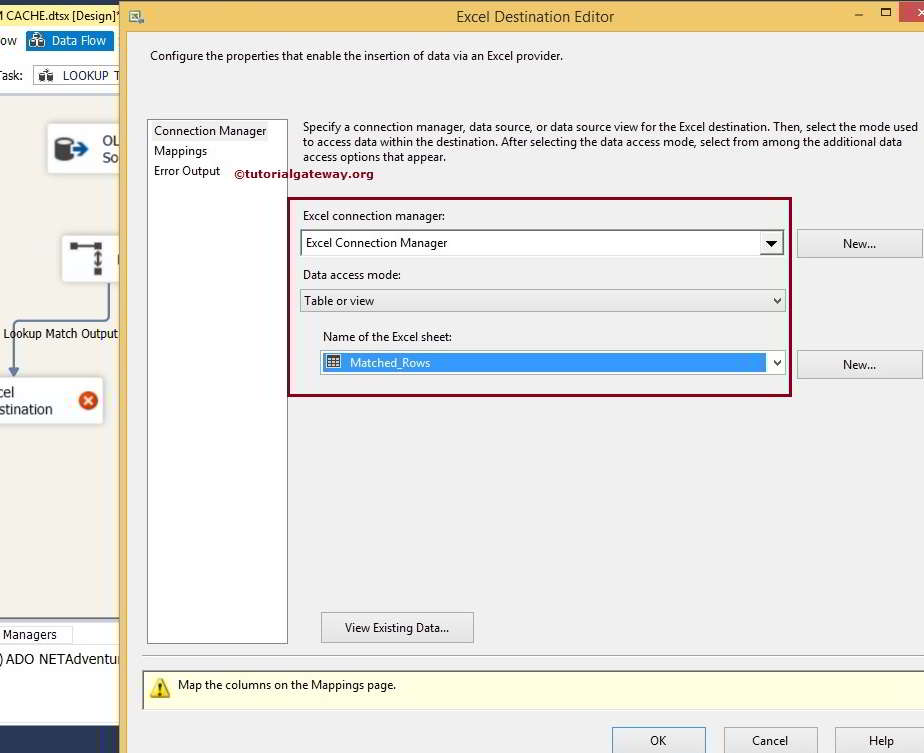
Here, we selected the Matched Rows as an Excel table
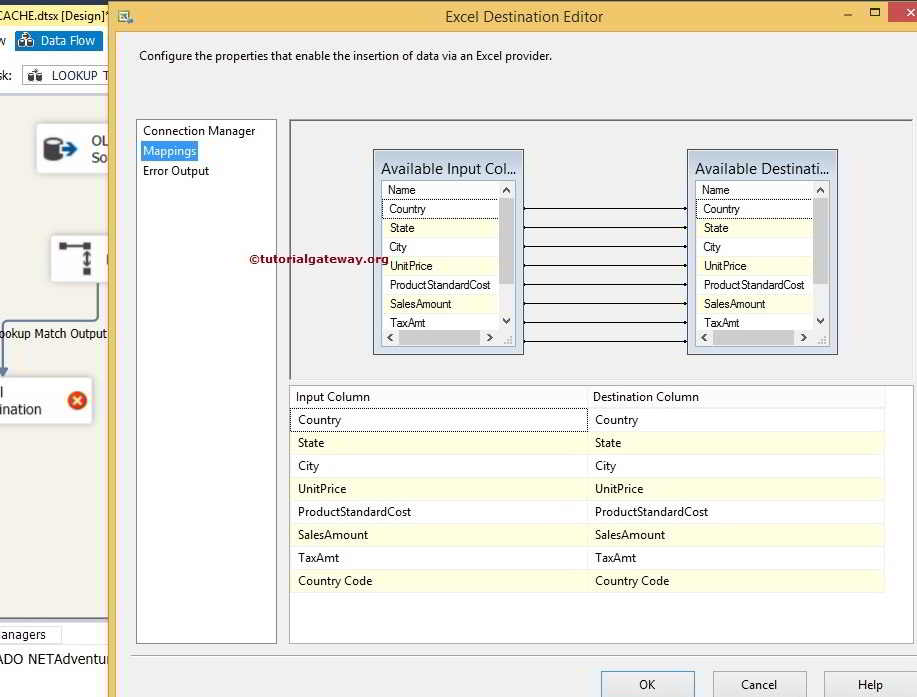
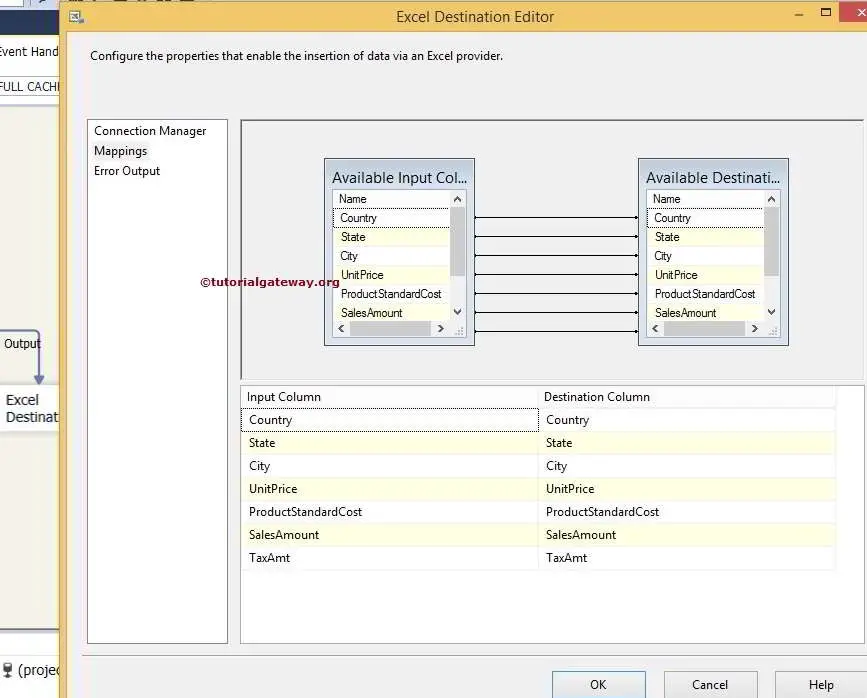
STEP 9: Click on the Mappings tab to verify whether the source columns are exactly mapped to the destination columns.
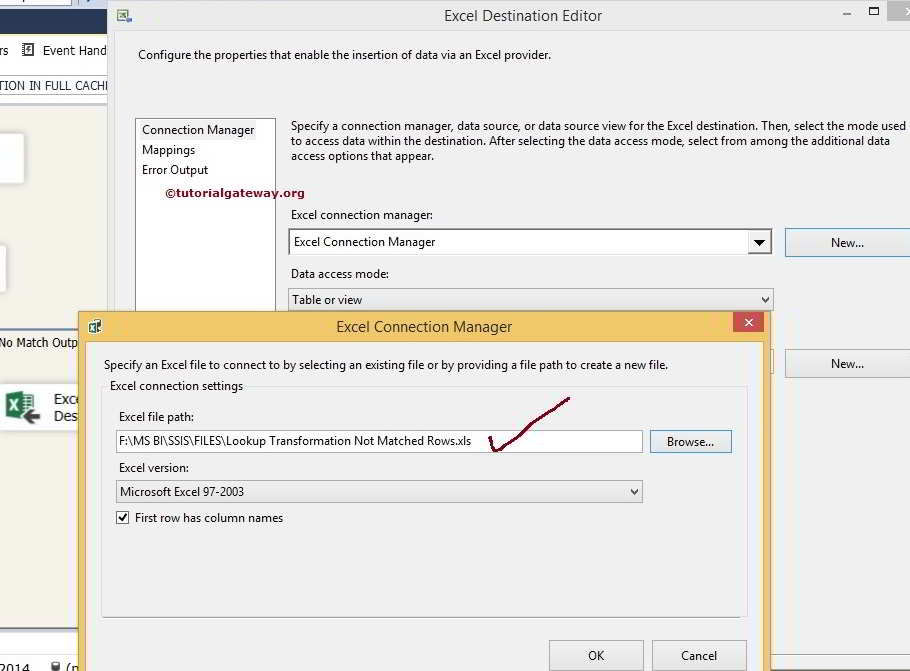
STEP 10: Now Double click on Excel Destination 1 to configure the No Match output. Here, we will select the Not Matched Rows.xls file located in our local hard drive as our destination file to store the Not Matched Row Data.
Now configure the table if you already created it in an Excel file. Otherwise, click on a new button to configure it here.
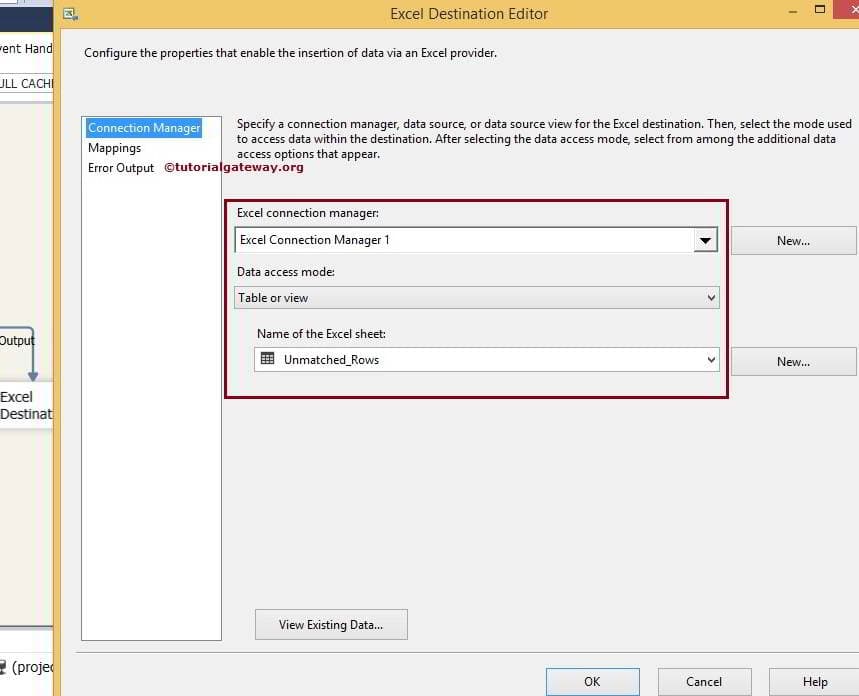
Here, we selected the Unmatched Rows table as our destination Excel table.
STEP 11: Repeat step 9
Right-click on the SSIS Lookup Transformation Package in the Solution Explorer and select Execute Package.
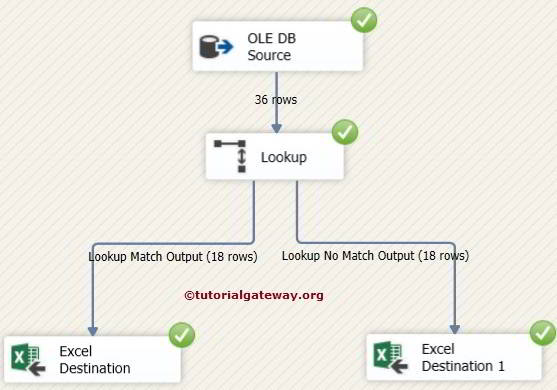
As you can observe our SSIS Lookup Transformation in Full Cache Mode Package has been executed successfully. Let us open the Excel files to view the matched and unmatched data. First, open the Lookup Transformation Matched Rows.xls File to see the Matched Rows.

The above screenshot shows that the Country Code column is coming from the lookup table in a cache. Let us open the Not Matched Rows.xls File to see the Unmatched Rows.

Comments are closed.