Character Map Transformation in SSIS is useful to transform input characters. If we want to change our string columns to Upper Case, Lower Case, Simplified Chinese, Katakana, Hiragana, and Traditional Chinese, then SSIS character map transformation does the trick for you. It allows you to select whether you want to override the existing column with the output result or add it as a new column.
Character Map Transformation in SSIS supports 10 types of operations. The operations and the description are displayed below.
- Lowercase: Converts the string column characters to lowercase. For instance, the TutorialGateway was converted into tutorialgateway.
- Uppercase: Converts the string column characters to uppercase. For example, the TutorialGateway column turns into TUTORIALGATEWAY.
- Bye Reversal: This SSIS Character Map Transformation reverses the bytes order of the Unicode
- Hiragana: Converts Katakana to Hiragana characters.
- Katakana: Converts Hiragana characters to Katakana.
- Half Width: Converts Full-width characters to Half-width. For instance, hello converted to hello.
- Full Width: This Transformation converts Half-width characters to Full-width. For instance, hello is converted to hello.
- Linguistic casing: A database generally uses its system language to store the data in columns. For example, my system stores date in English US format because it is my system’s local language. To use other regional languages, we can use this Linguistic casing option.
- Simplified Chinese: This Transformation Converts traditional Chinese to simplified Chinese characters. For instance, how are you in Simplified Chinese is 你好吗
- Traditional Chinese: Converts simplified Chinese characters to Traditional Chinese.
SSIS Character Map Transformation Selection Options
Character Map Transformation in SSIS allows us to select multiple options for a single column. However, there are some restrictions during selection. For instance, if we choose the lowercase operation, then there is no point in selecting the uppercase also. The table below shows the SSIS actions we should not select in a single column.
| Selected Operation | Operations Should Not Select |
|---|---|
| Lowercase | Uppercase, Hiragana, Katakana, Half Width, and Full Width |
| Uppercase | Lowercase, Hiragana, Katakana, Half Width, and Full Width |
| Hiragana | Katakana, Lowercase, Uppercase |
| Katakana | Hiragana, Lowercase, Uppercase |
| Half Width | Full Width, Lowercase, Uppercase |
| Full Width | Half Width, Lowercase, Uppercase |
| Simplified Chinese | Traditional Chinese |
| Traditional Chinese | Simplified Chinese |
Character Map Transformation in SSIS Example
STEP 1: Drag and drop the data flow task from the toolbox to control flow and change the name to Character Map Transformation.
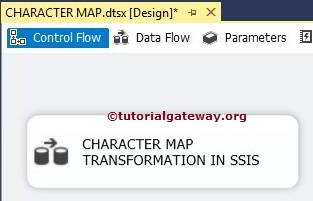
Double-click on it will open the data flow tab. For more Transformations >> Click Here.
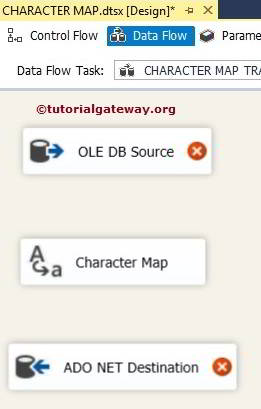
STEP 2: Drag and drop OLE DB Source, CHARACTER MAP Transformation, and ADO.NET Destination into the data flow region
STEP 3: Double click on the OLE DB source in the data flow region, which will open the connection manager settings and provide space to write our SQL statement.
For the time being, we have selected [First Name], [Last Name], and [Email ID] from the DimEmployees table present in the [Adventure Works DW 2014] database.
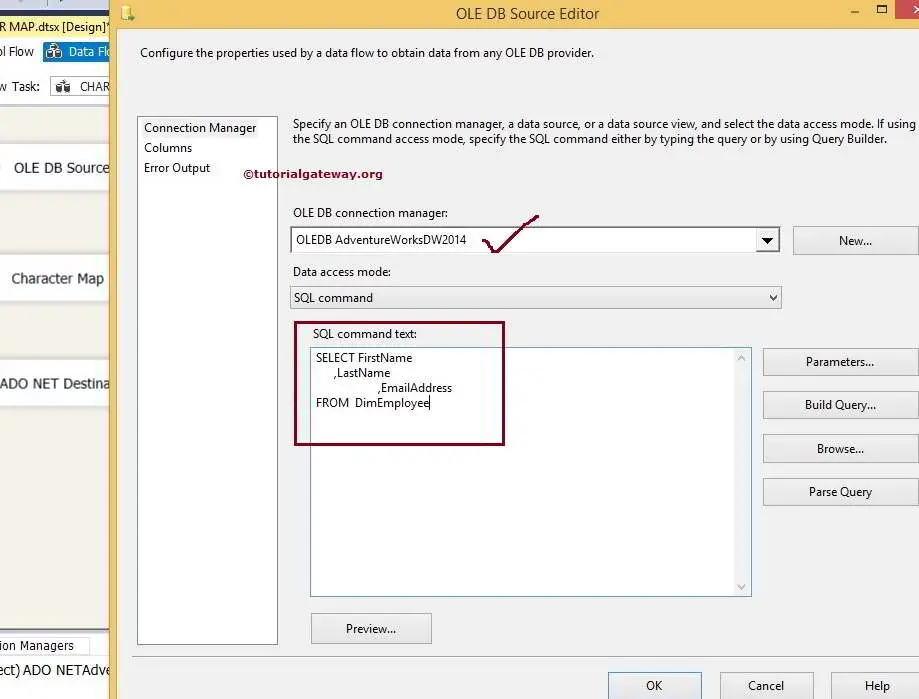
SQL Command we used in the above screenshot is:
USE AdventureWorksDW2014
GO
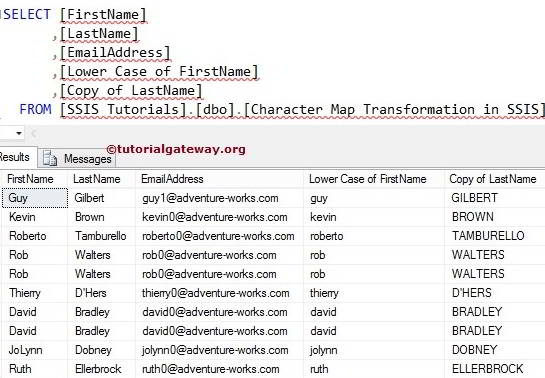
SELECT FirstName
,LastName
,EmailAddress
FROM DimEmployee
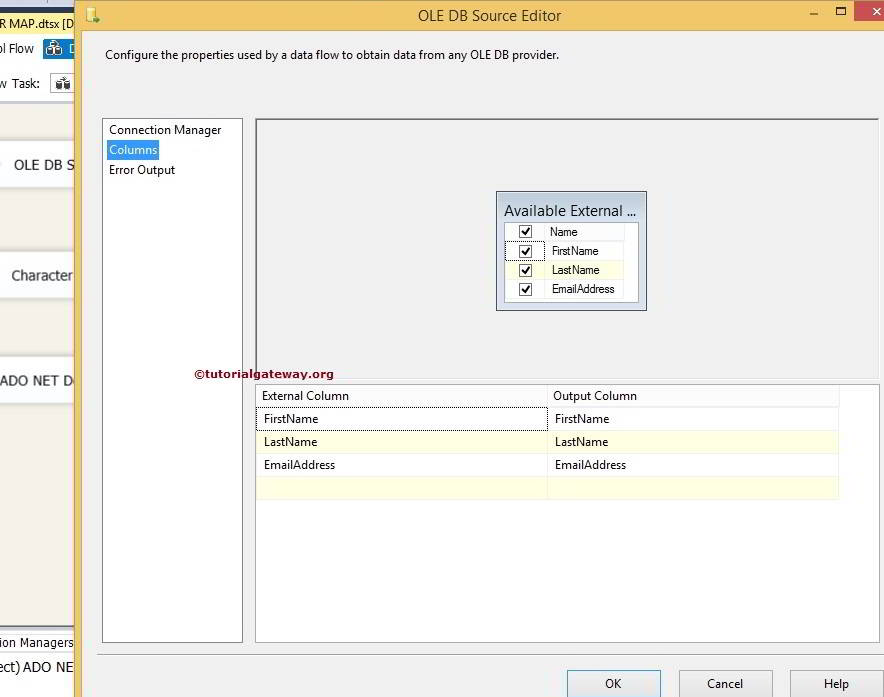
STEP 4: Click on the columns tab to verify the columns. In this tab, we can uncheck the unwanted columns also.
STEP 5: Click ok and connect the output arrow of OLE DB Source to Character Map Transformation.
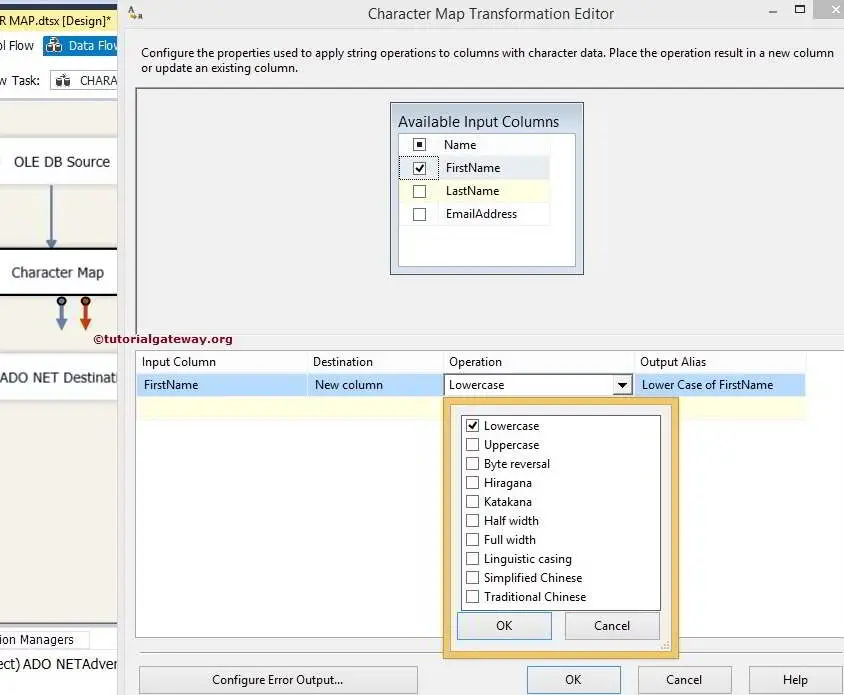
Double click on the SSIS Character Map Transformation to configure it
- Input Column: Whatever we selected in the Available Input Columns option is automatically reflected in this option. We can also directly select the input column here itself.
- Destination: We have an option to select Whether we want to replace the original column. Or do we want to add this as a new one? In this example, we are using the New column option.
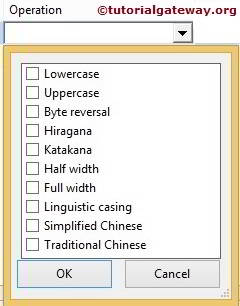
- Operation: We already discussed above
- Output Alias: Specify the new column name. It acts the same as the ALIAS in SQL.
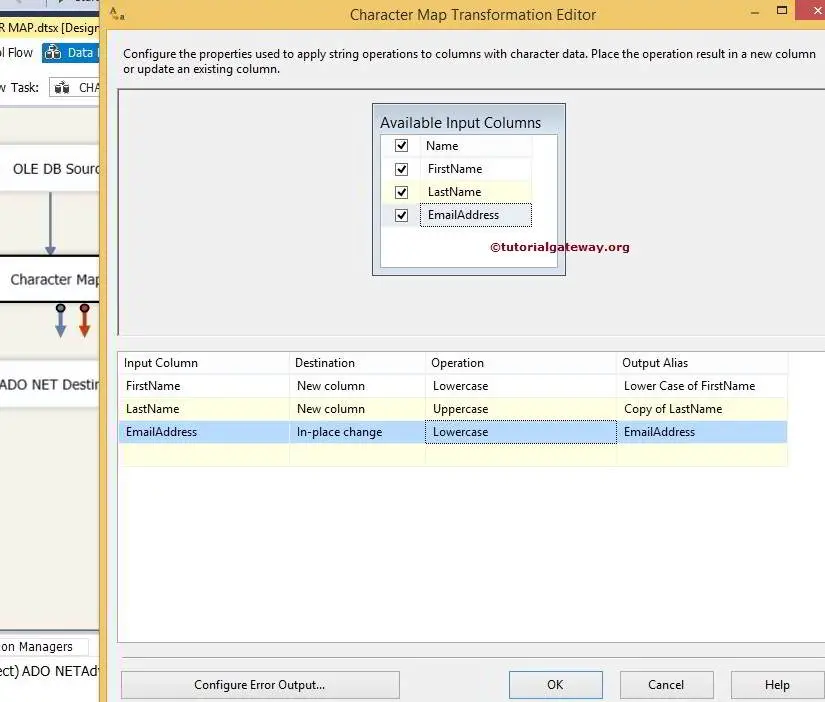
For the time being, we are using only Upper and Lower. However, you can try all the available SSIS character map transformation options. Click ok.
Destination Table
STEP 6: Now, we have to provide the Server, database, and table details of the destination. So, double-click on the ADO.NET Destination and provide the required information.
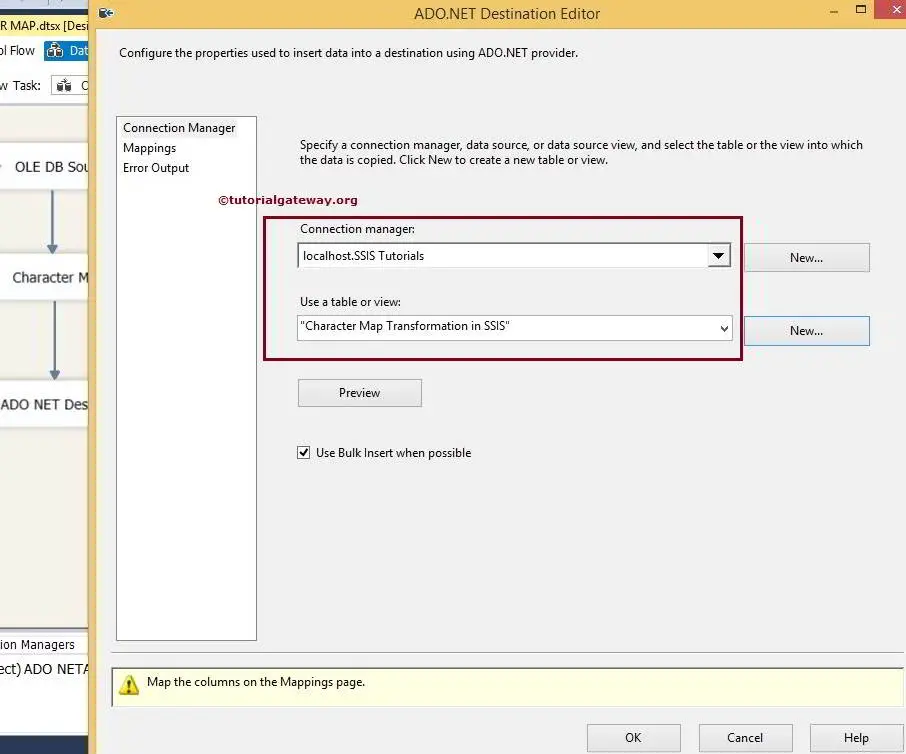
Here, we are selecting the Character Map Transformation in the table from the Database.
STEP 7: Click on the Mappings tab to check whether the SSIS character map source columns are accurately mapped to the destination columns.
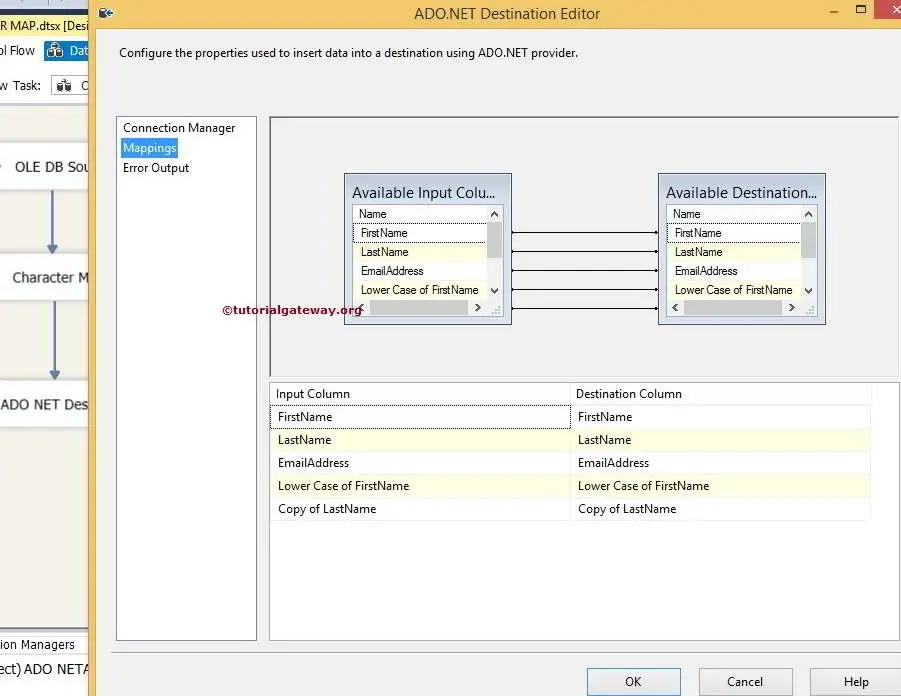
NOTE: The intelligence automatically maps if your input and destination column names are the same. If there are any changes in the column names (alias or calculated columns), we must map them manually.
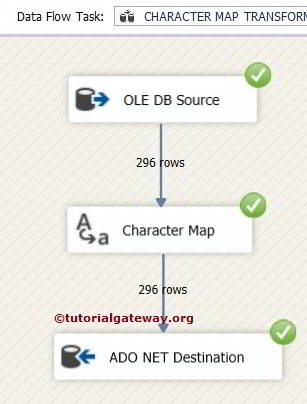
By clicking ok, we finished our SSIS Character Map Transformation package. Let us run the package.
Let us open the SQL Query window to Preview the data.