Import Column Transformation in SSIS is used to import data from the text file to the data flow. And do some manipulations, and then forward the data to the destination. Here, data includes binary files, images, media, or any document too vast to transfer. The SSIS import column transformation output column’s data type must be DT_TEXT, DT_NTEXT, or DT_IMAGE.
For example, We are filling the Product details into the table. We have product pictures in the Manufacturing unit, and every individual store placed the product reviews in a text file. In this situation, we use SSIS import column transformation to bring the pictures and reviews into the data flow. Next, merge them with Product details and store them in the Data Warehouse. Let’s see a straightforward example for a better understanding.
Import Column Transformation in SSIS Example
In this example, We will transfer a few images present in our local hard drive to the SQL Server Database column using SSIS Import Column Transformation.
TIP: Please refer to the Export Column Transformation article to understand. It shows how to export images, binary files, and media from SQL Server to the file system. For more Transformations >> Click Here.
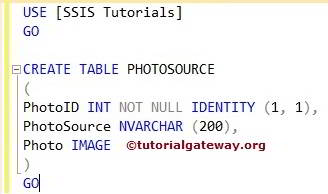
For importing images into a database, we need a table that holds the image file and the path of the files. Let’s create a table named PHOTOSOURCE.
CREATE TABLE PHOTOSOURCE
(
  PhotoID INT NOT NULL IDENTITY (1, 1),
  PhotoSource NVARCHAR (200),
  Photo IMAGE
)
GO
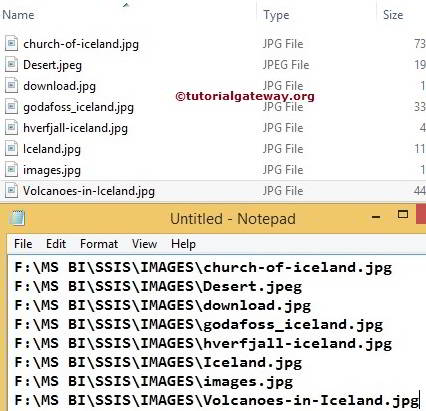
Here, we have some JPEG images and files called photo source, which have all the image paths.
Configure Import Column Transformation in SSIS
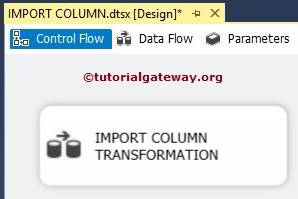
STEP 1: Let’s start the BIDS and drag and drop the data flow task from the toolbox to the control flow. Next, rename it as Import Column Transformation.
Double click on it, and it will open the data flow tab.
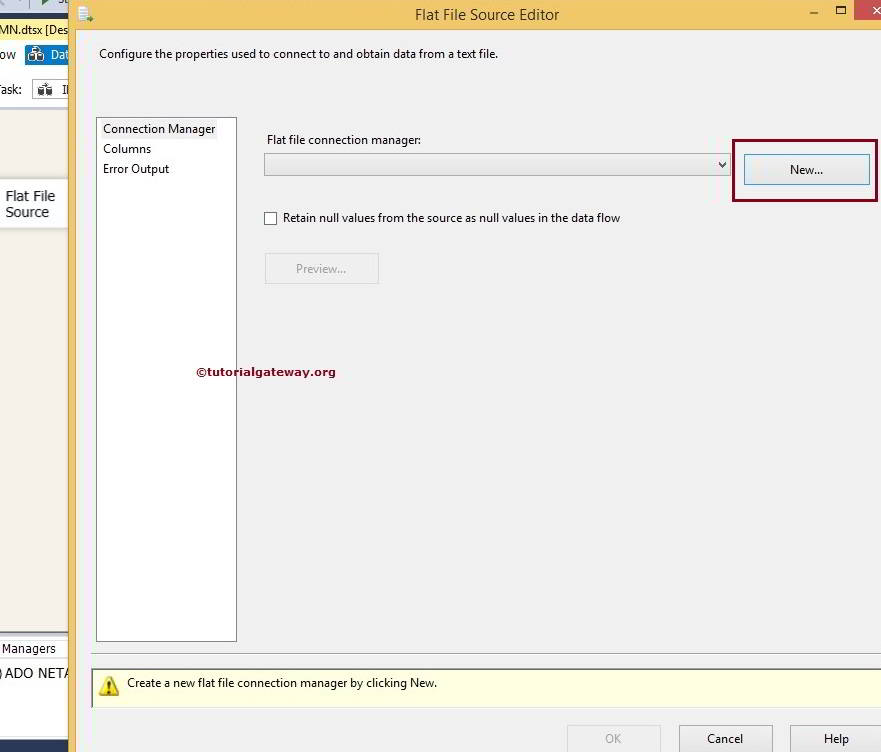
STEP 2: Drag and drop the Flat file source from the toolbox to the data flow region. Double click on the Flat file source in the data flow region will open the Flat File Source Editor to select the text file data.
Since we did not create any flat file connection manager before, Click on the New button to create one
Once you click on the New button, the Flat File Connection Manager Editor window will open to configure the connection manager.
Click on the Browse button to select the text files on the local hard drive.
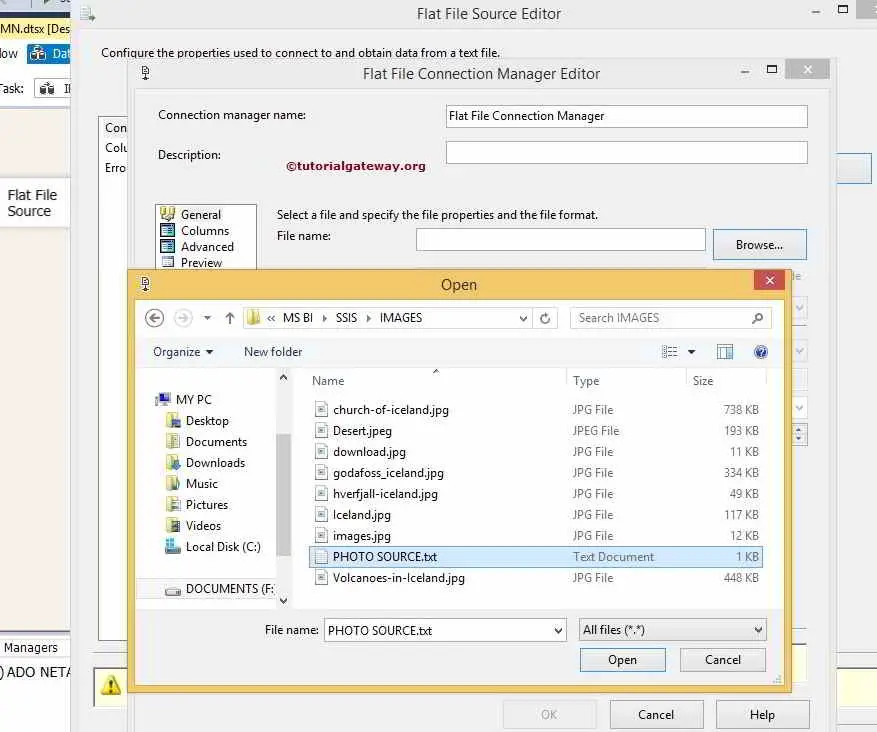
From the above screenshot, you can observe that we are selecting the PHOTO SOURCE.txt file located in our local hard drive

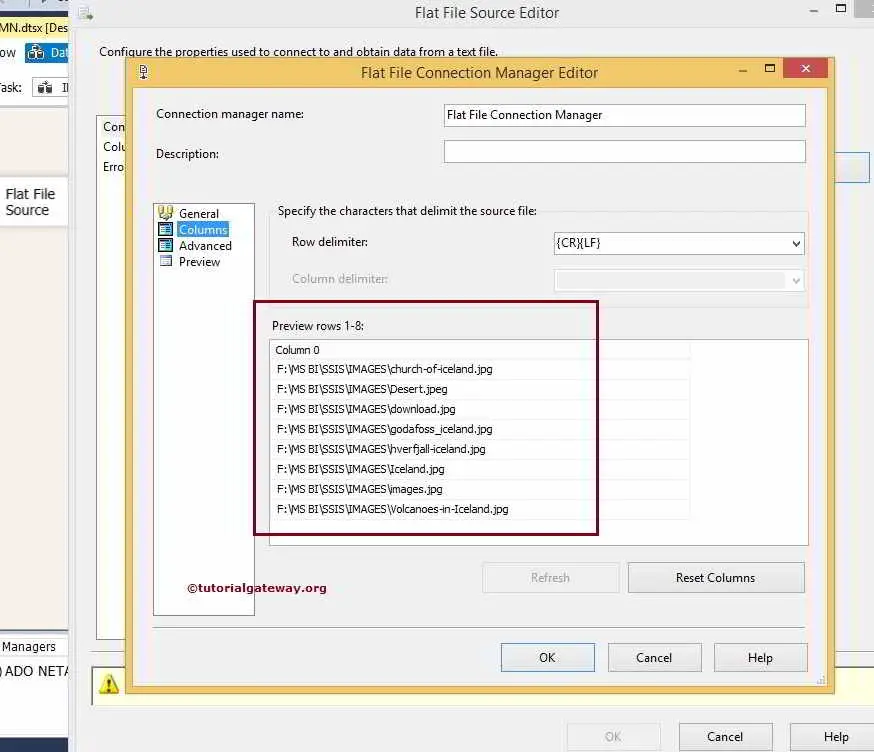
From the above screenshot, you can see that we unchecked the Column names in the First data row option because we don’t have any column names in the first row.
STEP 3: Click on the columns tab to verify the columns. Here, we have only one column, as you can see in the figure below
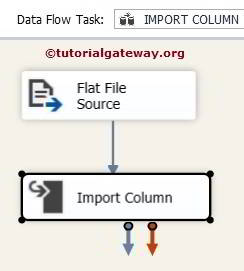
Click ok and then drag and drop the Import column transformation in the SSIS toolbox to the data flow region.
STEP 4: Now drag the blue arrow from Flat File Source to Import Column Transformation to perform transformations on the source data. Double click on the SSIS Import Column Transform to configure it
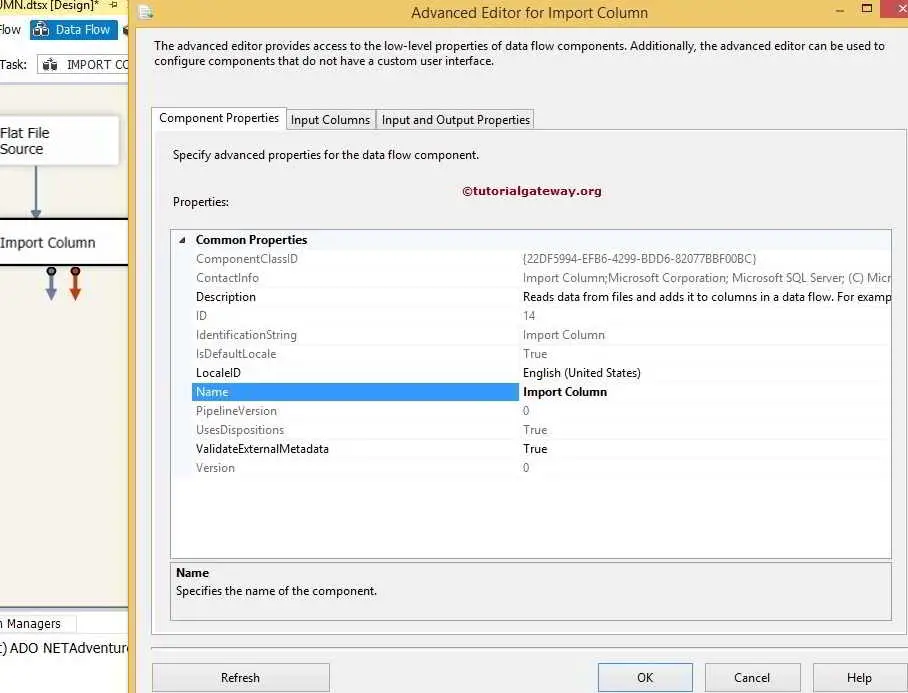
STEP 5: On the first page, it means Component Properties Tab; you don’t need to do anything. If you want, you can change the name. Select the Input Column tab, where you will see available source columns. Check the file path column.
STEP 6: Now select the SSIS import column transformation Input column Tab. Import Column Input already set to the chosen source columns input.
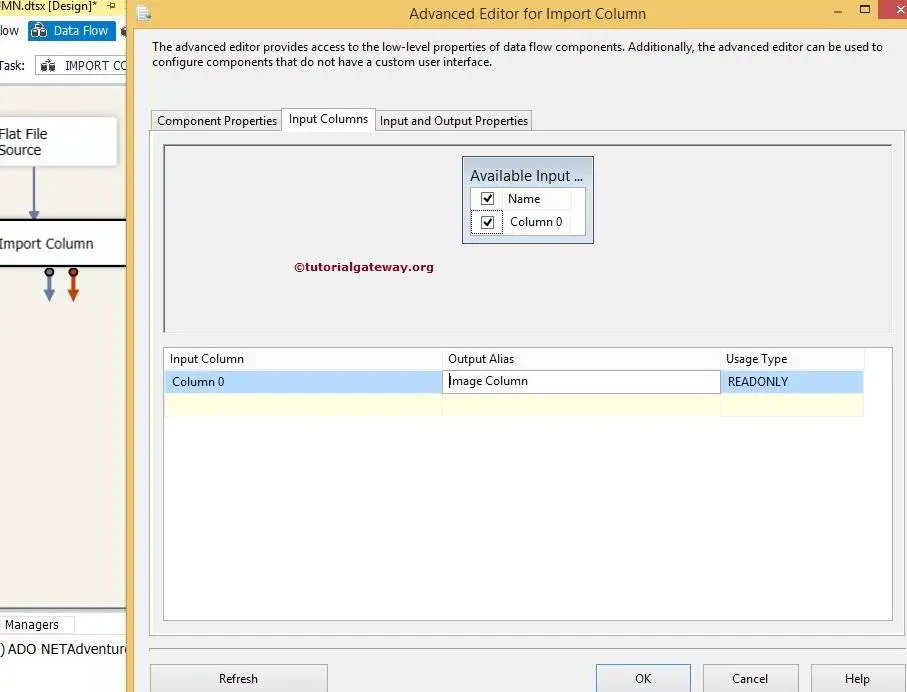
From the above screenshot, you can observe that we renamed the column 0 name to Image Column.
STEP 7: Select the Input and Output Properties Tab of SSIS Import Column Transformation.
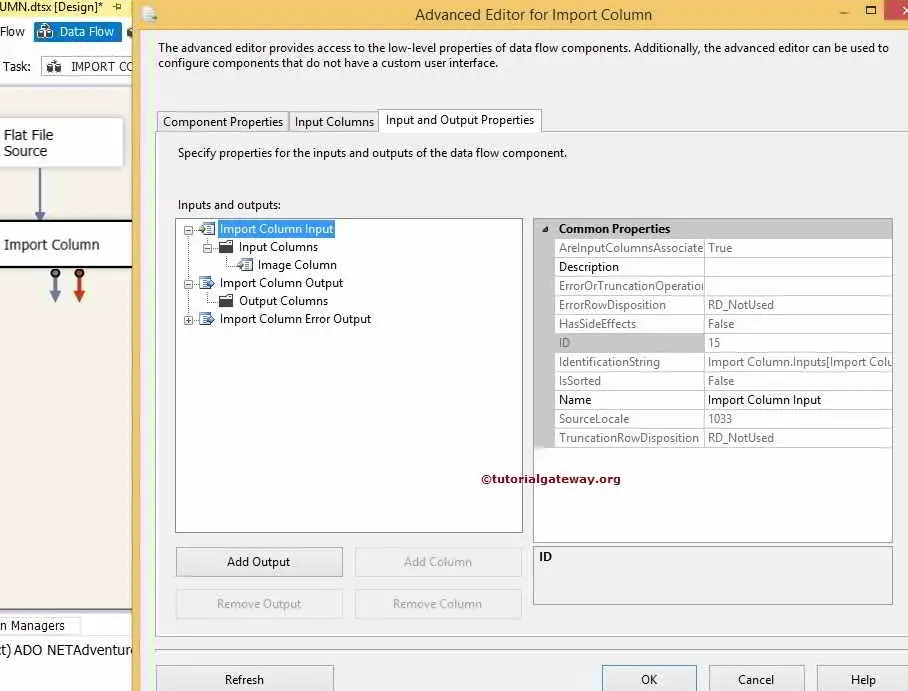
From the above screenshot, you can observe that Within the Import Column input, we have the input column (Image Column), but we don’t have any output column. So, Select Import Column Output and add one output column by clicking Add Column.
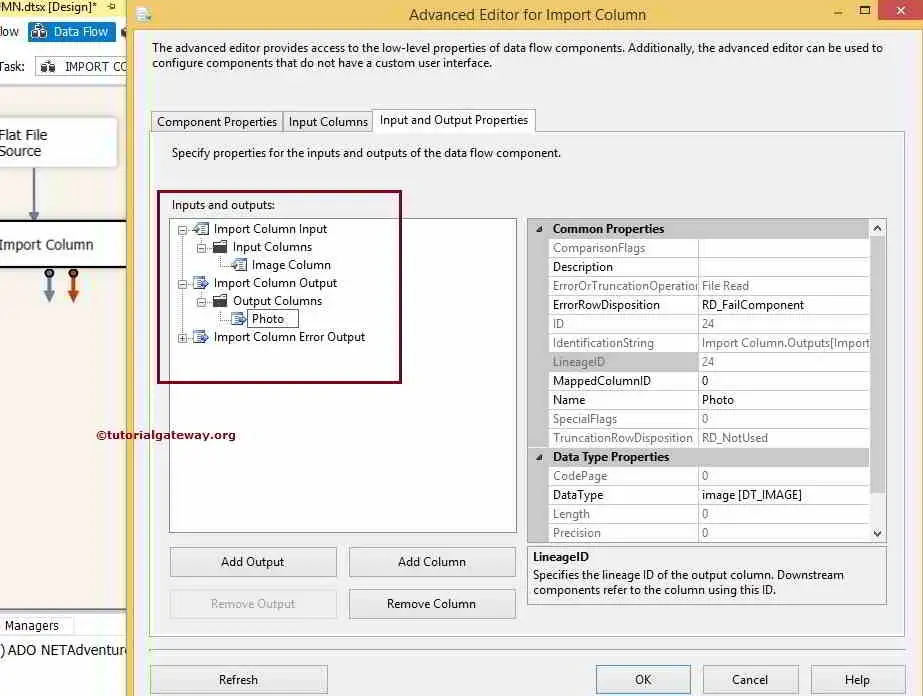
From the above SSIS import column transformation screenshot, you can see that we created an output column with the name Photo, and the data type is DT_IMAGE.
Select the LineageID of the newly created Output Column name Photo (i.e., 24). For you, it may be a different value. Don’t worry.
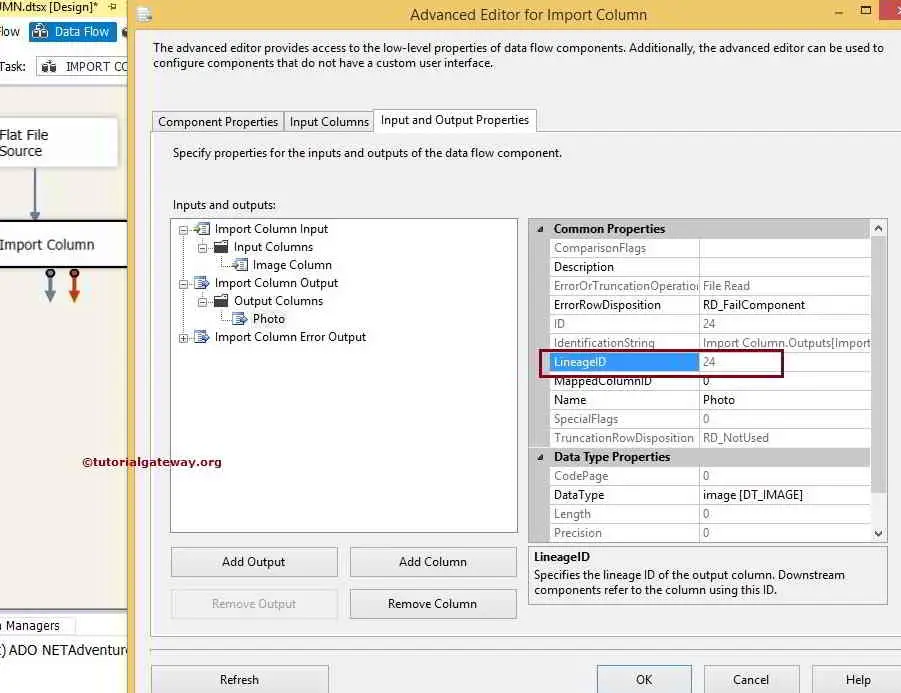
STEP 8: We have to do one crucial step for SSIS Import Column Transformation. We have to copy this LineageID 24 highlighted in the above screenshot. Paste that ID value into the FileDataColumnID property present in the Image Column (Import Column Input). Now press ok.
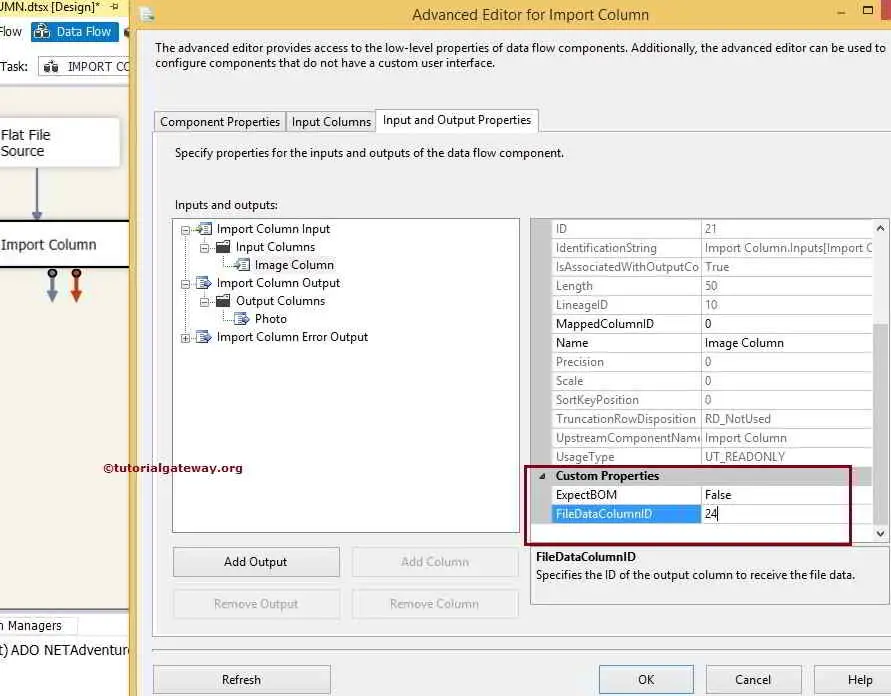
ExpectBOM(Byte-order mark): A BOM is only expected if the data has the DT_NTEXT.
Now, let’s configure the OLE DB destination and set the connection to the database where you created a table called PHOTO SOURCE.
STEP 9: Drag and drop the OLE DB Destination from the toolbox to the data flow region. Next, drag the blue arrow from the Import Column Transformation to the OLE DB Destination.
Now, we have to provide the destination’s Server, database, and table details. So, double-click on the OLE DB Destination and provide the required information.
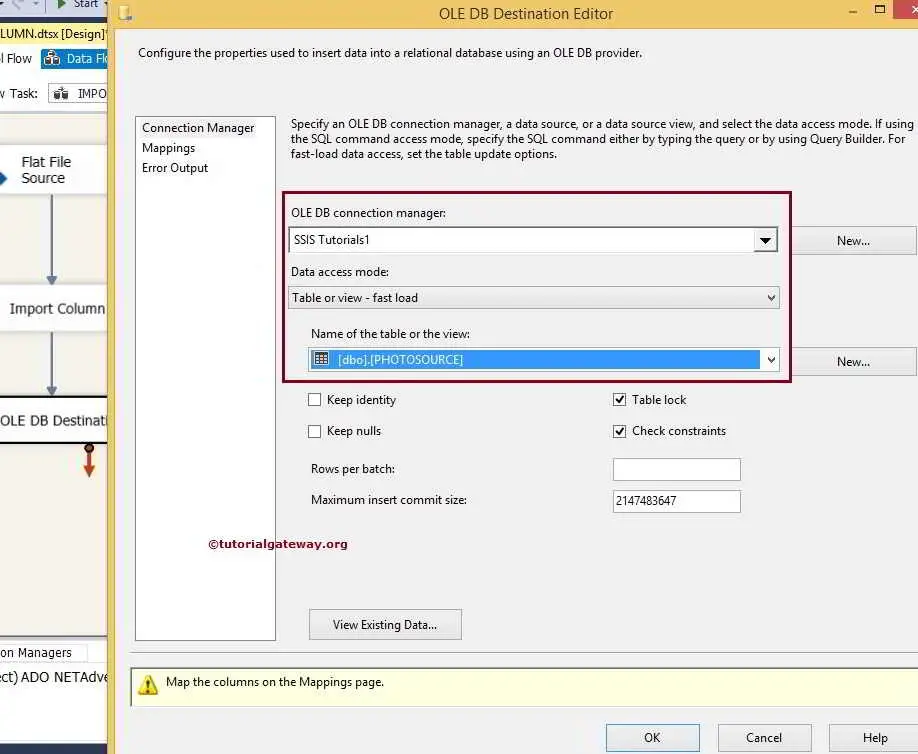
From the above screenshot, you can observe that we selected the previously created table, i.e., the PHOTOSOURCE table inside the Database.
STEP 10: Click on the mapping tab to map the input columns to the destination columns.
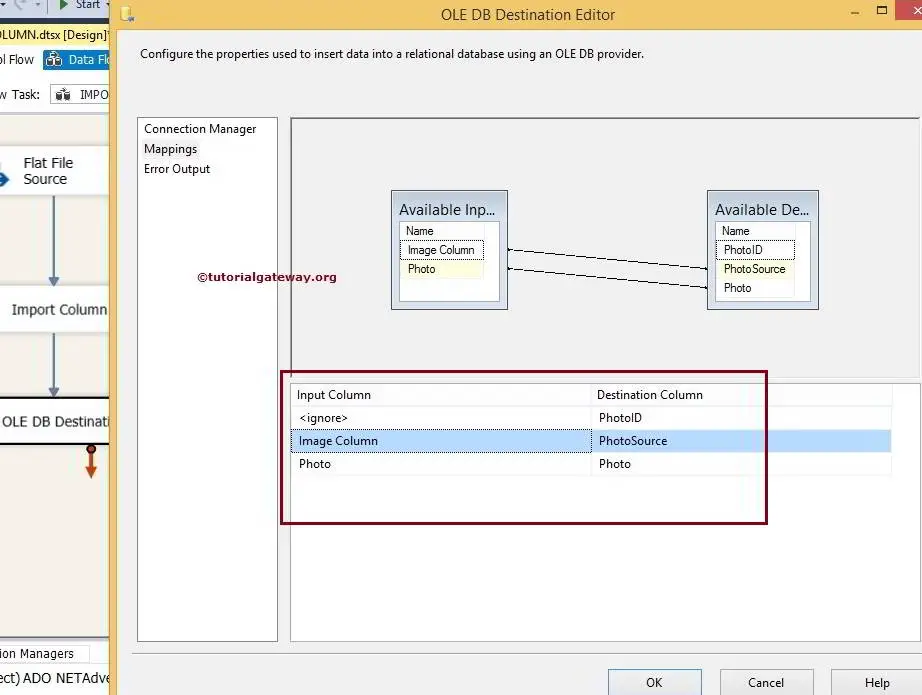
- PhotoID is the identity column. So it will automatically be inserted.
- The image Column contains the path of the image. So, we are storing these path details in the Photosource Column.
- The photo is the image located on the local hard drive. So, we are mapping it to the photo column (Image Data Type)
Now, let’s execute the SSIS Import Column Transformation task.
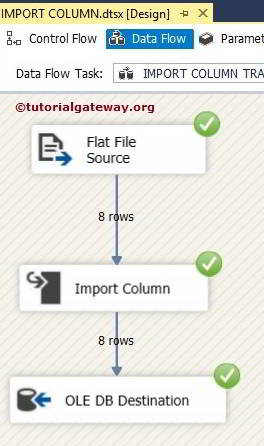
The Import Column Transformation in SSIS task was executed successfully.
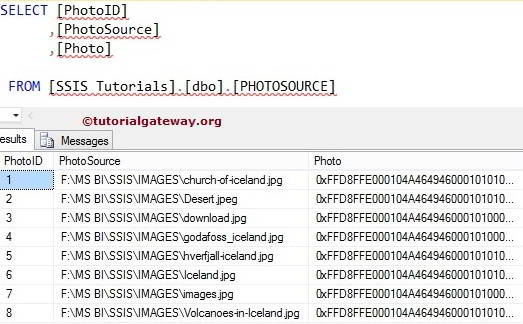
Let’s open the Management Studio. Next, write the below Statement to check the result.
SELECT [PhotoID]
      ,[PhotoSource]
      ,[Photo]
 FROM [PHOTOSOURCE]