Export Column Transformation in SSIS is useful for exporting images, binary files, media, or large documents from SQL Server to the file system. The SSIS Export Column Transformation reads the path or location in the source column and transfers the data to that path.
For example, if we have a product description stored in the text file and the text file is stored in one column. We have a situation to send product descriptions only to any specific store. Then, we can use the SSIS Export Column Transformation to transfer and save those text files to the specified path.
Export Column Transformation in SSIS is precisely opposite to Import Column Transformation. Please refer to the Import Column Transformation article to understand How to Import Images, Text files, or any huge file to the Database.
Export Column Transformation in SSIS Example
In this SSIS example, We will export images from the SQL Server table to a local hard drive. The following table is the one we will use in this example.
SELECT [PhotoID]
      ,[PhotoSource]
      ,[Photo]
FROM [PHOTOSOURCE]
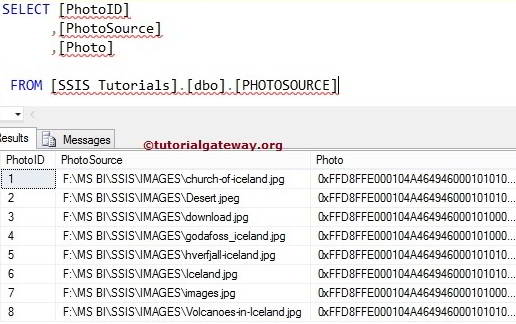
The Export Column Transformation in SSIS will store the images present in the Photo Column and store them in the location or path specified in the [PhotoSource] column.
STEP 1: Drag and drop the data flow task from the toolbox to control flow and name the data flow task Export Column Transformation.
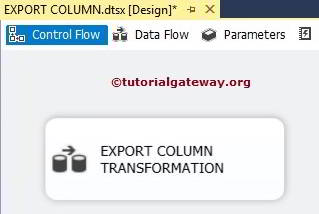
Double click on the data flow task to open the data flow tab. For more Transformations >> Click Here.
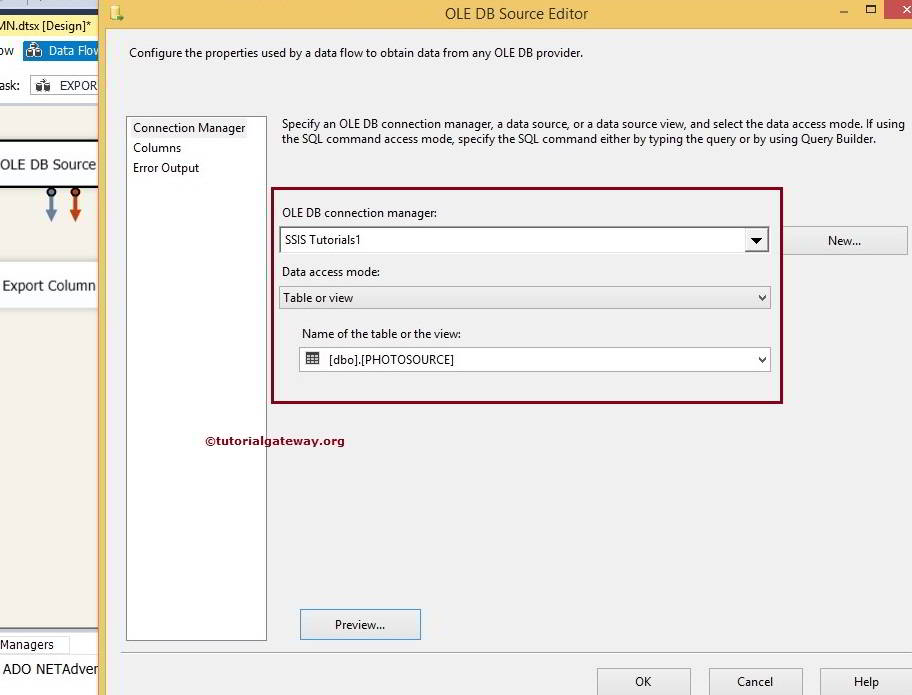
STEP 2: Drag and drop OLE DB Source, Export Column Transformation from the toolbox to the data flow region.
Double click on the OLE DB source in the data flow region will open the connection manager settings. Here, we select the Data Base and PHOTOSOURCE table as OLE DB Source.
STEP 3: Click on the columns tab to verify the columns. In this tab, we can uncheck the unwanted columns also.
Here, we are unchecking the PhotoID key column. Because there is no point in saving the Identity column as output at this time
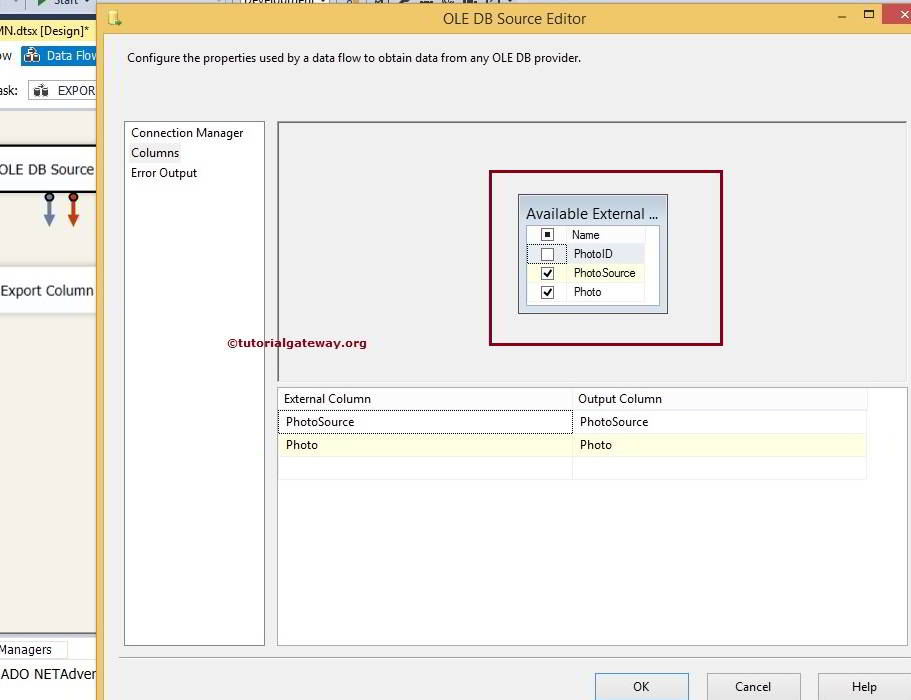
Click ok, and Drag and drop the blue arrow from the OLE DB source to Export Column Transformation to perform the transformations on the source data.
STEP 4: Double click on SSIS Export Column Transformation to edit and configure. It opens the window, as shown in the below screen.
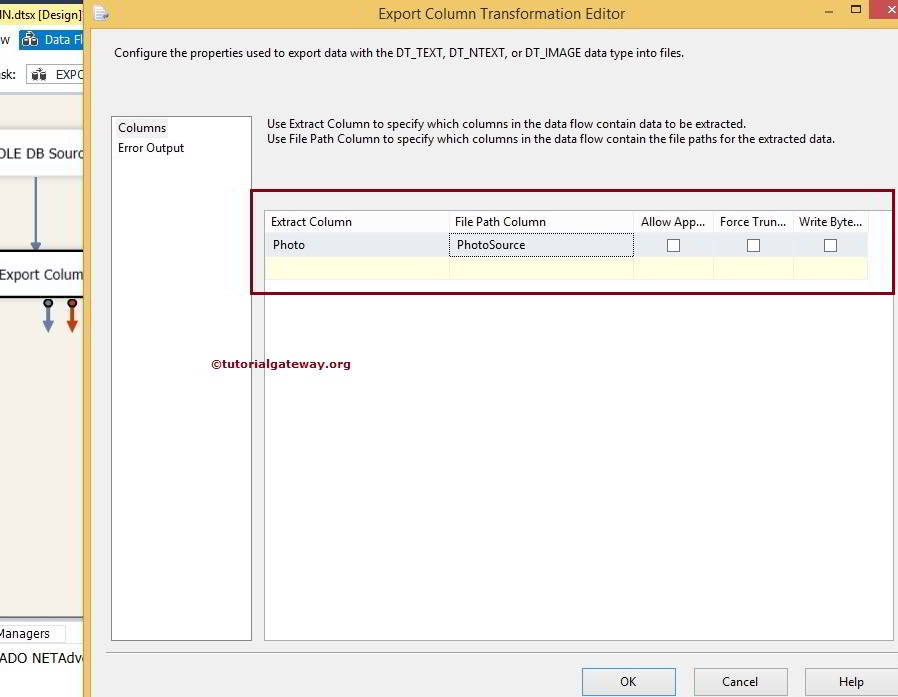
Here, we can select the column where the path will be placed. You can also find checkboxes on the right side of SSIS Export Column Transformation.
- Extract Column: Select text or image data columns from the list of available input columns. In this example, We selected Photo because we export images from SQL to the local hard drive.
- File Path Column: Select file paths or file names from the list of available input columns. It is the path where files or images will be saved (Here are Images).
- Allow Append: Specify whether you want the Export Column Transformation to add data to existing files or not. The default is false, and you can change it if required.
- Force Truncate: Specify whether you want the Export Column Transformation to delete any of the existing files before writing the new data. The default is false, and you can change it if you require by checkmark the option.
- Write BOM: Specify whether you want the Export Column Transformation to write a byte-order mark (BOM) to the file. A BOM only prints if the data has the DT_NTEXT or DT_WSTR data type.
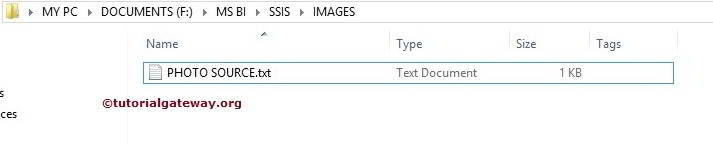
Let’s look at our destination path before we run the SSIS Export Column Transformation package.
Let us run the Export Column Transformation in SSIS package
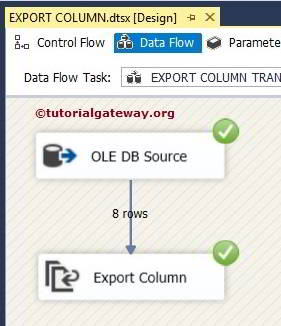
Let’s see the destination folder, whether we succeeded or not.
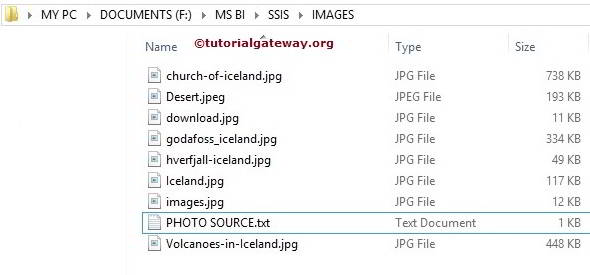
Well, we did it.
Comments are closed.