When there is a discussion about exporting data from SQL Server to CSV file, we immediately look for the Integration Services. But, you can achieve the same result from the Management Studio with ease. In this article, we will show you multiple approaches to exporting data to CSV with a practical example.
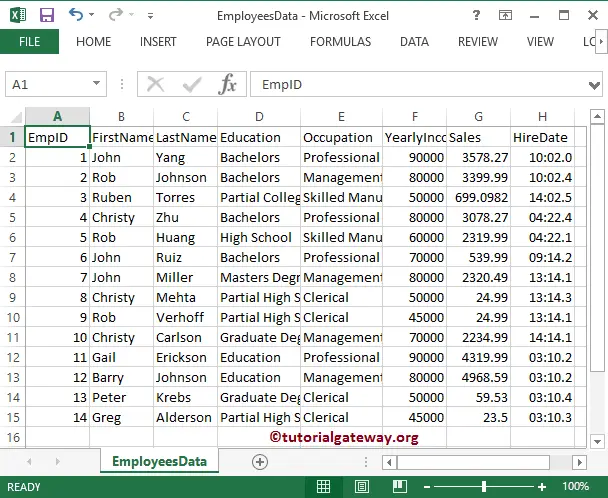
For the first Export Data from SQL Server Table to CSV example, we are going to use the below-shown records.

Export Data From SQL to CSV Approach
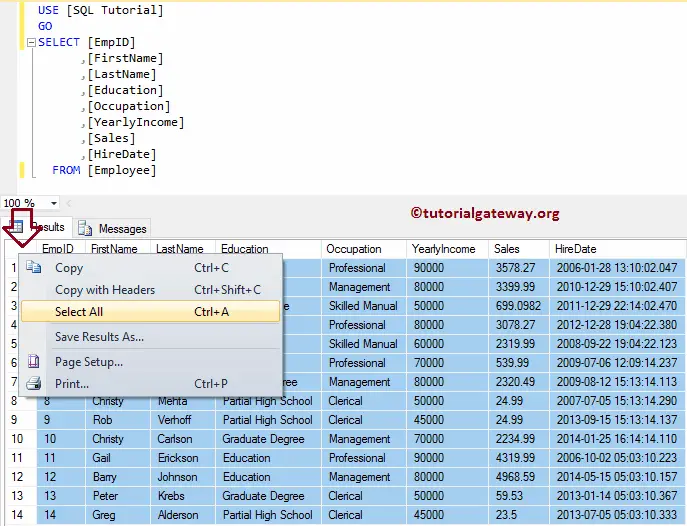
In this example, we are going to export the Employees table data present in the database table to a CSV file (that we will create) on the local hard drive. For this, please select all the columns, either by clicking the top left corner or selecting the Select All option from the context menu.
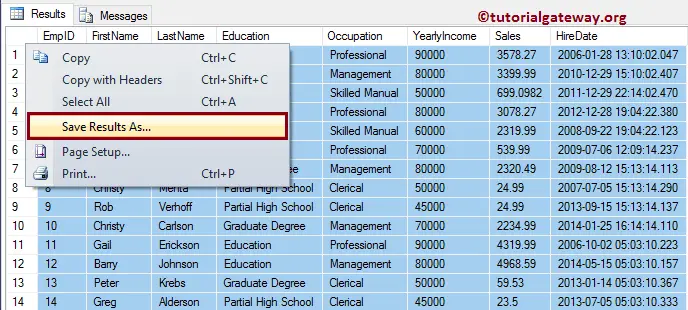
After selecting all the columns, please go to the top left corner; right-clicking there will open the context menu. Please select the Save Result As.. from it. It is the easiest way to export data from the SQL table to CSV.
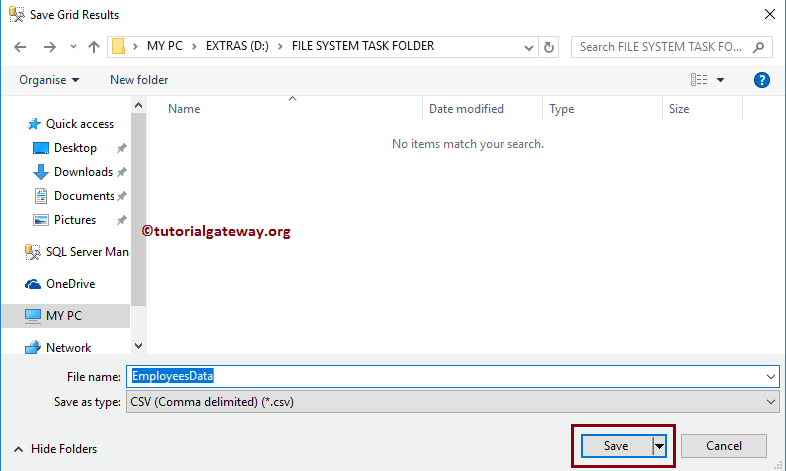
That will open a Save Dialog Box to save the file on your local hard drive. From the below screenshot, you can see that we are saving the file in the D drive.
Let’s navigate to the file system address that we provided and check for the file name EmployeeData.
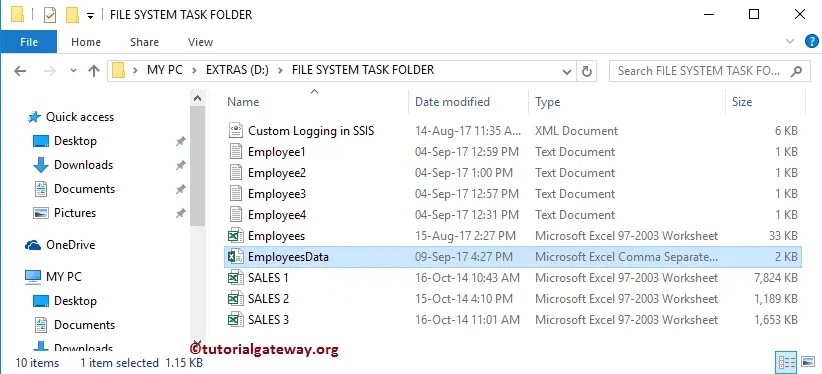
Double click on the CSV file to check the result.
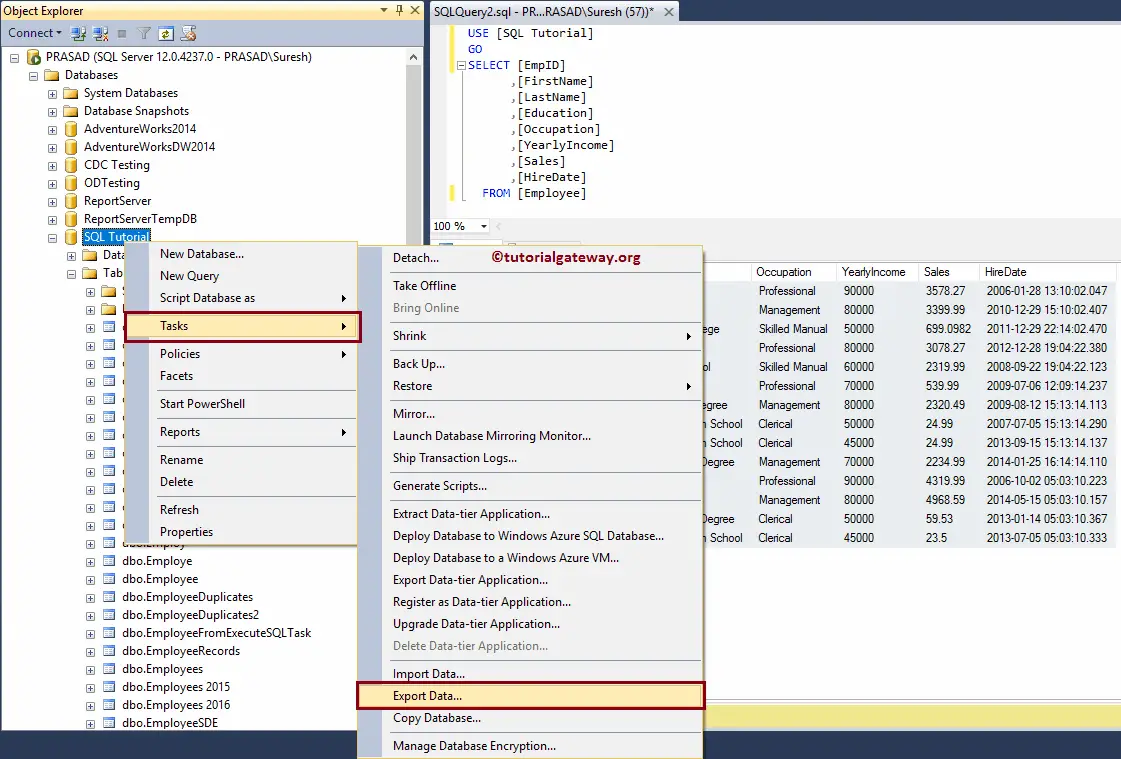
Export Data From SQL to CSV Approach 2
Within the Object Explorer, right-clicking on the database will open the context menu. Please select the Tasks and then Export Data.. option from it.
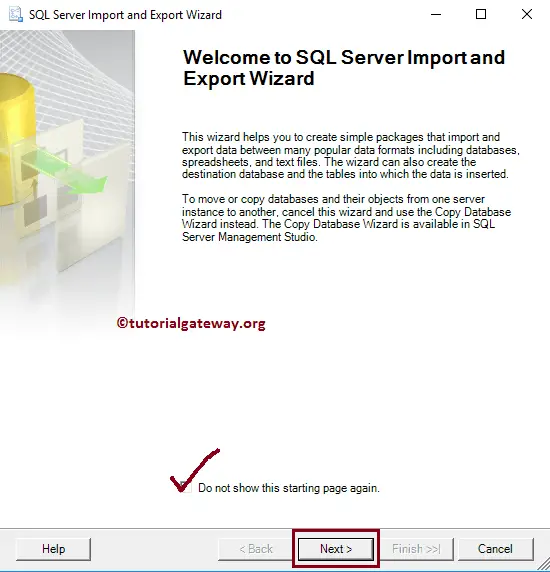
Once you select the option, It will open the Import and Export Data Wizard. The first page is the welcome page, and you can avoid this page by clicking the Do not show this Starting page again option.
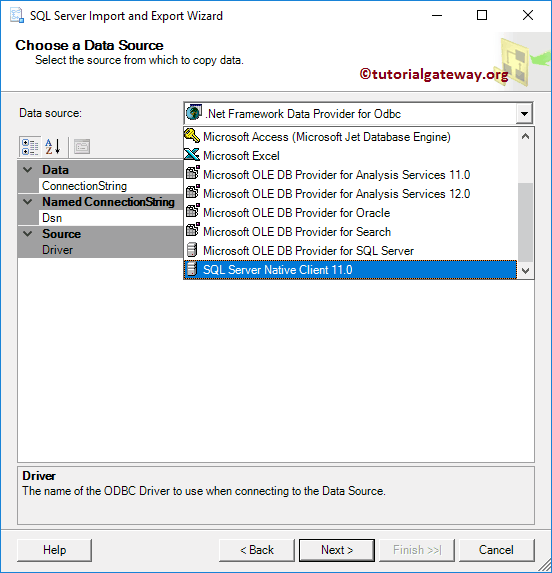
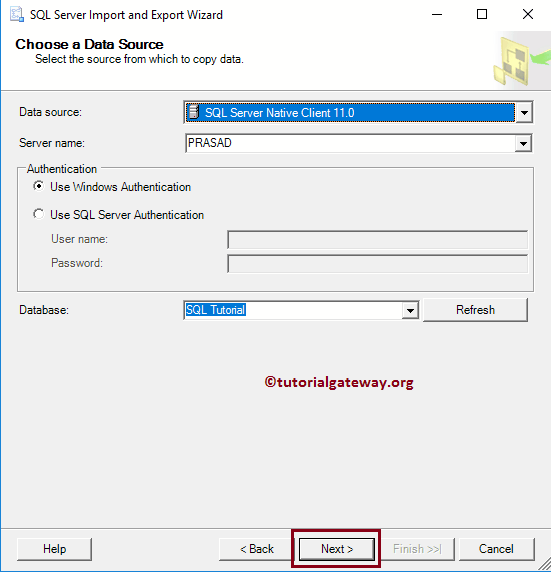
Choose a Data Source Page: This window is used to configure the source from where the records are coming. Our source is the SQL Server database, so we selected the Native Client as Data Source.
Next, we are using Windows authentication to log in to the PRASAD server instance. Please use Server Authentication in real-time.
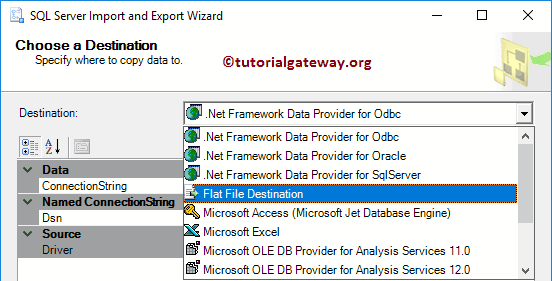
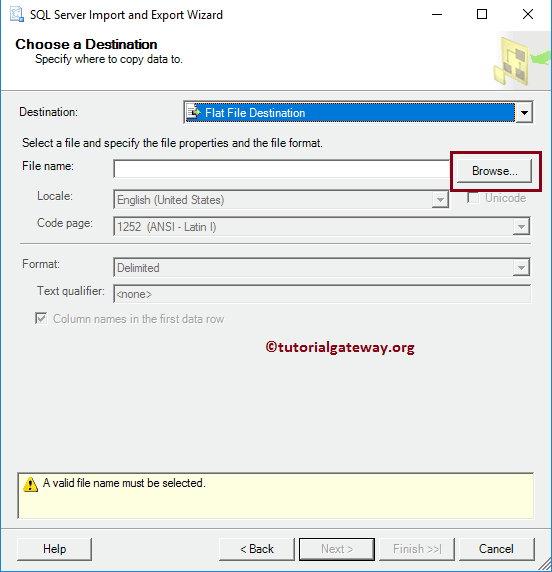
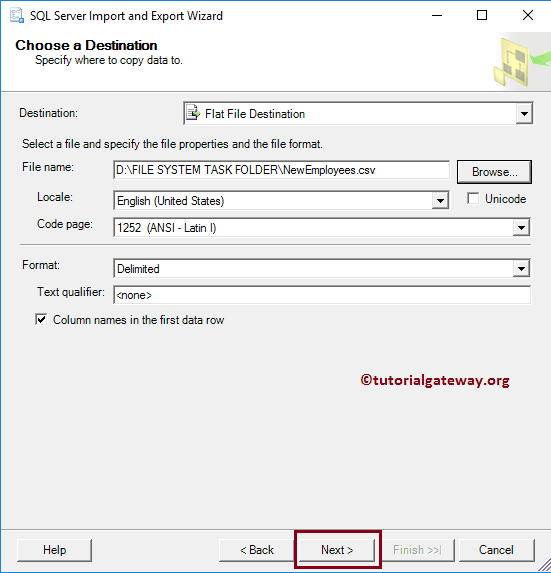
Choose a Destination: This window is used to configure the destination (to where we want to copy this).
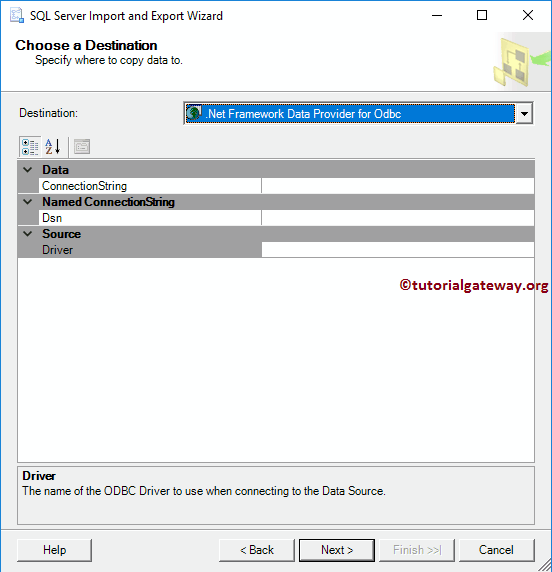
Our target is to save or export the SQL table data into a CSV file. So we are selecting Flat File Destination as our Destination.
Please click on the Browse button to choose the CSV file from our local drive.
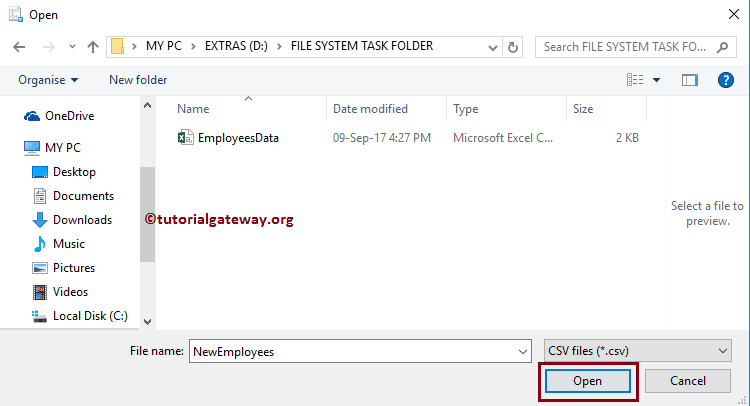
We are creating a new CSV in our D drive.
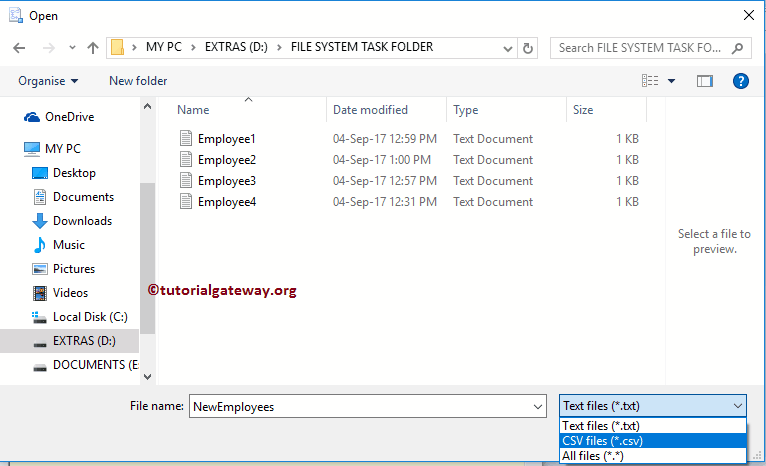
Click on the Open button to create a new CSV file.
Next, select the Format that you want to assign.
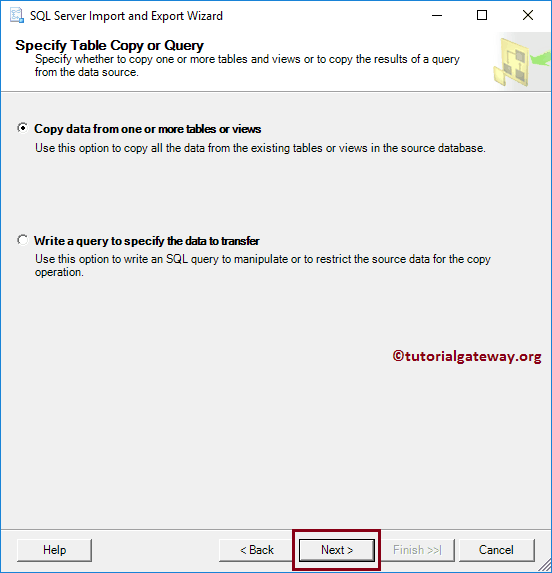
Specify Table Copy or Query: Here, we have two options to Export Data From SQL to CSV.
- Copy data from one or more tables or views: This option is to select from existing tables or views (All the columns)
- Write a query to specify file data to transfer options: In real time, we are going to use this option. Because there will be unnecessary columns in every table. So it is better to avoid them or select data with the condition.
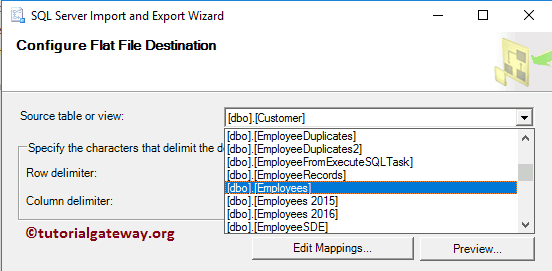
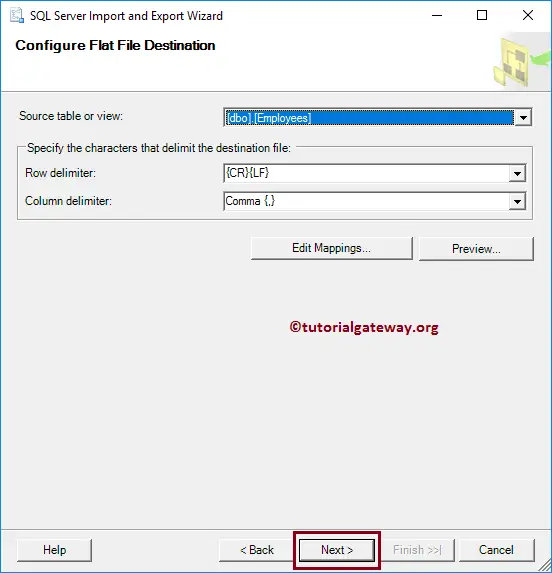
This window is used to select the source table from the database. Here we are selecting the Employees table.
You can change the Row and Column delimiters as per your requirements. If you are using a text file as the destination, then you can make many customizations. Click on the preview button to check the incoming data flow.
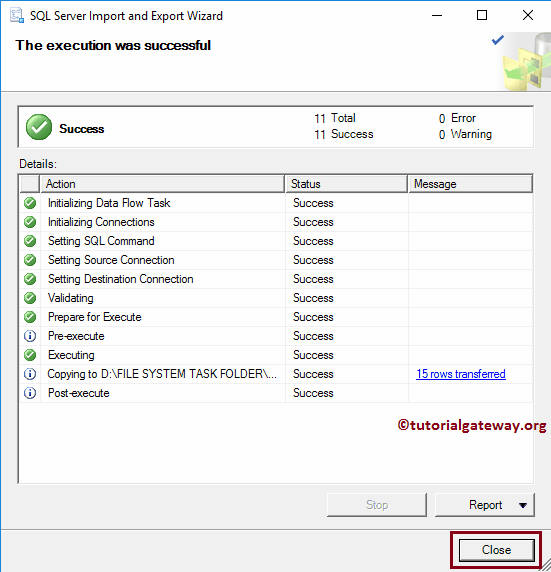
Save and Run Package: This page gives us the option to save the package in either an SQL server or a File system. For the time being, I am selecting the Run option immediately.
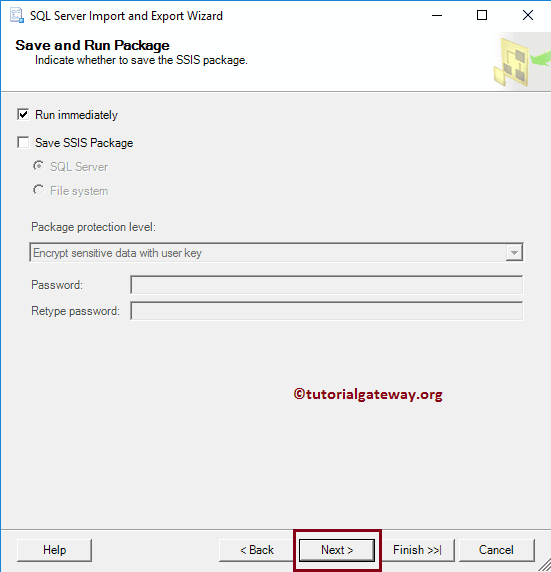
Click the Finish button to complete the Export Data From SQL to CSV Wizard.

From the below screenshot, you can observe the status: Success and Message.