How to return Full row set (or Complete Table) from the SQL server using the SSIS Execute SQL Task with an example. It will also demonstrate the Result Set option Full Row Set. For this, we are going to use the Employee table present in the database
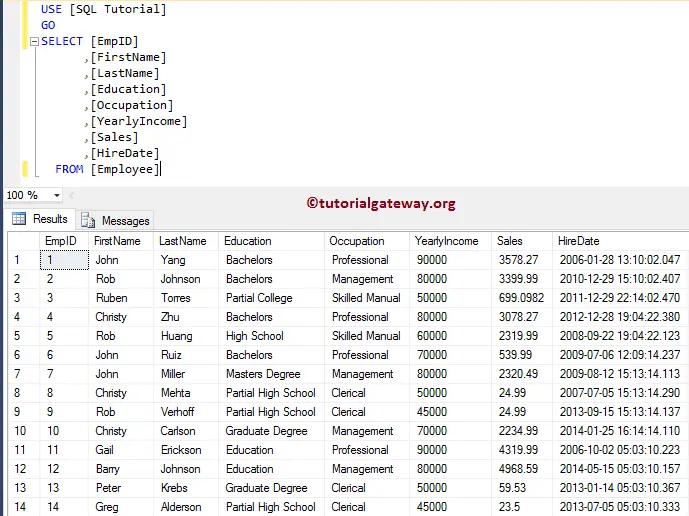
Before we start describing the Execute SQL Task in SSIS Full Row Set, Let me show you the Employee Table that we use for this example:
Execute SQL Task in SSIS Full Row Set
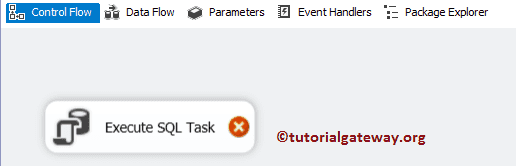
In this example, we will use the SSIS Execute SQL Task full row set option to select the data present in the Employee table and save the returned result set in another table. To do so, Drag and drop the Execute Task from SSIS toolbox to designer space.
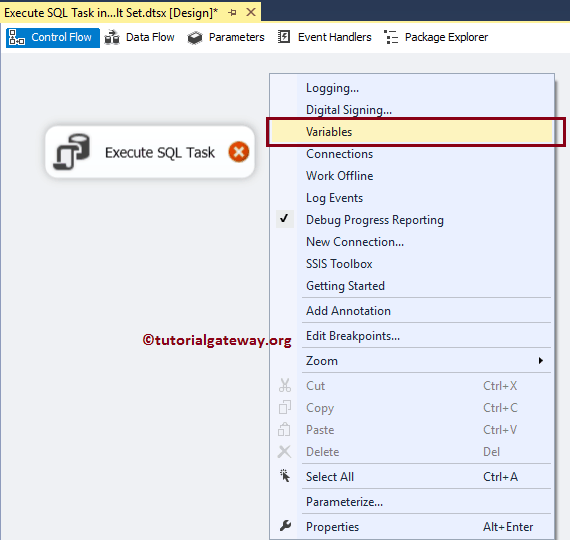
Before we start configuring this, let me create variables that are required to hold the return records. And to do so, right-click on the design area will open the context menu. Please select the Variables option.
As you can see from the below screenshot, we created 8 variables. Here, the ResultSet variable of object type will hold the returned result set, and the remaining seven columns will use in another task.

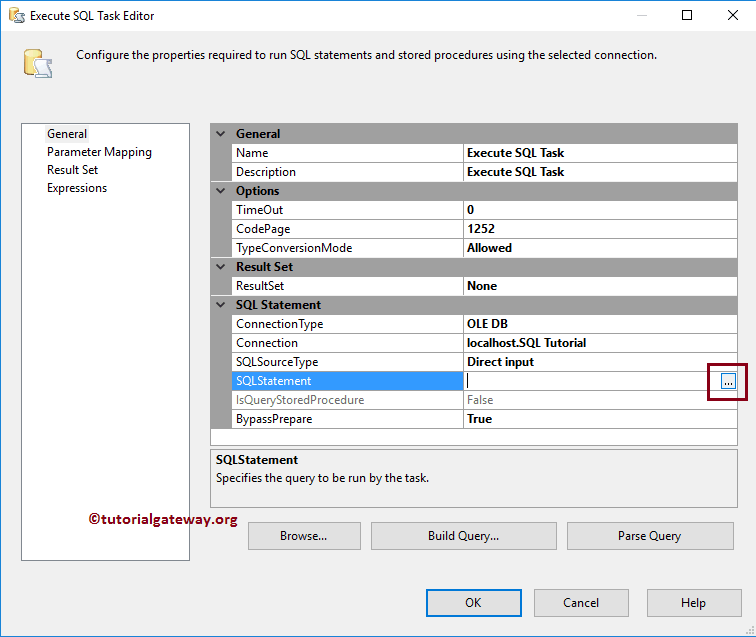
Now, Double click on the Execute SQL Task Editor will open the Editor to configure it. Let me select the Connection Type as OLE DB Connection, which is connecting to the database. Next, we are using the Direct Input as the SQL statement so, click the … button to write the custom command.
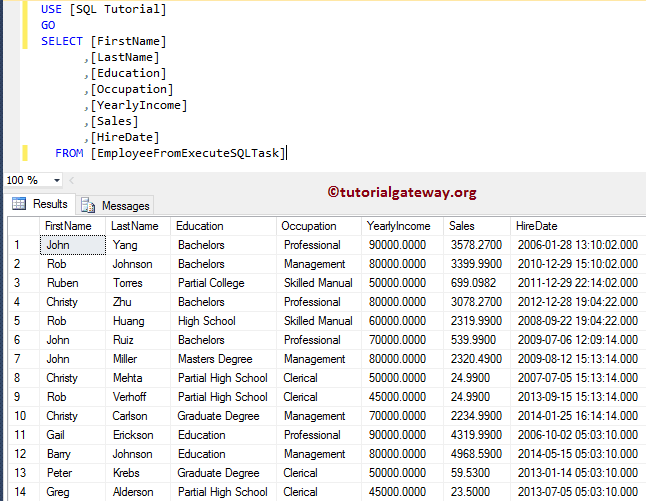
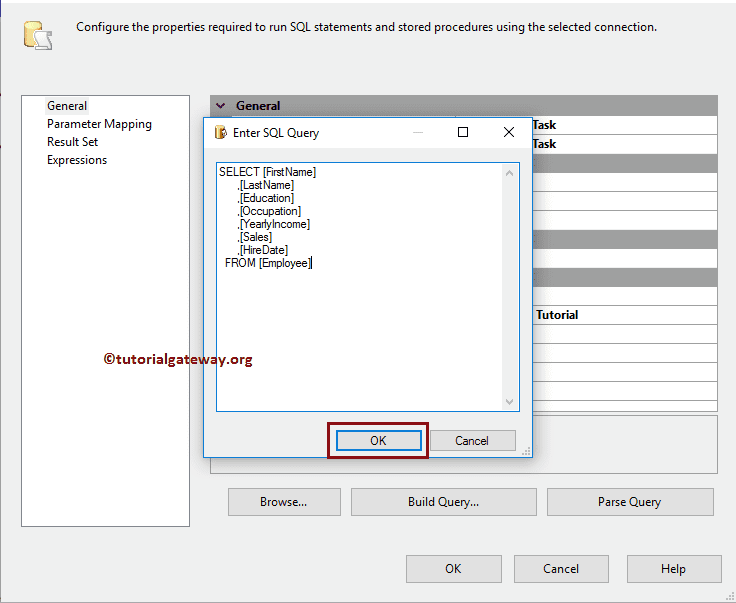
Please write your custom statement here. As you can from the below screenshot, we are writing a Select statement to select all the records that are present in the Employee table.
SELECT [FirstName]
      ,[LastName]
      ,[Education]
      ,[Occupation]
      ,[YearlyIncome]
      ,[Sales]
      ,[HireDate]
  FROM [Employee]
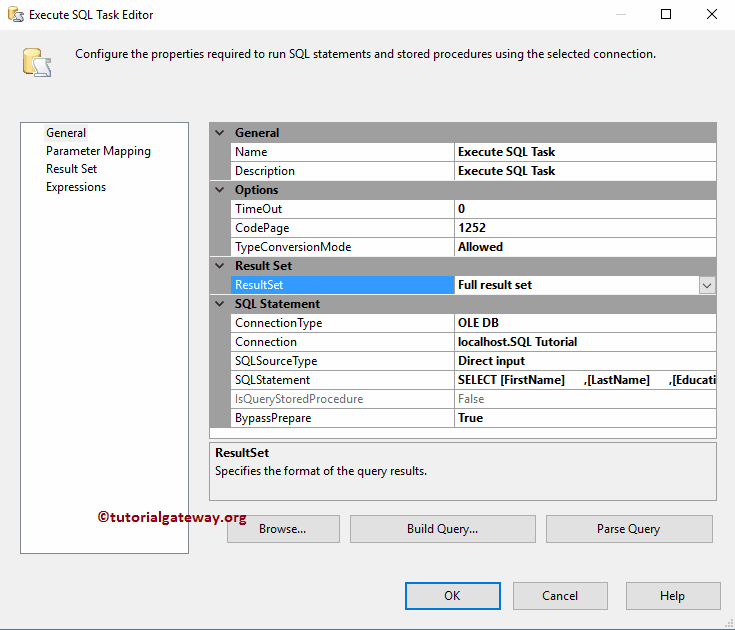
Please change the SSIS Execute SQL Task ResultSet property value from NONE (default) to the Full result set.
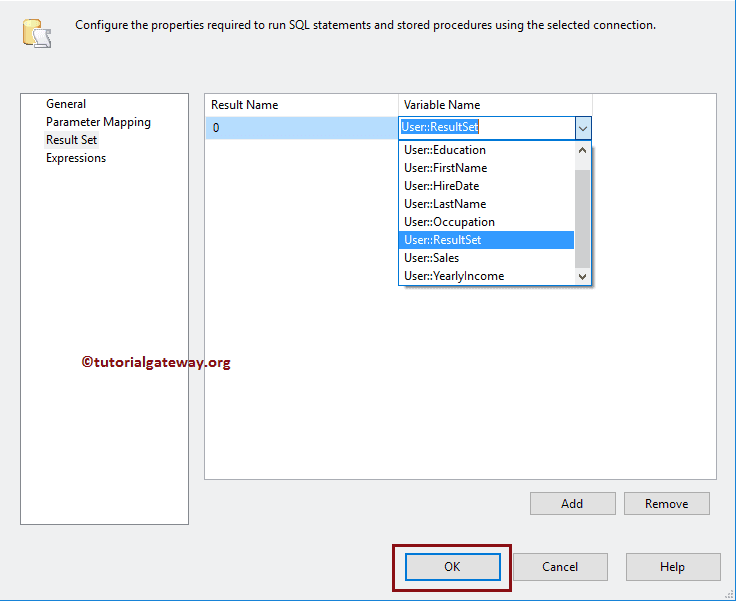
Next, go to the Result Set tab and click the Add button to assign the variables for the return set.
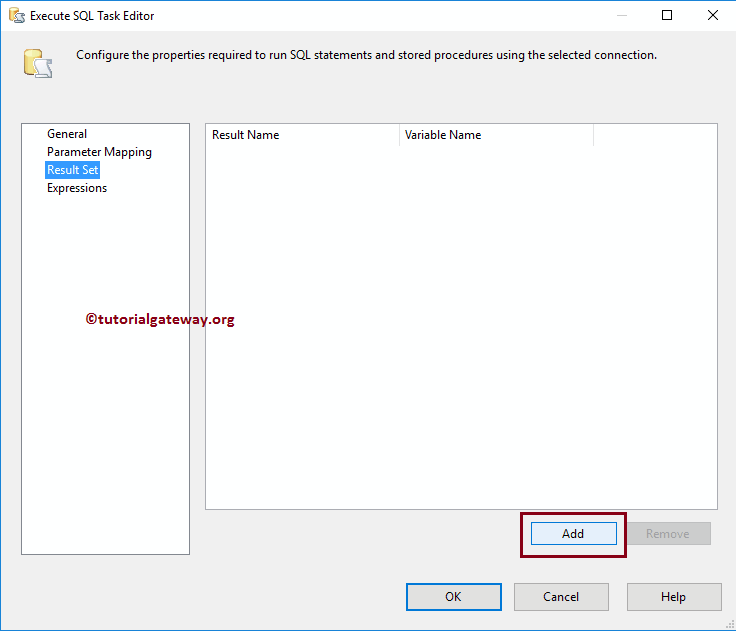
As we said before, the select statement will return a complete table. So, we are assigning object variable (ResultSet variable) as the result variable.
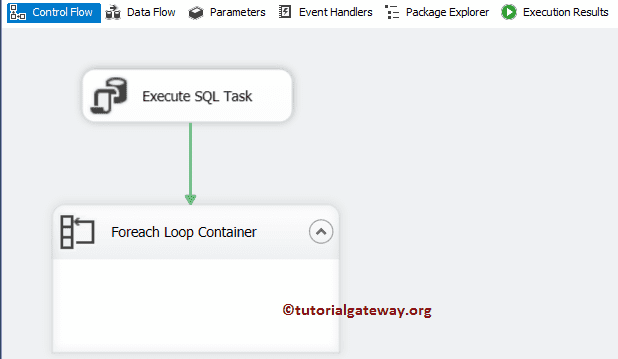
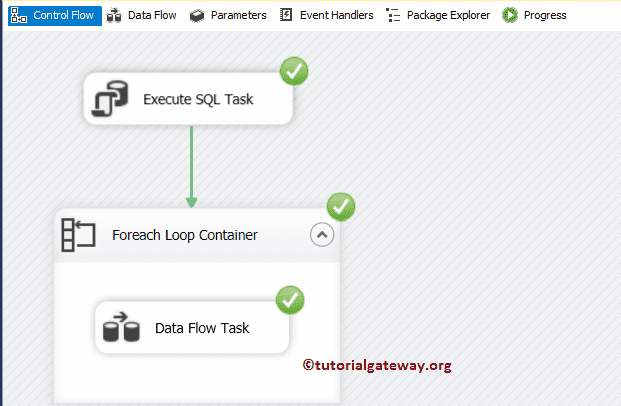
Until now, we successfully configure the execute SQL task. But, we intend to save the result set in the database. To do so, we need a For Each Loop container. So, let me Drag and drop the Foreach Loop Container into the Control Flow region
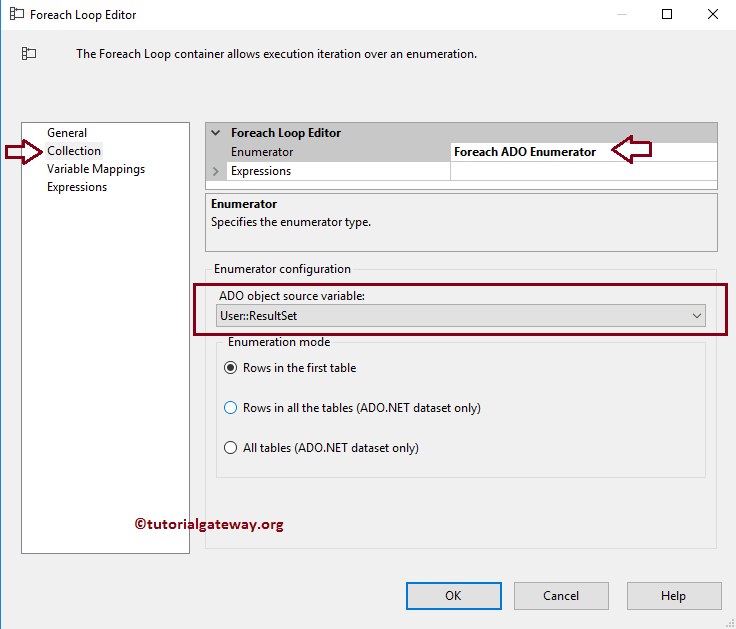
Double click on it will open the Foreach Loop Editor to configure it. Please navigate yourself to the Collection tab, and select the Enumerator as the Foreach ADO Enumerator. Next, select the Object variable (ResultSet) as the ADO Object source. We will do one separate article for the Foreach ADO Enumerator so blindly follow the steps.
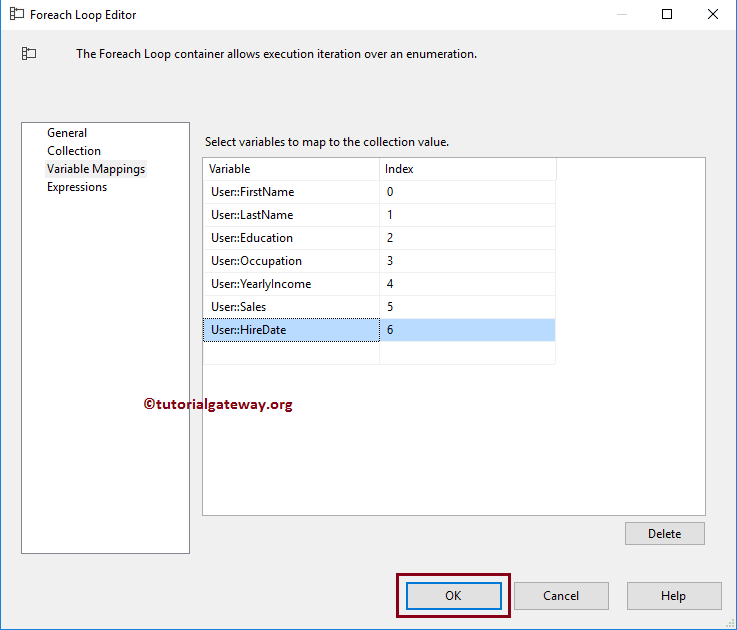
Next, we have to map the variables so navigate yourself to Variable Mappings tab.
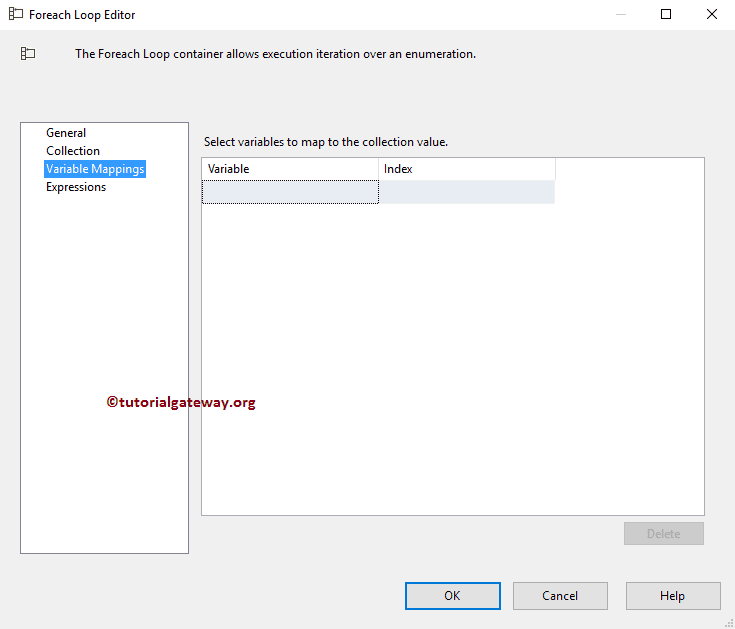
Our ResultSet will return seven columns from the Employee table. So, we are assigning the previously created user variables to those seven columns.
Click OK to close the Foreach Loop container. Next, Drag and Drop the Data Flow task inside the Foreach Loop.

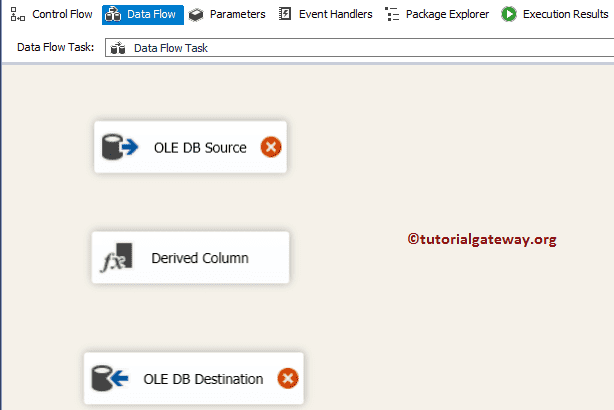
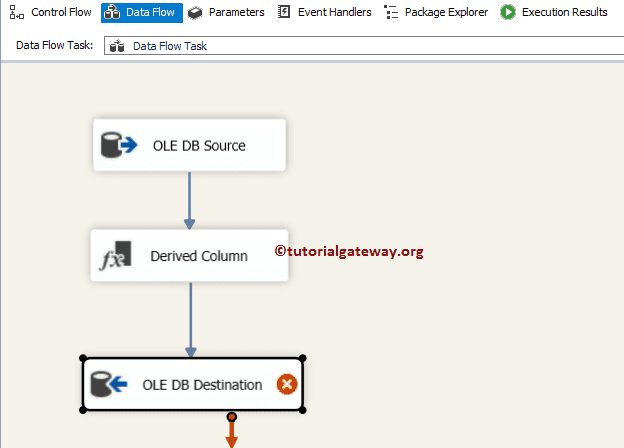
Double click on the Data Flow Task will open the data flow tab. Drag and drop OLE DB Source, Derived Column Transformation, and OLE DB Destination from the toolbox to data flow region
Double click on OLE DB source, and connect to the database. Next, we selected the SQL Command as the Data access mode, and write a simple command. This command returns RowNumber as Column, and its value is 1.
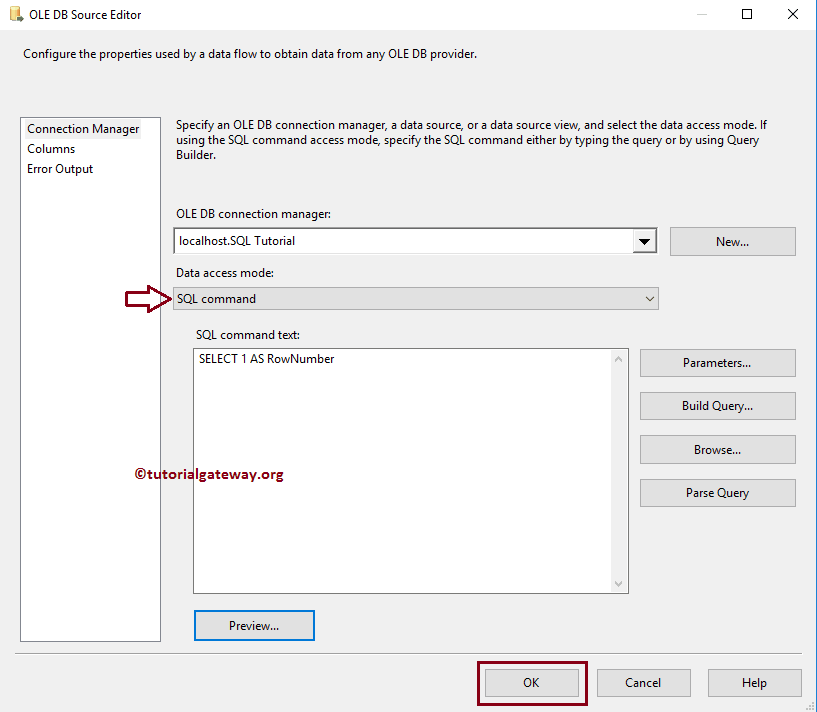
The Command that we used in the above screenshot is:
SELECT 1 AS RowNumber
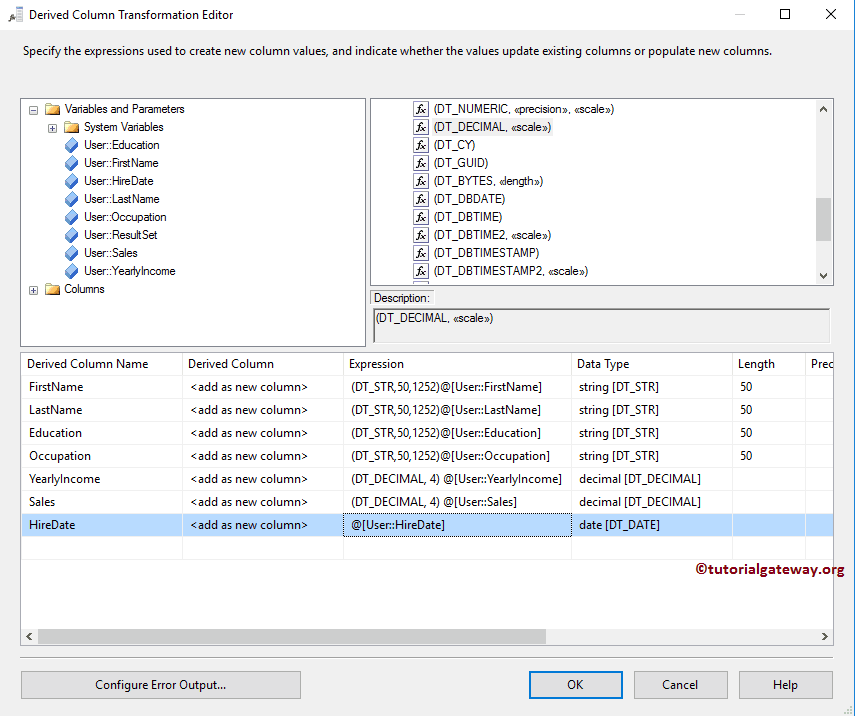
Next, Double click or right-click on the Derived Column Transformation to add new columns based on the variables. First, let me add a new column for the FirstName variable.
As you can from the below screenshot, we are using the Type Cast function DT_STR to convert the variable value to a string type of length 50.
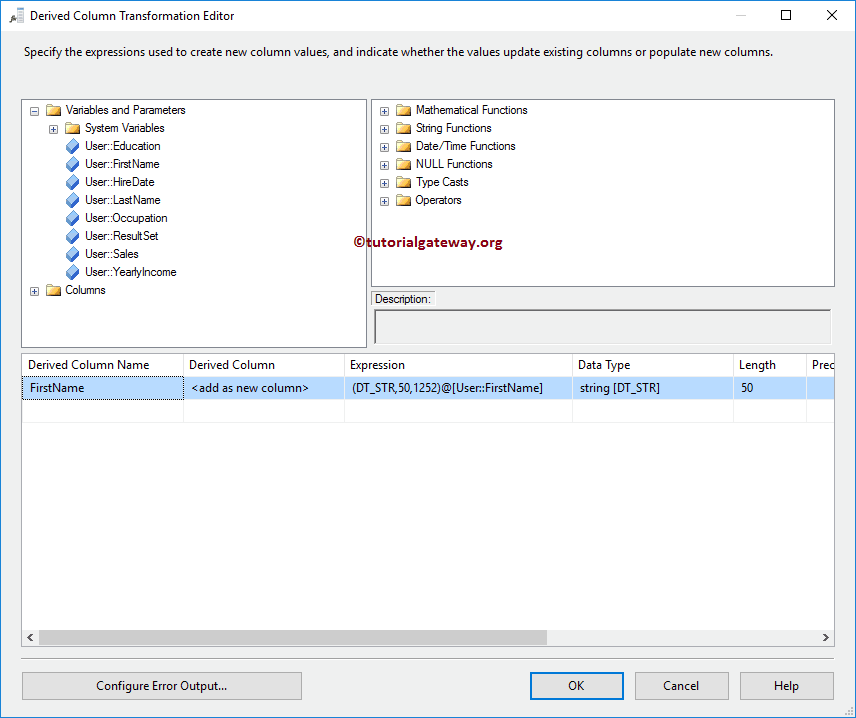
Please add the new columns for the remaining variables, as well.
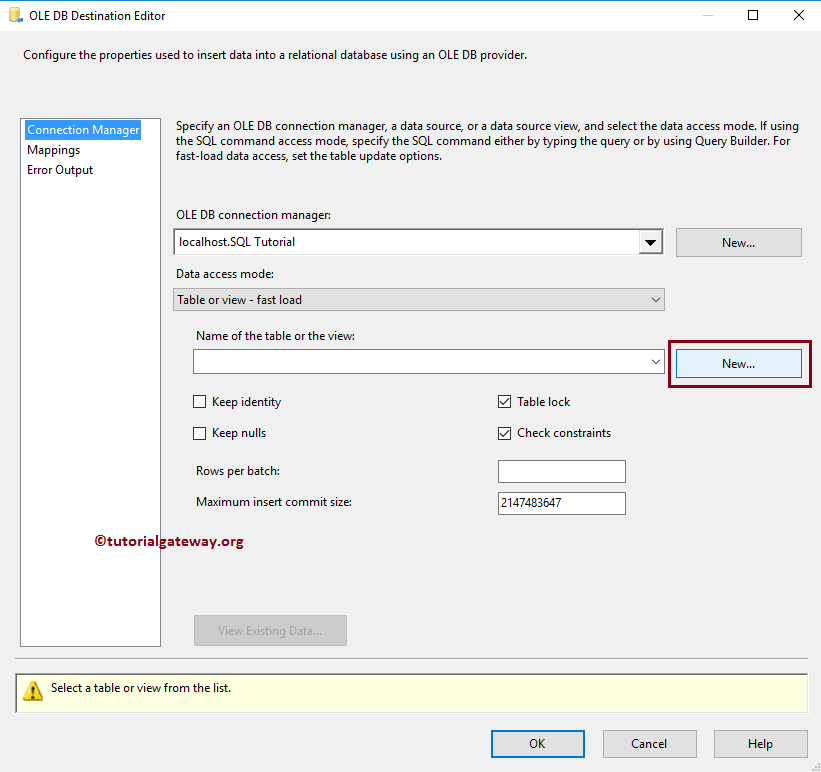
Next, Double click on the OLE DB Destination to save these newly created columns into the database.
For now, we are connecting to the database. I forgot to create a table in the Server so, let me click the New button so that the OLE DB Destination editor will automatically create a table for me.
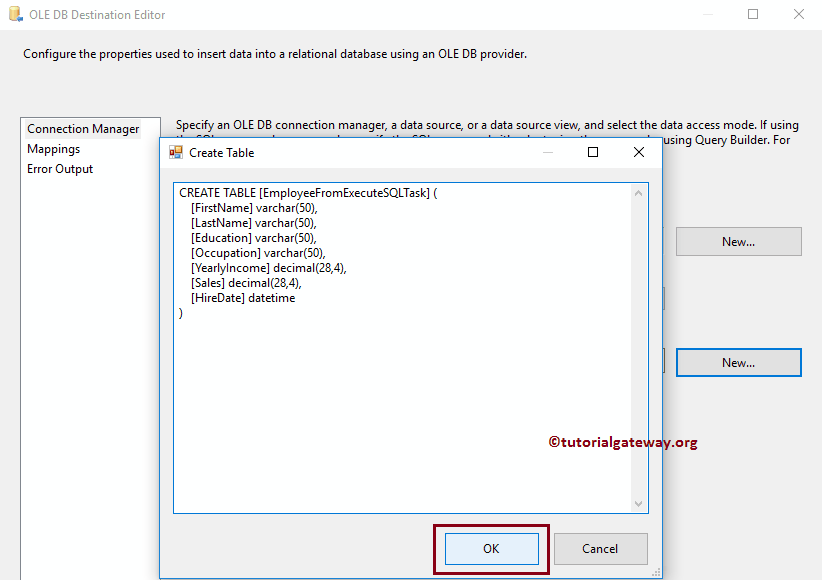
It is the table that was generated by the Ole DB. Remember, we removed the unwanted RowNumber column from this definition.
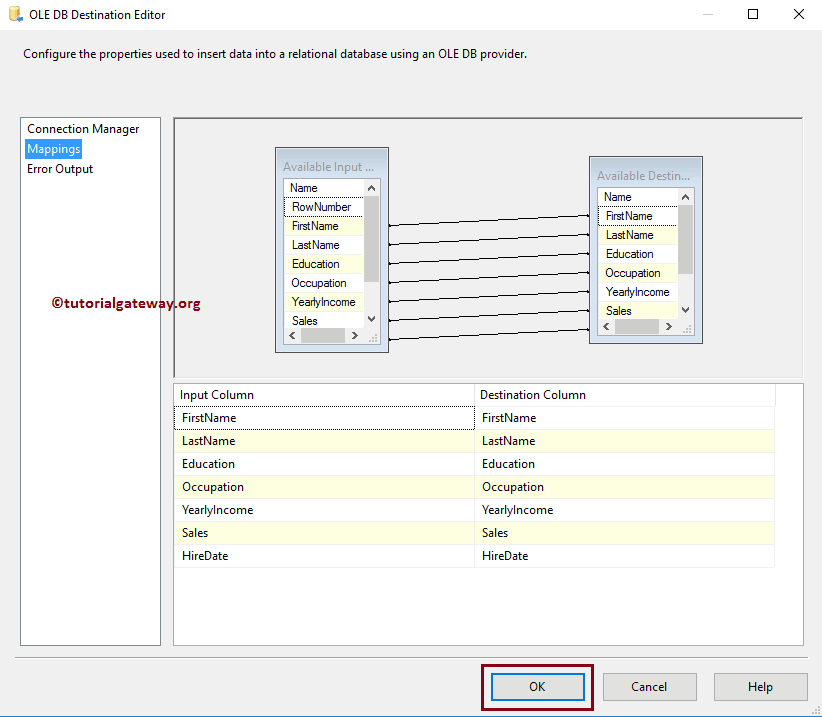
Click on the Mappings tab to check whether the source columns exactly mapped to the destination columns.
Clicking OK to finish configuring Execute SQL Task in SSIS Full Row Set package. Let us run the package and see whether we transferred the data using Execute SQL Task or not
Let us open the Server Management Studio Query window to Preview the data.