The Source Assistance in SSIS will help you to choose the source from the available list. If you are confused about selecting your source or if you don’t know which one to select, Source Assistance can be beneficial.
Configuring Source Assistance in SSIS
In this example, we show how to configure the source assistance in SSIS (Integration Services) to extract data from the SQL Server Database.
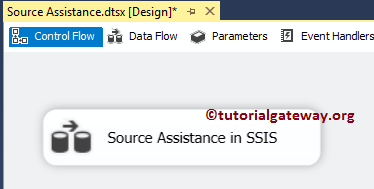
First, Drag and drop the data flow task from the toolbox to the control flow. Next, change the name as Source Assistance in SSIS, as shown below.
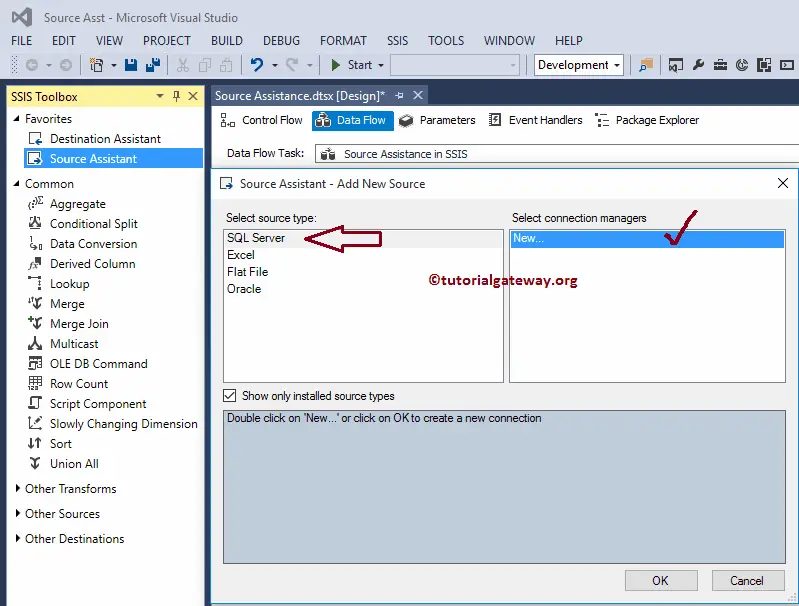
Double-click on it will open the data flow tab. Drag and drop Source Assistance from the SSIS toolbox into the data flow region. Once you drop it on the data flow region, a new window called Source Assistance – Add New Source will display.
If you carefully observe the window, the Select source type region displays the four most commonly used sources. Please select the source as per your requirements. In this example, we are using SQL Server as our source. So, we choose the SQL Server and click New Connection Manager.
TIP: If you already created the SSIS connection manager, you can select it from the list. For more information on data Loading >> Click Here.
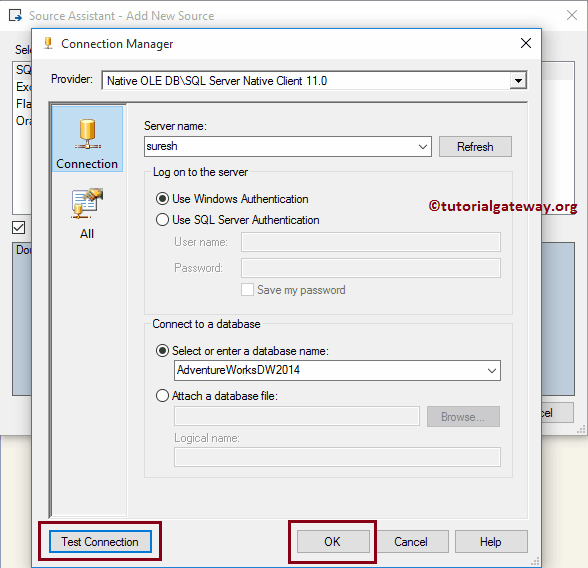
Once you click on the New Connection Manager, the following window will display. Here, we select the Adventure Works DW 2014 database from our SQL Server. Before we close the Connection Manager window, Please test the connection, and if it is successful, click the ok button.
TIP: Please refer to the OLE DB Connection Manager article to understand the properties in detail.
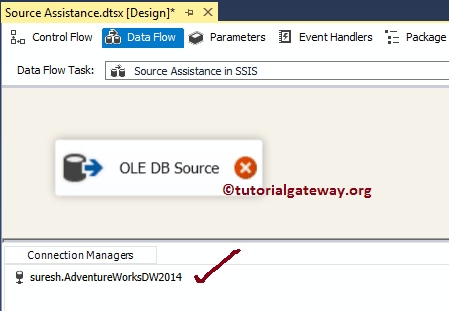
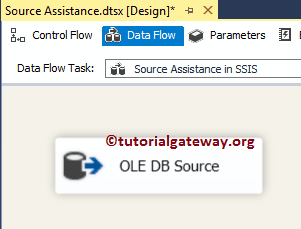
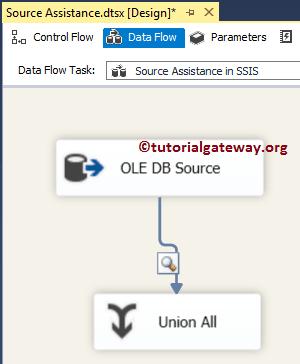
From the below screenshot, you can observe that our SSIS source assistance created an OLE DB Source here.
Choose Table
Double-click on the OLE DB source in the data flow region will open the OLE DB Source Editor along with the already created OLE DB connection manager.
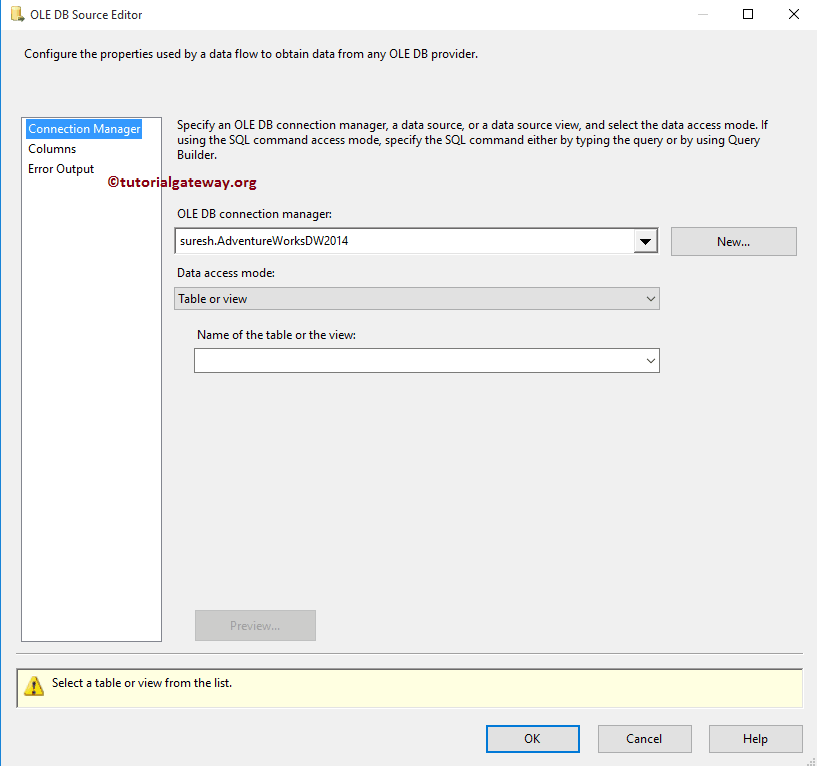
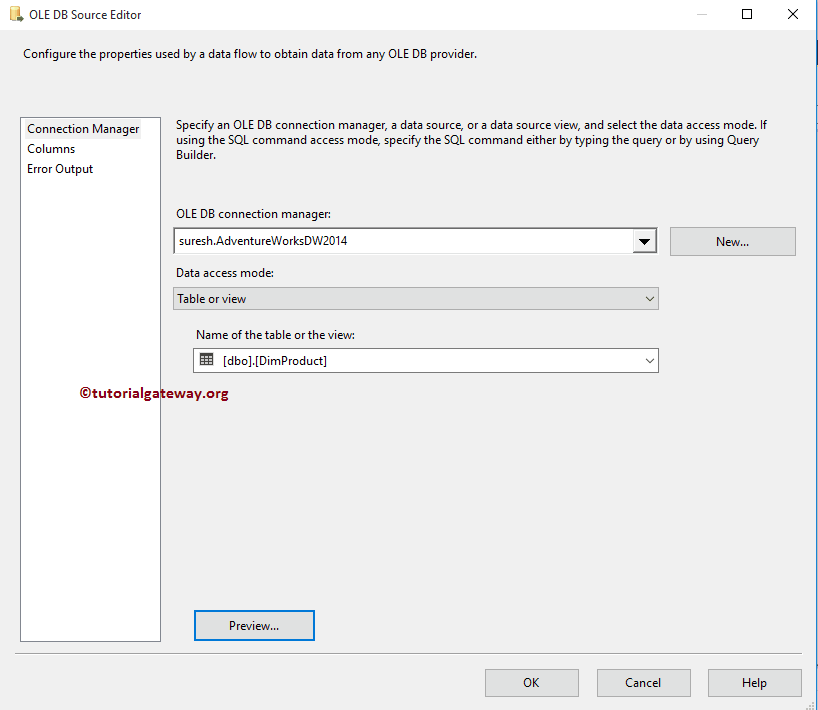
For the time being, we are selecting the DimProducts table from our Adventure Works DW 2014 database. Please refer to the OLE DB Source article to understand every property present inside this OLE DB Source Editor
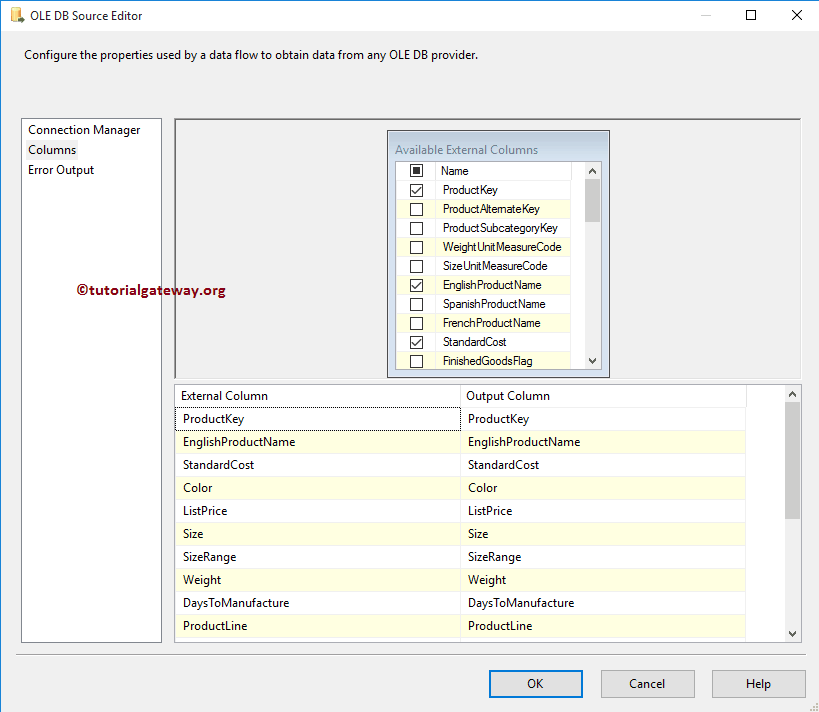
Click on the columns tab to verify the columns. Here, we can also remove the unwanted columns by unchecking them. Here, we are removing a few columns for the demonstration purpose
Click ok to finish configuring Source Assistance in SSIS
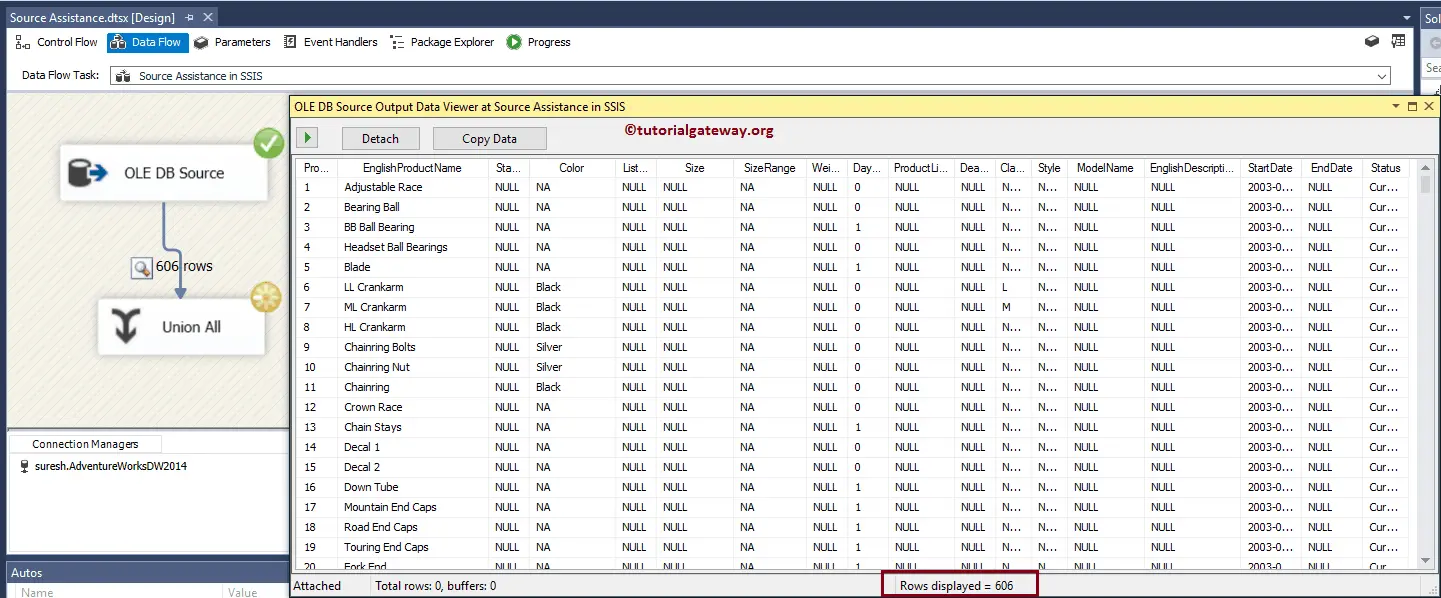
Let drag and drop the Union All transformation and enable the data viewer to see the data inside our newly created source.
From the below screenshot, you can see that it is passing 606 records.

Comments are closed.