Multicast Transformation in SSIS sends input data to multiple destination paths without applying any conditions or transformations. OR, SSIS multicast transformation takes ONE Input, makes the logical COPY of data, and passes the same data to multiple outputs.
SSIS Multicast Transformation is very useful when applying different transformations on the same dataset in parallel. The primary function of it is to perform parallel processing. For instance, If we’re going to perform two types of transformations on the same dataset. Then, use SSIS Multicast Transformation to make two copies of the same data in parallel. Next, we can perform different transformations on each copy or load them into separate destinations.
Multicast Transformation in SSIS Example
In this example, we use SSIS Multicast transformation to send the OLE DB source data (from Dimcustomers and Fact internet sales tables) to multiple destinations, such as Excel files and Text files, using Excel destination and Flat File destination.
STEP 1: Drag and drop the data flow task from the SSIS toolbox to control flow and rename it Multicast Transformation.
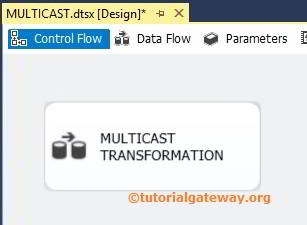
Double click on the data flow task, which will open the data flow tab.
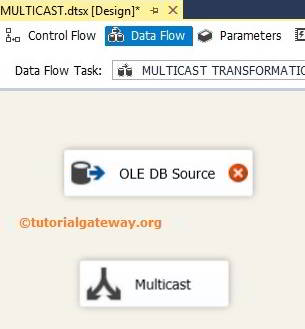
STEP 2: Drag and drop OLE DB Source, Multicast Transformation in SSIS toolbox to data flow region
STEP 3: Double click on the OLEDB source in the data flow region, opening the connection manager settings and providing space to write our SQL statement. For more Transformations >> Click Here.
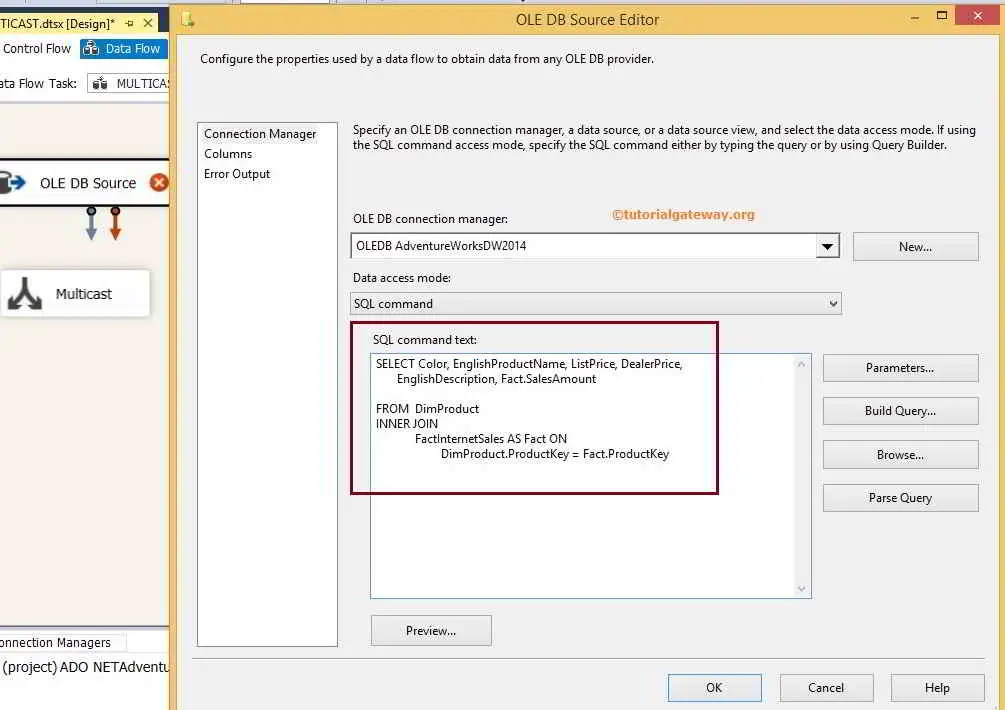
The SQL Command that we used in the above screenshot is:
SELECT Color,
       EnglishProductName,
       ListPrice,
       DealerPrice,
       EnglishDescription,
       Fact.SalesAmount
FROM DimProduct
   INNER JOIN
     FactInternetSales AS Fact
   ON DimProduct.ProductKey = Fact.ProductKey
For this SSIS Multicast Transformation example, we are selecting a color, English Product Name, List Price, Dealer Price, and English Description from the DimProduct table and Sales amount column from the Fact Internet Sales table presented in [Adventure Works DW 2014]
STEP 4: Click on the OLE DB Source columns tab to verify the columns. In this tab, we can uncheck the unwanted columns also.
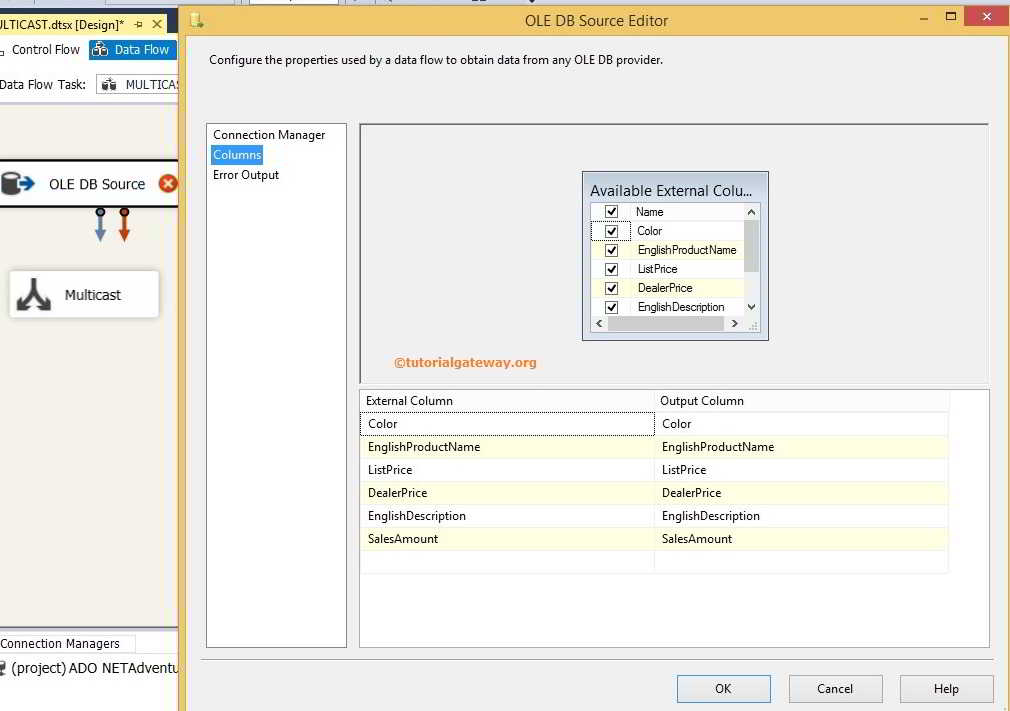
STEP 5: Click the OK button. Next, Drag the arrow downwards and attach it to Multicast. There is nothing to do with SSIS Multicast Transformation because it will just transfer the data to multiple outputs. Please drag and drop the Excel Destination into the data flow region.
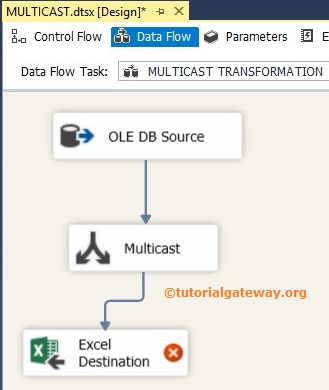
STEP 6: Now, we have to provide Excel Connection Manager and table details of the destination. So double-click on the Excel Destination and provide the required information.
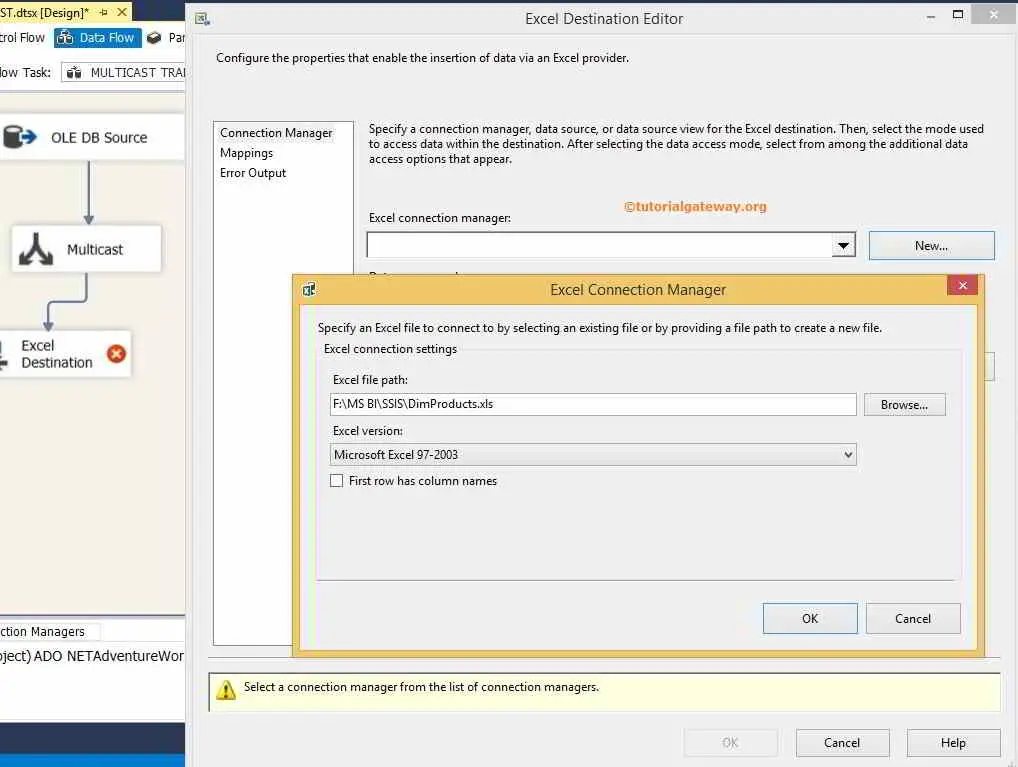
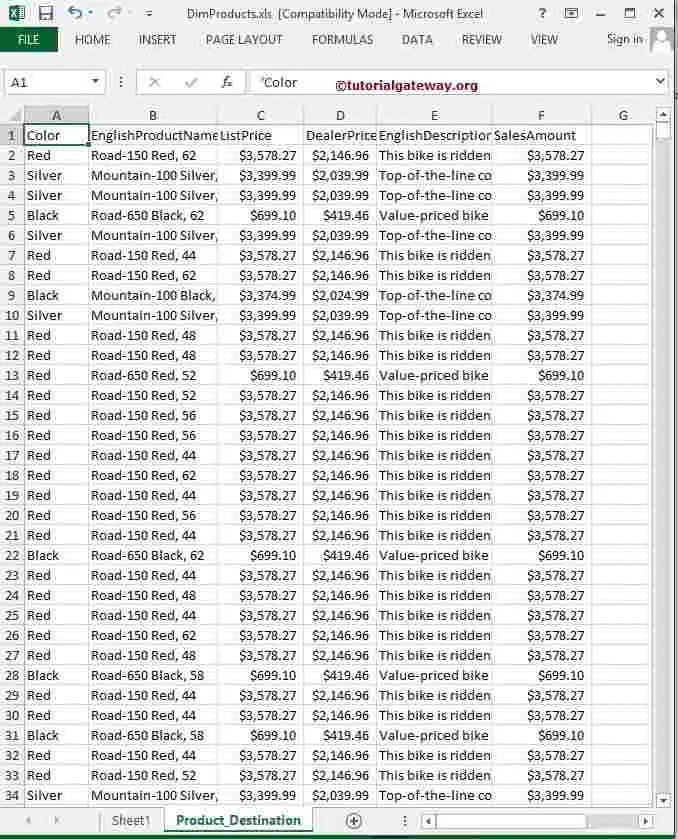
Here, we selected the DimProducts.xls as our Excel destination sheet
TIP: You must create the Excel sheet before using it in the Excel Connection Manager. If you checkmark the First row with a column names option, Column names will save in the first row of the selected Excel sheet.
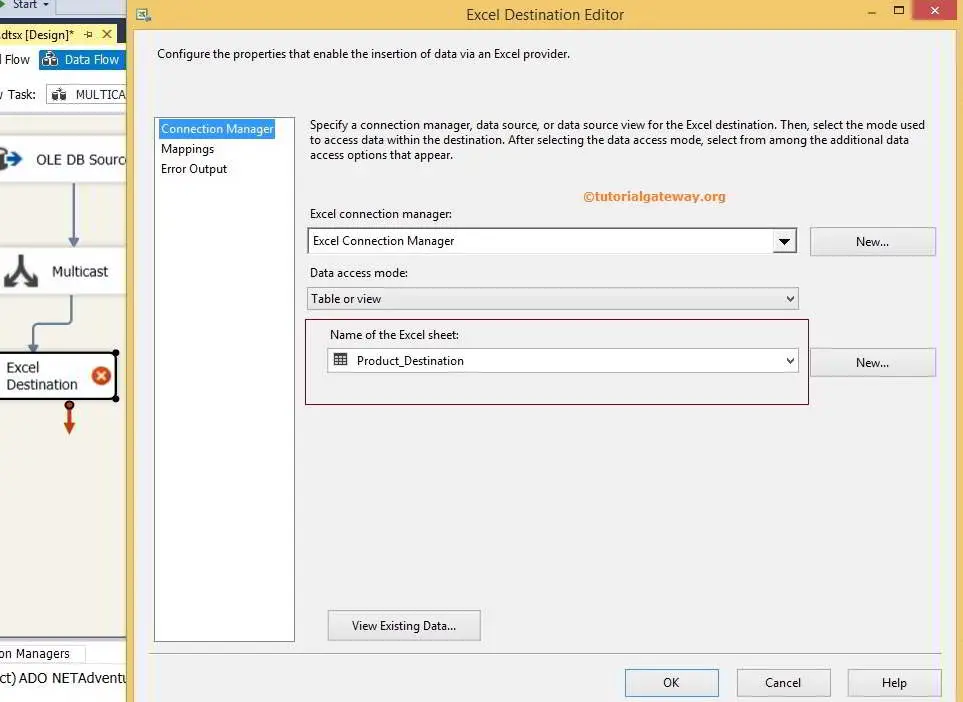
Here, we selected the Product_Destination table, so to check the result, you have to open the Product_Destination sheet inside the DimProducts.xls
STEP 7: After configuring the table, click on the Mappings tab to check whether the source columns are exactly mapped to the destination columns.
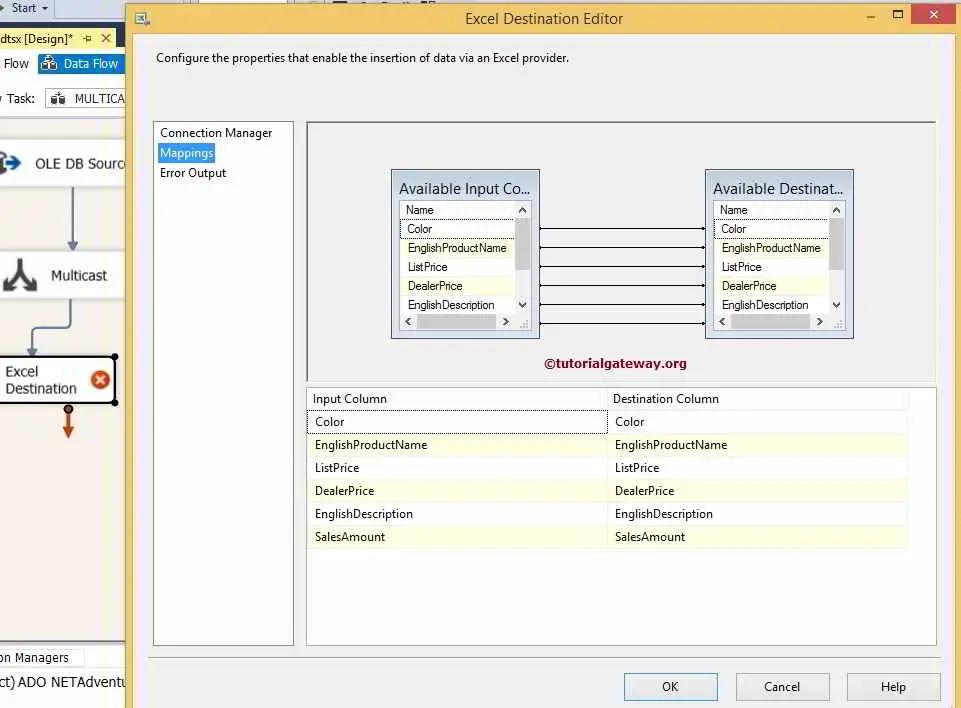
Click ok to finish configuring the Excel destination.
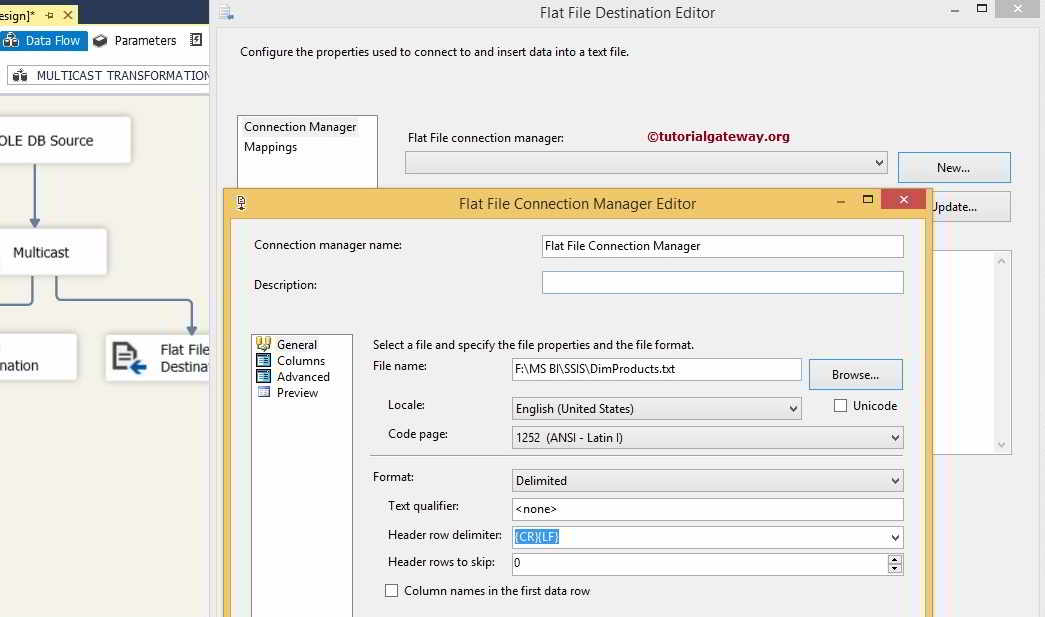
STEP 8: Drag and drop the Flat File Destination and connect to SSIS Multicast Transformation. Now, we have to provide Flat File Connection Manager and the file name of the destination. So double-click on the Flat File Destination and provide the required information.
STEP 9: Click the Mappings tab to check whether they are precisely mapped to the destination columns.
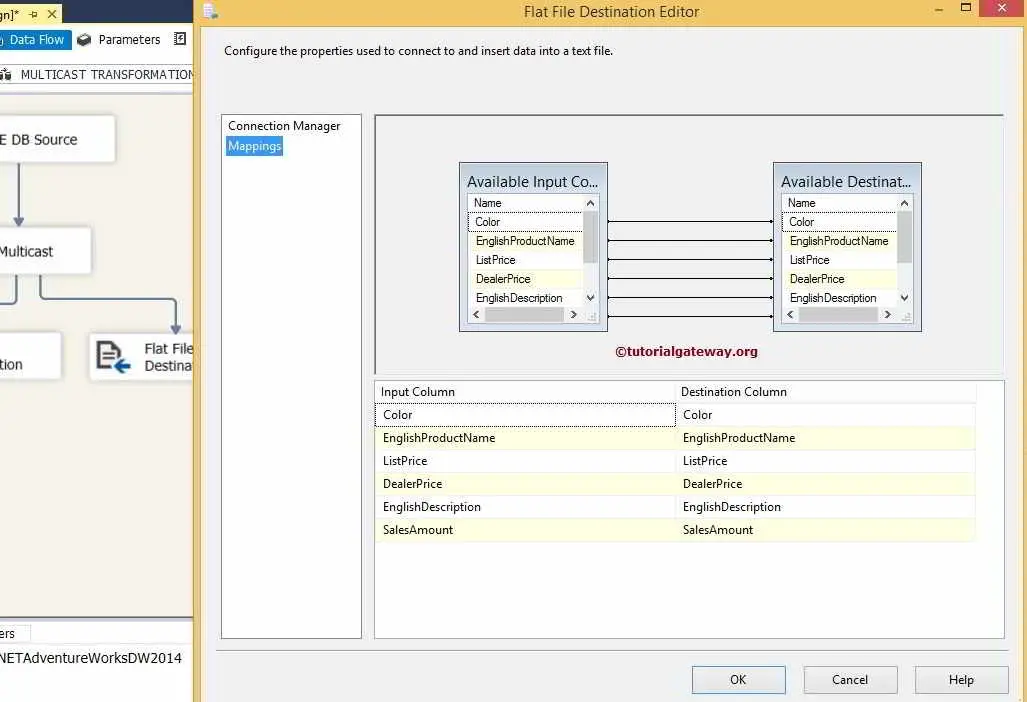
Click ok to finish the SSIS Multicast Transformation package setup and Run the package.
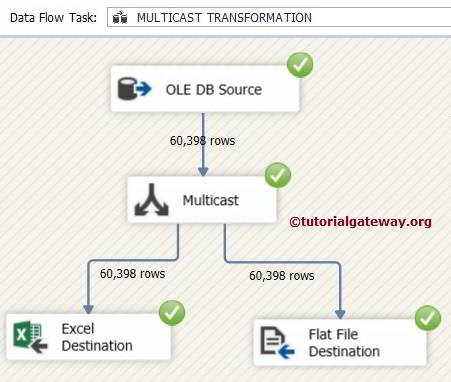
Check the result of Multicast in the Excel sheet.
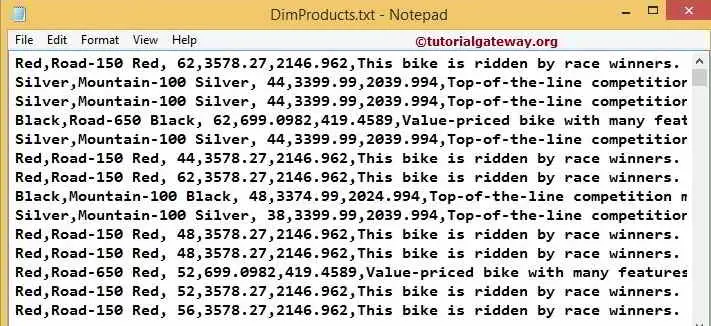
Check the SSIS Multicast Transformation result in a Text file.
