An Excel Connection Manager in SSIS is used to connect SQL Server Integration Services Packages with the Excel files or Excel workbooks.
Configuring Excel Connection Manager in SSIS
In this example, We are going to show how to create or configure EXCEL Connection Managers in SQL Server Integration Services. The Excel file has the copied information of DimProducts and its FactInternetSales from teh AdventureWorks DW database.
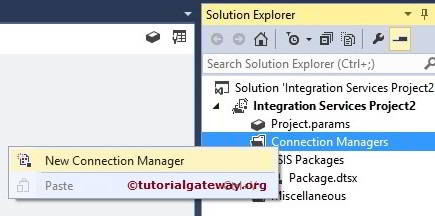
Once you created a new Project under SSIS. Let’s concentrate on the Connection Managers Folder. Right-click on the Connection Managers folder in the Solution Explorer and select the New Connection Manager option from the context menu.
When you click on the New option, an Add SSIS Connection Manager window will open. Use this to select the one from the list.
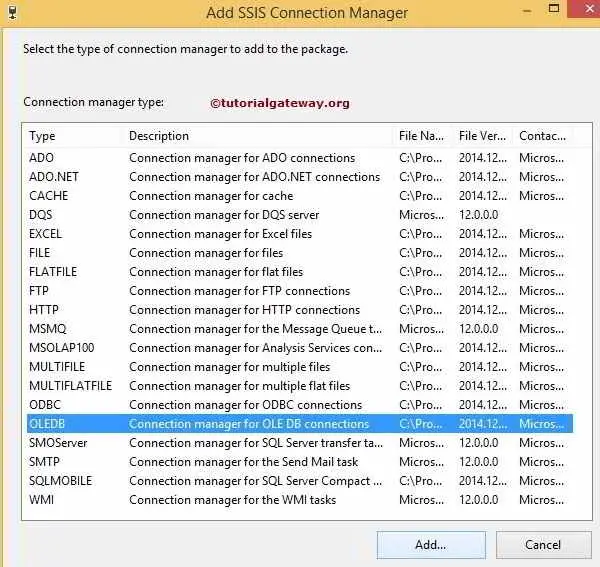
Here, we selected the SSIS Excel connection manager from the list. Once we set this, another window of Excel Connection Manager opened to configure the file path.
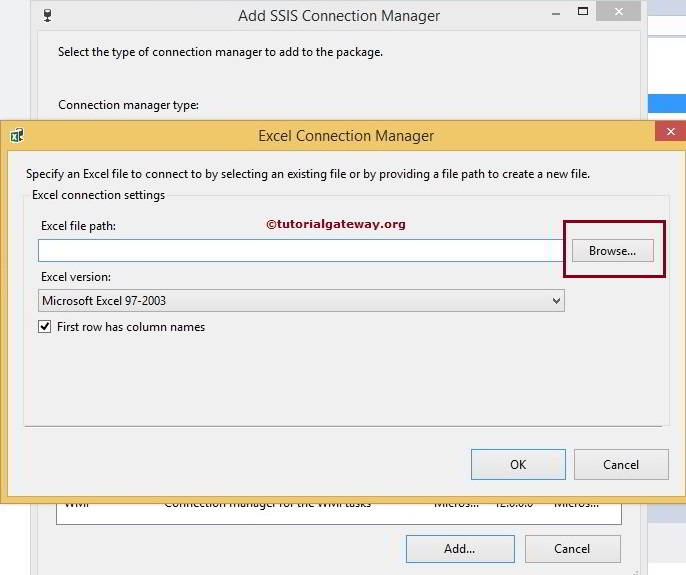
Click the Browse button to open a new window to browse the drive.
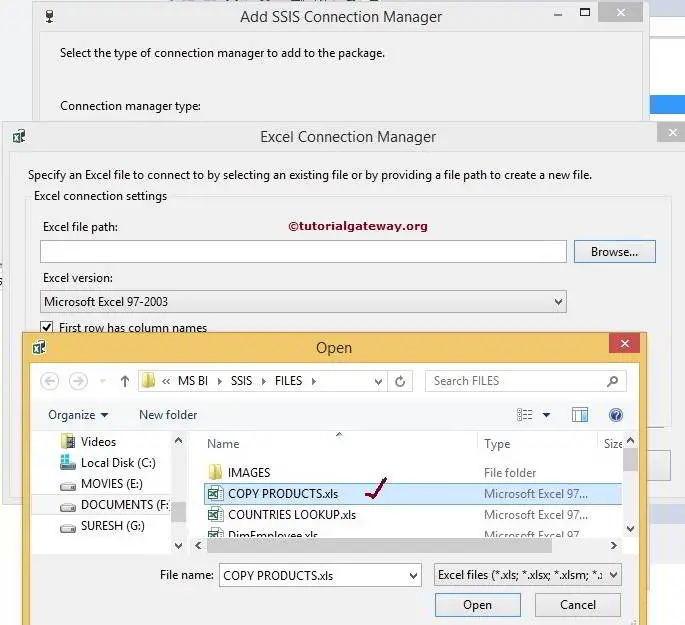
From the above screenshot, you can observe that we selected the COPY PRODUCTS.xls file. The file is in Microsoft Excel 97-2003 format. So, we didn’t change the Excel Version.
If you observe the data in the COPY PRODUCTS.xls file, its first row has column names like color, Product Name, and Price. So Please checkmark the First row that has a column names option.
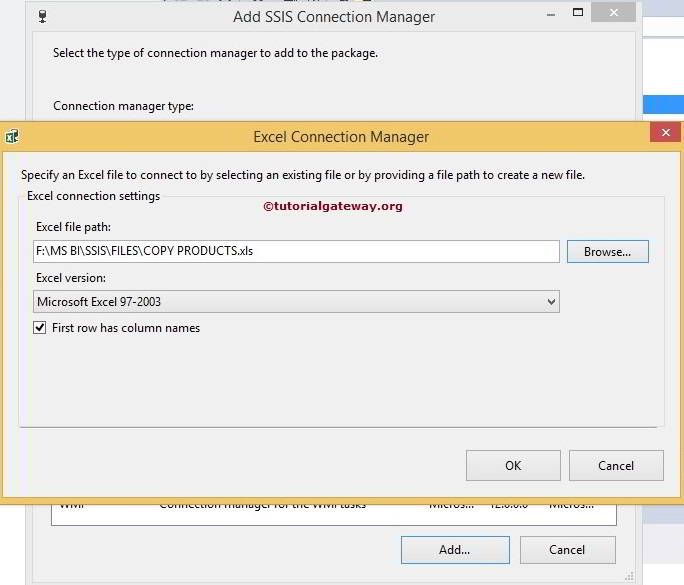
Click the ok button to finish configuring the Excel Connection Manager.
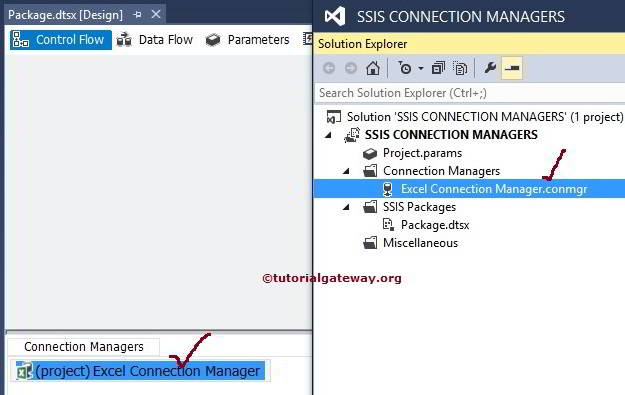
From the above image, you can see that we successfully created Excel Connection Manager.
Comments are closed.