Audit Transformation in SSIS allows you to add extra columns with auditing information (Machine name, package name, id, date, etc.) required in auditing. We can use this SSIS audit transformation to save that information in the target table. For instance, If we want to investigate
- Which user executed this package?
- The execution time of the package?
- From which machine does he/she execute?
- What is the task ID, PackageID, Name of the Package, etc.?
List of available options in Audit Transformation in SSIS :
- ExecutionInstanceGUID – The GUID that identifies the execution instance of the package.
- PackageID – This is the unique identifier of the package.
- PackageName – This shows the name of the package.
- VersionID – The unique version number of the package.
- ExecutionStartTime – The time the package started to run.
- MachineName – The Name of the computer.
- UserName – The login name of the person who started the package.
- TaskName – Name of the Data Flow task associated with the Audit transformation.
- TaskId – The unique identifier of the Data Flow task.
Audit Transformation in SSIS Example
For this SSIS example, We are using Adventure Works DW in our SQL Server
STEP 1: Drag and drop the data flow task from the toolbox to the control flow. Next, rename it to Audit Transformation.
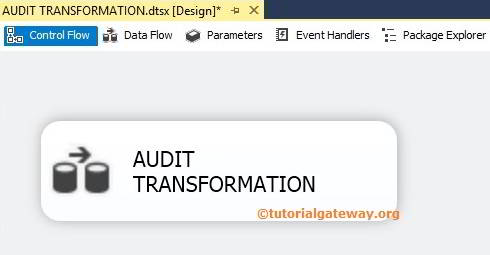
Double click on it to open the data flow tab. For more Transformations >> Click Here.
STEP 2: Drag and drop OLE DB Source, Audit transformation, and ADO.NET destination onto the SSIS data flow region
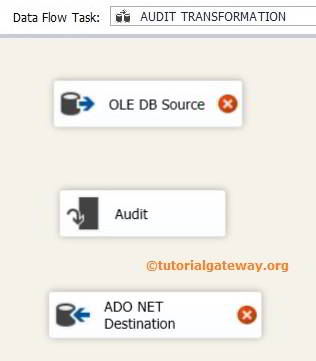
STEP 3: Double-click on the OLE DB source in the data flow region, open the connection manager settings, and provide space to write our statement.
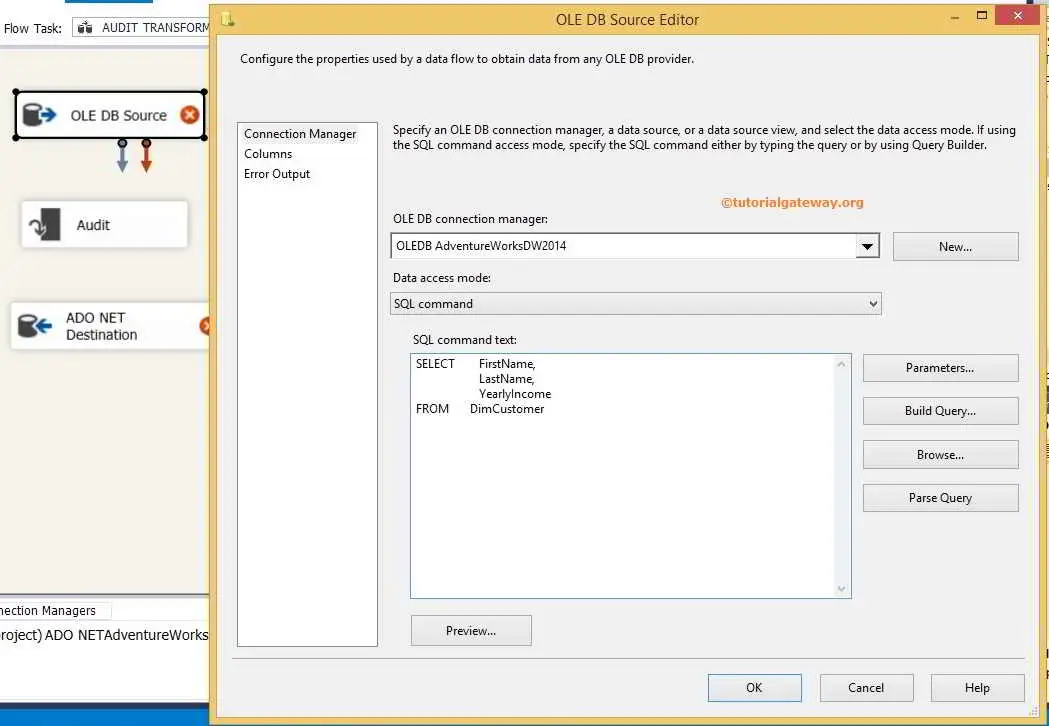
For the time being, we selected first name, last name, and yearly income from the Adventure Works database. Here, we want to send the same to the destination table with extra audit information.
The Command Text we used for SSIS Audit Transformation is:
SELECT FirstName,
       LastName,
      YearlyIncome

FROM   DimCustomer
STEP 4: Click on the columns tab to verify the columns. In this tab, we can uncheck the unwanted columns also.
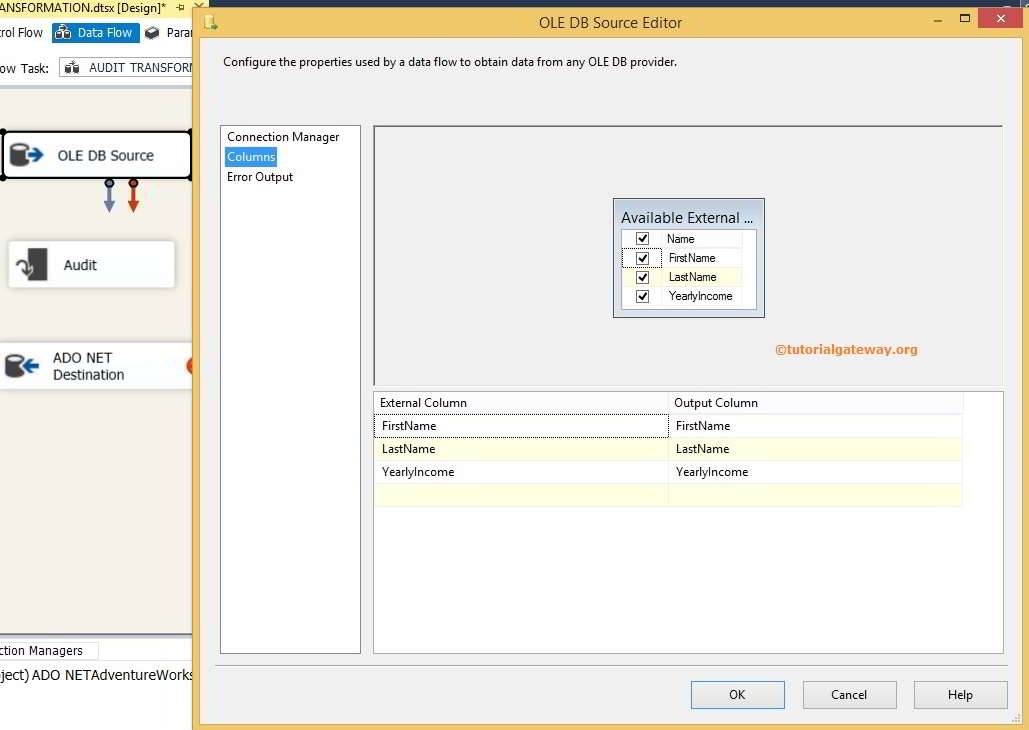
TIP: If we don’t want any column for SSIS audit transformation, there is no point in adding it to your command.
Configure Audit Transformation in SSIS
STEP 5: Click OK and connect the green arrow of OLE DB Source to Audit Transformation. Double click on the AUDIT Transformation to edit it
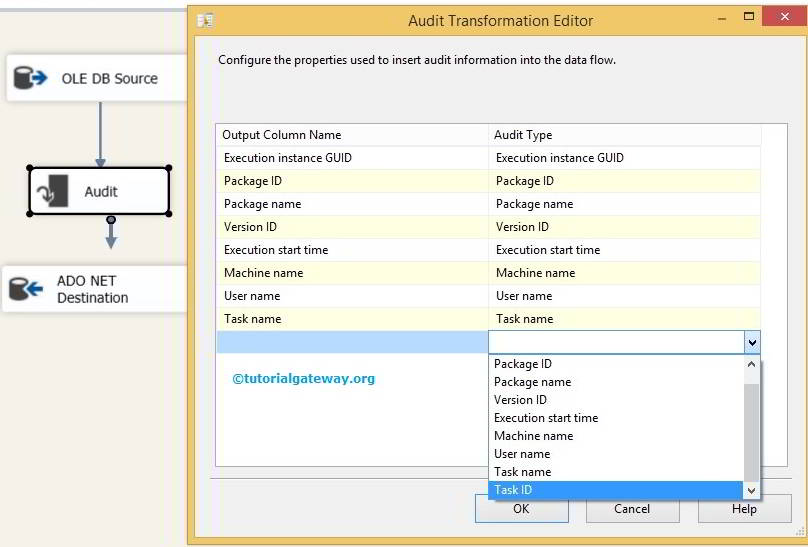
Select the required Audit Types and click OK. Here, we select all the audit types.
NOTE: You can change the Column name by editing the Output Column Name field.
STEP 6: Next, we have to provide the Server, database, and table details of the destination. So double-click on the ADO.NET Destination and provide the required information
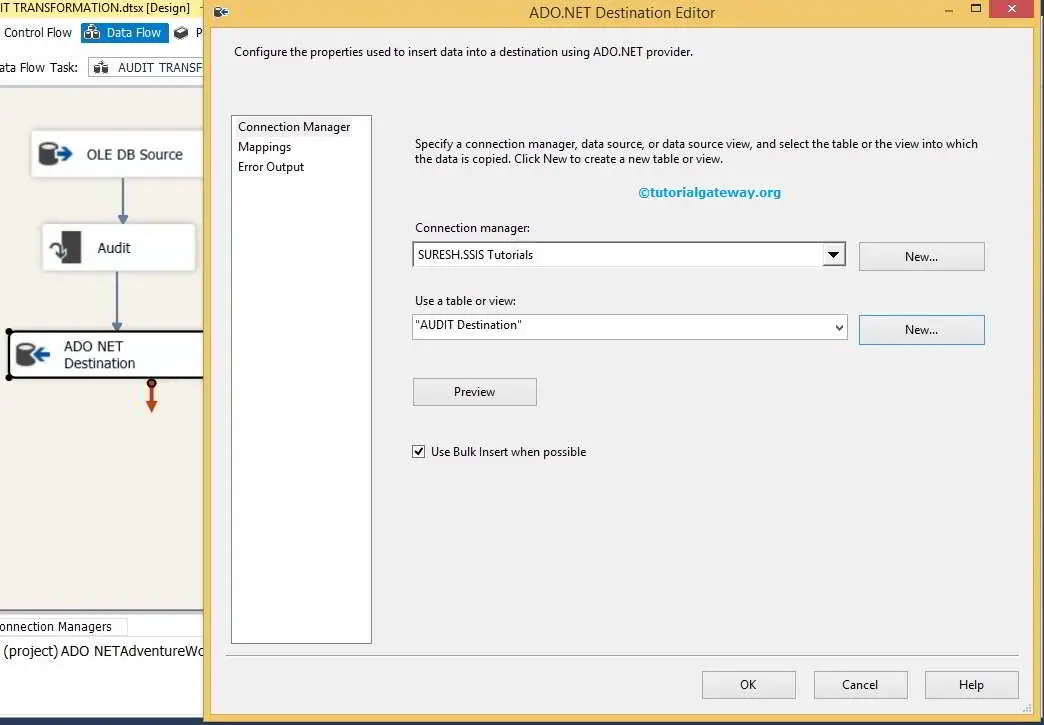
From the above screenshot, you can observe, We are storing the audit transformation data in the [AUDIT Destination] table present inside the SSIS Tutorial database.
STEP 7: Click on the Mappings tab to check the source columns are correctly mapped to the destination columns.
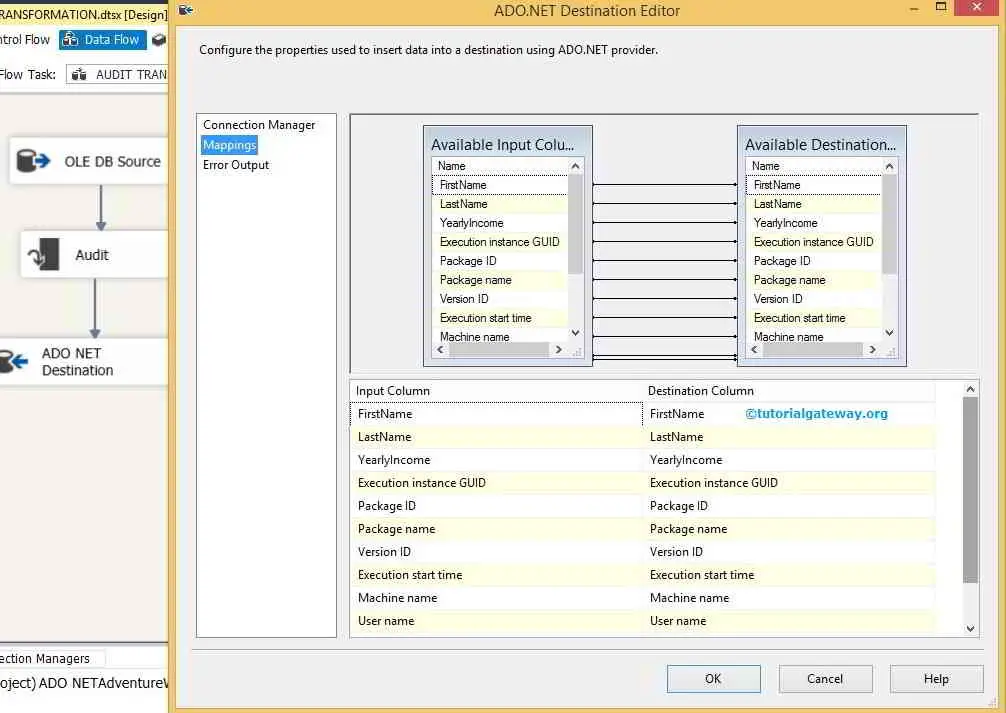
NOTE: If your input column names and destination column names are the same, the intelligence automatically maps. If there are any changes in the column names (any alias or calculated columns), we have to map them manually.
Clicking OK to finish configuring Audit Transformation in the SSIS package. Let us run the package and see
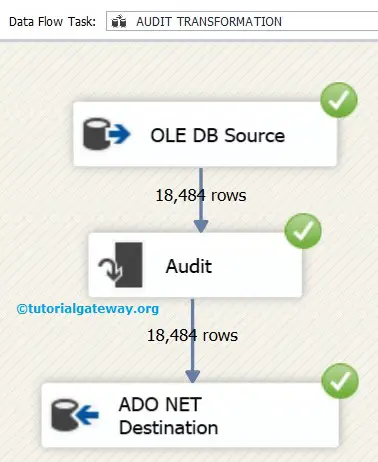
Let us open the Management Studio Query window to Preview the data
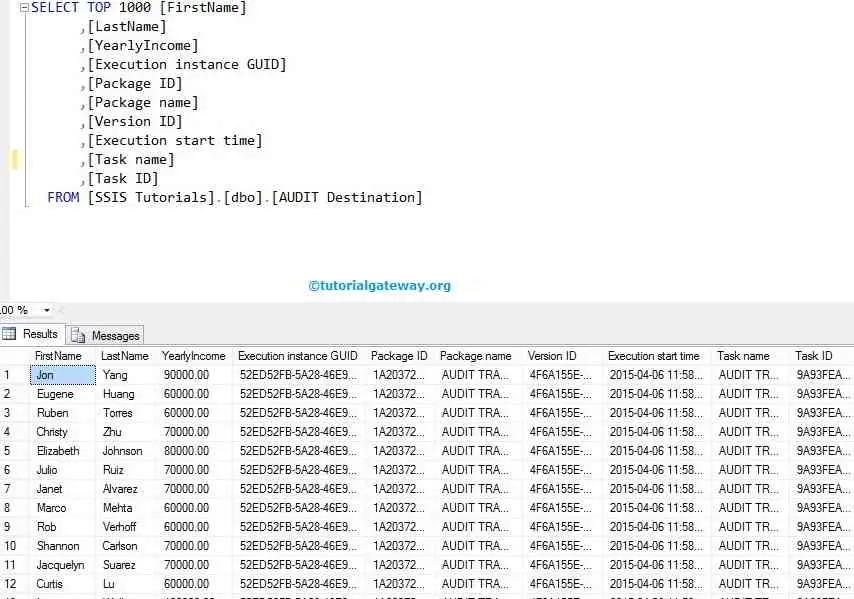
NOTE: The Audit Transformation in SSIS doesn’t support an error output.

Comments are closed.