In this article, we will show you how to transfer SQL Server tables with data from one Database to another Database using the Transfer SQL Server Objects task. If you want to transfer SQL Server Table Structures (without data), then Please refer to the Transfer Table Structures article.
Transfer Tables with Data Using Transfer SQL Server Objects Task in SSIS
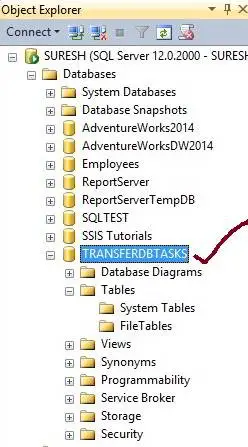
If you observe the below screenshot, We have one Empty Database (TRANSFERDBTASKS). In this example, we will transfer a few tables along with data from the [Adventure Works DW 2014] database to the [TRANSFER DB TASKS] Database using Transfer SQL Server Object Task in SSIS.
STEP 1: Open BIDS and Drag and drop the Transfer SQL Server Objects Task from the toolbox to control flow.
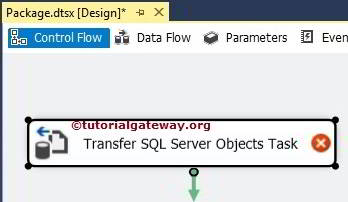
Double-click on the Transfer SQL Server Objects, which will open the Editor to configure it.
General Tab: In this tab, you can write your name and description as per the project requirements.
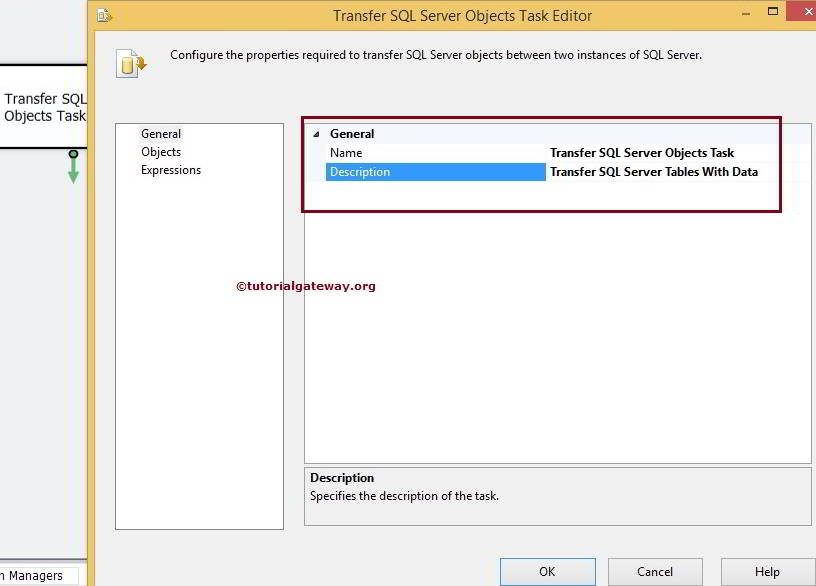
Here, we haven’t changed the Name, but we changed the description, as we showed in the above image. Click on the Objects Tab
STEP 2: Select the SourceConnection property and click on it to create a New connection. If you have already created one, then select it.
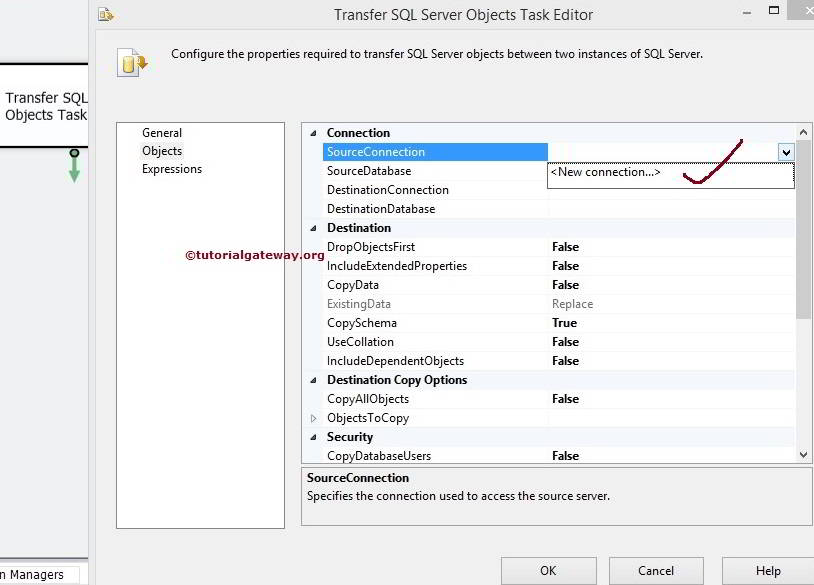
Once you click on <New connection…>, an SMO Connection Manager Editor window will be opened to configure the connection.
STEP 3: For this example, we are selecting our localhost instance and using Windows Authentication. If you work for an organization, select Server Authentication and provide the credentials.
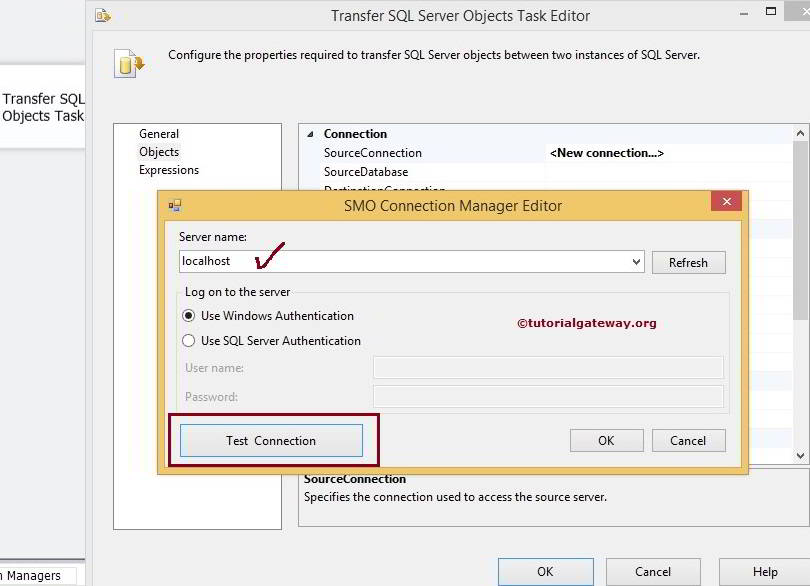
Click on the Test Connection button to check whether the connection is throwing errors or not.
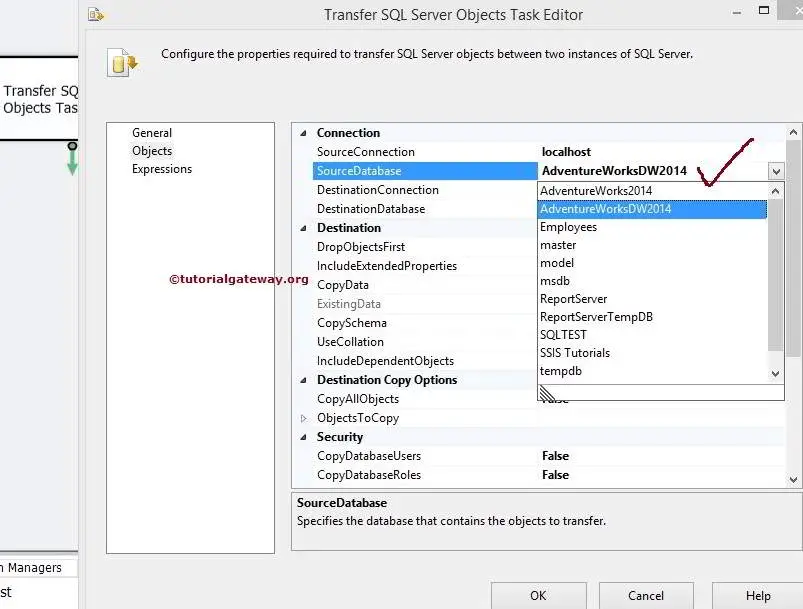
STEP 4: Click on the SourceDatabase option and select the database you want to use. For this SSIS Transfer SQL Server Tables with Data, we are selecting [Adventure works DW 2014].
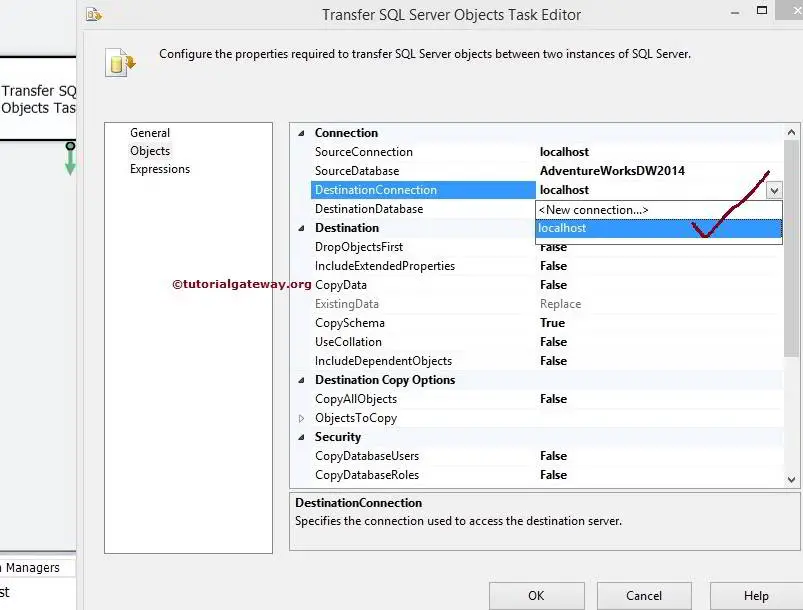
STEP 5: Select the DestinationConnection property and click on it to create a New connection. If you have already created one, then select it.
We already mentioned the localhost instance in SourceConnection, and here, we will use the same instance. If you want to create a new one, click on will and open the SMO Connection Manager Editor window to configure the connection.
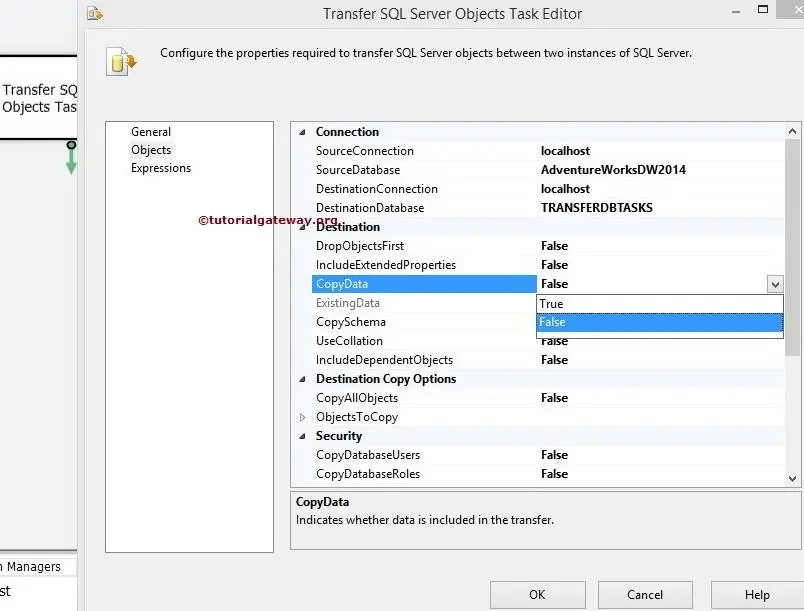
STEP 6: Click on the DestinationDatabase option and select the database you want to use. For now, we are selecting [TRANSFER DB TASKS].

STEP 7: Click on the CopyData property and change the option from default False to True. In this example, we are willing to transfer SQL Server Database tables along with Data from source to destination.
By changing the CopyData property option from False to True, the Transfer SQL Server Objects Task will copy the tables and also data inside the tables.
STEP 8: If you require to copy all the objects (views, function, stored procedures, tables) from the source database, then set the CopyAllObjects option to True. In this example, We are going to send a few tables. So we leave it to default False.
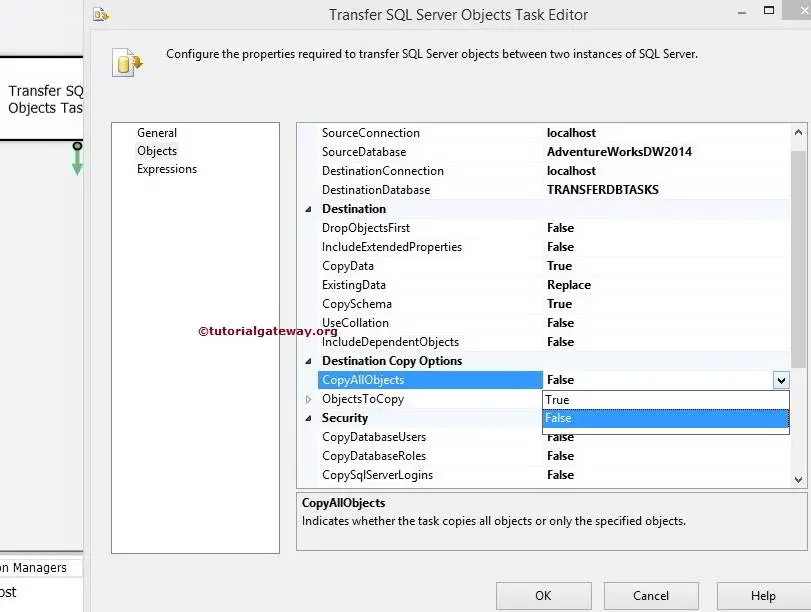
If we set the CopyAllObjects option to False, the next property, ObjectsToCopy, will be enabled.
STEP 9: Click on the ObjectsToCopy property to configure it. ObjectsToCopy property will explore many options of the Transfer SQL Server Objects Task. Let us concentrate on options that belong to or are related to this example. In this example, Our requirement is transferring the tables. So, we must only understand the first two options, such as CopyAllTables and TableList.
If you require to copy all the tables from the source database, set the CopyAllTables option to True. In this example, we will send a few tables, so we leave it to default False.
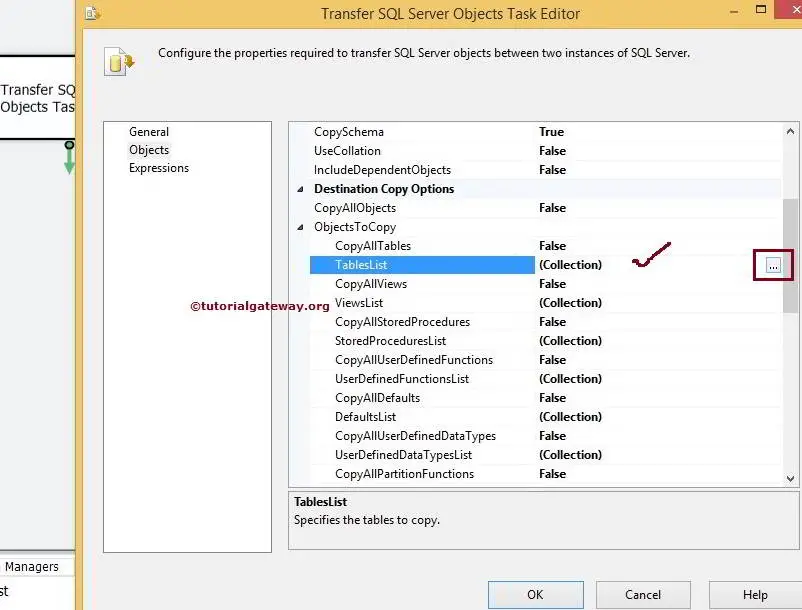
NOTE: If you set the CopyAllTables option to True, there is no point in selecting the tables from the TableList option.
STEP 10: Click on the TableList option and click on the collections. Once you click on the (…) button beside Collections, it opens the Select Tables window to select the available tables from the source connection.
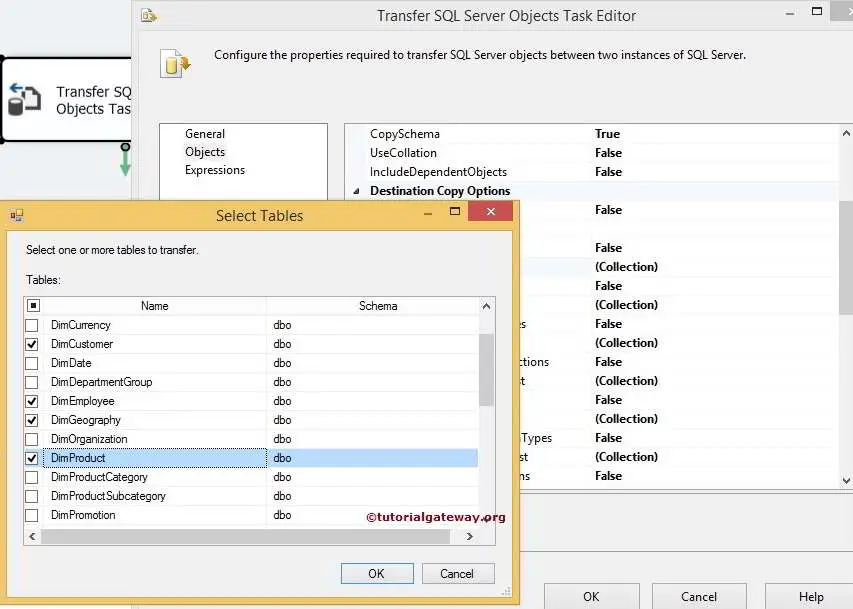
For this example, we are selecting 3 tables ([Dim Customer], [Dim Employee], [Dim Product], and [Dim Geography]) only. But you can try with some more tables.
STEP 11: Click ok to close the Select Tables window and then click ok to finish configuring the Transfer SQL Server Objects Task.
Let us run the package to see whether we successfully transferred the table with Data from source to destination.

Let’s open the Management Studio and check for the tables.
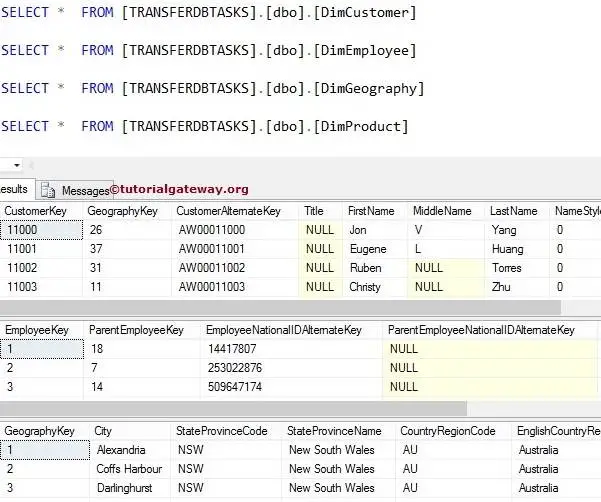
The above screenshot shows that We successfully transferred the SQL Server tables and their Data.