The SQL Server Integration Services include the Logging Services (Logs). So you can use them in packages, containers, tasks, etc. Let me show the steps involved in SSIS logging (saving the log information).
For this SSIS logging demonstration, we will use the below-shown data.
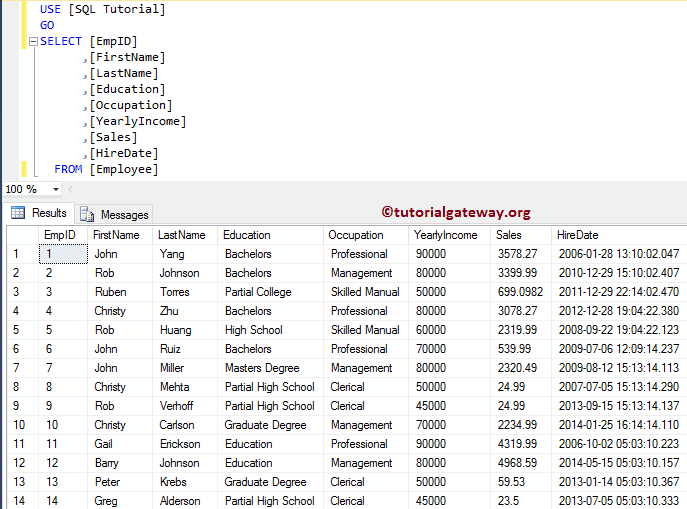
SSIS Logging Example
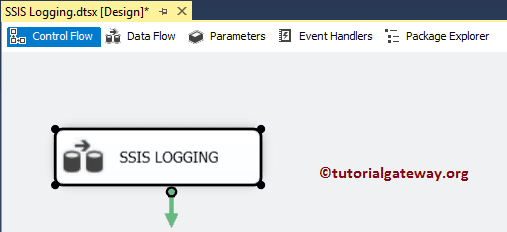
To explain the concept, drag and drop the data flow task from the toolbox to control flow and rename it to SSIS LOGGING, as shown below.
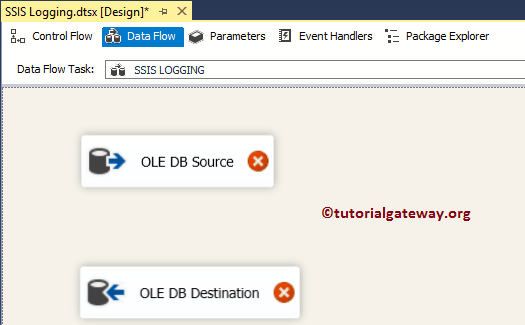
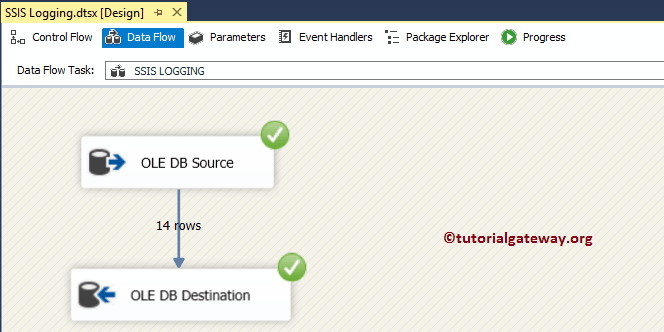
Double click on it will open the SSIS data flow tab. Drag and drop the OLE DB Source and OLE-DB destination onto the data flow region.
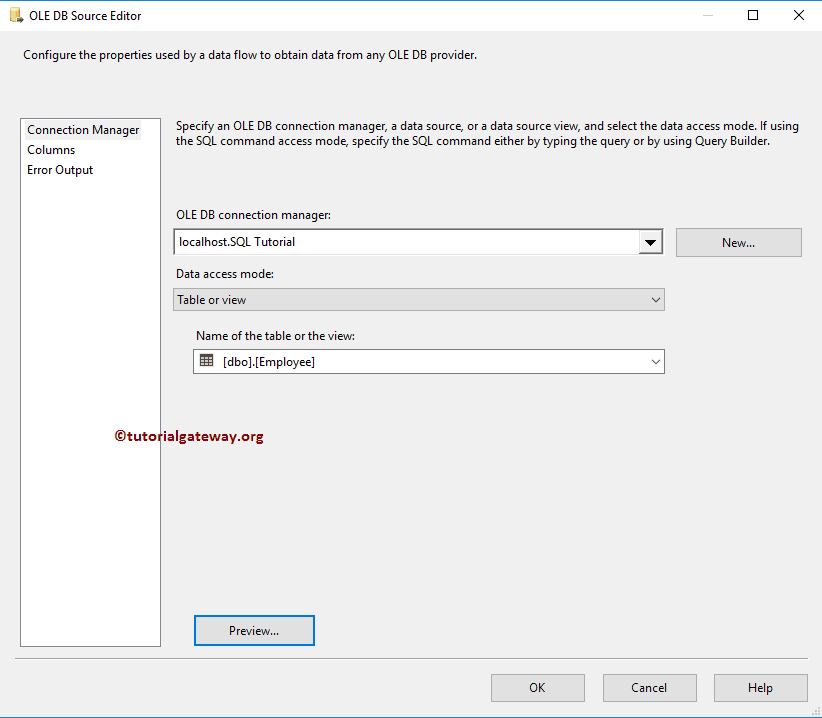
Double click on the OLE-DB source will open the Source Editor. The screenshot below shows that we are using the [Employee] table in the database. Please refer to the OLE DB Source article to understand the available options in the OLEDB source editor.
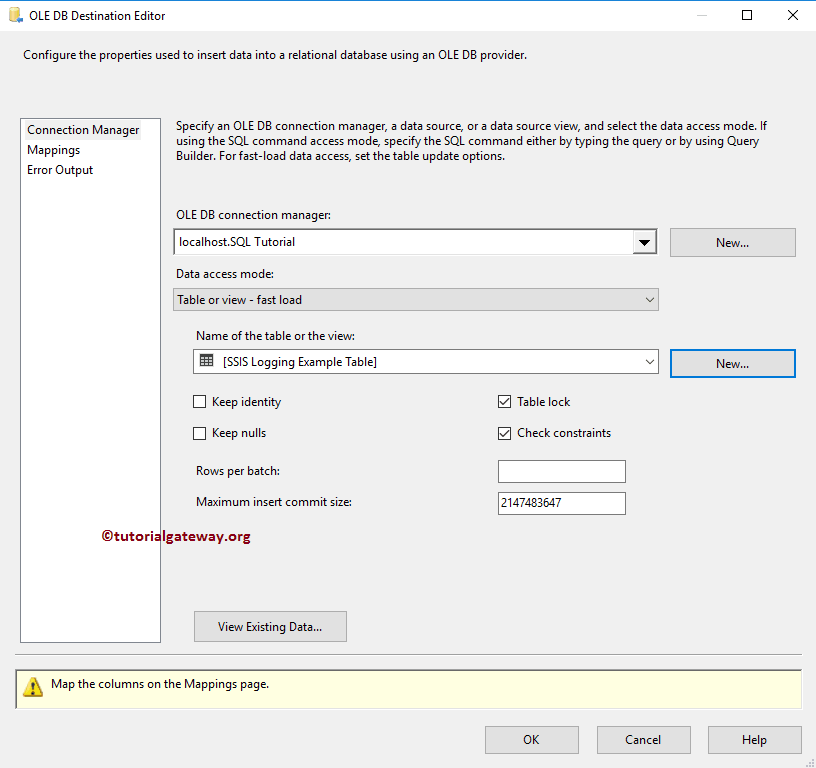
Double-click on the OLE DB Destination will open the OLE DB Destination Editor to configure the target database. For now, we are selecting the existing table Table called [SSIS Logging Example Table].
Click on the Mappings tab to check whether the source columns are accurately mapped to the destination columns.
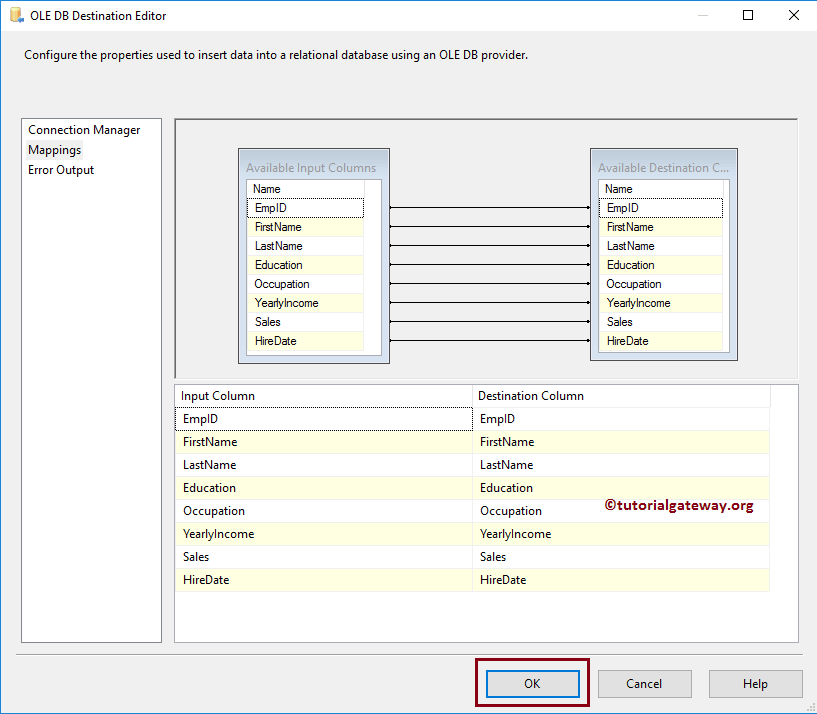
Click OK to close the OLE DB Destination editor.
Configure Logging in SSIS
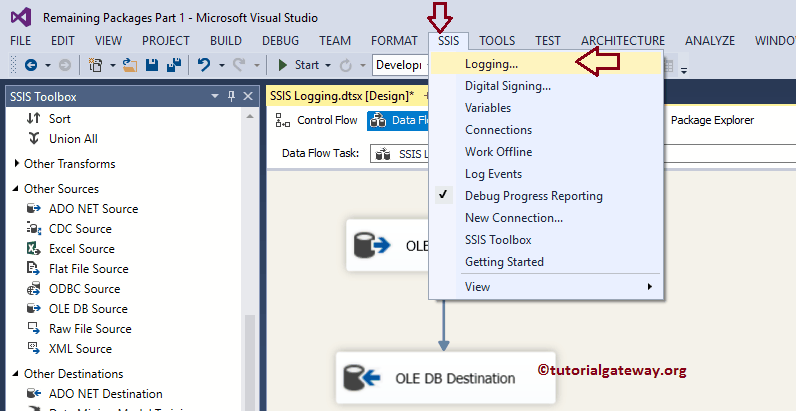
To configure SSIS, please navigate to the menu and select the Logging (submenu), as we shown below.
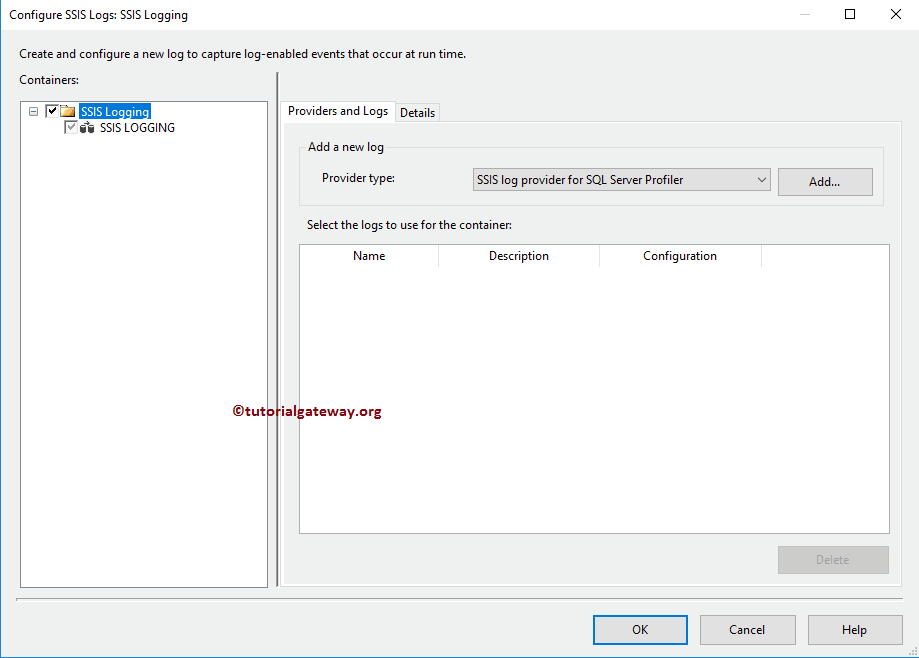
Once you select the SSIS Logging option, a new window called Configure Logs will open. As you can see from the below screenshot, SSIS Logging is showing a warning message.
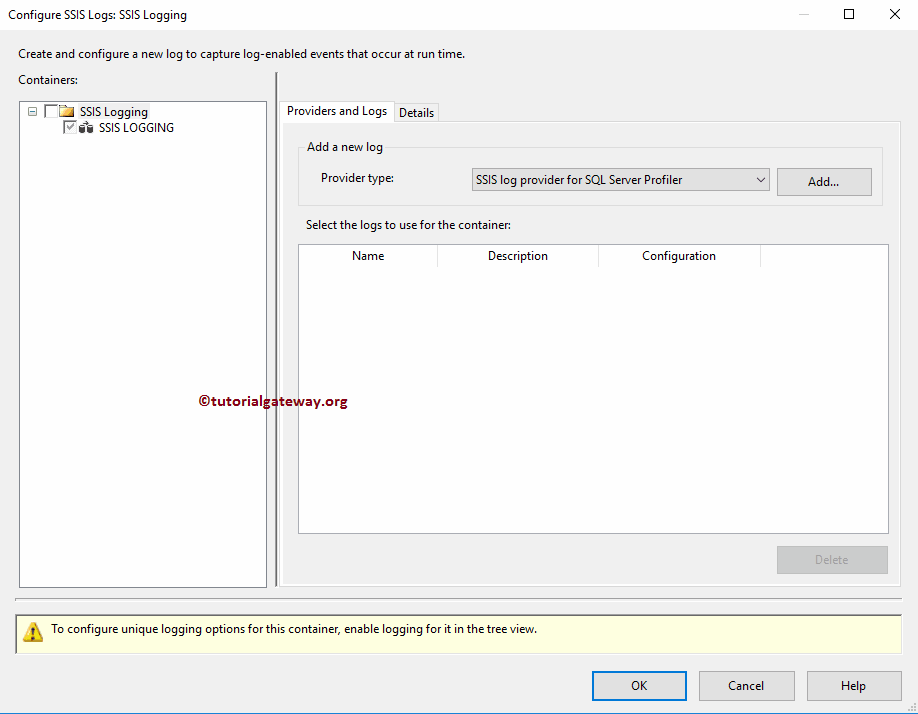
Please checkmark the package (folder) to remove the warning message.
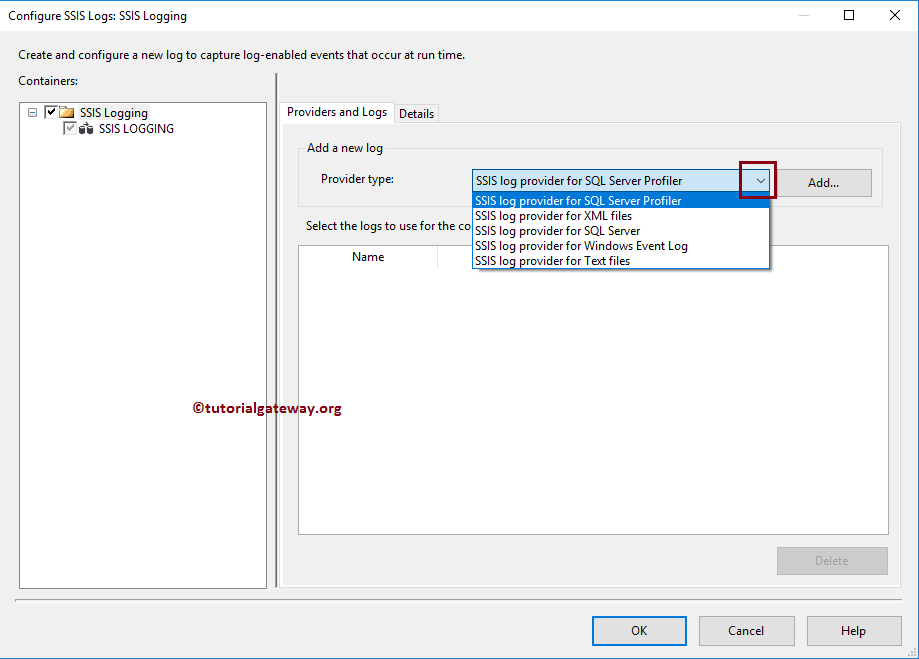
You can see the available SSIS logging options list at the provider type property.
- Log Provider for SQL Server Profiler: This saves the Log information in the Profiler.
- For XML Files: The information will store in an XML file.
- Provider for SQL Server: It saves the information in the sysssislog table present in the Database (System tables)
- For Windows Event: It will store the SSIS logging information in the local computer. It is under the Application log on Windows.
- Provider for Text Files: This option saves the information in the comma-separated value (CSV) format. You can change the default extension to .txt as well.
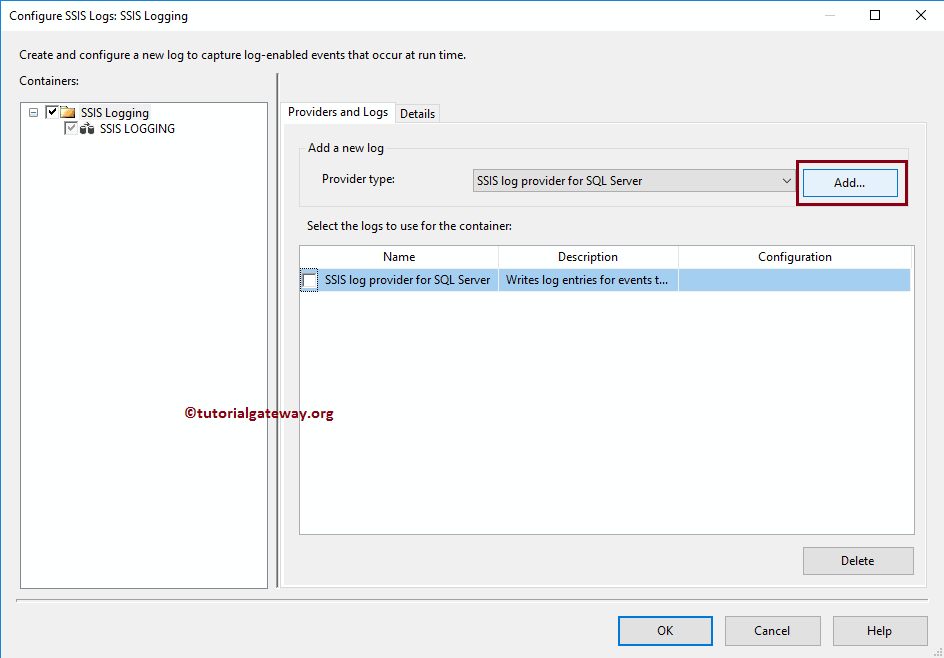
SQL Server Configuration
Please select the provider type, and click the Add button. First, we will add the Provider for the server.
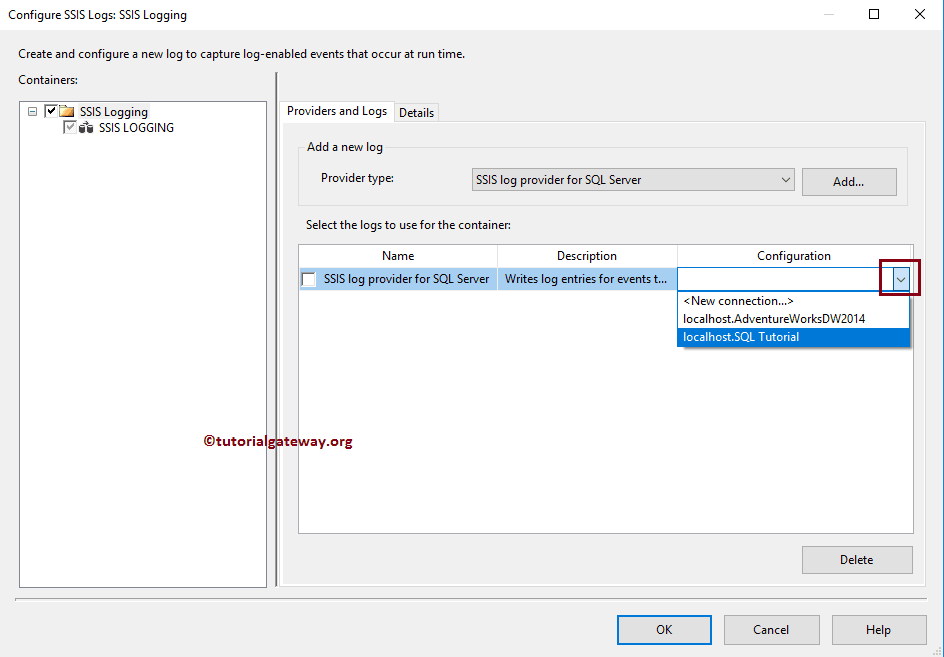
Next, we have to configure the connection string (Database and credentials). For now, we are selecting the existing connection pointing to the database.
Text File Configuration
Next, we added one more provider, i.e., Text files. It means the SSIS logging information will be stored in the SQL server and the text file.
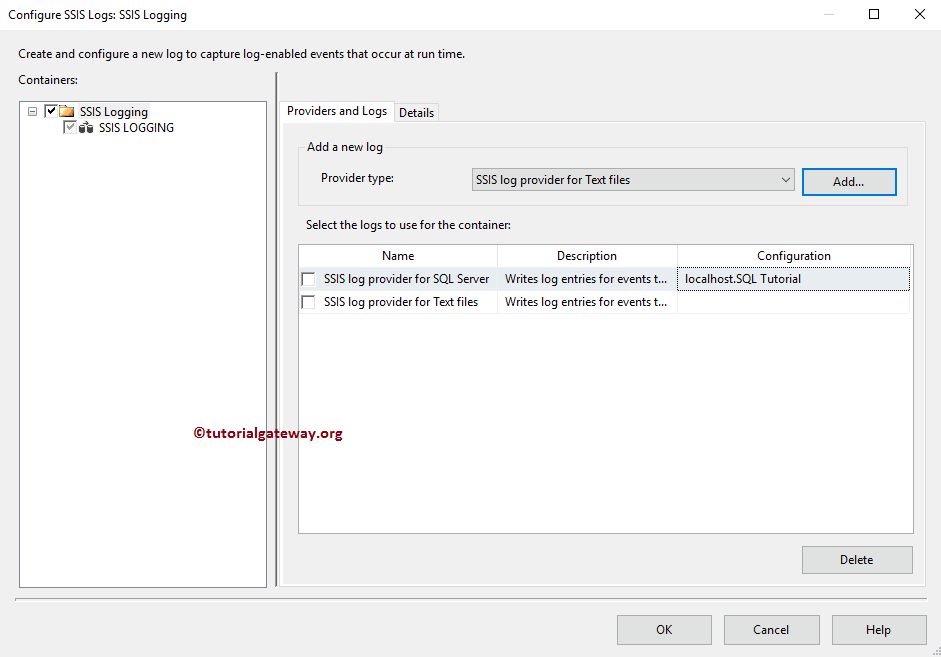
Currently, we don’t have any File connection in the package, so click on the <New Connection..>.
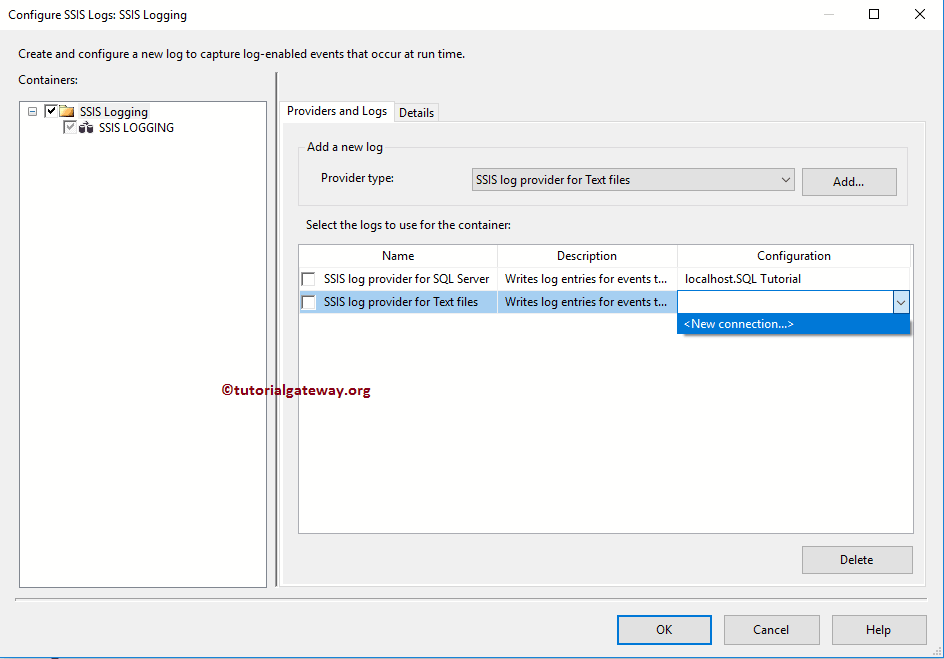
Once you click on the <New Connection..> option, File Connection Manager Editor will be opened to configure it. In this example, we are creating a new file. So, we are selecting Create File option from the Usage Type.
Next, click the Browse button and add the file name at the location (file system).
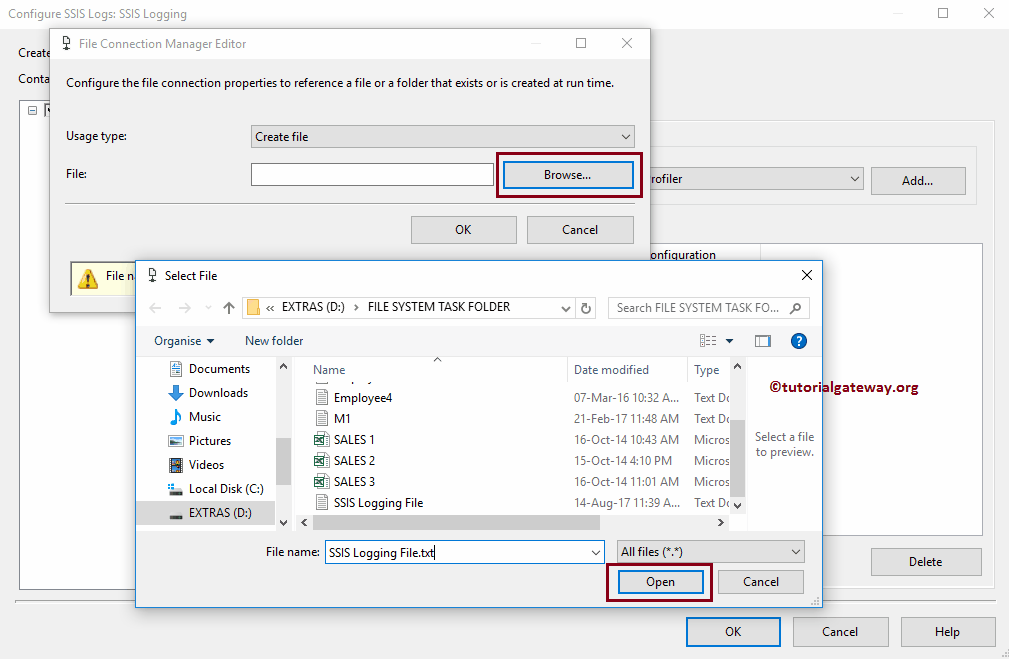
Next, go to the Details tab to configure them in-detail
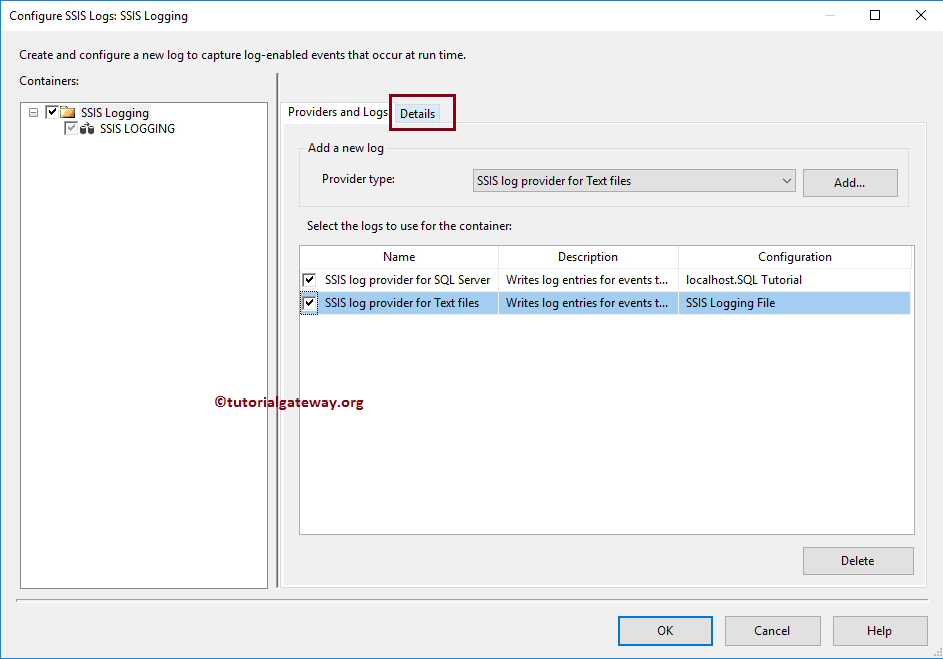
Configure SSIS Log Event details
The below picture will show you the list of available events in the SSIS Logging. Please read each event so that you can understand the meaning of them. As it is in simple English, we are not explaining the events.
We selected the OnInformation, OnPreExecute, and OnPostExecte events for the demo.
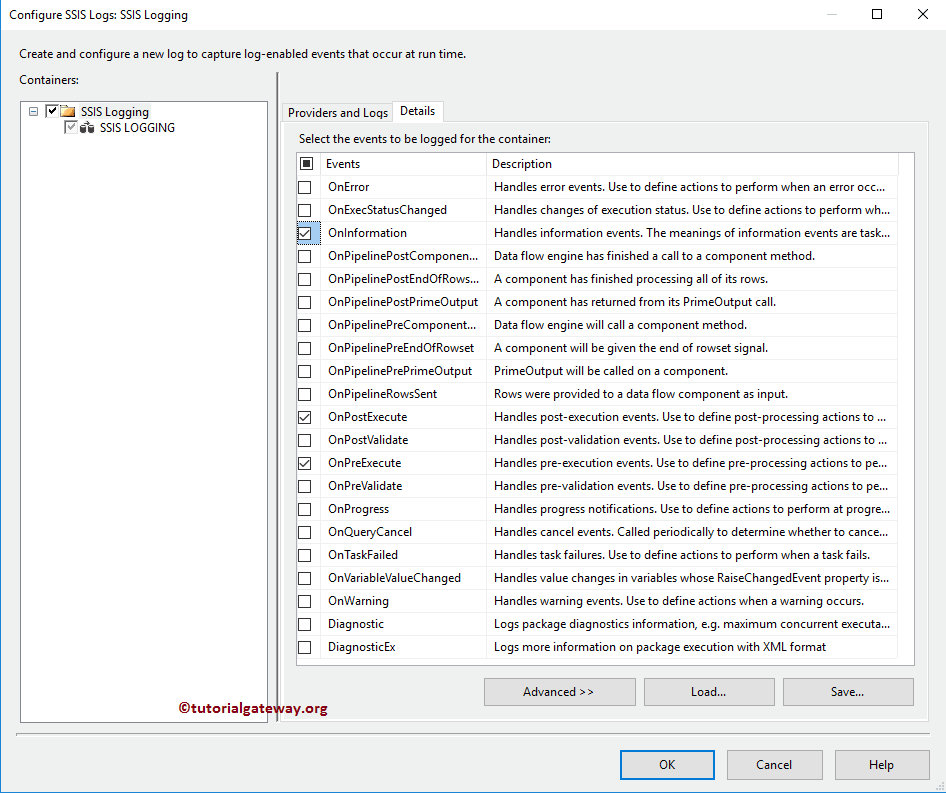
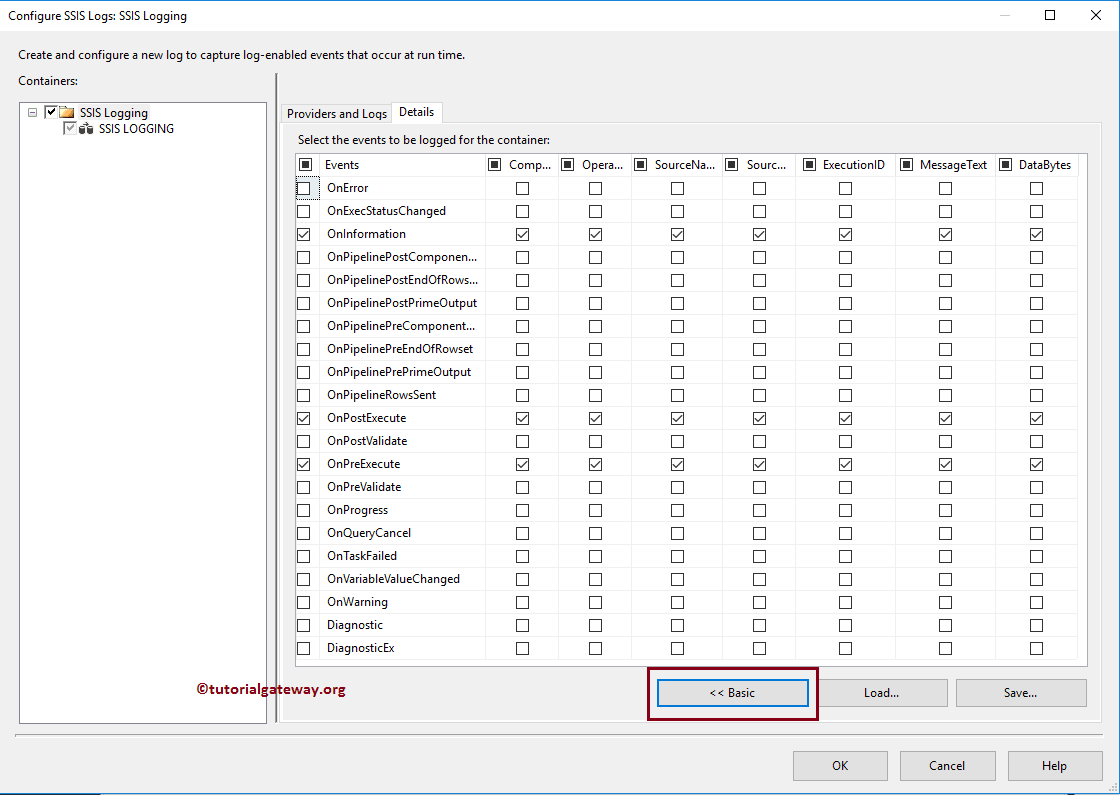
You can also click the Advanced button to control further the information stored in the tables.
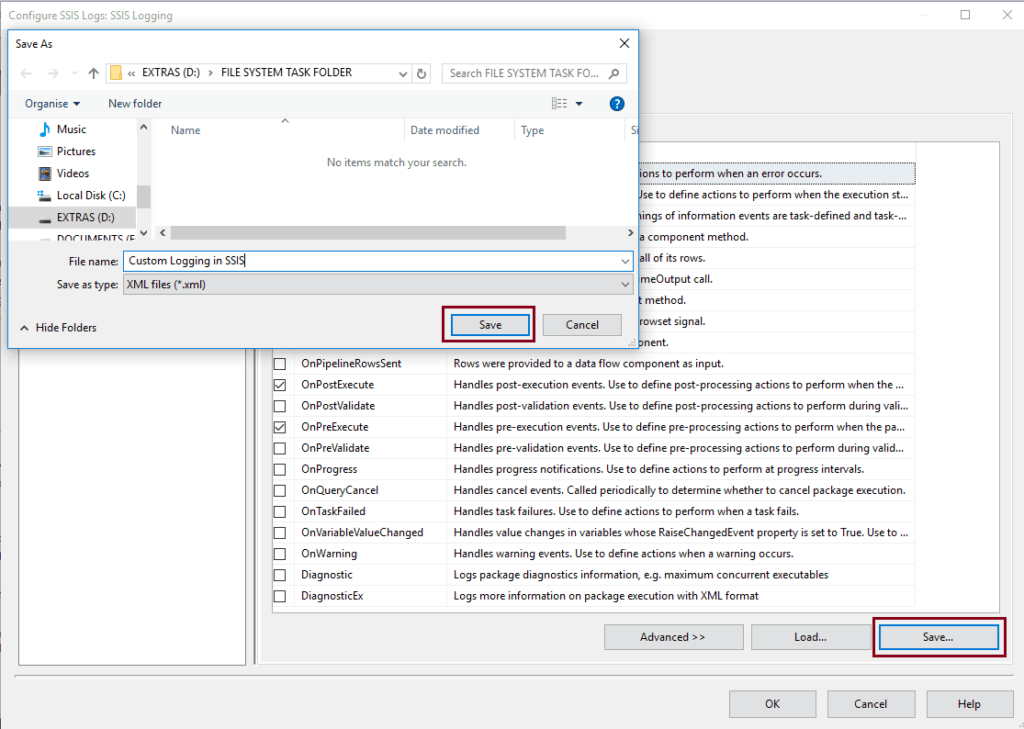
Save button: This button saves the configuration settings of an SSIS logging we configured here in an XML file.
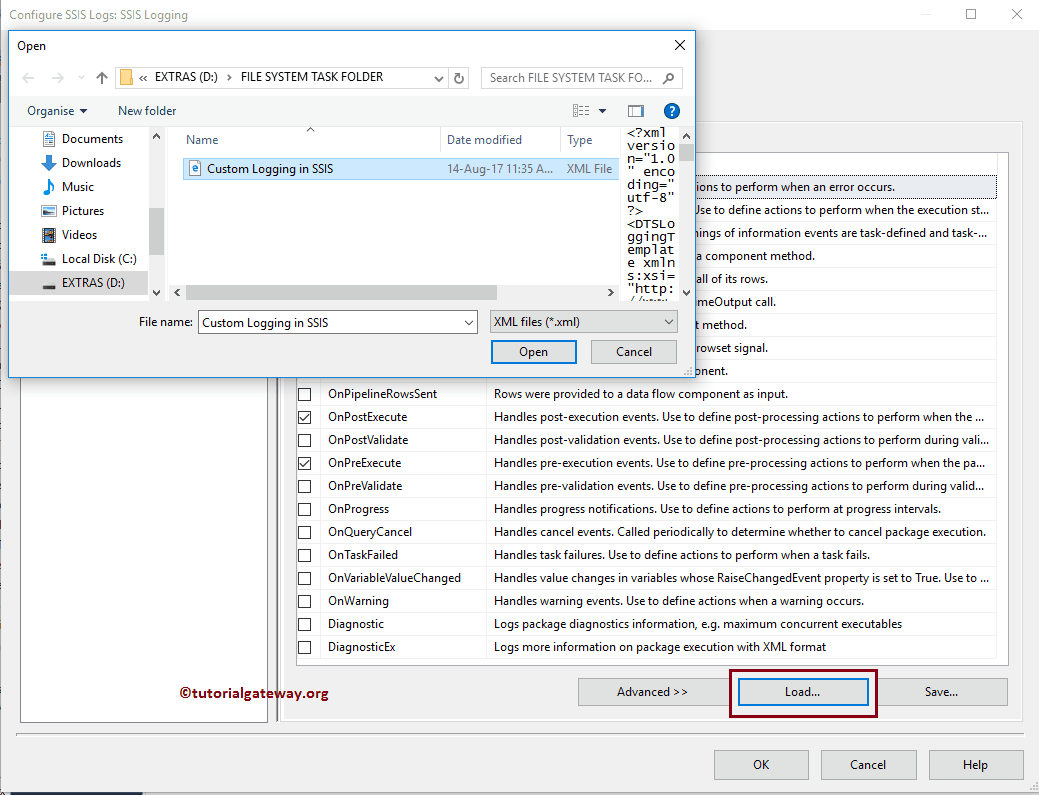
Load button: This is used to load the existing log configuration settings XML file.
Click OK to close the SSIS log settings and run the designed package.
Let me open the SSIS Logging file present in the file system to see the information in the specified text file.
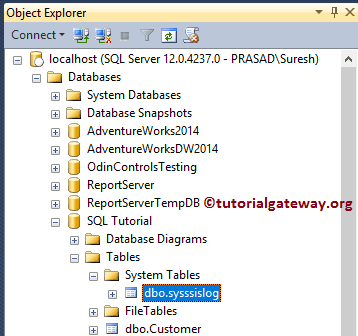
Please open the Management Studio. Under the specified database, go to the Tables folder -> System Tables. Here you will find the sys table.

Comments are closed.