The SSIS FLAT FILE Destination is used to write data to a text file present in the File System. The text file can be in fixed width, delimited, ragged right, or fixed width with a row delimiter.
NOTE: The FLAT FILE Destination uses a Flat File Connection Manager to create connections with files.
Configuring SSIS Flat File Destination
STEP 1: Drag and drop the data flow task from the toolbox to control flow and rename it to SSIS FLAT FILE Destination.
Double click on it will open the SSIS data flow tab.
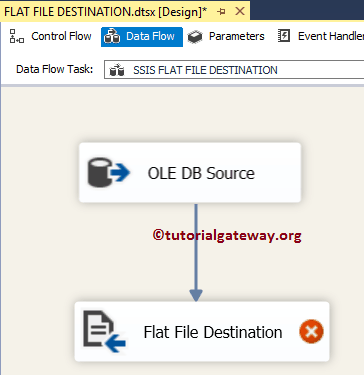
STEP 2: Drag and drop OLE DB Source and Flat File destination onto the data flow region. In this example, we will explain only about Flat File destination, so please refer to the OLE DB Source article. For more information on data Loading >> Click Here.
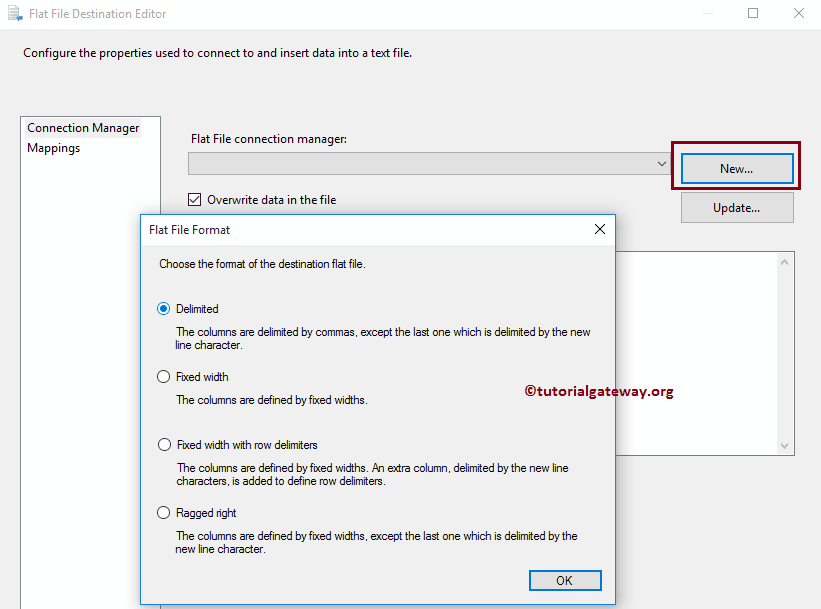
Double click on Flat File Destination in the data flow region will open the Flat File Destination Editor to configure the connection manager settings. If you haven’t created Flat File Connection Manager before, click on the New button and configure it.
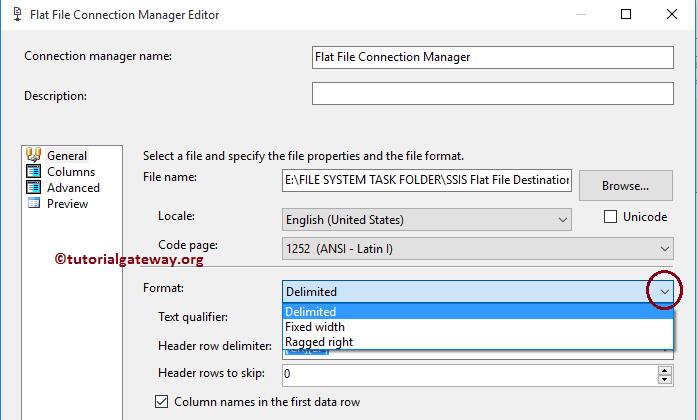
Once you click on the New button, the Flat File Format window will open. It provides four options: Delimited, Fixed Width, Fixed Width with row delimiters, and ragged right. For this example, we are selecting the Delimited option, but Please choose the option you want to use and click the OK button.
Once you click the OK button, a new window called Flat File Connection Manager Editor opens. Here, click the Browse button to traverse the file system and locate the required file. If you select the Existing File option, choose from the file system; otherwise, create one. Here, we select the existing file.

Once you select the file, we have to specify whether our text file holds column names in the first row or not by check-marking Column names in the first data row option. Since our flat file contains the column names in the first row, we checkmark the option. If your text file is different, then don’t select it.
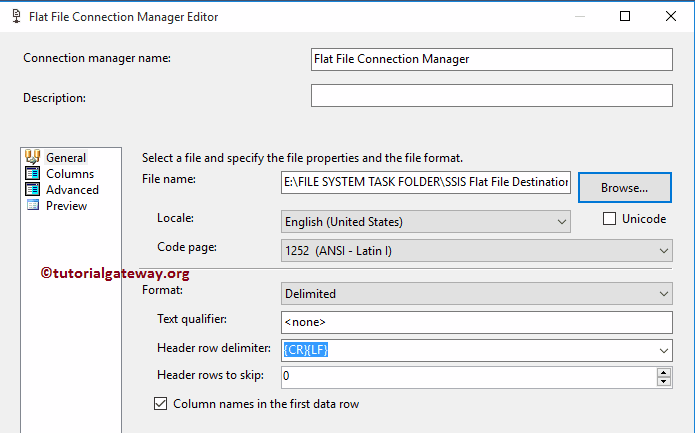
Format: Here, you can select the Format you want to use while writing data to the text file.
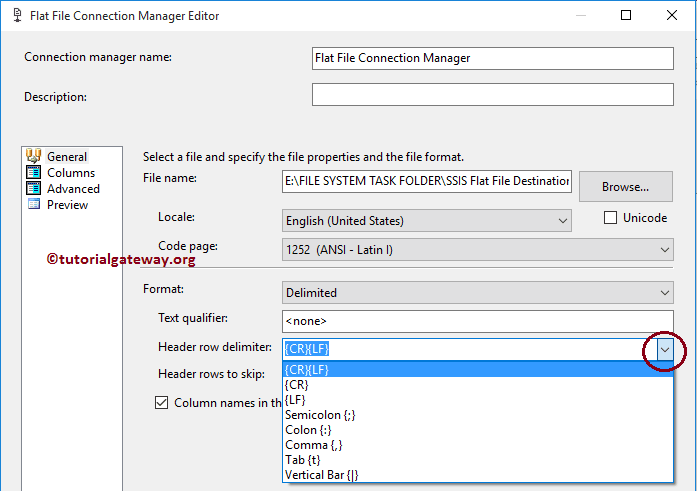
Header Row Delimiter: Please select the header row delimiter
Let us check the data by visiting the Columns Tab in the Flat File Connection Manager
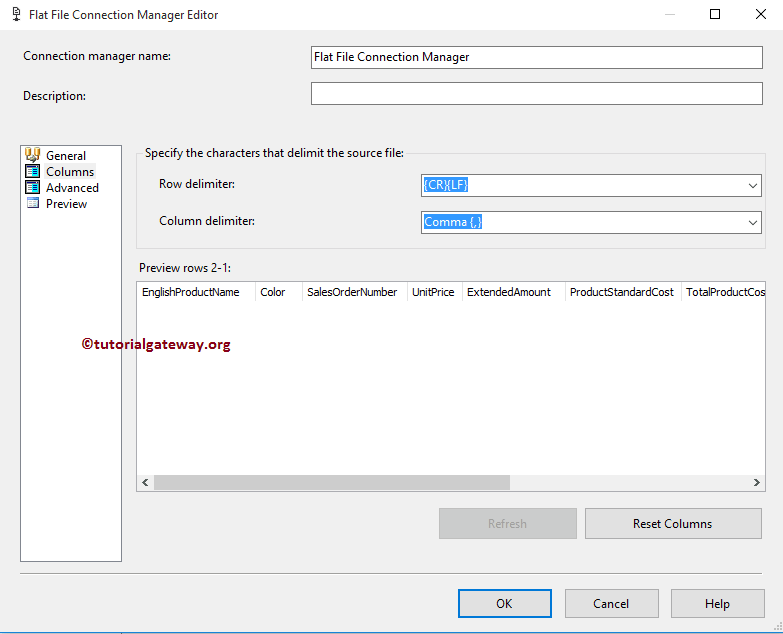
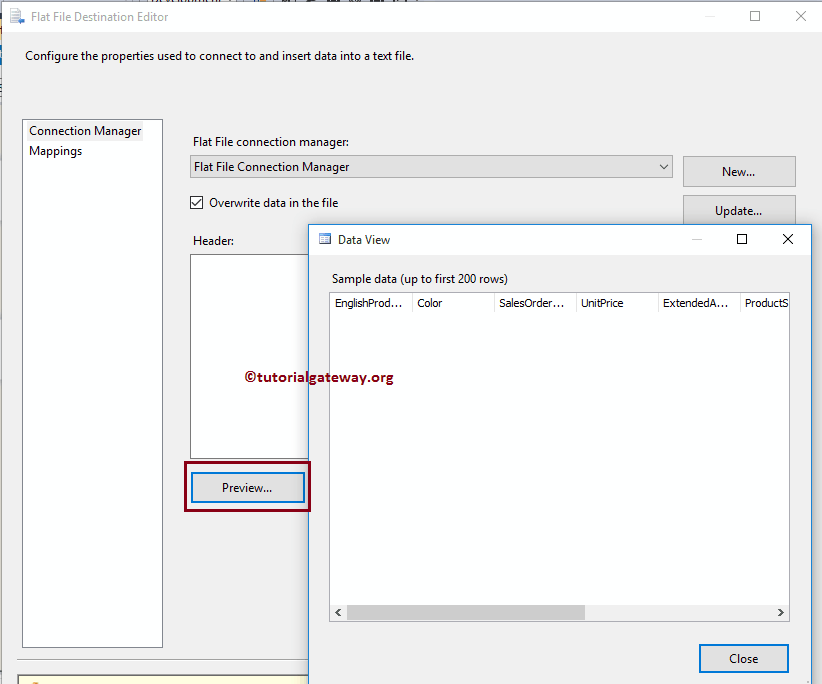
Click on the preview button to see the data preview.
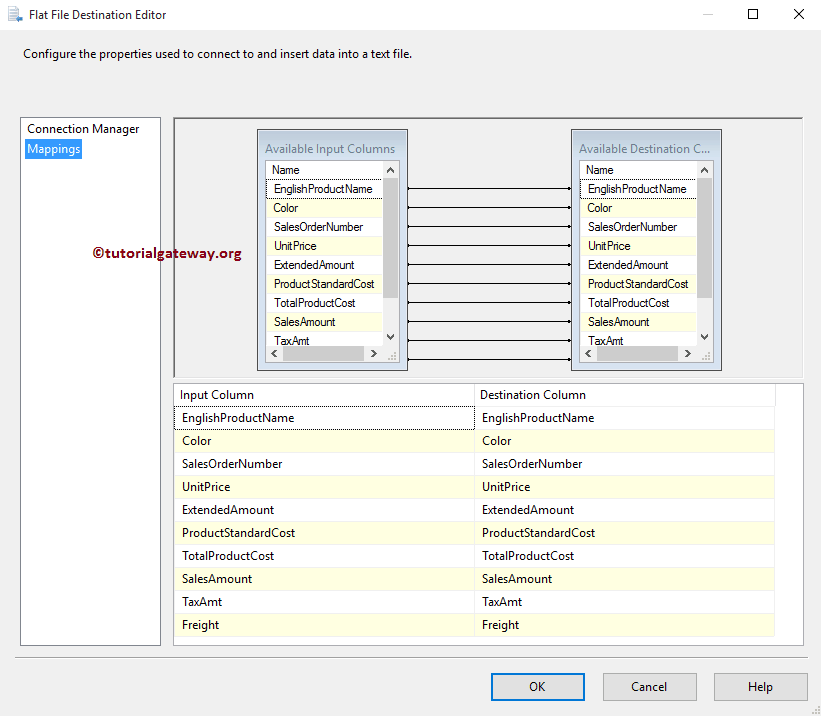
Next, please click the Mappings tab to check whether the source columns are mapped exactly to the destination columns.
Click OK to finish configuring the SSIS Flat File destination package. Let us run and see whether we successfully transferred the SQL table rows into the flat file or not.
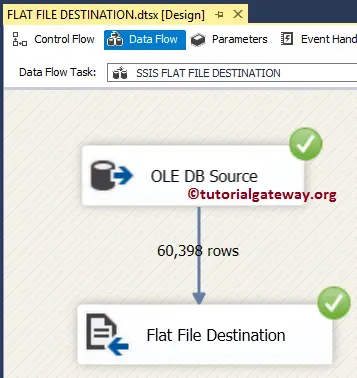
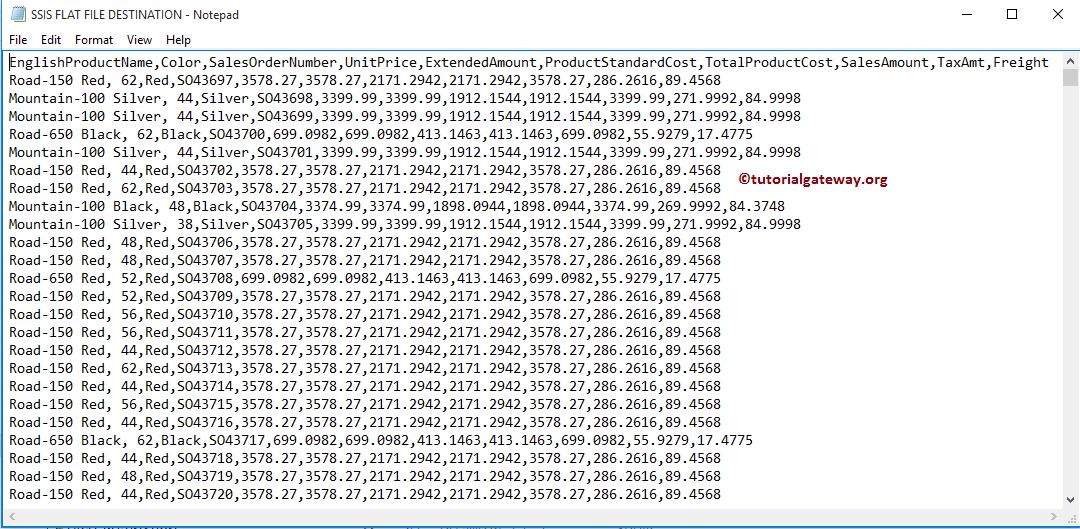
From the below screenshot, you can observe that we transferred the SQL table rows into the SSIS flat file destination text file.