In this article, we show you the ideal approach to SSIS Project Deployment using SQL Deployment Wizard with an example. For this SSIS Project Deployment using SQL Deployment Wizard demo, we are going to use the following Integration Service project. As you can see, it has the only package that we created earlier.
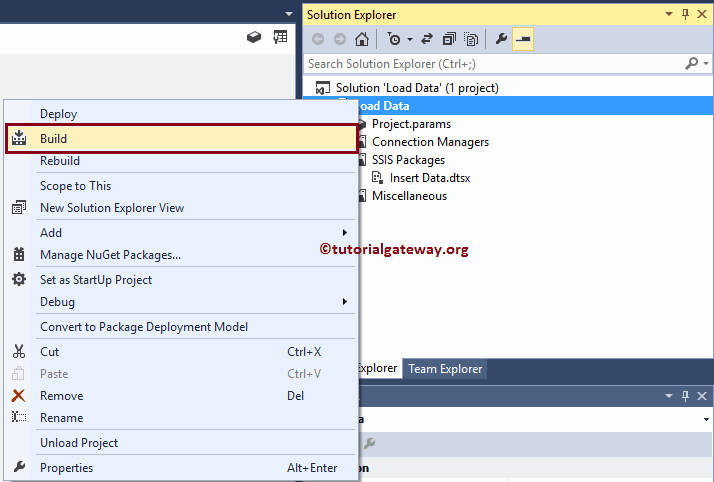
We already explained this package in Deploy Package using BIDS, and Deploy Project using SQLServer. So I suggest you refer to the same. Before you start deploying the SSIS project, you have to build the project. For this, please navigate yourself to the Solution Explorer window. Here, right-click on the Project and select the Build option from the context menu.
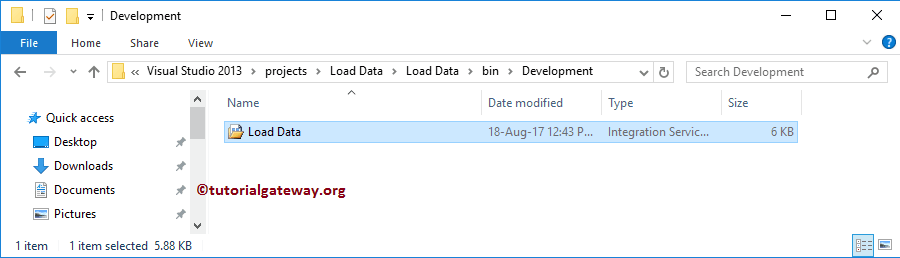
Now you can see the project build in Documents -> Visual Studio (version) -> Projects -> project Name -> Bin -> Development folder.
SSIS Project Deployment Using SQL Deployment Wizard
To deploy the SSIS project using SQL Deployment Wizard, please find the Wizard (version may be different). For me it is in C folder

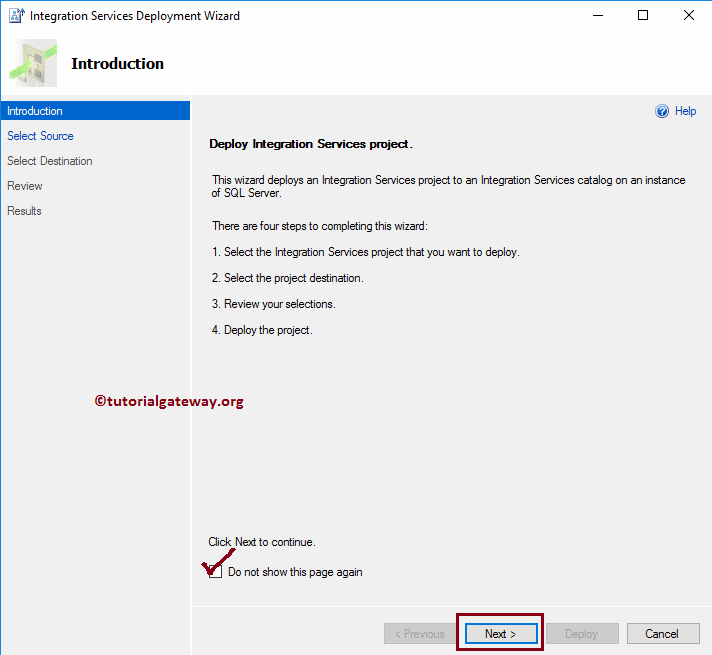
Once you double-click on the SQL Server Deployment Wizard, a new window called Integration Services Deployment Wizard will open. It is an introduction page, and click the Do not Show this Page Again to avoid this page.
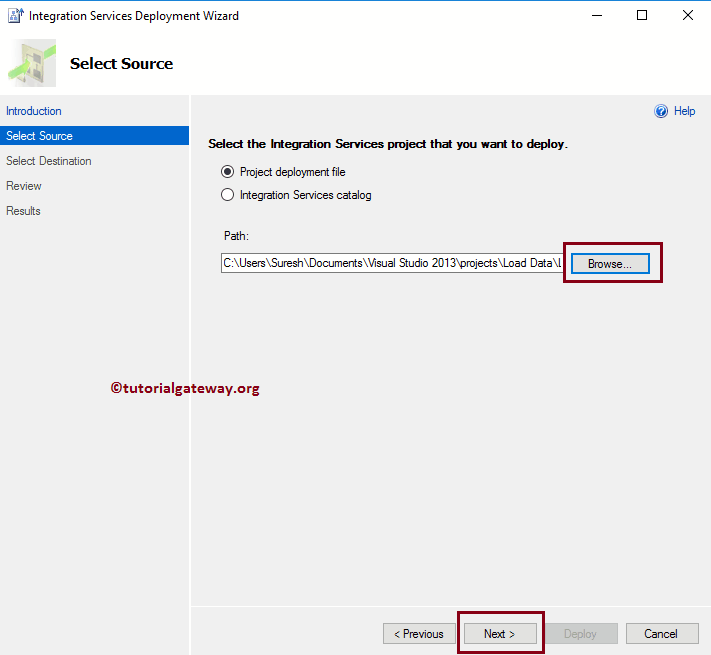
Select Source: This page is used to specify the source path.
- Project deployment file: Please specify the system path where the project file (our newly built file) is located.
From the below screenshot, you can see that we are selecting the Load Data project that we built previously.
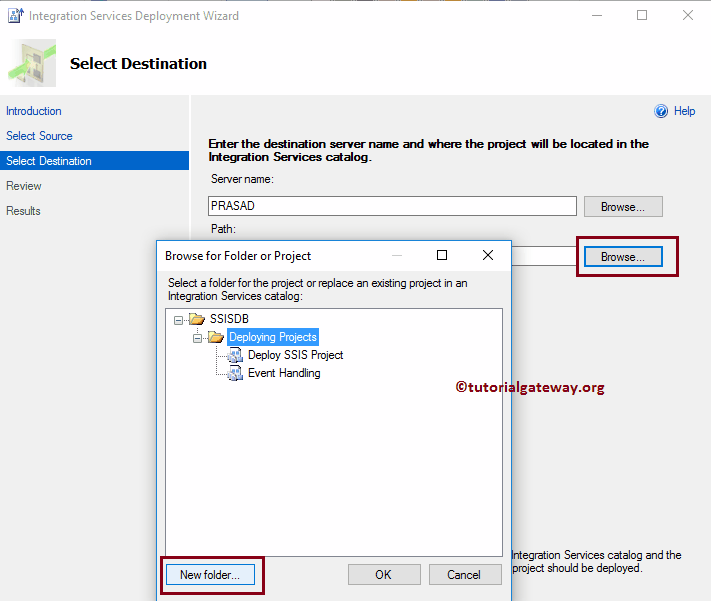
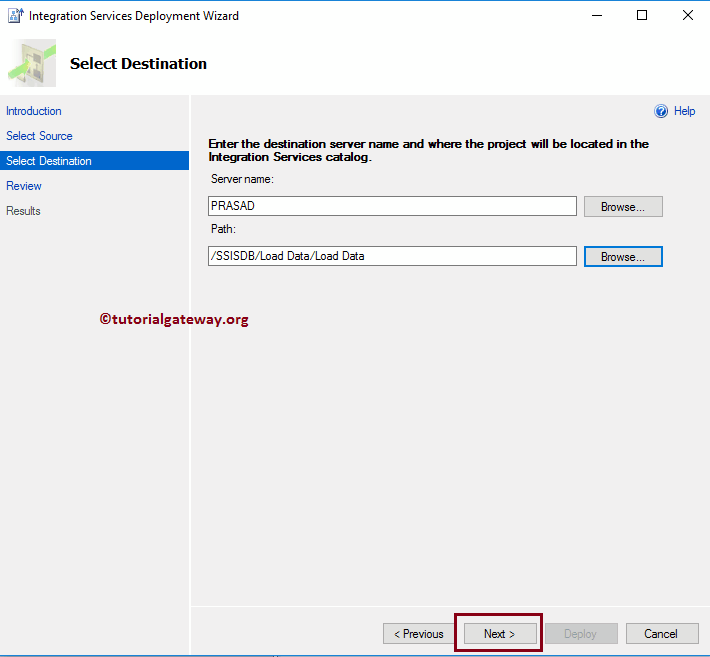
Select Destination: This page is used to specify the destination. Here, we chose the named instance PRASAD. Next, you can select the existing folders under the SSISDB catalog as the project path.
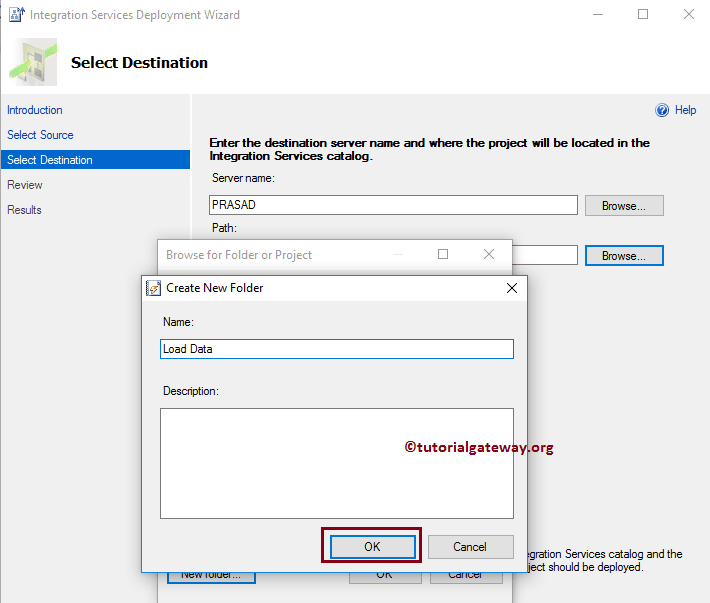
For now, we will create a new folder by clicking the New Folder.. button.
As you can, we assigned Load Data to our new folder
Click Next button
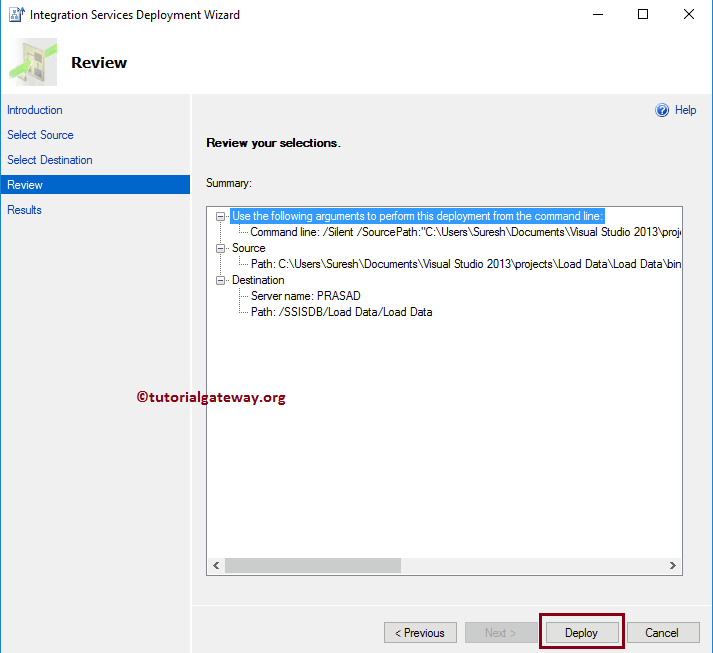
Please cross-check all the information, and if you find anything wrong, then use the Previous button to go back.
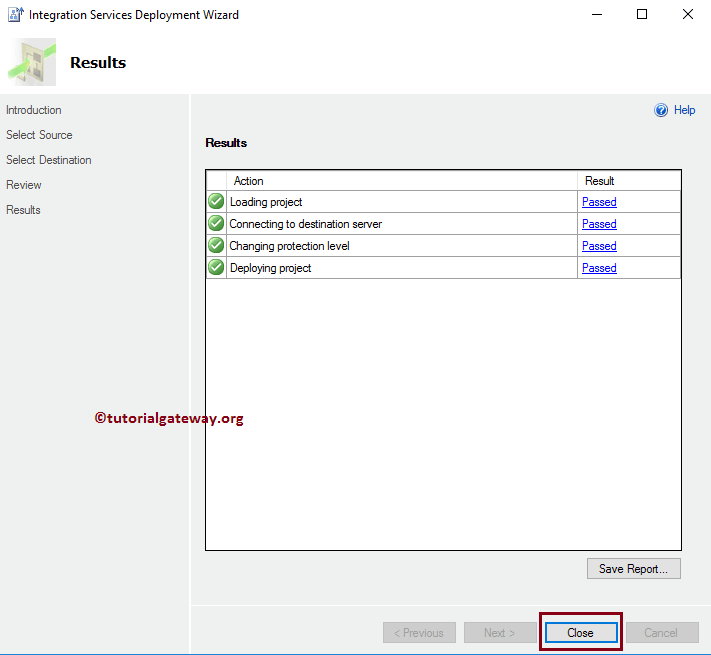
The results page will show the result
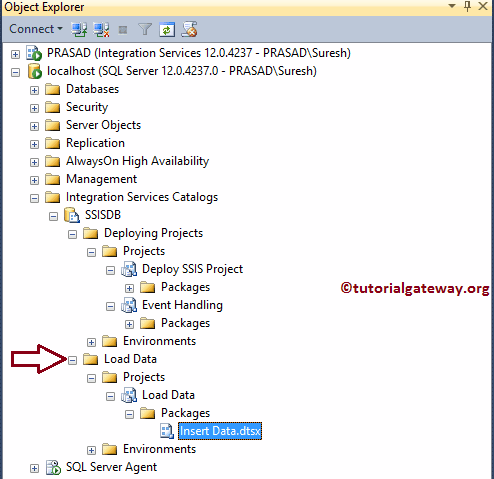
Let me open the Management Studio, and please navigate to Integration Services Catalog -> SSISDB -> Load Data -> Projects under the Object Explorer will show the newly deployed project.