This article explains why we need an SSIS project and how you can create a new one to work. The SSIS project combines Connections Managers, Packages, and project parameters (optional). Furthermore, the SQL Server Integration Services is an ETL (Extract, Transform, and Load) tool.
How to Create an SSIS Project?
This section will show the steps involved in creating a New Project in SQL Server Integration Services. First, Double click on Data Tools or Business Intelligence Development Studio (shortly called BIDS) to do so.
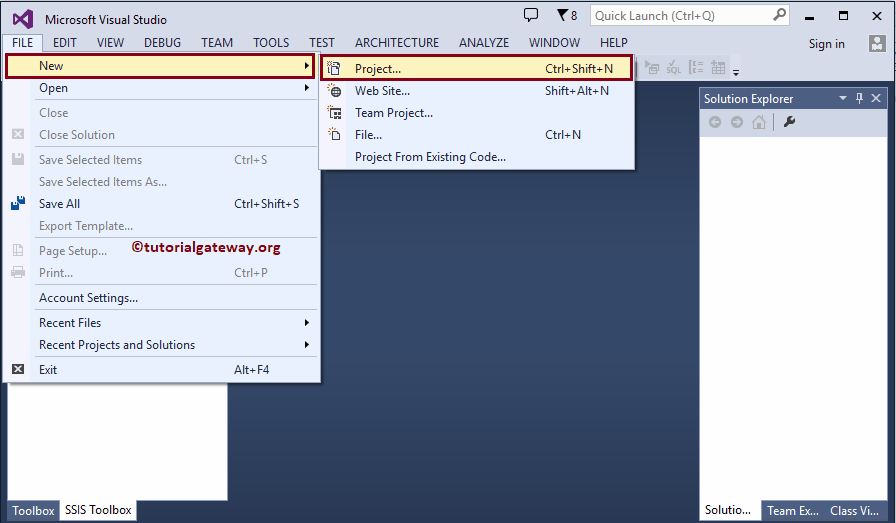
First, select the File option from the Menu item. Next, select New and then select the New Project… option to create a new Project.
A new SSIS window called New Project will open once we click on the New Project… option. Use this window to select the required project from available project templates.
Let’s select the SSIS Integration Services Project under the Business Intelligence Templates. Next, we changed the project name to SQL Integration Services Project.
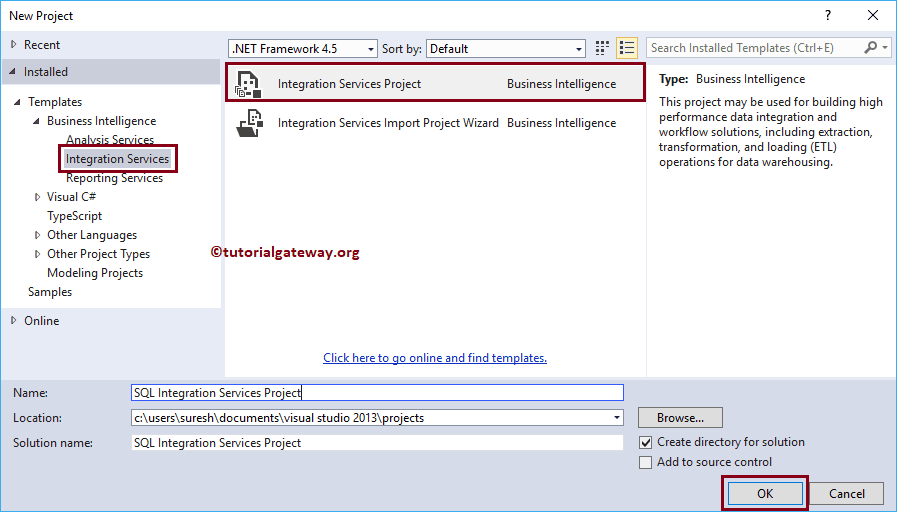
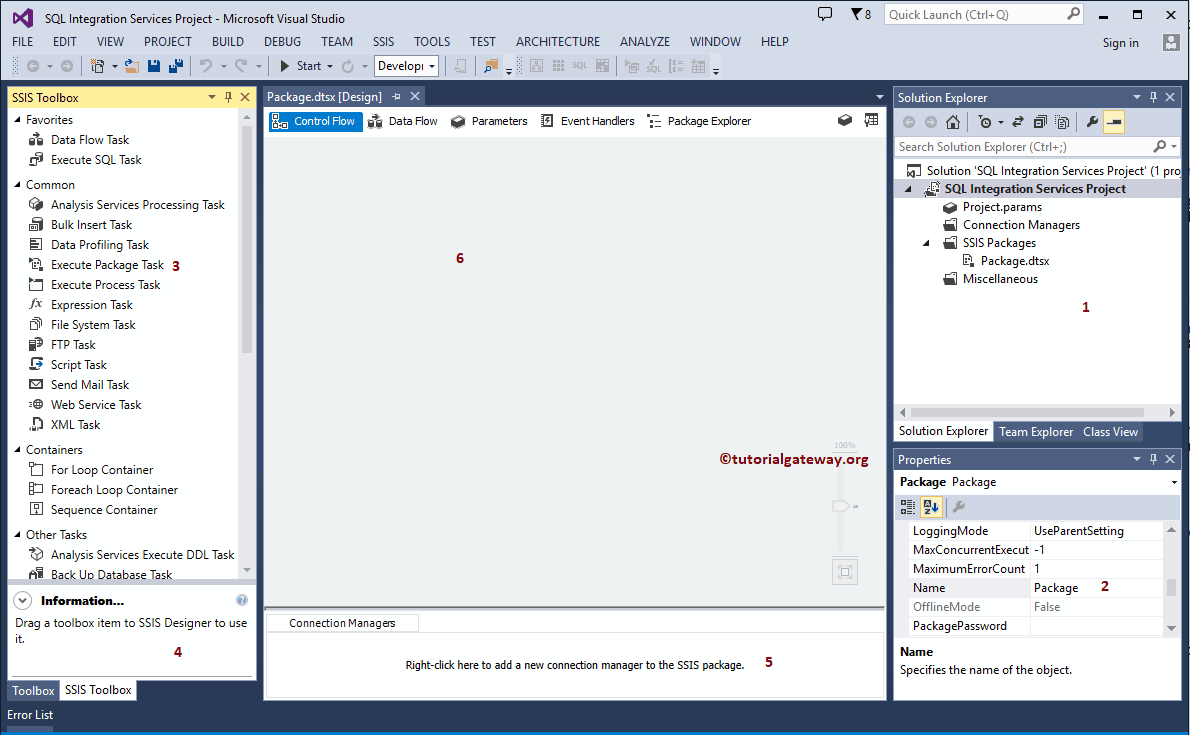
Click Ok to finish creating a new SQL Server Integration Services project. Let’s explain individual windows after creating an project.