This article shows you the Step by step procedure to install MySQL on Windows. It will be the same for the Mac as well. To install, double-click on the MSI file that we downloaded in the Download article.
Based on the security configuration, it might ask you for permission to run. Please click the Run button to install on Windows from the pop-up Open File – Security Warning window message.
Install MySQL on Windows
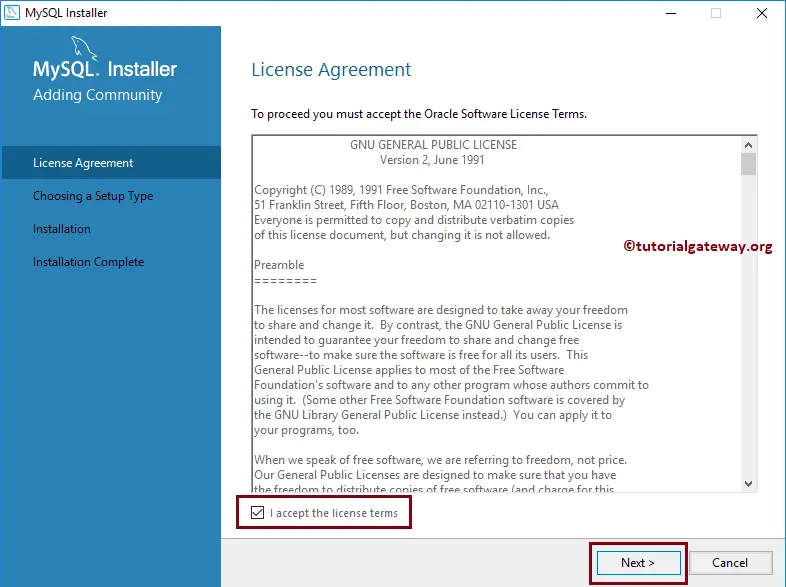
Once you click the Run, a new installation wizard called Installer Center will open. Before you start installing on the Windows platform, please read the License Agreement and checkmark the I accept the License terms option.
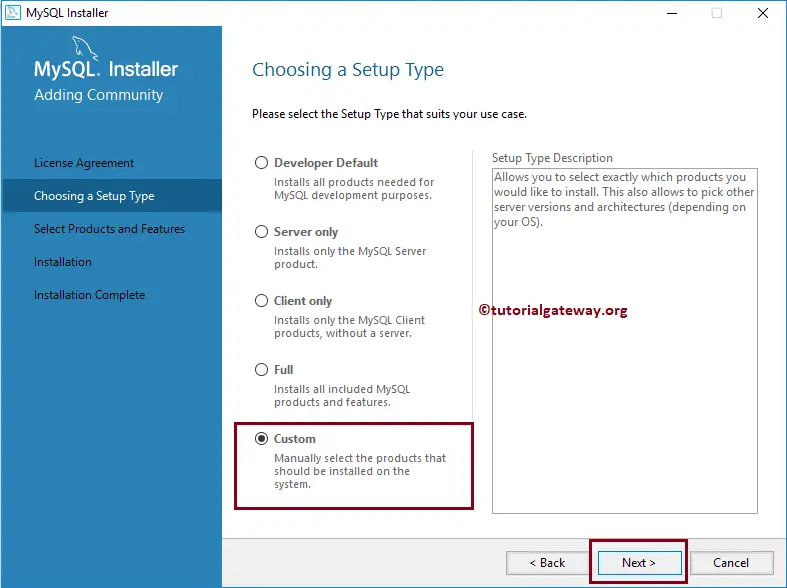
Choosing Setup Type: Please select the Setup Type. If you are only working with a server or want to learn, then you can select the Custom option. By selecting the custom option, you can install the required MySQL components and also save Windows disk space.
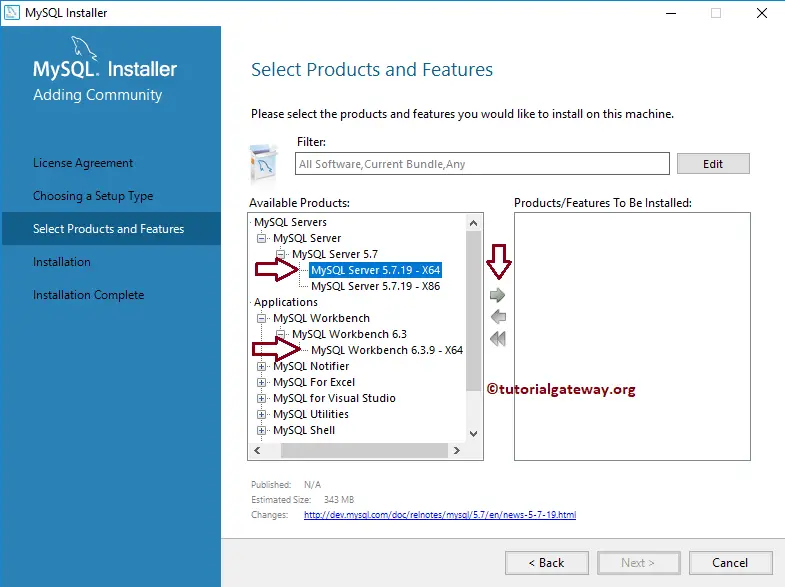
After selecting the Custom option, Please select the Server, Workbench from Available Products. And then add them to Products/Features To Be Installed. It adds the Server and workbench to write queries.
We need all the available products. So, click the Back button and select the Developer Default option. If you have more hard disk space, please choose this option and hit the Next button.
While installing MySQL on Windows, it will ask you to install Python as well. As you can see, we don’t have Python installed on this system. To demonstrate this message, we just uninstalled Python from our system.
When we click the next button, installation throws a confirm message box. Click Yes. Remember, you will get this message even if you don’t have Visual Studio or any other supporting software.

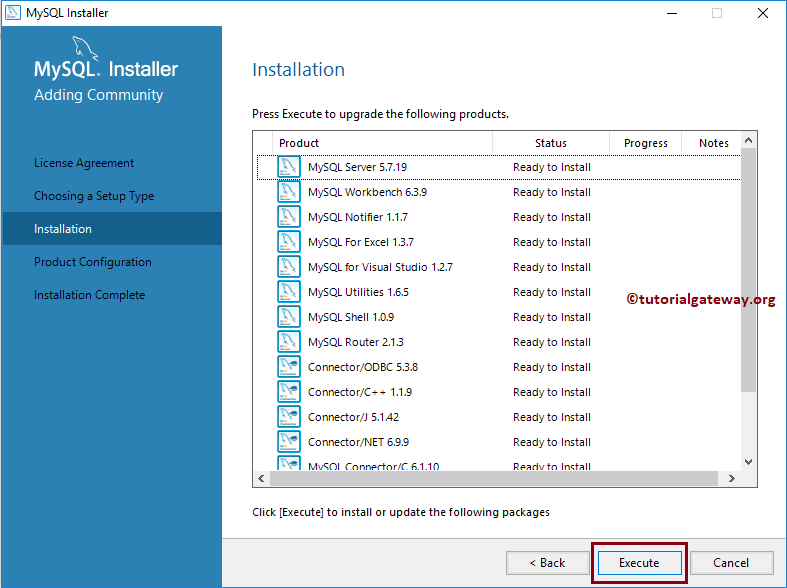
Click the Execute Button to install on Windows 10. It includes all the products that you selected before.
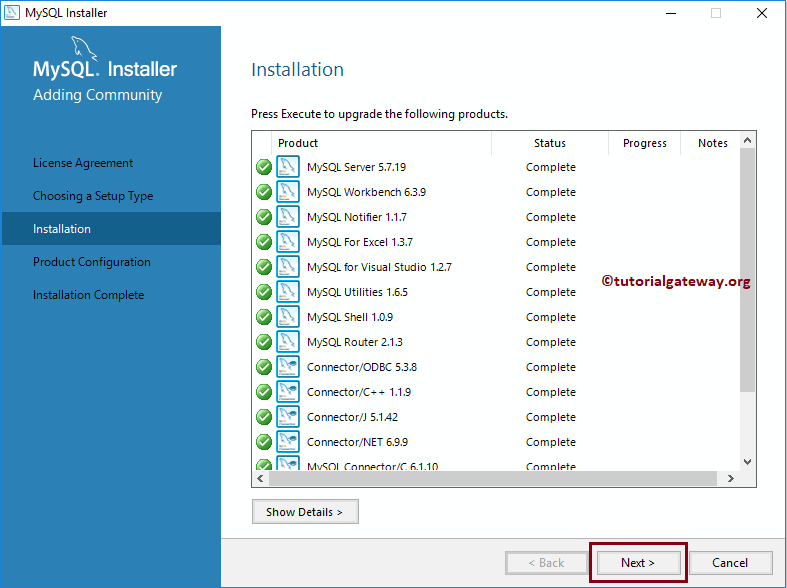
As you can see, MySQL was installed on Windows 10 successfully. Click the Next button.
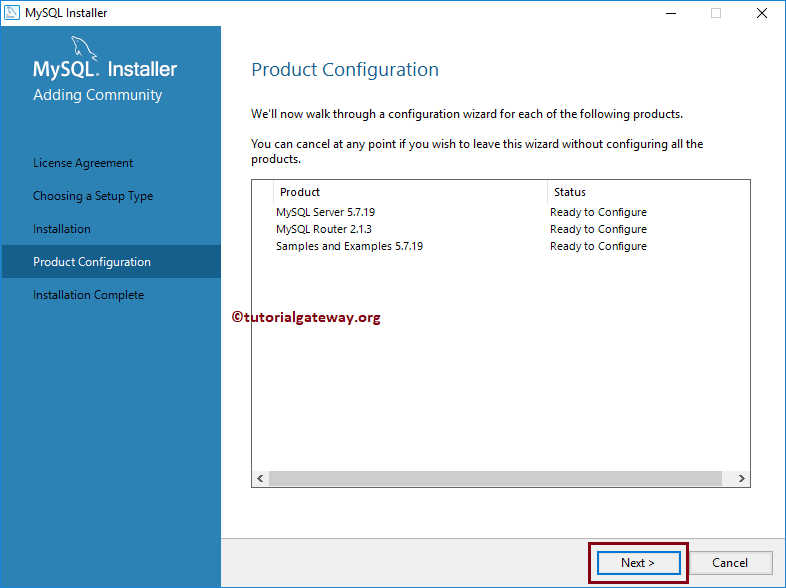
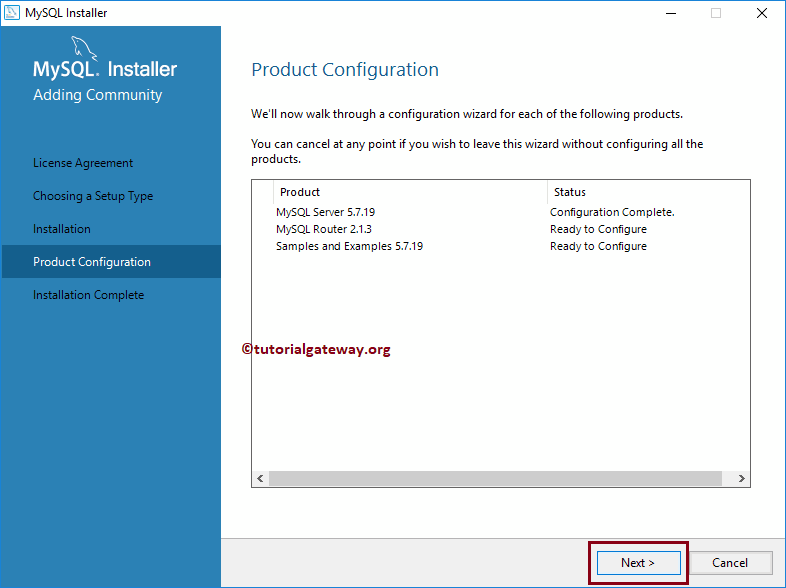
Product Configuration: Until now, we installed the Server, Workbench, and remaining products on our windows. Now we have to configure the Server and router and add Samples and Examples to it.
Type and Networking: Please select the first option and click Next.

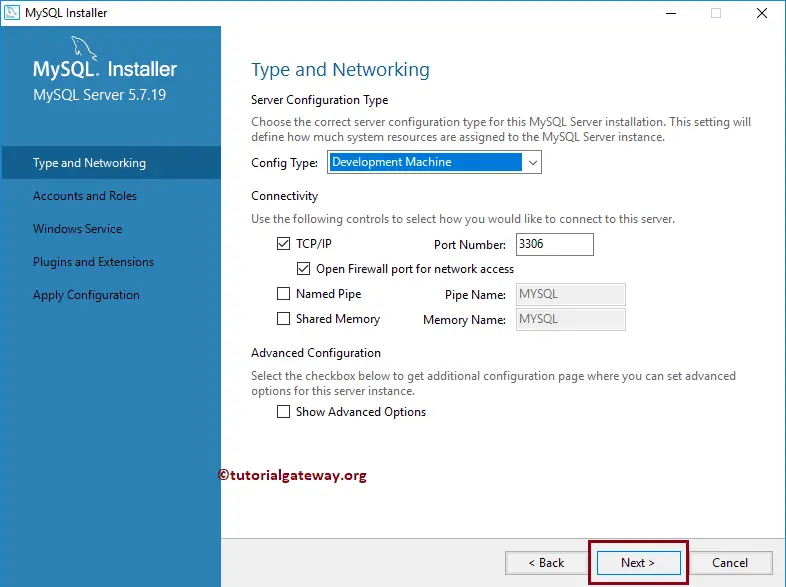
Server Configuration Type: Use this Install MySQL on the Windows page to configure the server type and port number. As you can see from the below screenshot, the Config type had three types:
- Development Machine: If you select this option, You can use this software like any other software, and it consumes less memory. Standard option.
- Server Machine: If you are configuring Server-Client, then you can use this option. So, the only server application will run in this system.
- Dedicated Machine: If you want to dedicate this machine to the server, use this option. It will not allow any servers, such as web servers, on this machine.
We selected the default Development machine as the config type and the default port number 3306. You can change it as per your requirements.
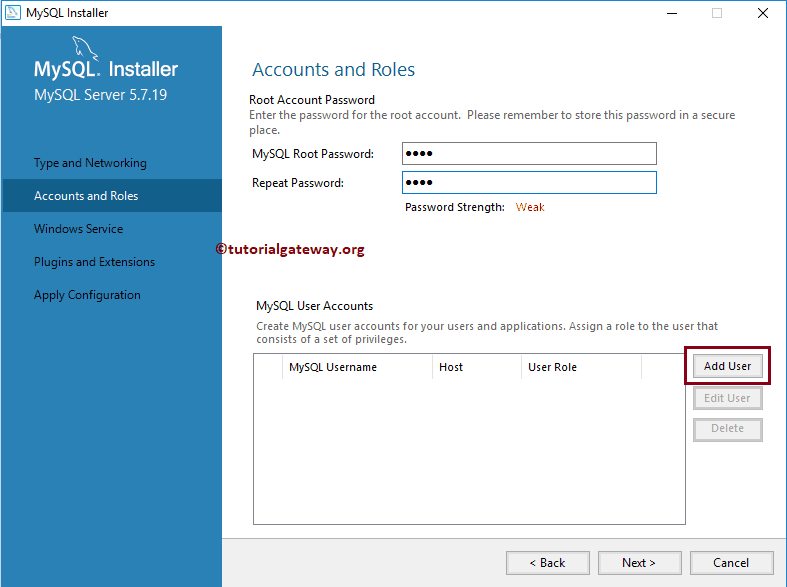
Please provide the password for the root account to Install MySQL on Windows. It is the password that you are going to use to log in from the command prompt or in the workbench.
Apart from the default root account, you can add your own users to access by clicking the Add User button.
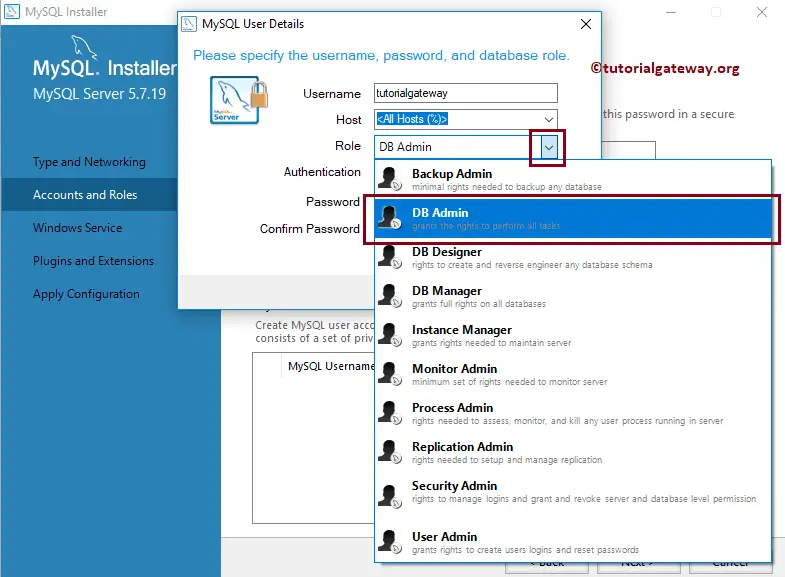
Here, we are adding tutorialgateway users with DB Admin rights. We will write a dedicated post about the Roles and access levels. Next, we provided a random password for the user.
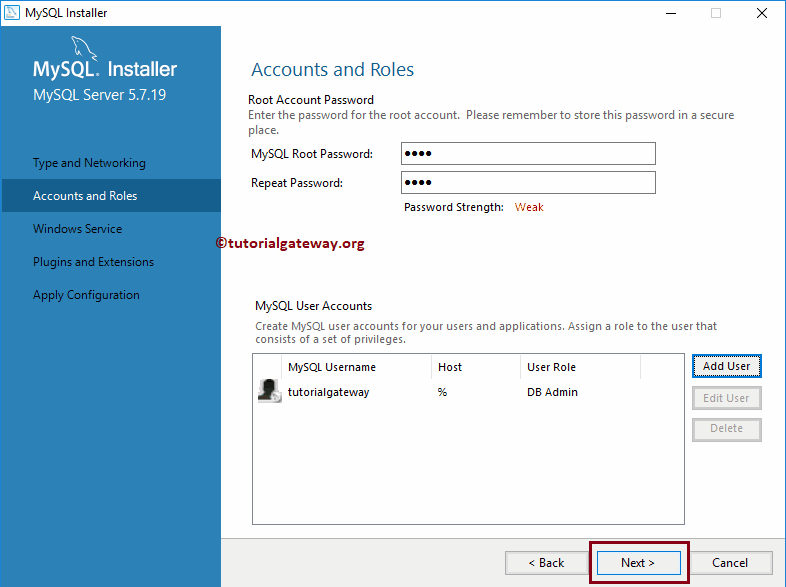
Now, you can see a new user tutorialgateway
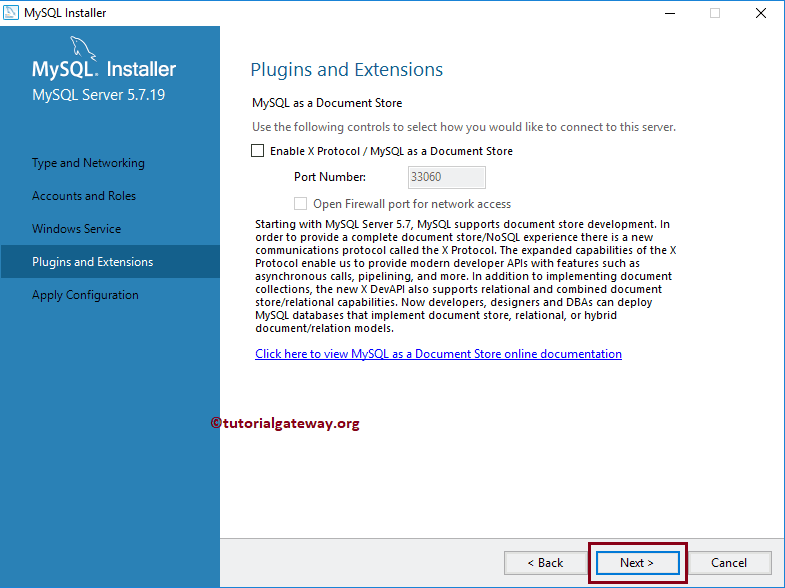
Windows Service: This will install or add Service to the Windows services, and the service will start when the windows are loading.

For now, we are not enabling the protocol. So, we are leaving it as it is, and clicking the Next button.
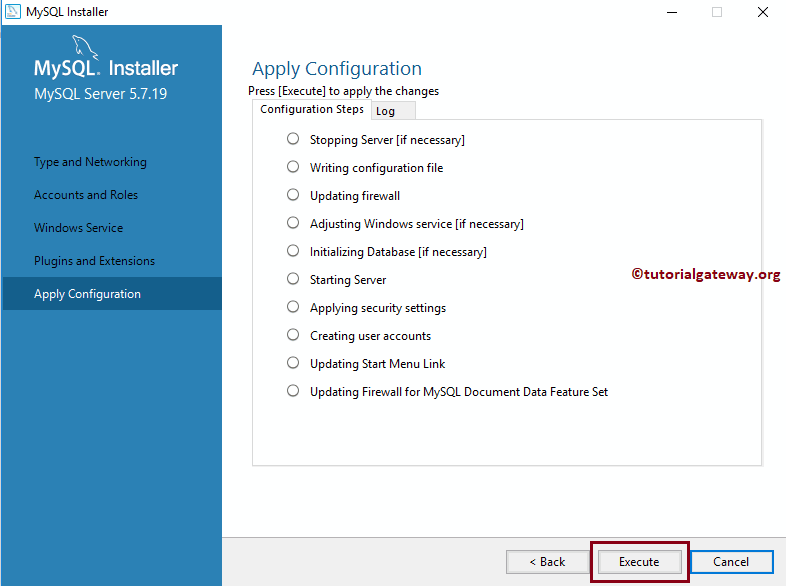
Click on the Execute button to apply configurations. Once the configuration step is finished without any error, please click the Finish button to complete the configuration.
Let me configure the Router.
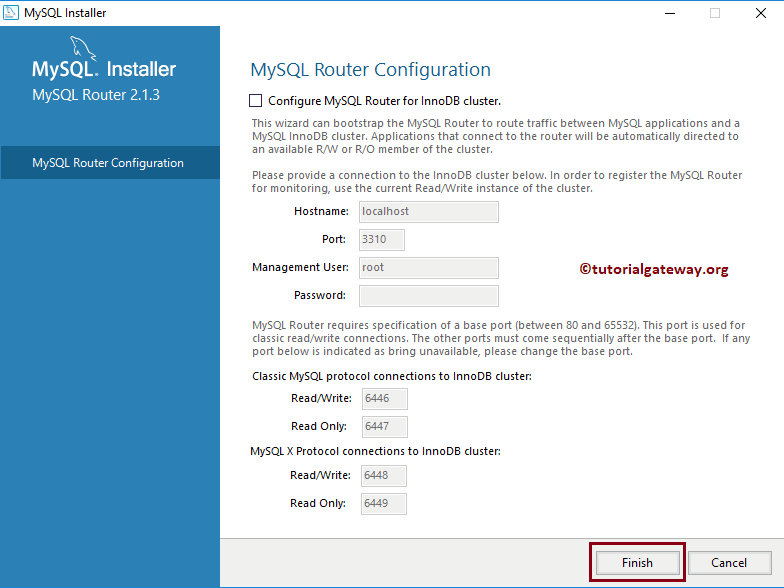
We will do the Router Configuration at a later stage of installing MySQL on Windows. For now, we are leaving the defaults. Feel free to change them as per your requirements.
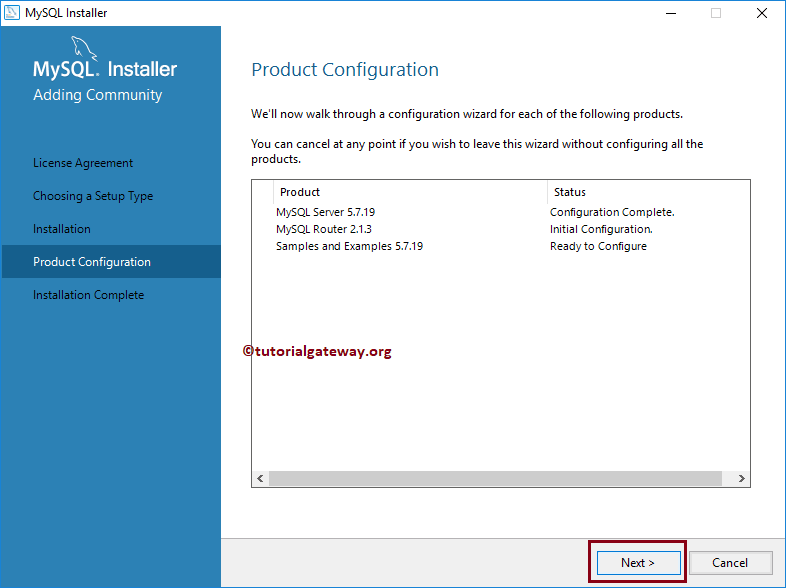
Now, Let me configure the Samples and Examples.
Please provide the password to connect to the Server.
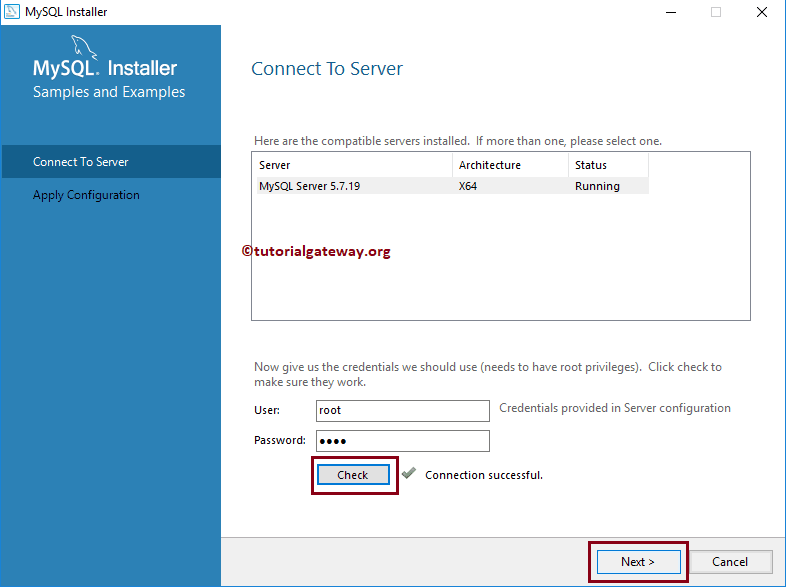
Click on the Execute button to run the scripts that are required to add the Samples and Examples.
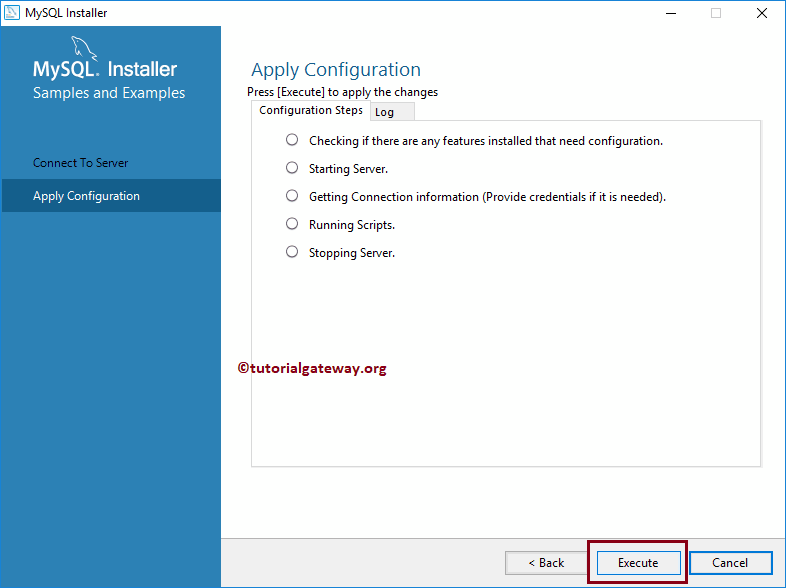
From the below Install MySQL on Windows screenshot, you can see that configuration steps were executed without any error. Click the Finish button to close the Installer wizard. It completes the installation.
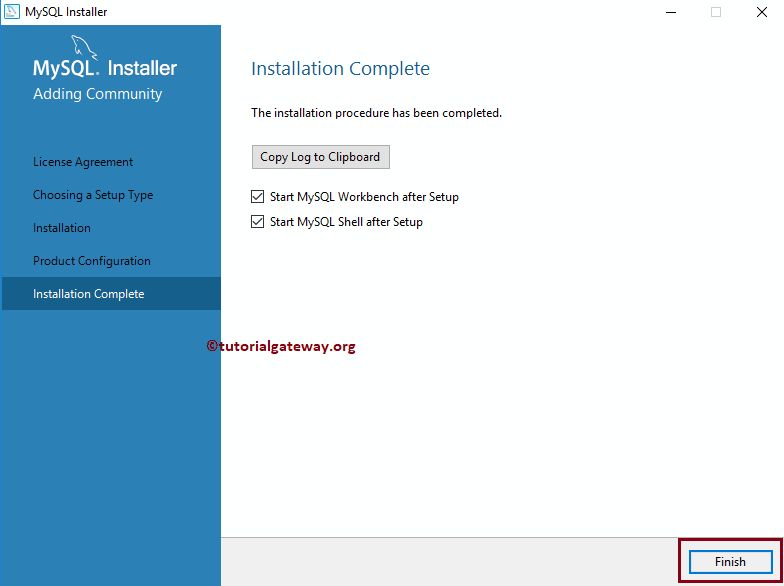
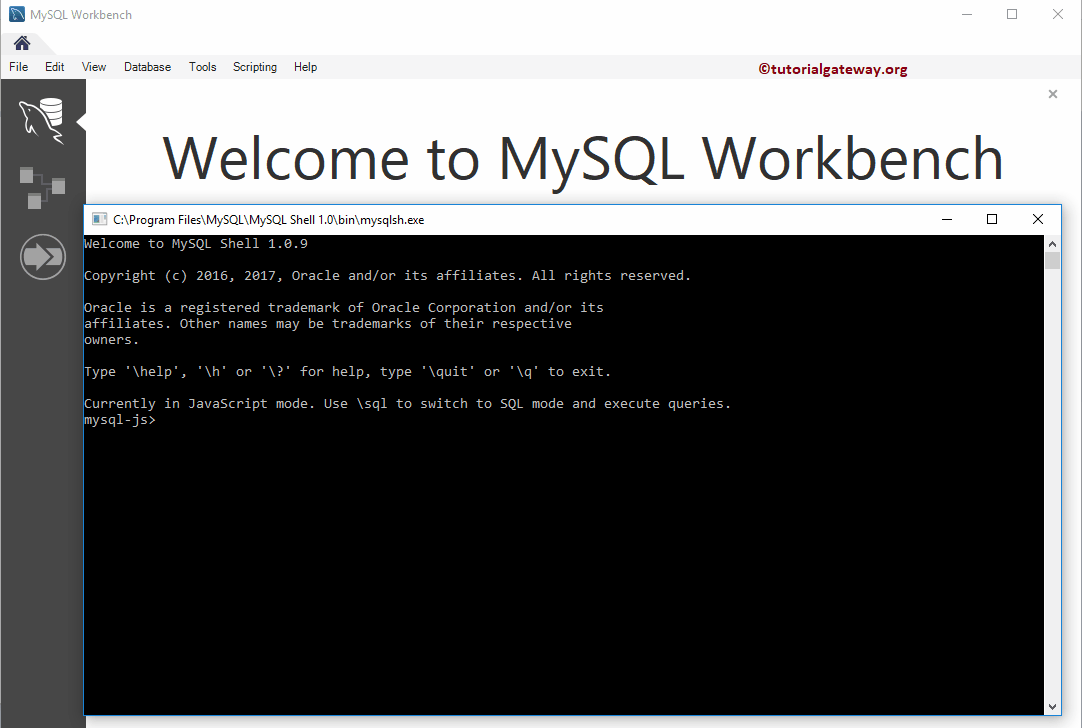
I hope you understood the steps required to install on Windows 10, Workbench, and connections. The below screenshot will show you the Command prompt and Workbench.