In this article, we will show you how to add TextBox to SSRS Report. It’s one of the standard requirements because every report requires Title, or some Address on their headers, or Footer, or any custom text on the Report area. So, here we will show you the step by step approach to add Text Box to SSRS Report with an example.
To explain the Textbox in SSRS report, We are going to use the below-shown DataSet. Please refer to Embedded Data Source and Dataset articles to understand the steps involved in creating Embedded Data Source and Dataset that we used for this SSRS report.
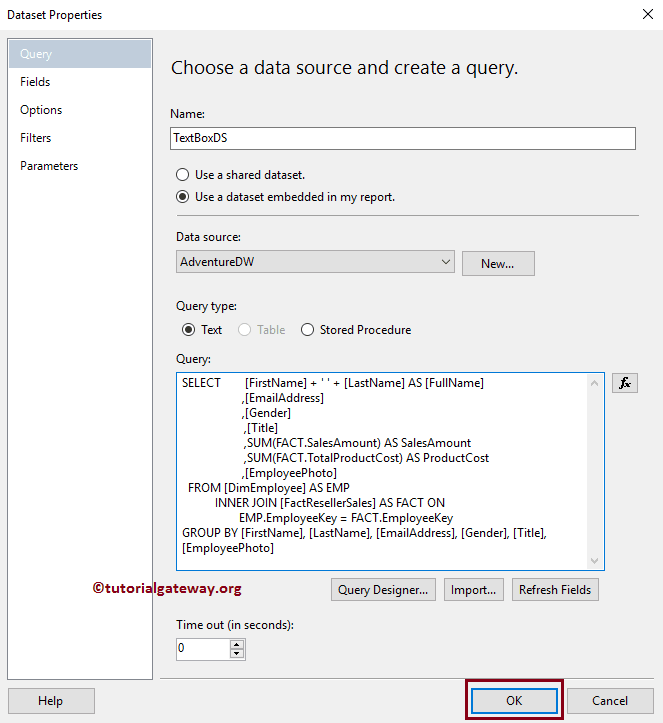
And the Custom SQL query:
-- Displaying TextBox on SSRS Report
USE [AdventureWorksDW2014]
GO
SELECT [FirstName] + ' ' + [LastName] AS [FullName]
      ,[EmailAddress]
      ,[Gender]
      ,[Title]
      ,SUM(FACT.SalesAmount) AS SalesAmount
      ,SUM(FACT.TotalProductCost) AS ProductCost
      ,[EmployeePhoto]
  FROM [DimEmployee] AS EMP
  INNER JOIN [FactResellerSales] AS FACT ON
  EMP.EmployeeKey = FACT.EmployeeKey
  GROUP BY [FirstName]
      ,[LastName]
      ,[EmailAddress]
      ,[Gender]
      ,[Title]
      ,[EmployeePhoto]
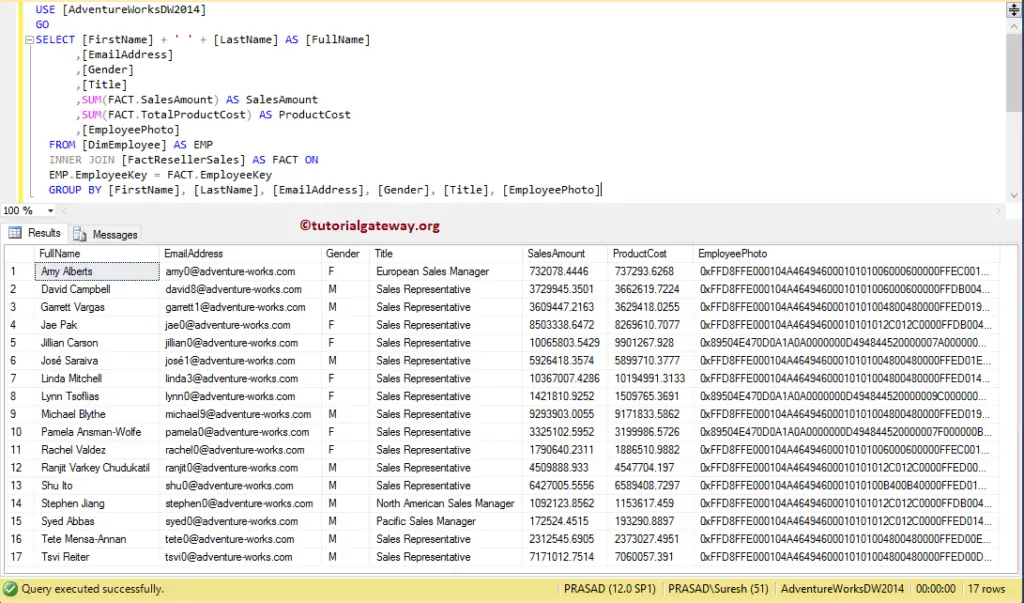
Data written by the above query is:
Add TextBox to SSRS Report
To demonstrate the steps involved to add TextBox to SSRS Report, We are going to use the previously generated report that we shown below. Please refer Add headers and Footer article for adding Page headers and footers.
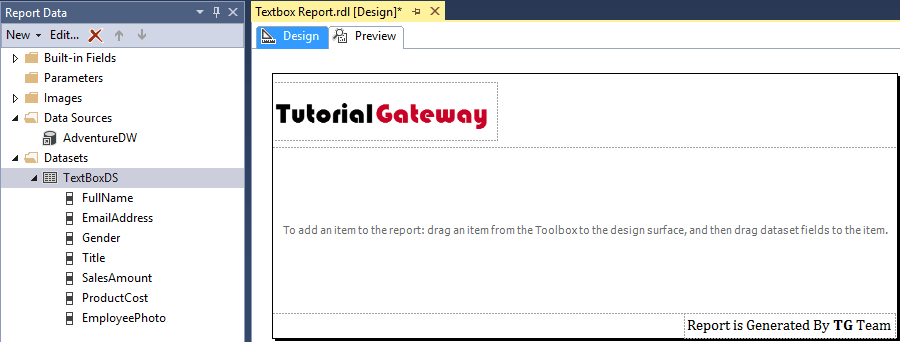
For the Add TextBox to SSRS Report demonstration purpose, we will add a Textbox inside the report area. And to do so, right-click on the report area, and select the Insert, and then Text Box option.
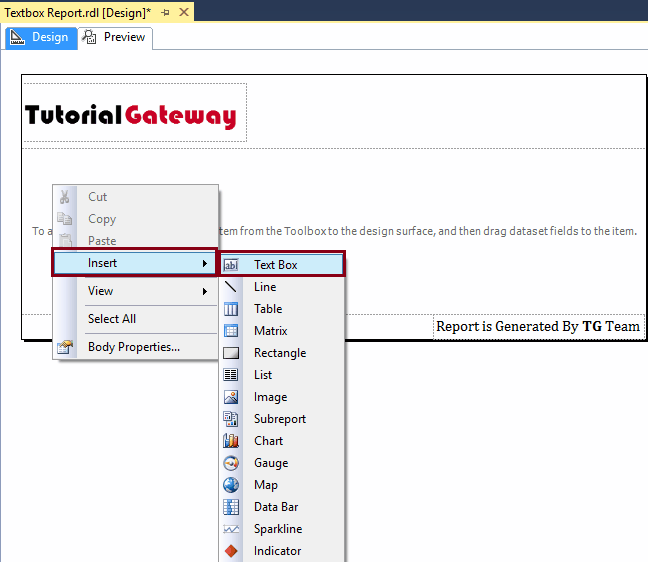
Once you select the textBox option from the context menu, a new TextBox will add to the report area.
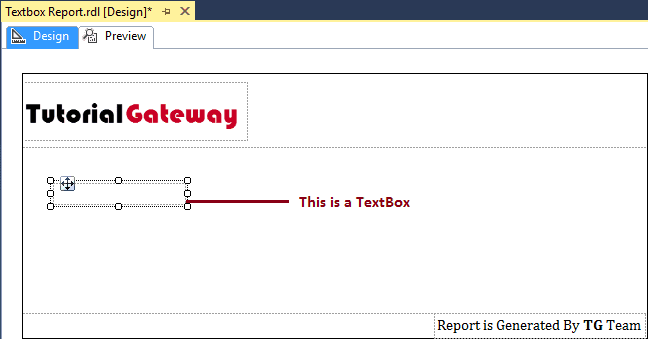
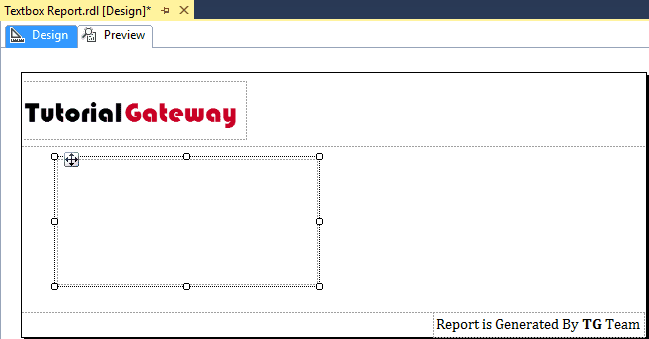
You can use your mouse to increase or decrease the width and height of the text box.
For the demonstration purpose, let me add some same text to the text box
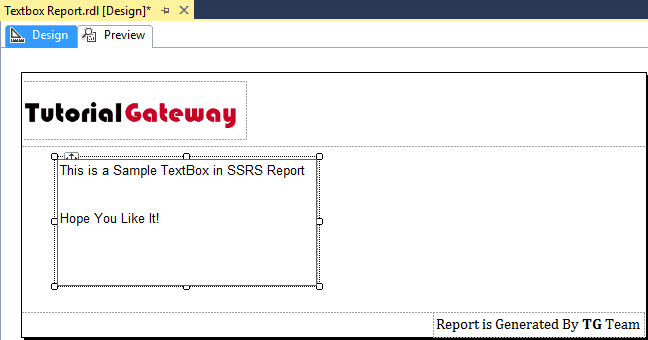
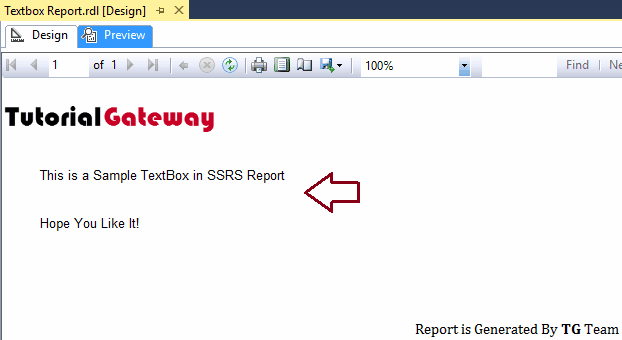
Within the SSRS Report preview, you can see the Text that we entered in the textBox
Add TextBox to SSRS Table Report
For this demonstration, We are going to use the previously designed report. Please refer to the Table Report, Format-Table article, to understand creating Table Report & format.

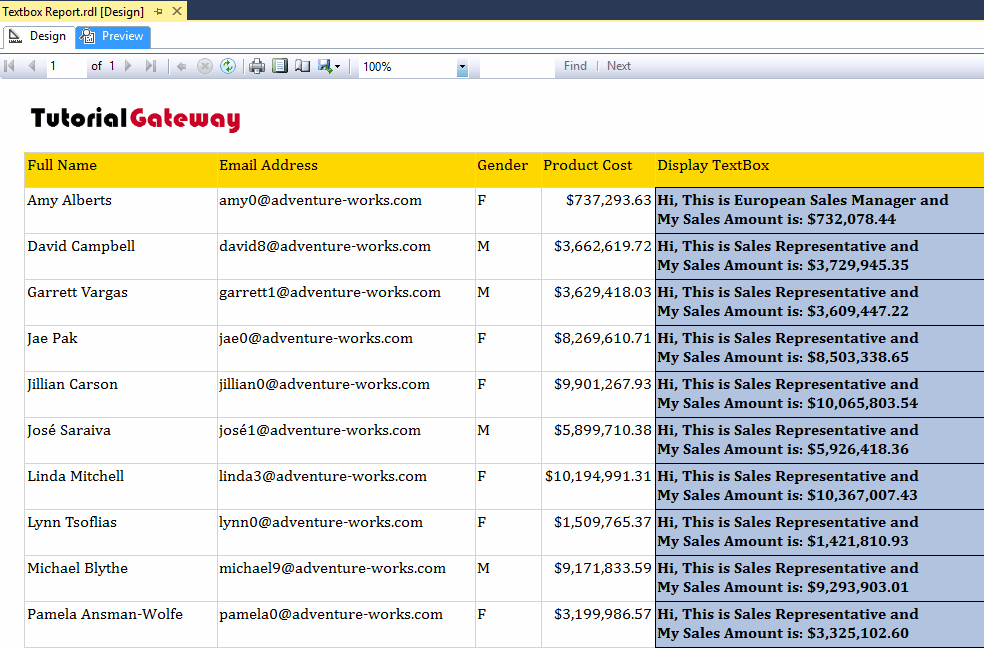
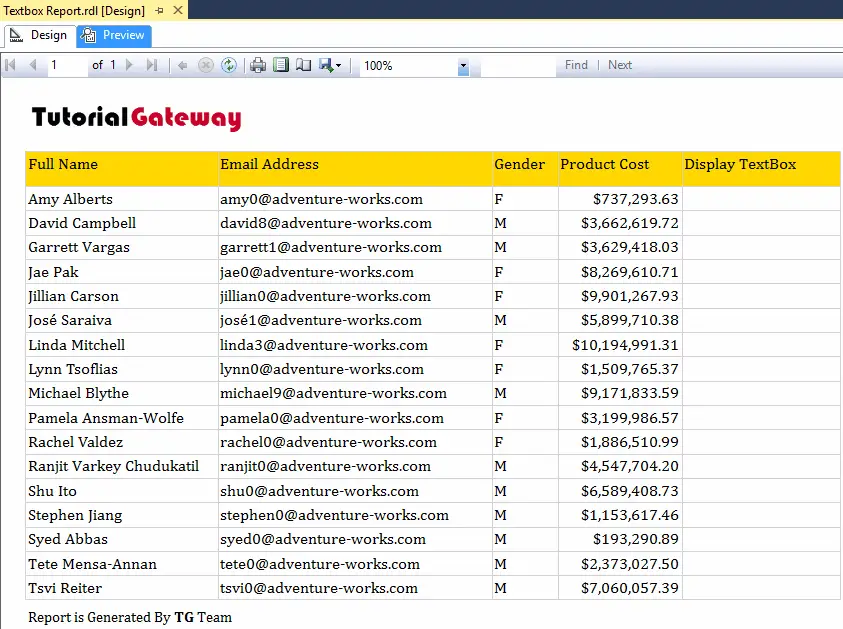
Let me show you the Preview. As you can see, the report had an empty column with Display TextBox as the header text. here our task is to add the text box to this field
Every filed (or Column) in Table itself is a text box. If you select the Column in a table and go to the properties, then it will consider the same as a text box.

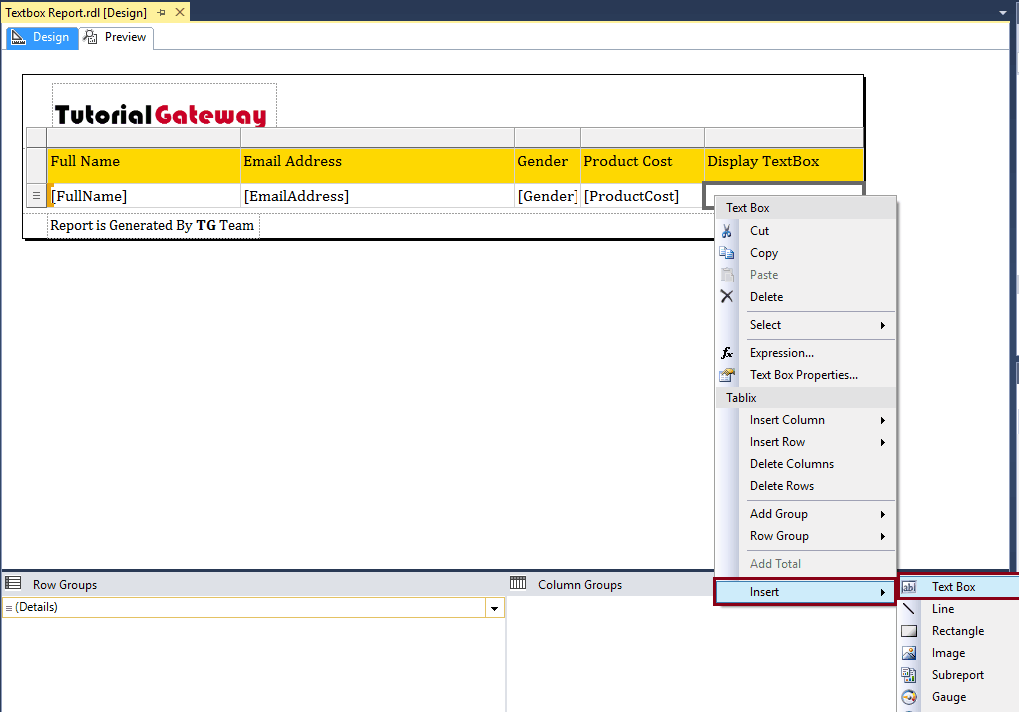
Let me add the textBox in that particular field. To do so, Please select the TextBox, and Right-click on it will open the context menu. Please select the Insert and then Text Box option.
Inside the textBox, you can write any custom text as per your requirements. But you have to use the Placeholder to place the Column Names.
For example, if you want to place the sales amount in this text box, then you have to create a placeholder inside the text box. To add the same, right-click on the textBox and select Create Placeholder.. option from the context menu.

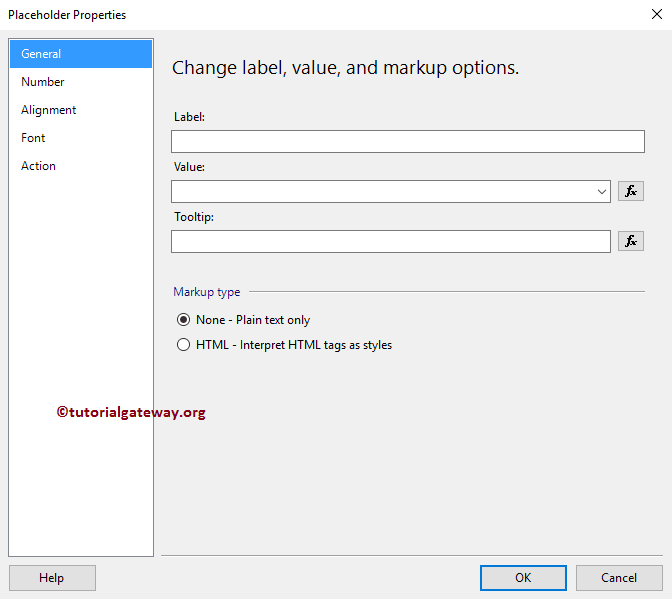
Once you select Create Placeholder.. option, a new window called Placeholder properties will open.
- Label: Text you want to show in your report designer.
- Value: Column Name that you want to use
- Tooltip: Use this to provide information about the label.
In this example, we will add the title column from our dataset
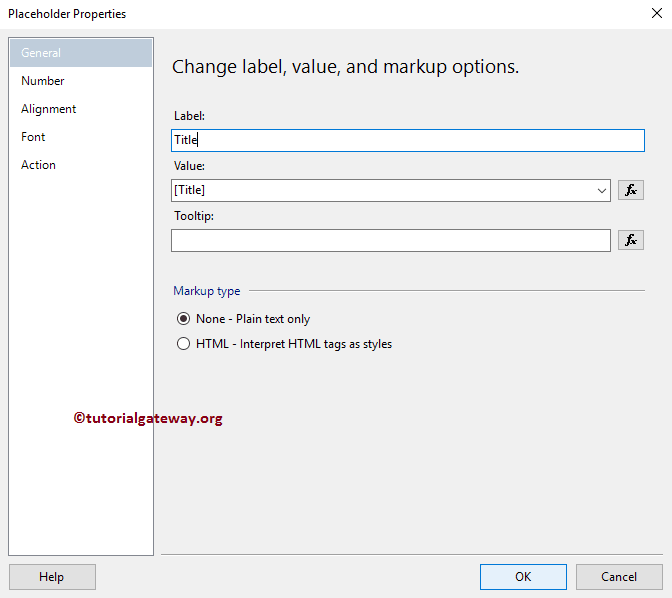
Now you can see the Title label (represent the [Title] column from the Dataset)

let me add some custom text, along with the Sales Amount Column.

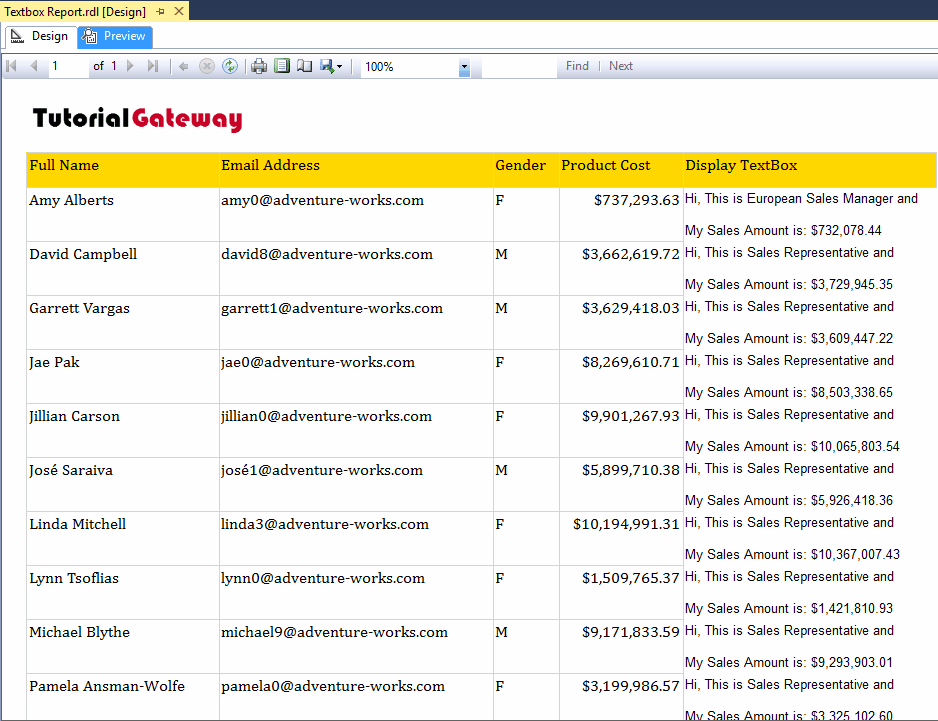
Let me show you the report preview. From the below screenshot, you can see that the text box is displaying the column values along with the custom text.
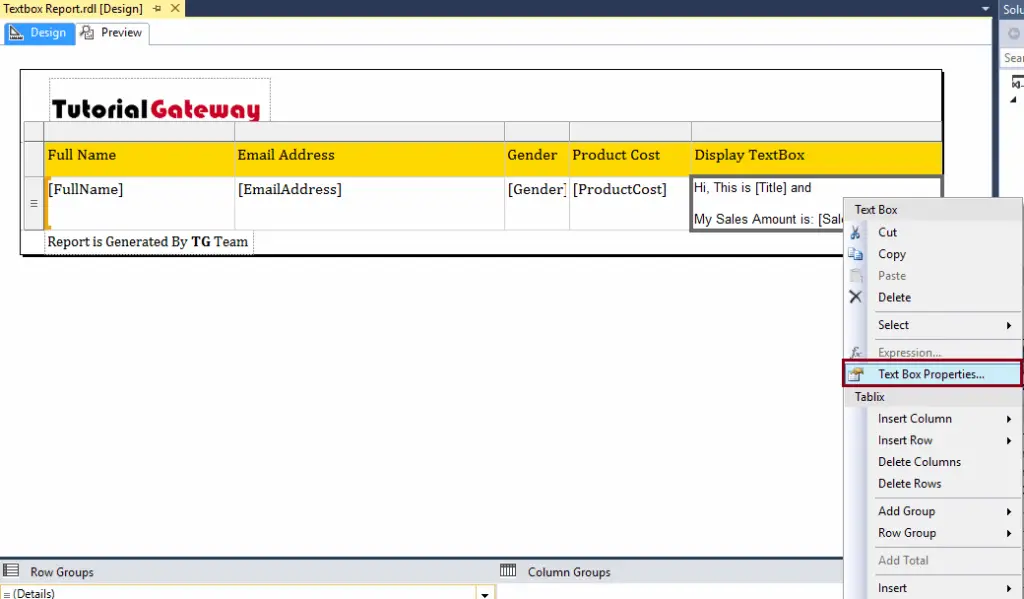
TextBox Properties: Right-click on the Textbox will open the context menu. Please select the Text Box Properties.. option from the context menu to alter the properties of an existing text box.
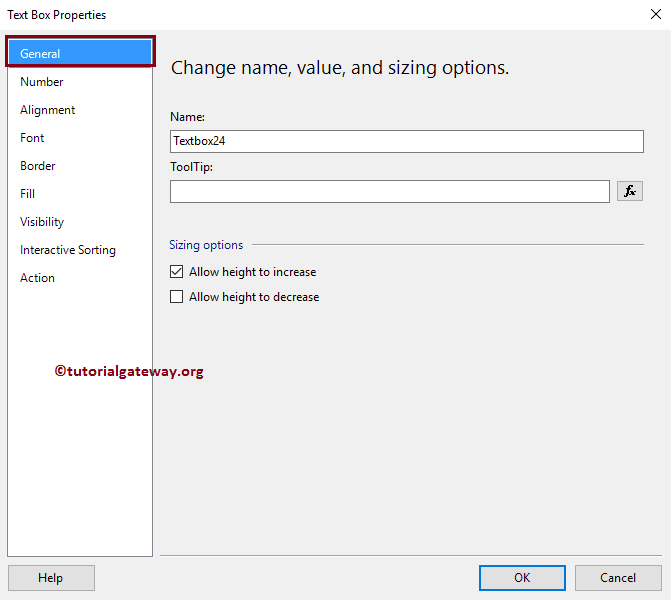
Once you select the Text Box Properties.. option, a new window called Text Box Properties will be opened.
Under the General tab, you can assign the name to a SSRS textbox that we added in a report.
- Alignment Tab is useful for aligning the text box.
- Number Tab: To format the text box value to Money, date. We already explained this property in Format Numbers in text Box article.
- Visibility: Use this tab to decide whether you want to show the Textbox to the user, or not.
- Interactive Sorting: We already explained this concept in Interactive Sorting article so, please refer to it.
- Action: Use this Action tab to enable the action functionality to the image. We already explained this option in Go to URL article, so please refer to the same.
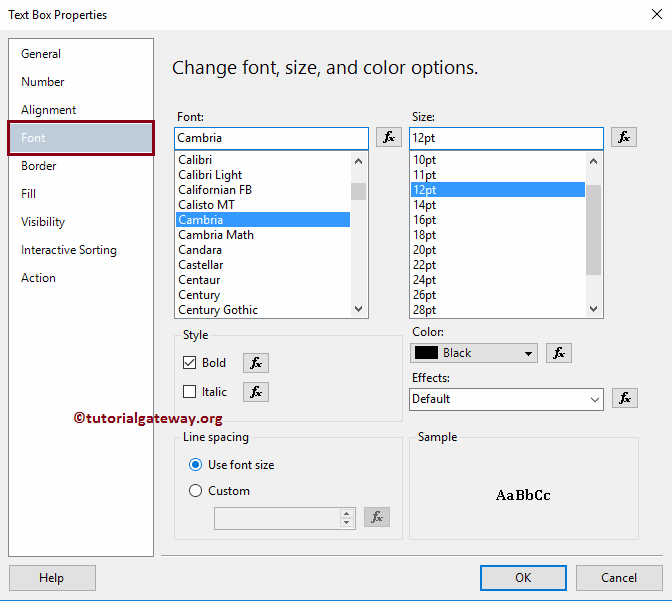
The font tab is used to change the text box font. First, we will change the font family Property to Cambria, Size to 12pt, Font Style property to Bold.
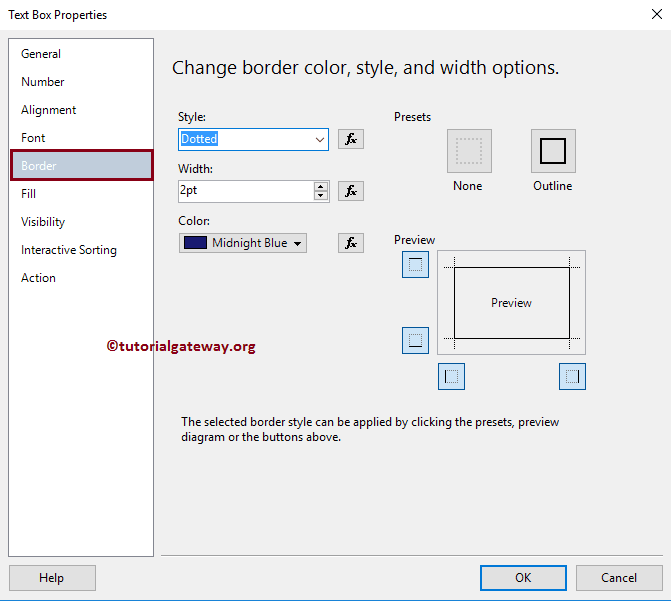
You can use the Border tab to change the Border style, Color, Type, width, and pattern. For the demonstration purpose, we changed the Presents from None to Outline, Width to 2pt, and Color to midnight blue
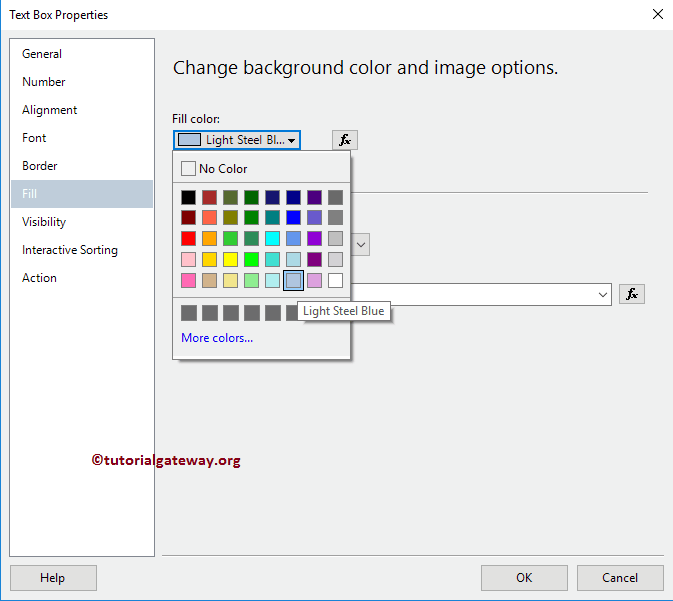
Under the Fill tab, we can change the background color of a text box. Let me change the Background colour to Light Steel Blue
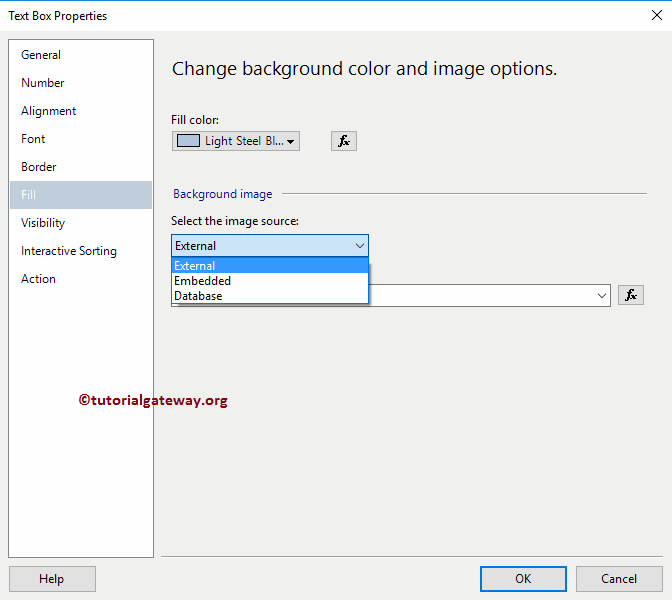
We have an option to use the External Image as the background of a textBox. We already explained the steps involved in adding an image to Report, or text box in Display Image in Report article so, please refer to it.
Click the OK button to close the properties window. Please adjust the Columns in a Report so that there will display in one line

As you can see from the below screenshot, our TextBox is a field with the Light Steel Blue colour and surrounded by the Borders of the color that we specified.
