In this article, we will show you how to display Images in SSRS Report. It is one of the standard requirements while you are designing a report because every client needs their logo to display in the rendered report. So, here we will show you the step-by-step approach to viewing images in the SSRS Report with an example.
To explain the images in the SSRS Report, we use the below-shown DataSet. Please refer to the Embedded Data Source and Dataset articles in SSRS. The Custom SQL query that we used in this Dataset is as shown below. Please type the below query in SSMS to see the Data written by it.
USE [AdventureWorksDW2014]
GO
SELECT [FirstName] + ' ' + [LastName] AS [FullName],[EmailAddress]
      ,[Gender],[Title] ,SUM(FACT.SalesAmount) AS SalesAmount
      ,SUM(FACT.TotalProductCost) AS ProductCost,[EmployeePhoto]
  FROM [DimEmployee] AS EMP
  INNER JOIN [FactResellerSales] AS FACT ON EMP.EmployeeKey = FACT.EmployeeKey
  GROUP BY [FirstName],[LastName],[EmailAddress],[Gender]
      ,[Title],[EmployeePhoto]
Display Image in SSRS Report
To demonstrate the steps involved in displaying images in the SSRS Report, We are going to use the previously generated report that we have shown below. Please refer Table Report article to understand the steps involved in creating a Table Report and refer Format Table article to understand the formatting.
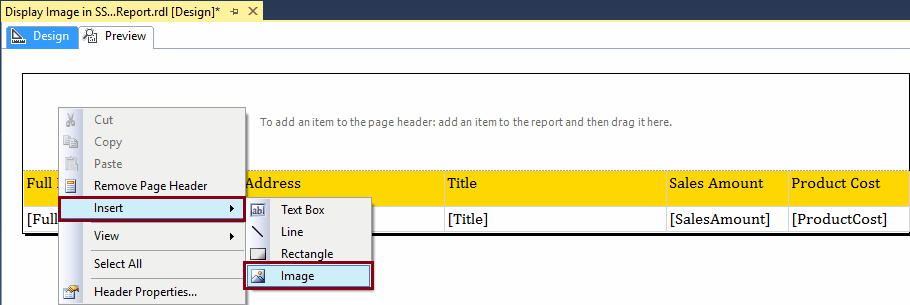
For the image in the SSRS Report demonstration purpose, we will add an Image (our logo) to the Page Header. To do so, right-click on the Page Header and select the Image option from the context menu.
Please refer Add Headers and Footer article for adding Page headers and footers and Display Image Based on Expression for expression-based display.
Once you select an Image option, a new window called Image Properties will display as shown below.
Under the General tab, we have three options for selecting the image source:
- External: This option is useful if you want to display the dynamic Image from coding. Say, you can show the dynamic Image from C#, VB.NET, etc.
- Embedded: If you want to store the image, and its MIME type inside the report definition, then you can use this option. Use this option to avoid any errors because there is no chance of missing the Image because it is stored in the report definition.
- Database: Use this option to display images present in the Database Tables.
First, we will explain the Embedded option, and later we will show you the Database option. For this, Please select the Embedded option as the Select the image source option, and click on the Import button to import the image from the Local File System to the report definition.

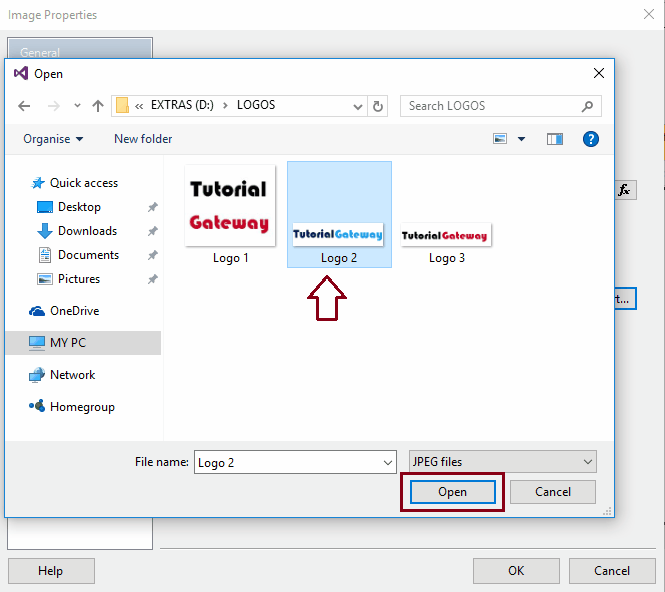
Once you click on the Import button, an open dialogue window will open to select the image from the file system. Let me select one random image and Click OK to close the Image properties window.
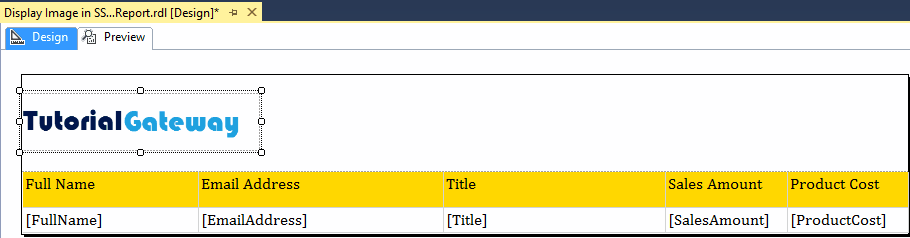
From the below screenshot, you can see that the Logo Image will be displayed in our report. Use your mouse to adjust the width, and height of an image as per your requirements.
Once you completed with the Image scaling, Click on the preview tab to see the report preview.
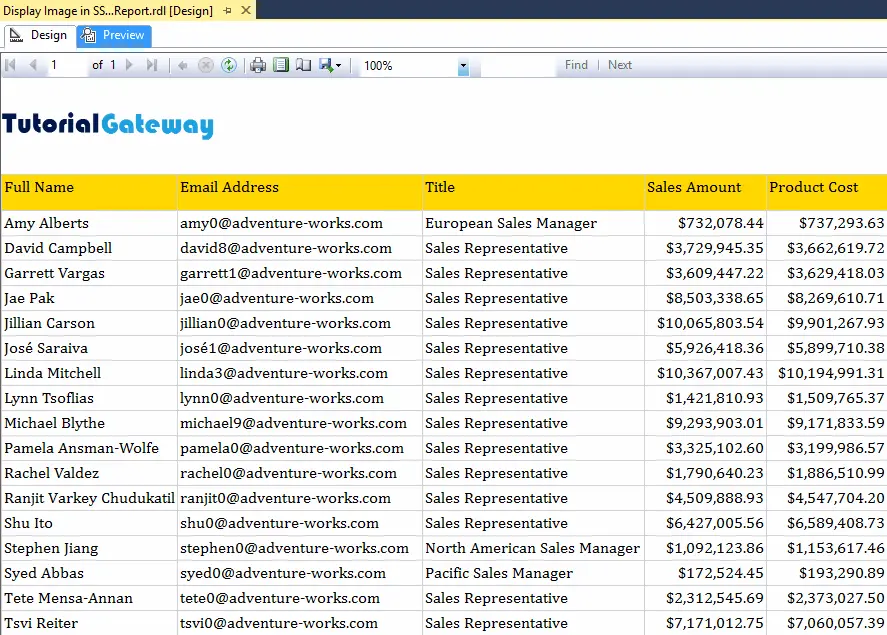
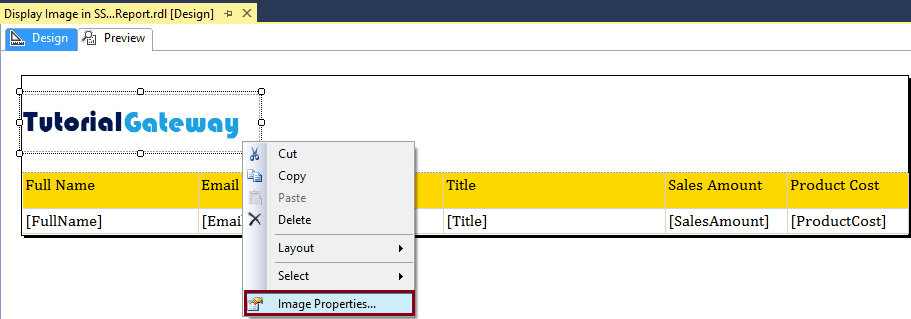
Image Properties: Right-click on the image will open the context menu. Please select the Image Properties.. option from it to alter the properties of an existing image.
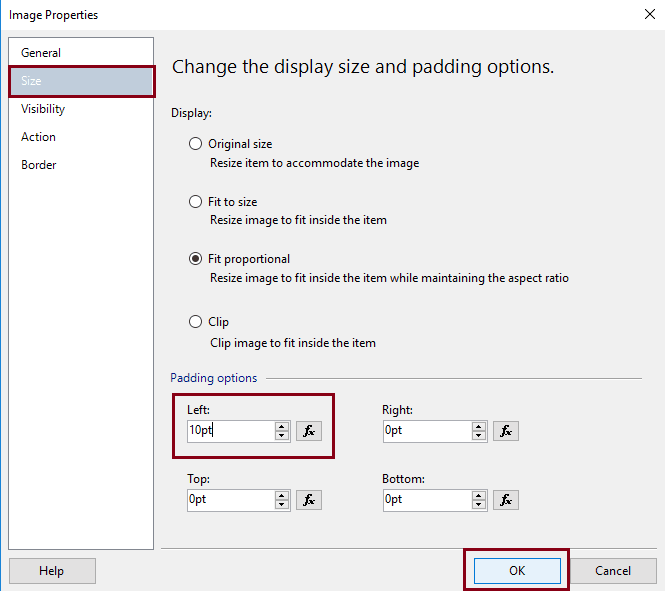
Under the Size tab, we have four options to adjust the image display
- Original Size: This option resizes the Image Item (report Item) to display the image in the original size. For example, if you select the 720p Image then it will accommodate space for 720p and display the Image.
- Fit to Size: This option will resize the Image to fit inside the Image Item (report Item). For example, if you select a 720p image and the report item size is 100 * 100, then the 720p Image will compress to fit inside that 100 * 100 item.
- Fit Proportional: This is the default option for an image item. This option will resize an Image to fit inside the Image Item (report Item) while maintaining the aspect ratio.
- Clip: It clips the Image to fit inside the Image Item (report Item).
Padding means an extra space around the Image. Let me add 10pt to the left side of an image
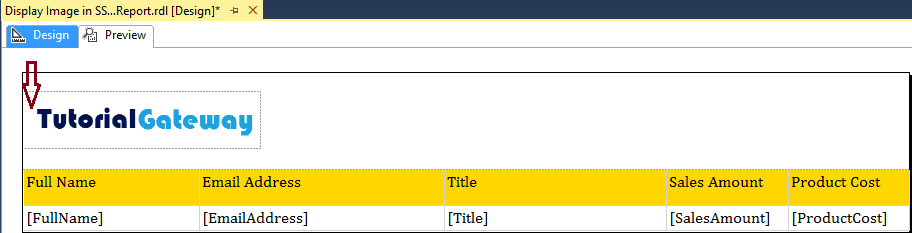
Now you can see there is a space on the left side of an image.
Under the Visibility tab, you can decide whether you want to show the image, or not.
- Show: This is the default option. It will show the Image Item
- Hide: It will hide the Image Item.
- Show or Hide based on an expression: The report item will be shown based on the expression that we wrote here.
- Display can be toggled by this report Item: The report item will be shown based on another report item.

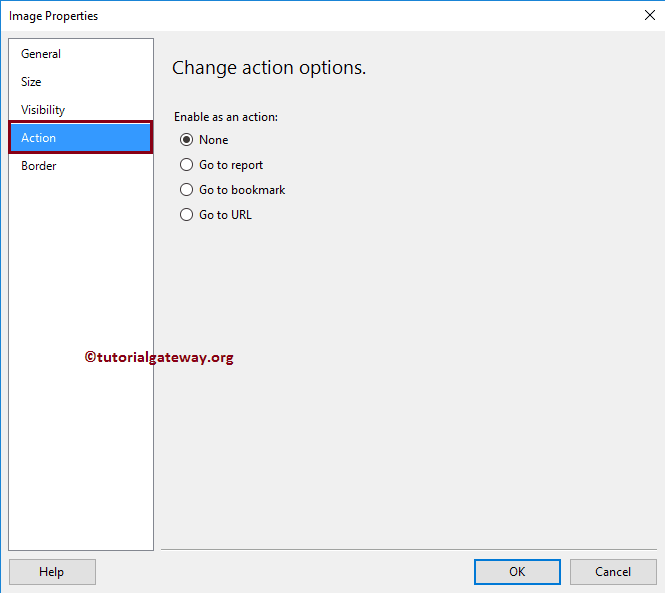
Under the Action tab, you can enable the action functionality to the image. We already explained these options in the Go to URL article, so please refer to the same.
You can use the Border tab to change the Border style, Color, Type, width, and pattern. By default, the image item doesn’t present any border. For the demonstration purpose, we changed the Presents from None to Outline, Width to 4pt, Color to midnight blue
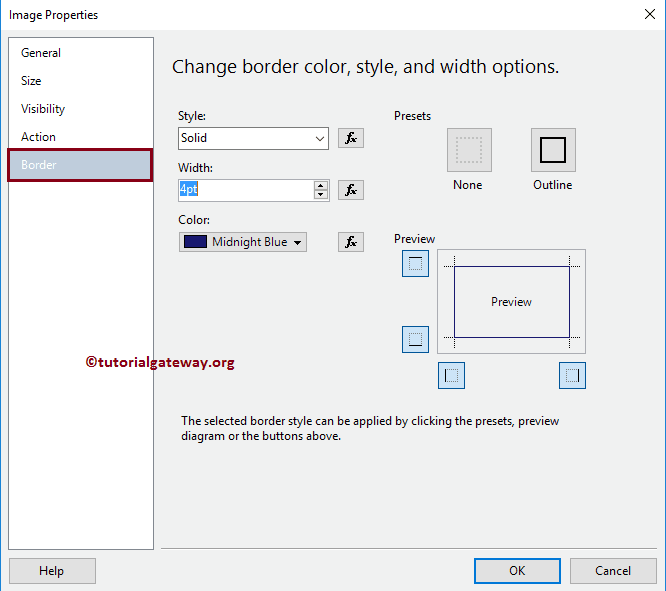
As you can see from the below screenshot, our Image item is surrounded by a Border of the color that was specified.

Display Database Images in SSRS Report
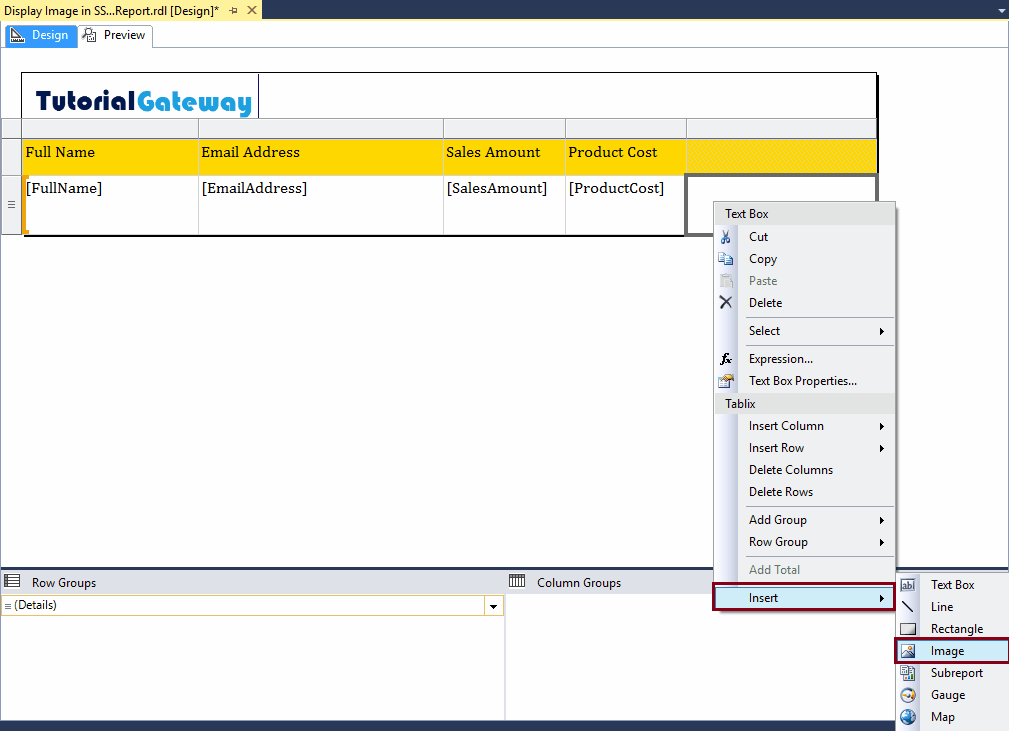
To demonstrate the same, we added an empty column to the existing report. Please select the TextBox, and Right-click on it will open the context menu. Please select the Insert and then Image option.
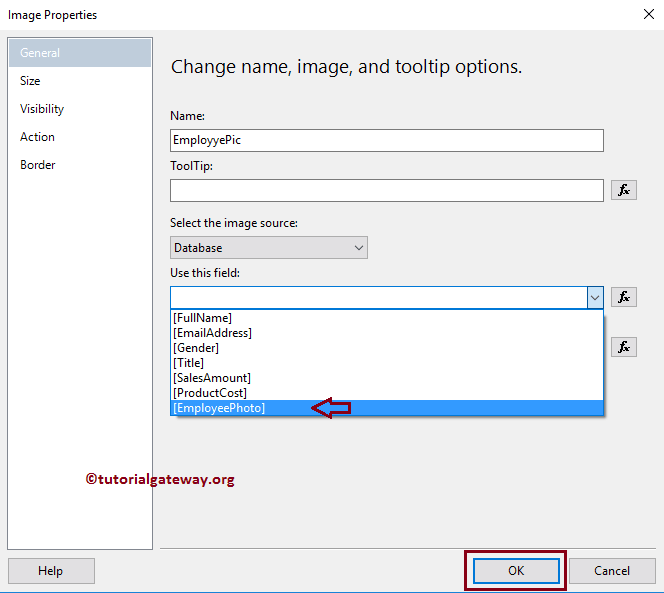
Once you select an Image option, a new window called Image Properties will be displayed. Here, Please select the Database option as the Select the image source option, and select the Database field that holds the images. As you can see we are selecting the Employee Photo
Next, select the MIME type from the available bmp, jpeg, gif, png, and x-png. Our image is of JPEG type, so choose the same from the drop-down list.
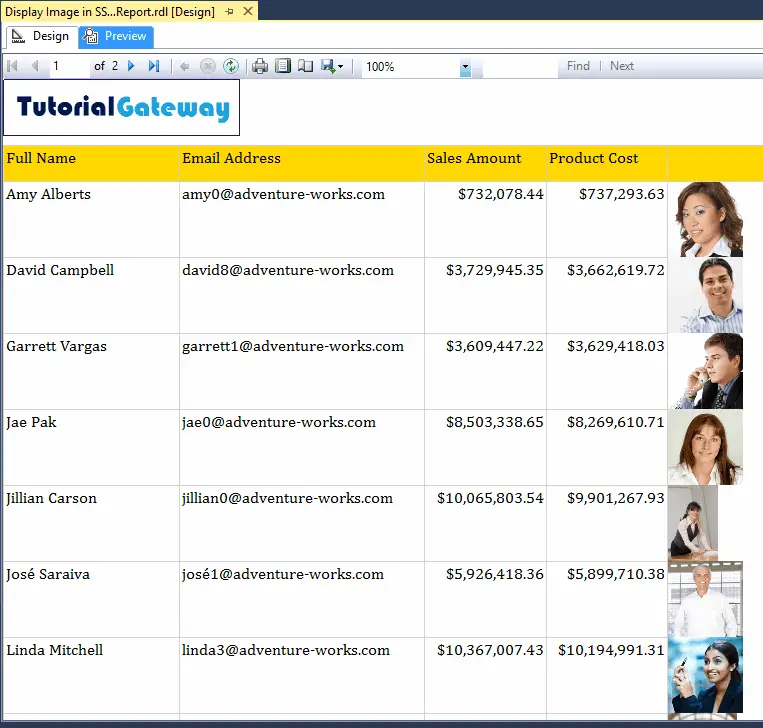
Let me show you the Display Image in the SSRS Report preview.