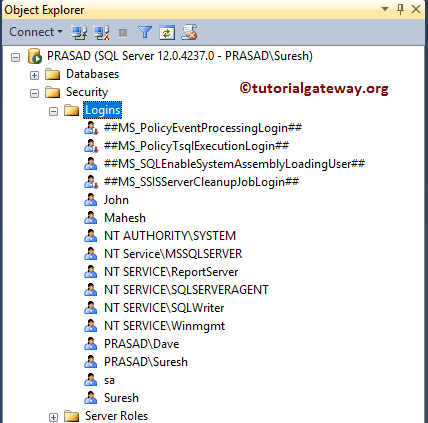
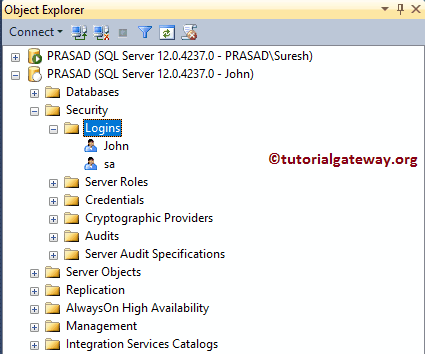
This article will show you the step-by-step approach to creating a SQL Server Login using Management Studio and Transact query. Before we start creating a new one, let me show you the list of available logins in our Management Studio.
Create SQL Server Login using SSMS
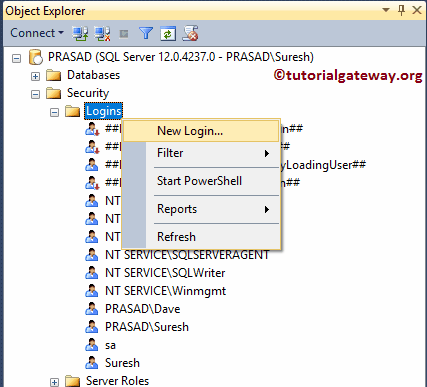
To create a new one, please expand the Security folder, and right-click on the Login folder to open the context menu. Please select the New Login.. option to create it.
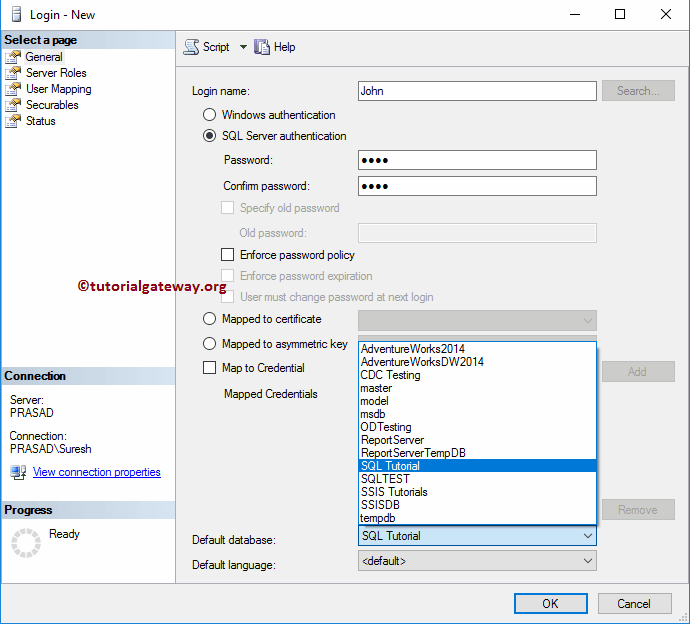
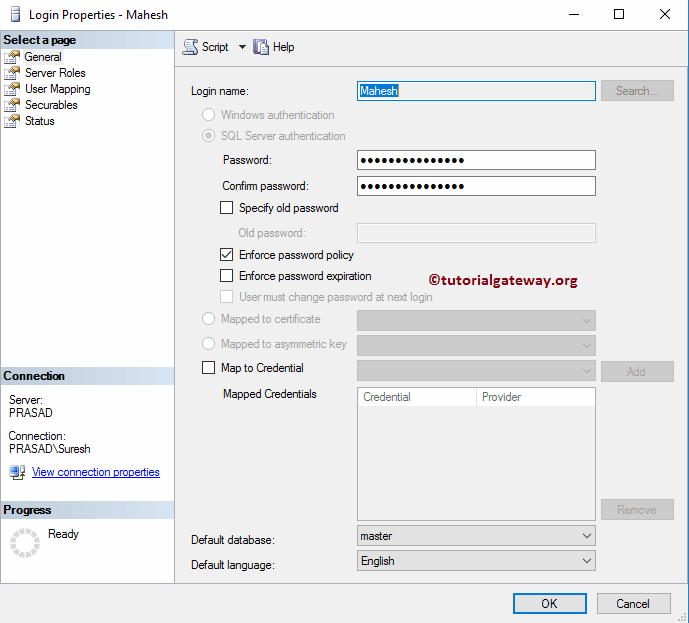
Once you choose the New option, the following window will open. By default, Windows Authentication is selected, so let me change the login to SQL Server Authentication.
- Login Name: Please use a unique name for this newly created one. It is the one you will use for the Database Engine.
- Password: Here, you must specify the password for the above-specified username.
- Enforce Password Policy: If you checkmark this option, your password should follow the standard password policy.
- Enforce Password Expiration: The password will expire after a certain period.
- User Must Change Password at Next Login: When the user sign-in with these newly created credentials, the Server will ask to change the password.
We assigned the newly created Login name as John and some random passwords.
Default Database: Here, you must select the default Database name you want to assign to this user. For now, we are choosing the default database.
Default Language: You can select the language that best suits your requirements. For now, we are leaving English as the default.
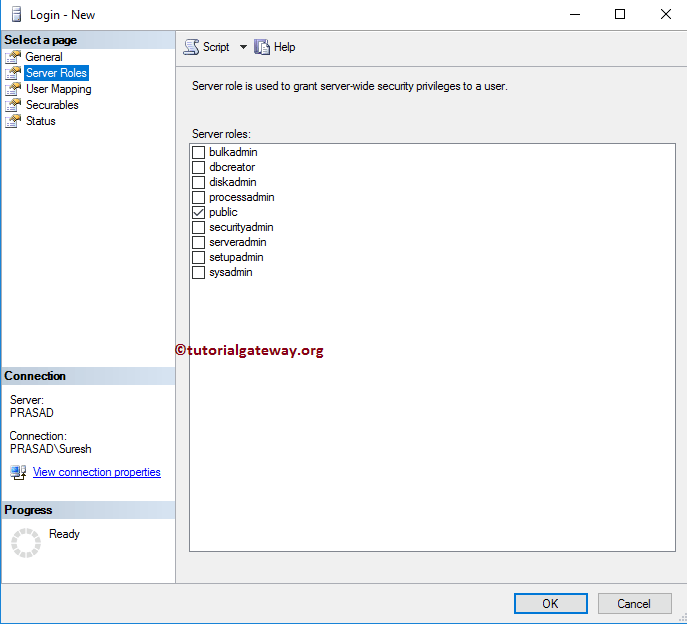
Server Roles: Use this page to assign the Server Roles to this SQL Server Login User. We have already explained everything about the Server roles in Create Roles. For now, let me select the default Public option.
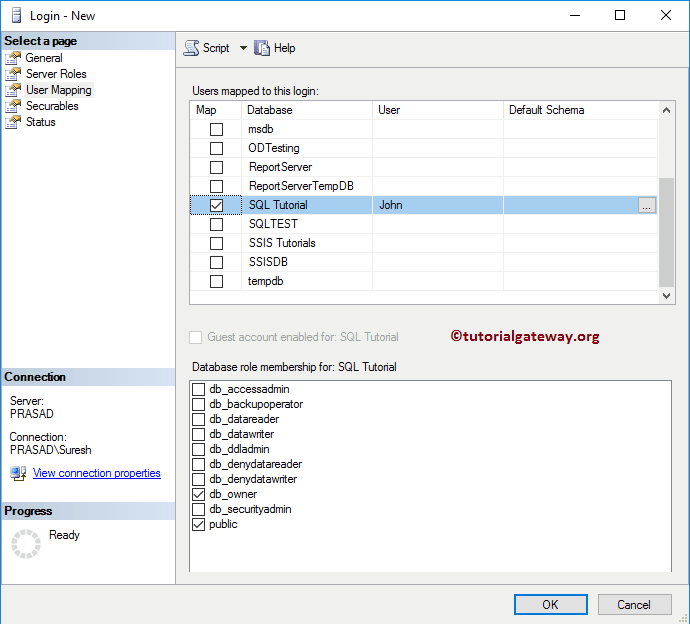
User Mapping: Use this create Login page to select the database and assign database roles to this User. Since we selected the below one as the default database, Login has automatically mapped the user to this database.
Again, We will write a dedicated article to explain each database role. So, for now, let me select the default Public and db_Owner options.
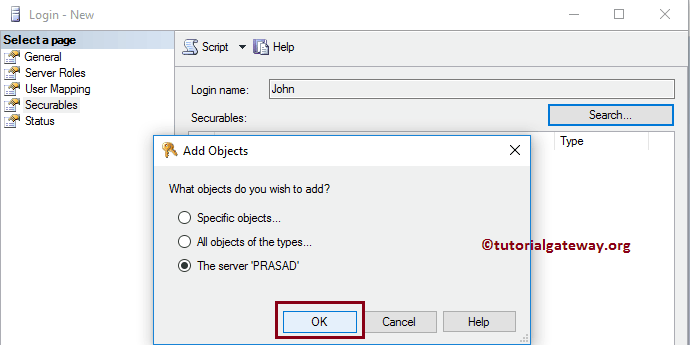
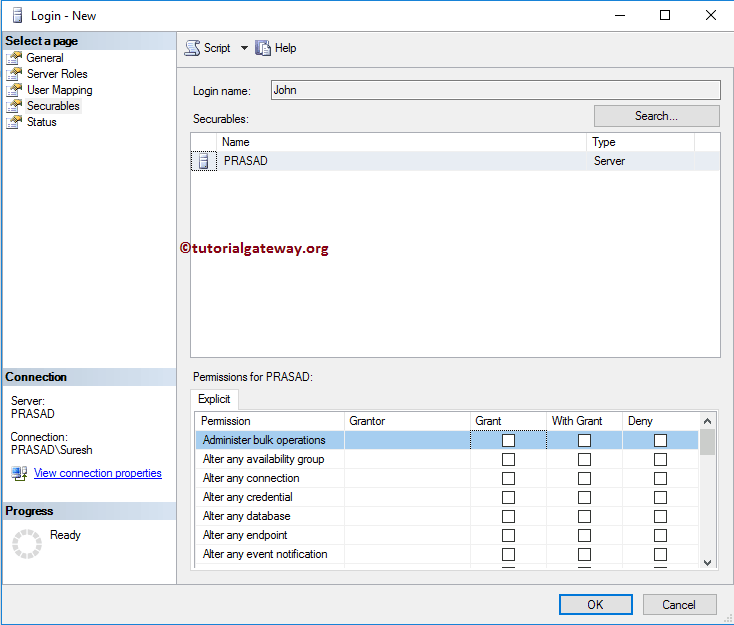
Securables: This page is used to select the Object. As it is a fresh creation, there are no existing securables. So, please click on the Search button to search for Objects. For now, let me select the Server.
You can use the Grant, With Grant, and Deny options to grant permissions or to deny. For now, we are leaving it without any changes.
Status: This Login tab or section has two options:
- Permission to connect to database Engine: If you want to provide, then select Grant; otherwise, choose Deny.
- Login: If you want this user as the Database Manager, select Enabled otherwise, Disabled.

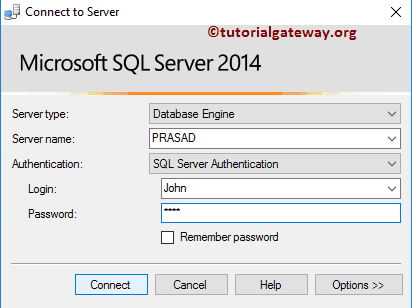
See our newly created Login in SQL Server Management Studio. Please click on the Connect button to connect the Database Engine using John
Please change the Authentication mode from Windows Authentication and provide the Username and Password.
We successfully logged into the database engine using our newly created login.
Create SQL Server Login using Transact Query
The basic syntax to create a login is:
-- Create Syntax
CREATE LOGIN [LoginName] -- This is the User
WITH PASSWORD = 'provide_password' MUST_CHANGE,
CHECK_EXPIRATION = ON, -- This is Optional
CHECK_POLICY = ON, -- This is Optional
DEFAULT_DATABASE = [Database Name], -- This is Optional
DEFAULT_LANGUAGE = [Language Name];-- This is Optional
It will create a new one called Mahesh with default settings.
CREATE LOGIN Mahesh
WITH PASSWORD = 'password'
Run the above query
Messages
--------
Command(s) completed successfully.
It will show our newly created Mahesh. Please go to its properties to see or edit the login properties. As you can see, this log-in is pointing to the master database.
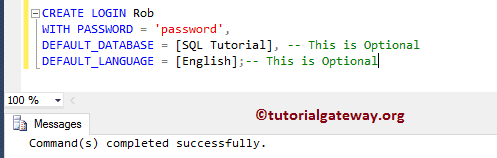
It will create a new signing Rob and his default database, and the default language is English.
CREATE LOGIN Rob
WITH PASSWORD = 'password',
DEFAULT_DATABASE = [SQL Tutorial], -- This is Optional
DEFAULT_LANGUAGE = [English];-- This is Optional
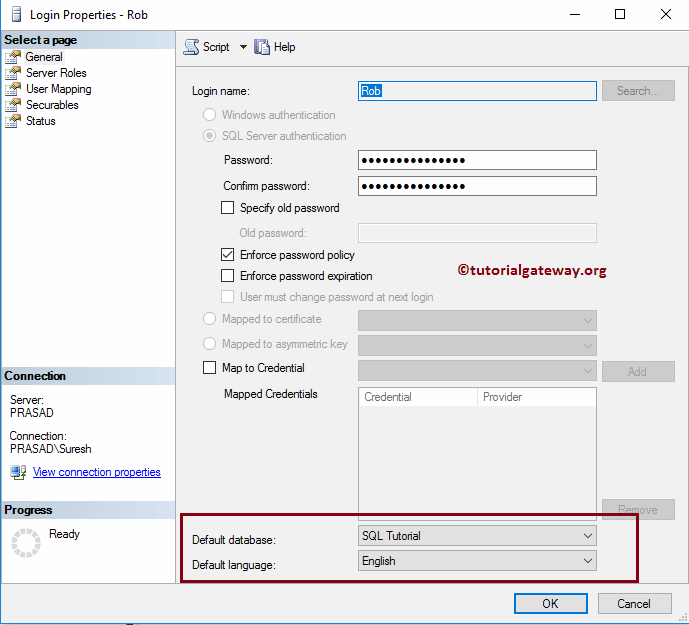
You can see the same in its properties.
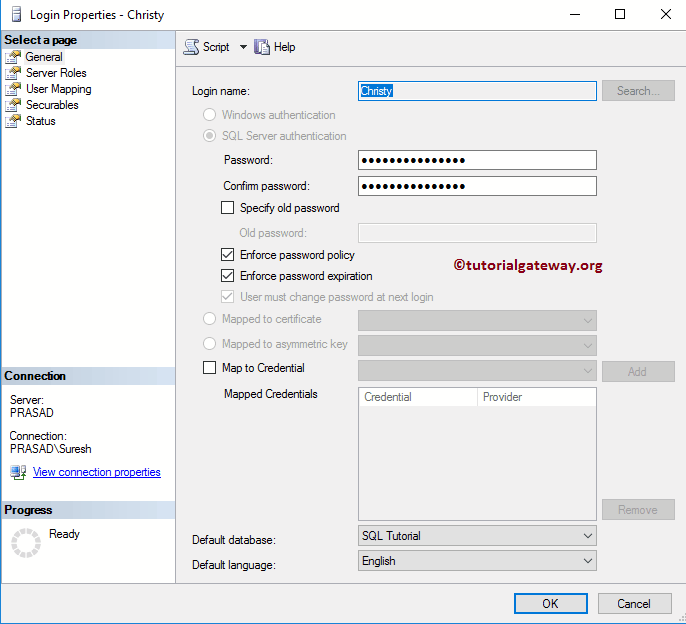
The below Sql Server code snippet will create a new login Christy.
- Her password must change when she starts login,
- The password will expire after a certain period.
- A password should meet the standard password policy.
- Here, we used the below one as the default database, and the default language is English.
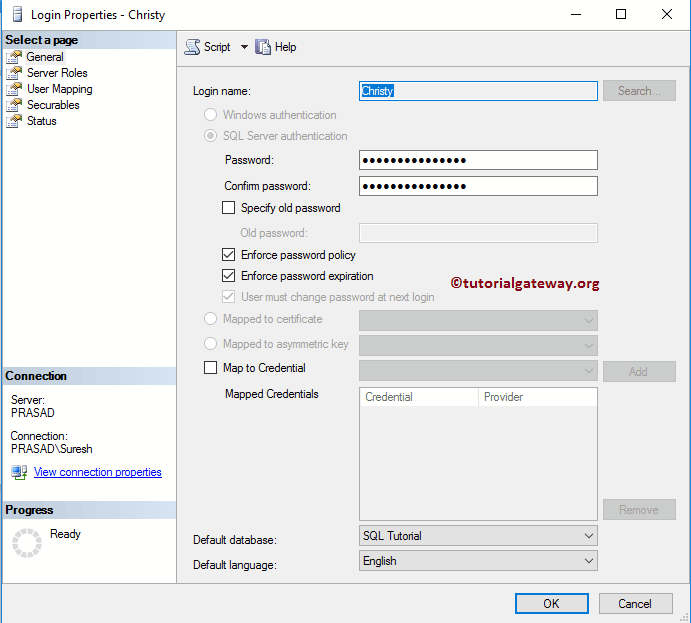
CREATE LOGIN Christy
WITH PASSWORD = 'password' MUST_CHANGE,
CHECK_EXPIRATION = ON, -- This is Optional
CHECK_POLICY = ON, -- This is Optional
DEFAULT_DATABASE = [SQL Tutorial], -- This is Optional
DEFAULT_LANGUAGE = [English];-- This is Optional

See Christy in the Security -> Logins section. You can see the properties by going into their properties.
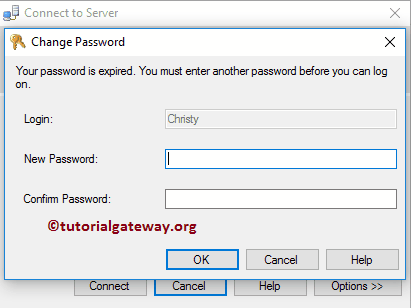
Let me try to connect with Christy.
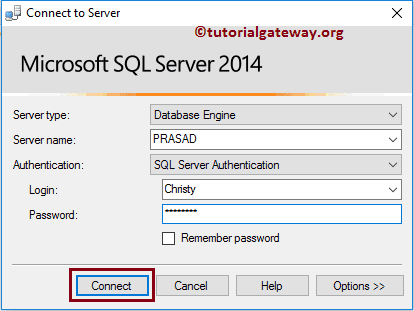
Once you click on the Connect button, SSMS will ask you to enter a new password. It is because we used the MUST_CHANGE in our query. It only happens if you checkmark the User Must Change Password at the Next Login option.
Edit Login
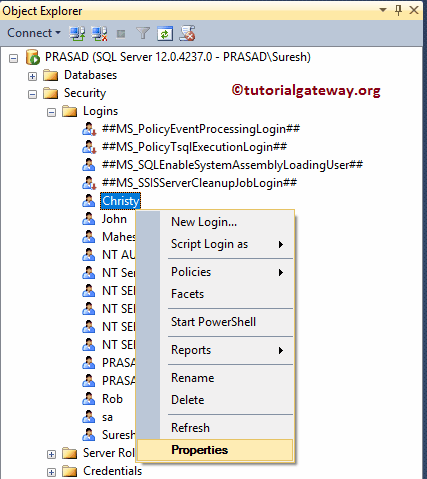
Please go to the SQL Server Logins folder to edit the existing (already created) ones to select the required name. Right-click on the name and select the Properties option.
Use this Properties window to alter the Server Roles, User mappings, Status, Securables, etc.
Delete SQL Server Login (already created) using SSMS
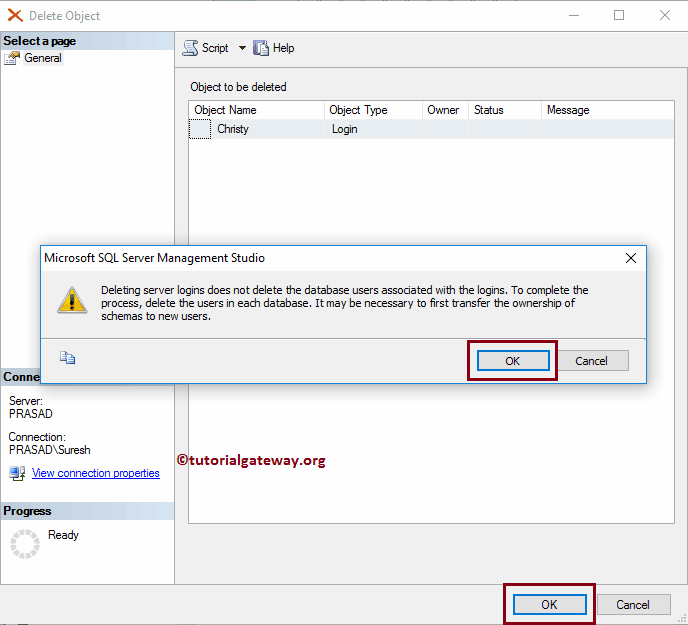
Please go to the Logins folder to select the required name. Right-click on the name that you want to delete and select the Delete option from it, as shown in the second image before this paragraph.
Once you select the Delete option, the below-shown window will open. Click OK to delete the existing one.
Delete Login using Transact Query
The below query to delete or drop Login.
DROP LOGIN Rob
Run the above query
Messages
--------
Command(s) completed successfully.
See that there is no Rob user.