Merge Transformation in SSIS is used to merge two inputs (such as tables or files) and produce one output. Merge Transformation is very useful when we combine the error path data (after handling the errors) and normal data. This Merge transformation uses key column values to insert the data into destination columns.
For example, we split the data using a Conditional Split based on the condition. What if we want to merge them back after performing a few more operations on them? In these situations, we can use SSIS Merge Transformation to Merge them back.
NOTE: Merge Transformation will produce only one output, which does not support an error output.
Difference Between Merge and Union All Transformation
The SSIS Merge Transformation is similar to Union All, but Merge has some restrictions:
| Merge | Union All |
|---|---|
| Data should be in sorted order before applying Merge Transformation | No need to sort the data |
| The output of the Merge Transformation will produce Sorted data | The output will be unsorted data. |
| It only accepts 2 inputs. | It can take more than two inputs. |
Merge Transformation in SSIS Example
We have sales data of products stored in two different SQL Server tables, such as Sales 2, and Sales 3. And we want to merge all the related information into one database table.
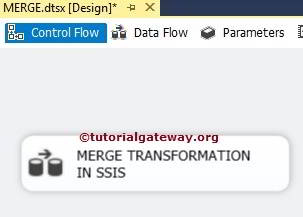
STEP 1: Drag and drop the data flow task from the toolbox to the control flow region and rename it as Merge Transformation in SSIS
Double click on the data flow task will take us to the Data flow region. For more Transformations >> Click Here.
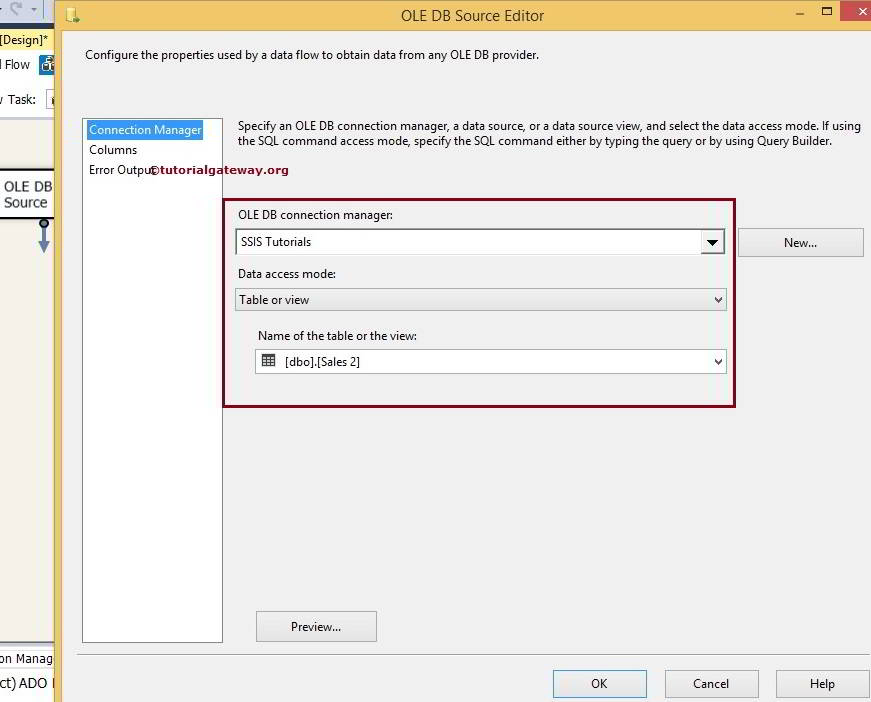
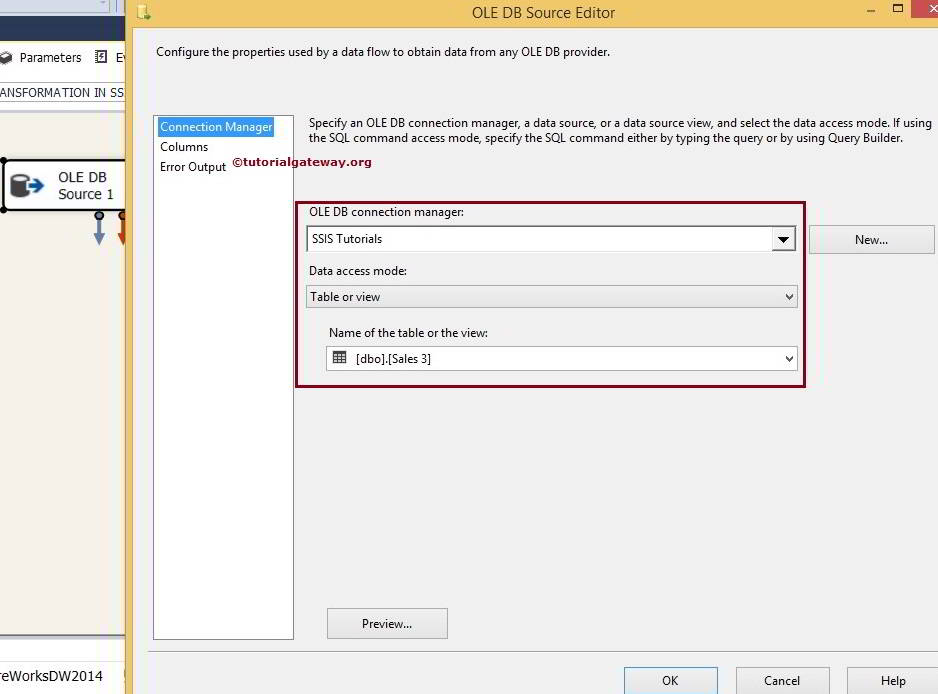
STEP 2: Drag and Drop two OLE DB Sources from the toolbox to the data flow region. Then, double-click on the first OLE DB source in the data flow region, open the connection manager settings and provide an option to select the table holding the source data. Here, we are selecting the Sales2 table as a source.
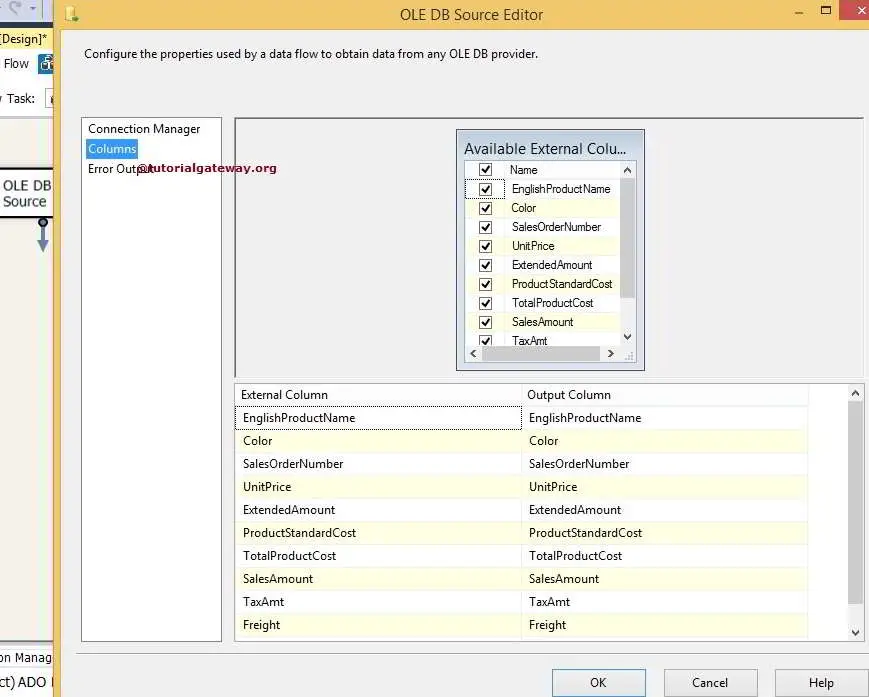
STEP 3: Click on the columns tab to verify the columns. In this tab, we can uncheck the unwanted columns also.
Double click on the second OLE DB source to configure it with Sales 2 tables.
Repeat STEP 3 to verify the columns.
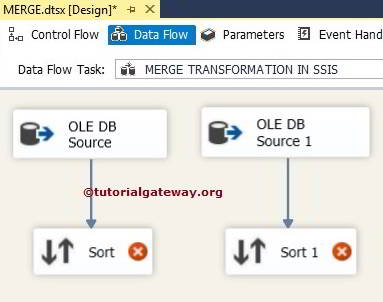
STEP 4: Drag and drop two Sort Transformations to sort the table’s inputs. Please refer to the Sort Transformation article to understand the configuration of Sorter Transformation.
STEP 5: Double click on the sort transformation to configure it. Here, we are sorting by color and then by English product name in ascending order.
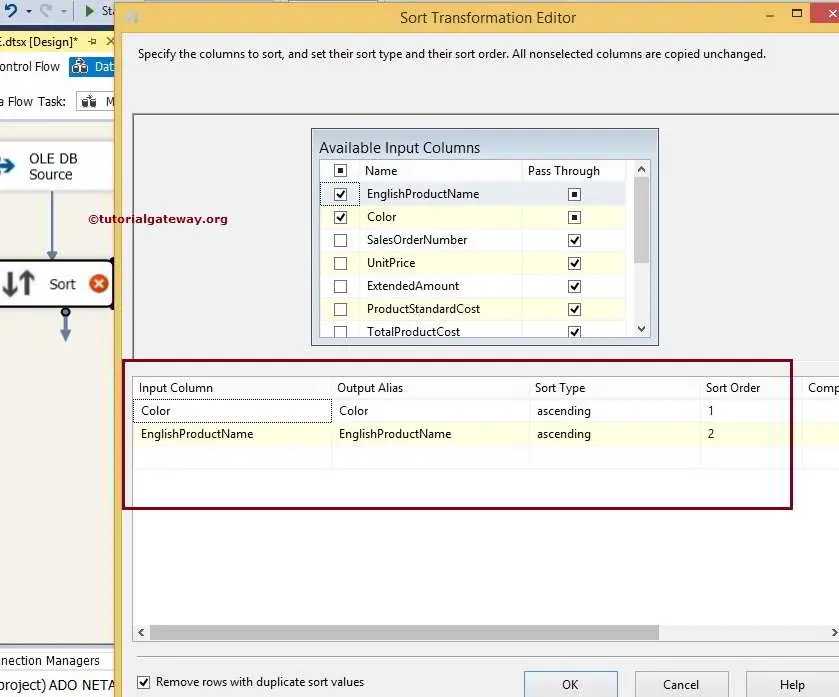
TIP: SSIS Merge transformation will not work without sorting the input rows. So, sort transformation is mandatory before the merge.
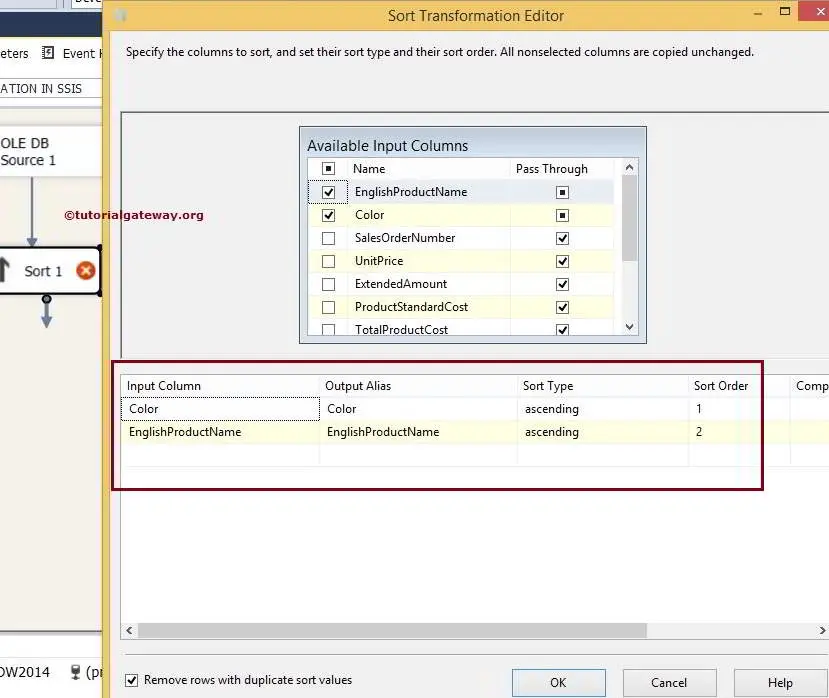
Do the same for Sort Transformation1 also.
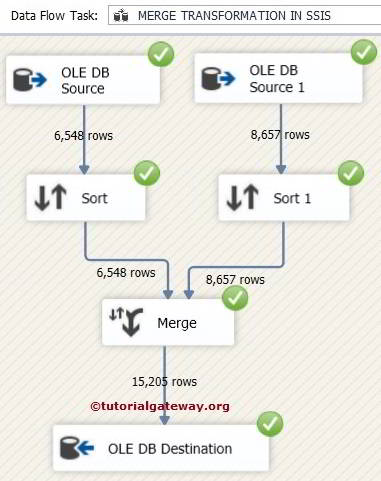
STEP 6: Now drag and drop the Merge Transformation to combine the sorted tables into one table
When you drag the output arrow of the Sort Transformation into Merge Transformation, an Input Output Selection window will appear to select whether it is Merge Input 1 or Merge Input 2, as shown in the below screenshot.
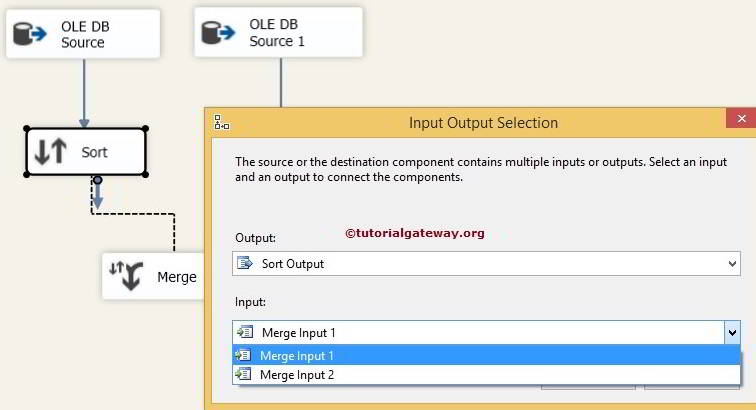
Click ok and drag and drop the output arrow of the Sort Transformation 1. Here, Merge Input 2 is automatically selected by the intelligence.
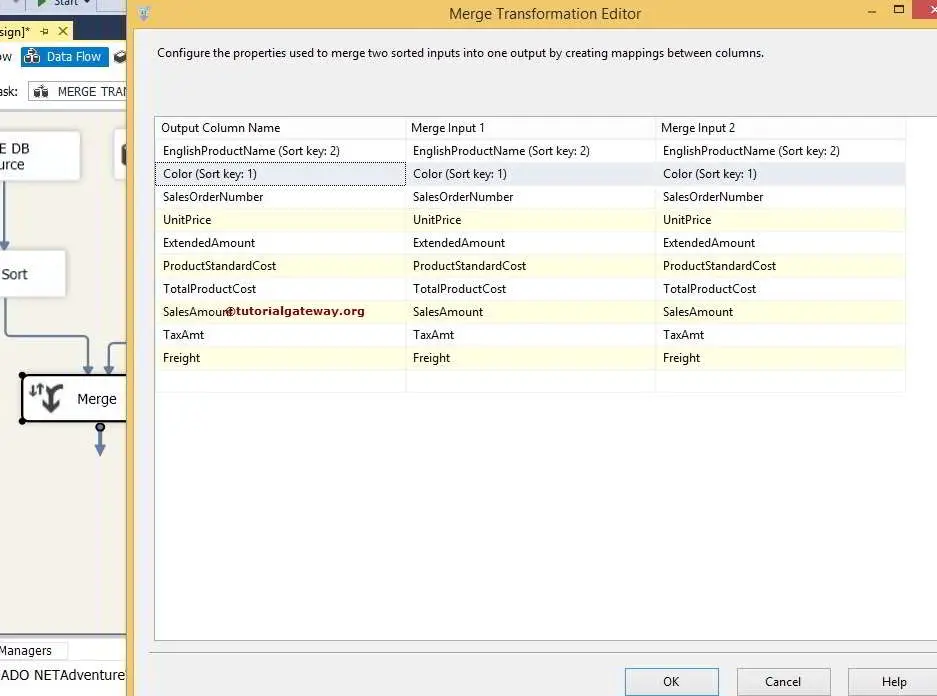
STEP 7: Double click on SSIS Merge Transformation and configure it. Data is inserted into the destination table based on the Color and English Product Name columns.
STEP 8: Drag and drop the OLE DB destination into the data flow region and double-click on it to configure the destination server and destination table to store the merge transformation output
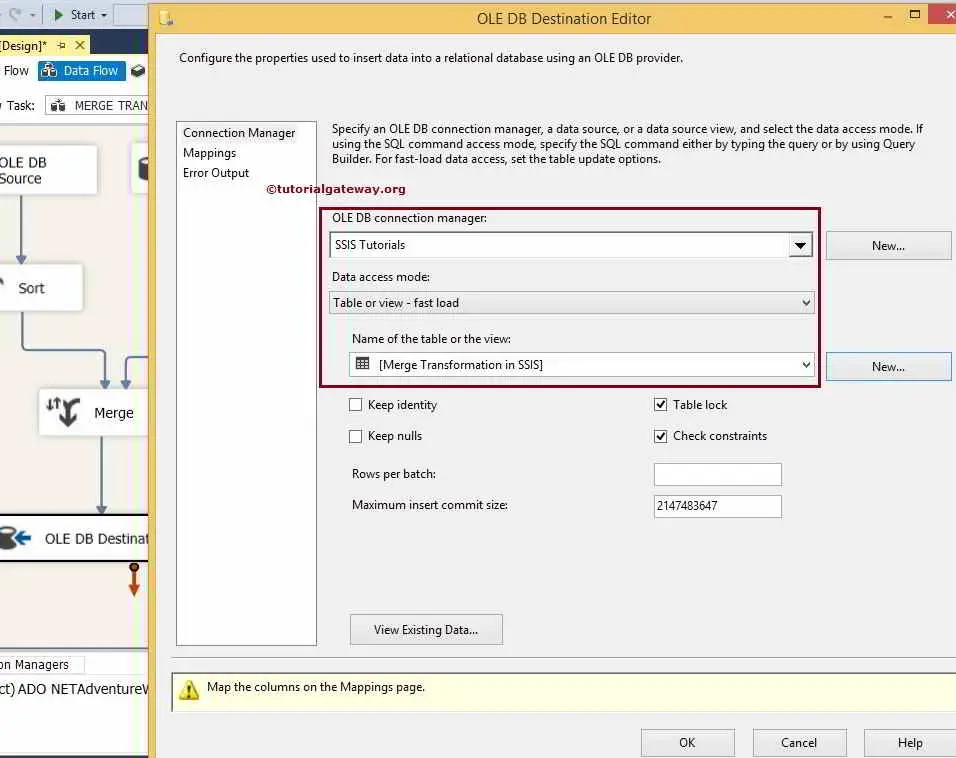
Here we selected the database and [Merge Transformation] as the destination table
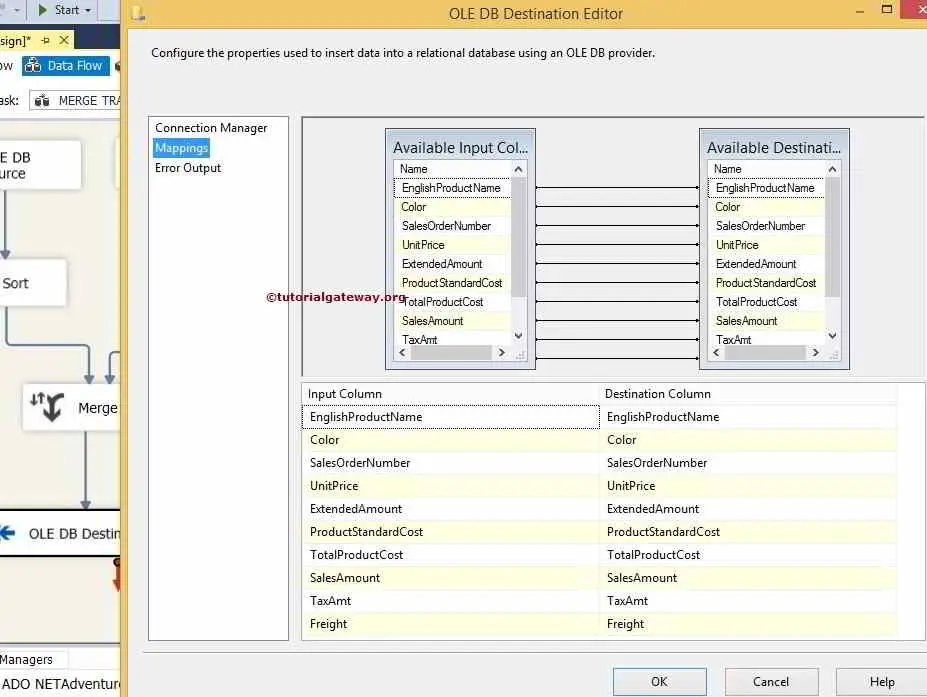
STEP 9: Check whether the input columns match with the destination columns using the Mappings Tab
We finished designing the SSIS Merge Transformation package. Let us execute the package.
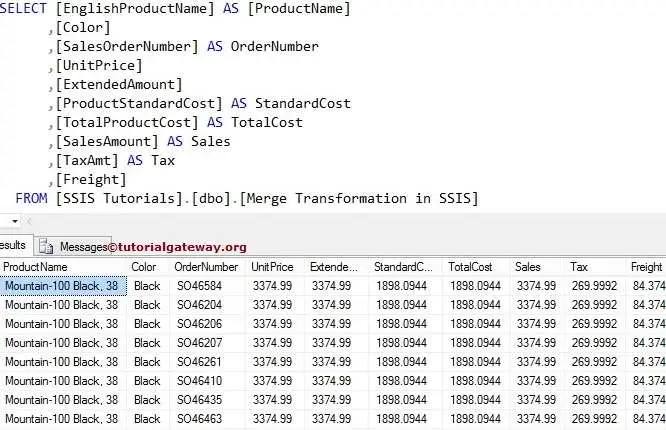
Now, we will check the Merge output in SQL Management studio.