How to install R Software (irrespective of the version) with the screenshot? Installing the R Programming software includes the following steps. So, please follow the steps we mentioned below.
Step by Step process to install R Software
Please navigate your file system to the previously downloaded Software and click on the 3.3.1-win.exe application, or if you downloaded the file using Firefox, then do as shown below. Remember, the version number may be different for you.
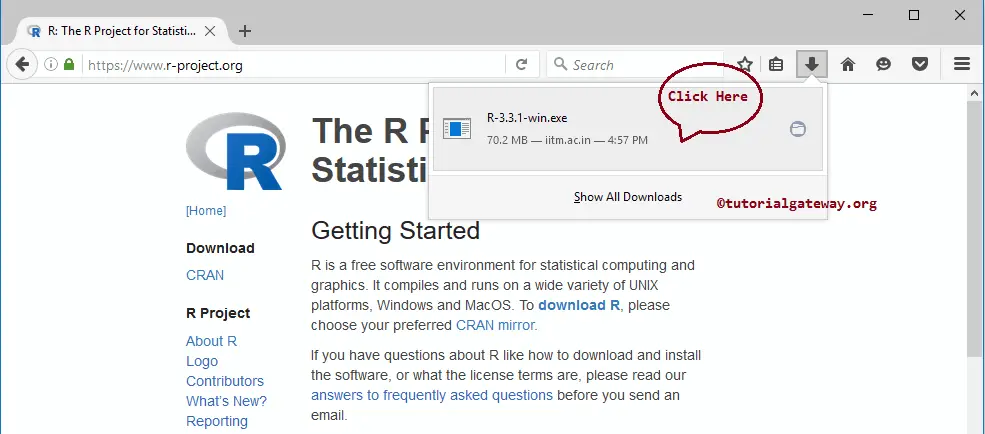
TIP: Please refer to the Software Download article to understand the steps involved in downloading Programming Software.
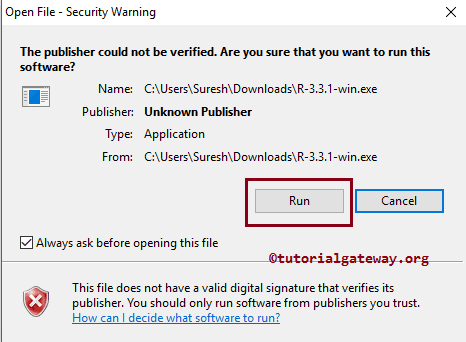
Once you click on the application, a below-shown window opens. It is a Security warning, and it only appeals if you have any security measures; otherwise, skip to the next step.
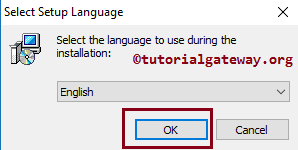
Please select the language from the drop-down list and click the OK button.
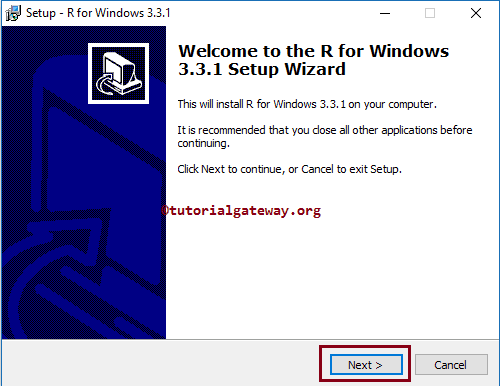
Once you click the OK button, the Welcome to the R for Windows 3.3.1 Setup Wizard window will open to install the software. Please select the Next button.
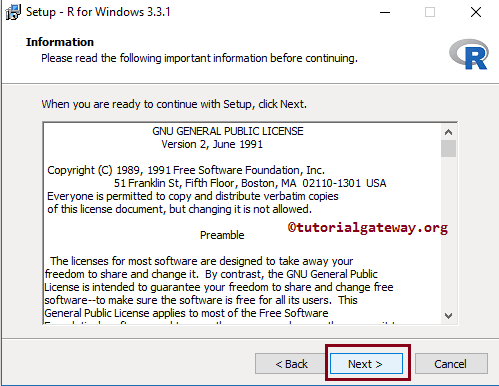
Next, Please read the Term and Conditions of the software and click the Next button
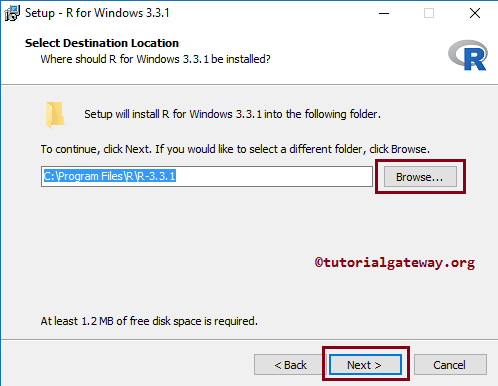
Here, you can also change the default installation directory. To do that, we have to click on the Browse… button beside the text box. It opens our file system to navigate and select the directory. From the screenshot below, observe that we kept it as default.
Next, we must select the R software components we want to install. Select the files if you know that your operating system is 64-bit. If you are unaware of the version, select all the options from the window below.

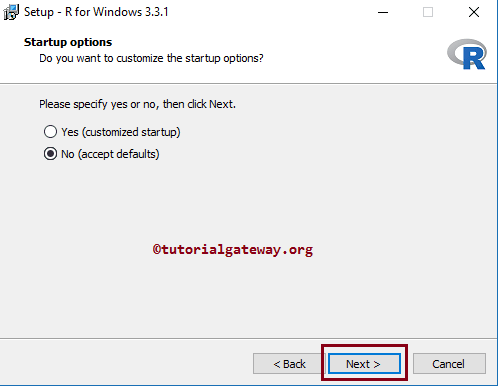
Within the Startup option, Accept all the default values by selecting the No (accept defaults) option and clicking the Next button.
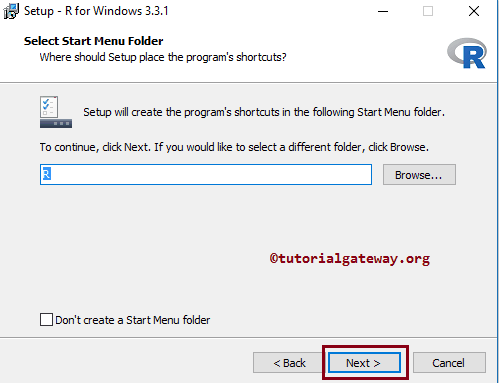
Here, you can change the R Program’s shortcuts default directory. For this, we have to click on the Browse… button beside the text box. It opens the file system to select the directory. From the screenshot below, observe that we kept it as default.
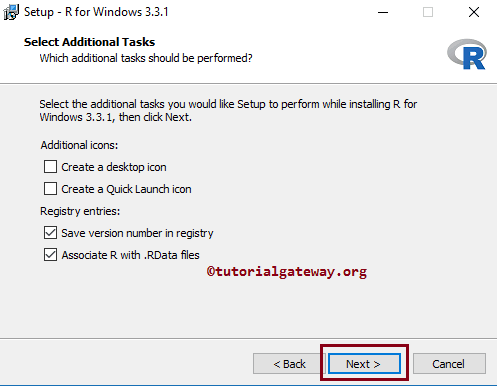
Leave the options to default and click the Next button
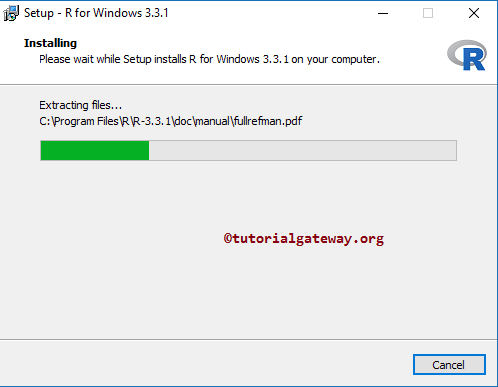
Wait until the installation is completed.
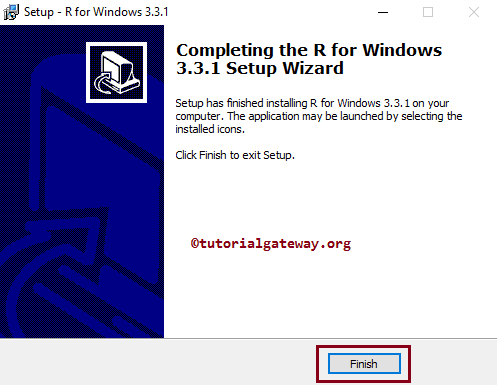
Click the Finish button to complete the Installation.

Comments are closed.