The Data Frame in R is a table or two-dimensional data structure. In Data Frames, records are stored in rows and columns, and we can access the elements using the row index and column index. The following are some of the characteristics:
- A data frame is a list of variables and must contain the same number of rows with unique row names.
- The Column Names should not be Empty.
- Although the data frame supports duplicate column names by using a check.names = FALSE. It is always preferable to use unique Column names.
- The data stored in it can be Character, Numerical, or Factors.
In this article, we show you how to Create a Data Frame and how to Access Columns and Rows in R programming. And Manipulate the individual or Row level or Column level Elements, Creating Named Data Frames. It also explains some of the important functions supported by the Data Frame.
How to Create Data Frame in R
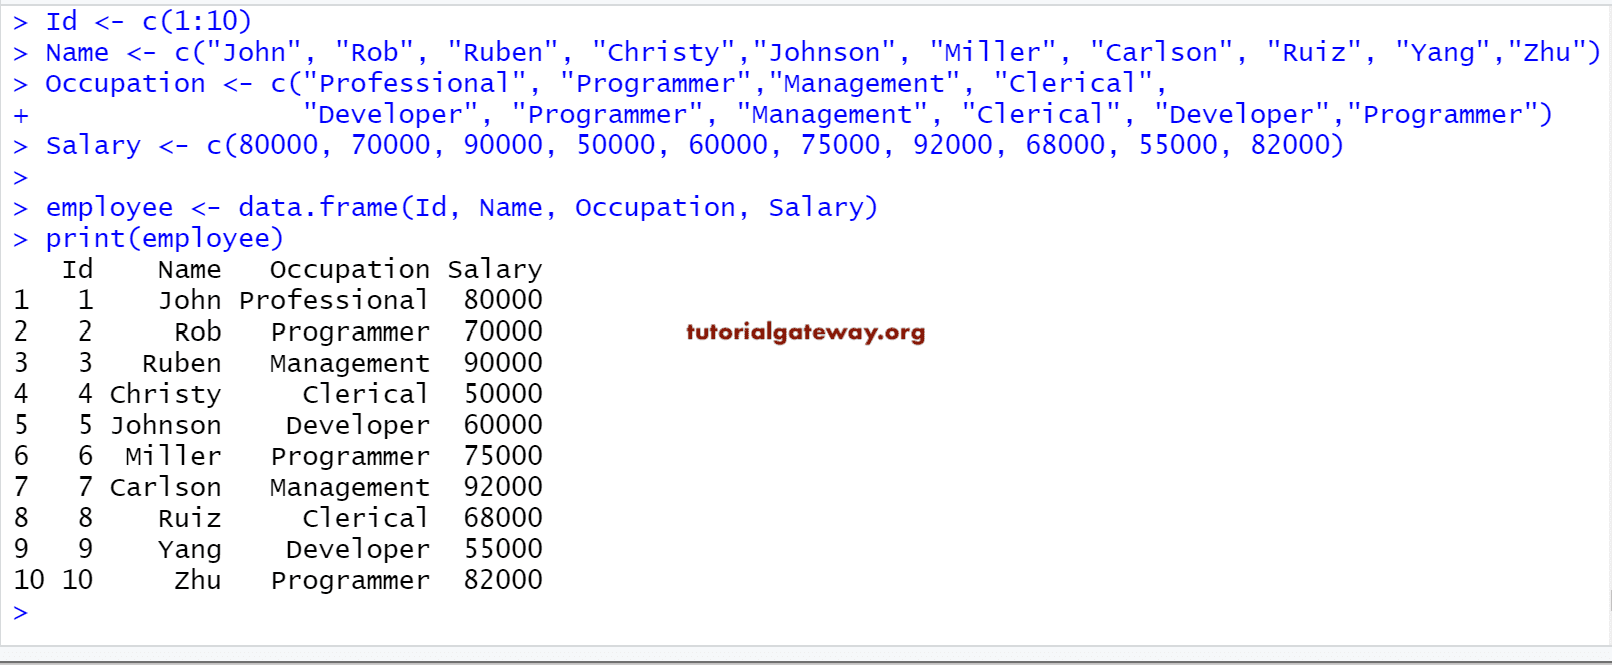
This example creates a Data Frame with a different element, and the most common way to begin is
Id <- c(1:10)
Name <- c("John", "Rob", "Ruben", "Christy","Johnson", "Miller", "Carlson", "Ruiz", "Yang","Zhu")
Occupation <- c("Professional", "Programmer","Management", "Clerical",
                "Developer", "Programmer", "Management", "Clerical", "Developer","Programmer")
Salary <- c(80000, 70000, 90000, 50000, 60000, 75000, 92000, 68000, 55000, 82000)

employee <- data.frame(Id, Name, Occupation, Salary)
print(employee)
First, we created four vectors of a different type, and then the data frame using those four vectors.
Create a Named Data Frame in R
It shows the steps involved in creating a named Data Frame in this programming, and the syntax is:
DataFrame_Name <- data.frame(“index_Name1” = Item1, “index_Name2″ = Item2,… ,”index_NameN” = ItemN )
Id <- c(1:6)
Name <- c("John", "Rob", "Christy","Johnson", "Miller", "Zhu")
Occupation <- c("Professional", "Management", "Developer", "Programmer", "Clerical", "Admin")
Salary <- c(80000, 90000, 75000, 92000, 68000, 82000)

# We are assigning new names to the Columns
employee <- data.frame("Empid" = Id, "Full_Name" = Name, "Profession" = Occupation, "income" = Salary)

print(employee)

# Names function will display the Index Names of each Item
print(names(employee))

Access R Data Frame Elements
We can access the Data Frame item in multiple ways. Here, we show you how to access the items using the index position. The index value starts at one and ends at n, where n is the number of items.
For example, if we declare a data frame that stores ten items (10 columns), the index starts at one and ends at 10. To access 1st value use DataFrame_Name[1] and to access the 10th value, use DataFrame_Name[10].
We can also access the Data frame elements using the [[ double brackets. This example shows you how to access the items using this [[. It will return the result as an R Programming Vector with Level information.
# Accessing Elements

Id <- c(1:6)
Name <- c("John", "Rob", "Christy","Johnson", "Miller", "Zhu")
Occupation <- c("Professional", "Management", "Developer", "Programmer", "Clerical", "Admin")
Salary <- c(80000, 90000, 75000, 92000, 68000, 82000)

employee <- data.frame(Id, Name, Occupation, Salary)
print(employee)

# Accessing all the Elements (Rows) Present in the Name Items (Column)
employee["Name"]

# Accessing all the Elements (Rows) Present in the 3rd Column (i.e., Occupation)
employee[3] # Index Values: 1 = Id, 2 = Name, 3 = Occupation, 4 = Salary

Access Elements using [[
We can also access the Data frame elements using the [[ double brackets. This example shows how to access the data frame items using this [[. It will return the result as a Vector with Level information.
# Accessing Elements

Id <- c(1:6)
Name <- c("John", "Rob", "Christy","Johnson", "Miller", "Zhu")
Occupation <- c("Professional", "Management", "Developer", "Programmer", "Clerical", "Admin")
Salary <- c(80000, 90000, 75000, 92000, 68000, 82000)

employee <- data.frame(Id, Name, Occupation, Salary)
print(employee)

employee[["Name"]]
employee[[3]]
It returns the same result as the above example. But, it is returning a vector rather than a dataframe.

Accessing R Data Frame items using $
We can also access the elements using the $ dollar symbol. In this example, we will show how to access the elements of the data frame using this $. It will return the result as a Vector with Level information. The syntax behind this is: <DataFrame>$Column_Name
Id <- c(1:6)
Name <- c("John", "Rob", "Christy","Johnson", "Miller", "Zhu")
Occupation <- c("Professional", "Management", "Developer", "Programmer", "Clerical", "Admin")
Salary <- c(80000, 90000, 75000, 92000, 68000, 82000)

employee <- data.frame(Id, Name, Occupation, Salary)
print(employee)

# Get all the Elements (Rows) Present in the Name Item (Column)
employee$Name

# Get all the Elements (Rows) Present in the Salary Item (Column)
employee$Salary

Accessing Low Level elements
In R programming, we can access the lower-level elements of the items (or individual cells) in a Data Frame using the index position. Using this index value, we can access each individual item. The index value starts at 1 and ends at n, where n is the number of elements in a row or column. The syntax behind this is <Data Frame>[Row_Number, Column_Number].
For example, if we declare a dataframe with six rows of elements and 4 column elements. To access or alter 1st value use DataFrame_Name[1, 1], to access 2nd row 3rd column value use DataFrame_Name[2, 3], and to access the 6th row 4th column use DataFrame_Name[6, 4].
# Accessing Low level elements

Id <- c(1:6)
Name <- c("John", "Rob", "Christy","Johnson", "Miller", "Zhu")
Occupation <- c("Professional", "Management", "Developer", "Programmer", "Clerical", "Admin")
Salary <- c(80000, 90000, 75000, 92000, 68000, 82000)
employee <- data.frame(Id, Name, Occupation, Salary)

print(employee)
# Accessing Element at 1st Row and 2nd Column
employee[1, 2]

# Get Element at 4th Row and 3rd Column
employee[4, 3]

# Get All Elements at 5th Row
employee[5, ]

# Get All Item of the 4th Column
employee[, 4]

Accessing Multiple Values
It shows how to access multiple items of the Data Frame. To achieve the same; we use the R Vector.
# Accessing Subset of elements

Id <- c(1:6)
Name <- c("John", "Rob", "Christy","Johnson", "Miller", "Zhu")
Occupation <- c("Professional", "Management", "Developer", "Programmer", "Clerical", "Admin")
Salary <- c(80000, 90000, 75000, 92000, 68000, 82000)
employee <- data.frame(Id, Name, Occupation, Salary)
print(employee)

# Accessing Item at 1st, 2nd Rows and 3rd, 4th Columns
employee[c(1, 2), c(3, 4)]

# Accessing Item at 2nd, 3rd, 4th Rows and 2nd, 4th Columns
employee[2:4, c(2, 4)]

# getting All Item at 2nd, 3rd, 4th, 5th Rows
employee[2:5, ]

# Printing All Item of 2nd and 4th Column
employee[c(2, 4)]

Access Elements at Lower Level using $
Using the $ dollar symbol, we can also access the Data frame elements at a lower level (individual cell) using the $ dollar symbol. Let’s see how to access the individual cells using this $. It returns the result as a Vector with Level information.
# Accessing elements

Id <- c(1:6)
Name <- c("John", "Rob", "Christy","Johnson", "Miller", "Zhu")
Occupation <- c("Professional", "Management", "Developer",
                "Programmer", "Clerical", "Admin")
Salary <- c(80000, 90000, 75000, 92000, 68000, 82000)
employee <- data.frame(Id, Name, Occupation, Salary)
print(employee)

# Accessing Item at 2nd, 4th Rows of Name Columns
employee$Name[c(2, 4)]

# getting Item at 2nd, 3rd, 4th, 5th Rows of Occupation Column
employee$Occupation[2:5]

Modifying R Data Frame Elements
We can access the elements and extract data using the index position. Using this index value, we can alter or change each individual element. Here, we modify the particular Cell value and entire column items.
# Modifying elements

Id <- c(1:6)
Name <- c("John", "Rob", "Christy","Johnson", "Miller", "Zhu")
Salary <- c(80000, 90000, 75000, 92000, 68000, 82000)

employee <- data.frame(Id, Name, Salary)
print(employee)

# Modifying Item at 2nd Row and 3rd Column
employee[2, 3] <- 100000
print(employee)

#  Modifying All Item of 1st Column
employee[, 1] <- c(10:15)
print(employee)

Add Elements
This example adds new elements to the existing Data Frame.
- cbind(DataFrame, Values): The cbind function adds extra Columns with values. We generally prefer Vector as values parameter
- rbind(DataFrame, Values): The rbind function adds an extra Row with values.
# Adding elements

Id <- c(1:6)
Name <- c("John", "Rob", "Christy","Johnson", "Miller", "Zhu")
Salary <- c(80000, 90000, 75000, 92000, 68000, 82000)

employee <- data.frame(Id, Name, Salary, stringsAsFactors=FALSE)
print(employee)

# Adding Extra Row
rbind(employee, list(7, "Gateway", 105505))

# Adding Extra Column
Occupation <- c("Management", "Developer", "User", "Programmer", "Clerical", "Admin")
cbind(employee, Occupation)

Important Functions of R Data Frame
The following DataFrame functions are some of the most useful functions.
- typeof(DataFrame): Returns the datatype. Since it is a kind of list, it returns a list
- class(DataFrame): The class of it.
- length(DataFrame): Count the number of items (columns) in it
- nrow(DataFrame): Returns the total number of Rows present.
- ncol(DataFrame): The total number of Columns.
- dim(DataFrame): The total number of Rows and Columns present.
# Important Functions

Id <- c(1:10)
Name <- c("John", "Rob", "Ruben", "Christy","Johnson", "Miller", "Carlson", "Ruiz", "Yang","Zhu")
Occupation <- c("Professional", "Programmer","Management", "Clerical",
                "Developer", "Programmer", "Management", "Clerical", "Developer","Programmer")
Salary <- c(80000, 70000, 90000, 50000, 60000, 75000, 92000, 68000, 55000, 82000)

#employee <- data.frame("empid" = Id, "name" = Name, "Profession" = Occupation, "income" = Salary)
employee <- data.frame(Id, Name, Occupation, Salary)
print(employee)

typeof(employee)
class(employee)
names(employee)

# Number of Rows and Columns
length(employee)
ncol(employee)
nrow(employee)
dim(employee)

Head and Tail Functions in R Data Frame
If your records are too big and you want to extract the top-performing records, then you can use these Data Frame functions
- head(DataFrame, limit): Returns the top six elements (if you Omit the limit). For example, if you specify the limit as 2, it will return the first two records. It is something like selecting the top 10 records.
- tail(DataFrame, limit): Returns the last six elements (if you Omit the limit). For example, if you specify the limit as 4, it will return the last four records.
# Head and Tail Function

Id <- c(1:10)
Name <- c("John", "Rob", "Ruben", "Christy", "Johnson", "Miller", "Carlson", "Ruiz", "Yang","Zhu")
Occupation <- c("Professional", "Programmer","Management", "Clerical", "Developer", "Programmer",
                "Management", "Clerical", "Developer","Programmer")
Salary <- c(80000, 70000, 90000, 50000, 60000, 75000, 92000, 68000, 55000, 82000)

employee <- data.frame(Id, Name, Occupation, Salary)
print(employee)

# No limit - It means Displaying First Six Records
head(employee)

# Limit is 4 - It means Displaying First Four Records
head(employee, 4)

# No limit - It means Displaying Last Six Records
tail(employee)

# Limit is 4 - It means Displaying Last Six Records
tail(employee, 4)

R Data Frame Special Functions
The following two are the very useful functions supported. It is always good to check the structure before we start manipulating or inserting new records.
- str(DataFrame): Returns its structure.
- summary(DataFrame): It returns the nature of the data and the statistical summary such as Minimum, Median, Mean, Median, etc.
# Important Functions

Id <- c(1:10)
Name <- c("John", "Rob", "Ruben", "Christy","Johnson", "Miller", "Carlson", "Ruiz", "Yang","Zhu")
Occupation <- c("Professional", "Programmer","Management", "Clerical",
                "Developer", "Programmer", "Management", "Clerical", "Developer","Programmer")
Salary <- c(80000, 70000, 90000, 50000, 60000, 75000, 92000, 68000, 55000, 82000)
#employee <- data.frame("empid" = Id, "name" = Name, "Profession" = Occupation, "income" = Salary)
employee <- data.frame(Id, Name, Occupation, Salary)
print(employee)

print(str(employee))
print(summary(employee))
