The Cached Reports in SSRS is a saved copy of an already processed report. If your report generated with massive data or it designed from a large dataset, then it’s time-consuming to call the same report again and again. In these situations, you can create an SSRS cached report. And by this, we can save the report rendering time.
Before we start creating cached reports in SSRS, Let me open my Report Server to show the existing ones.
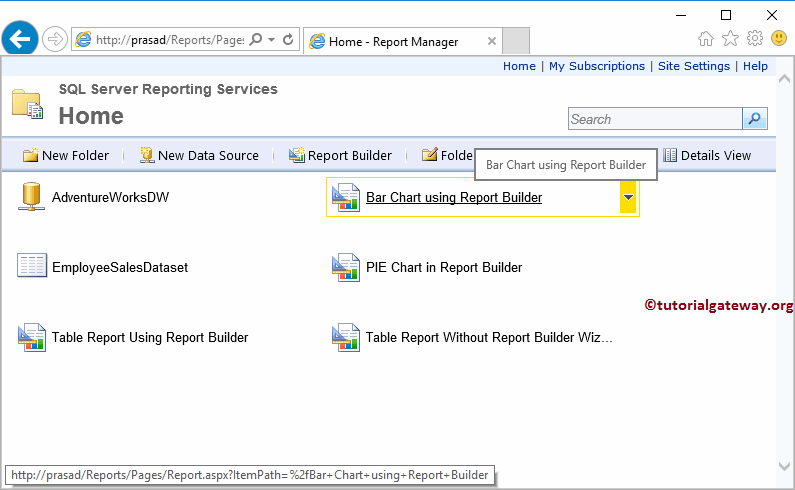
In this article, we will show you the steps involved in creating cached reports in SSRS with an example.
For this SSRS Cached Reports demonstration, we use the report from the Create Bar Chart in Report Builder article. So please refer to the same to understand the SSRS Report data.
Cached Reports in SSRS example
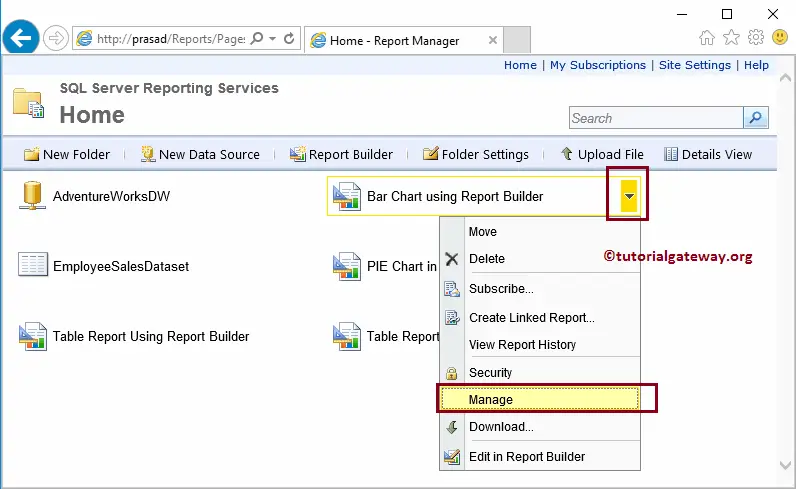
To create a SSRS cached report on a bar chart, Click the down arrow beside the Bar Chart to open the menu items. Please select the Manage option.
Once you select the Manage option, the Report manager will navigate you to a new page with the following tabs. You can use this page to manage this report (advanced operations, I must say). Under the properties tab, it will show the Report Created, modified dates, and the Report size.
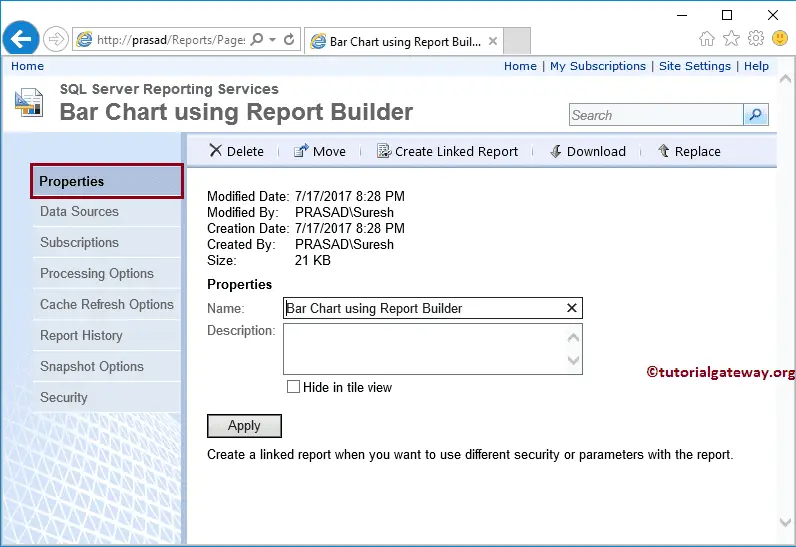
You can create a Cached Reports in SSRS in multiple ways:
- Using the processing Options
- Cache Refresh Options
SSRS Cache Refresh Options
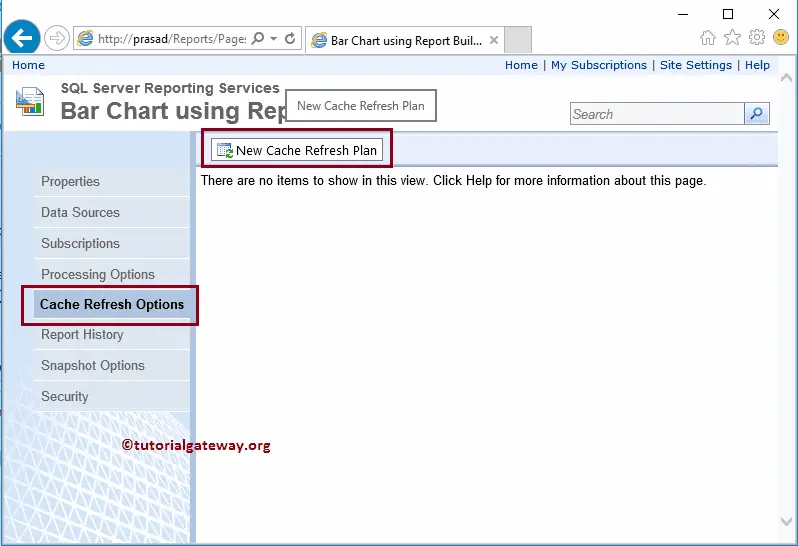
Please navigate yourself to Cache Refresh Options tab and select the New Cache refresh Plan option.
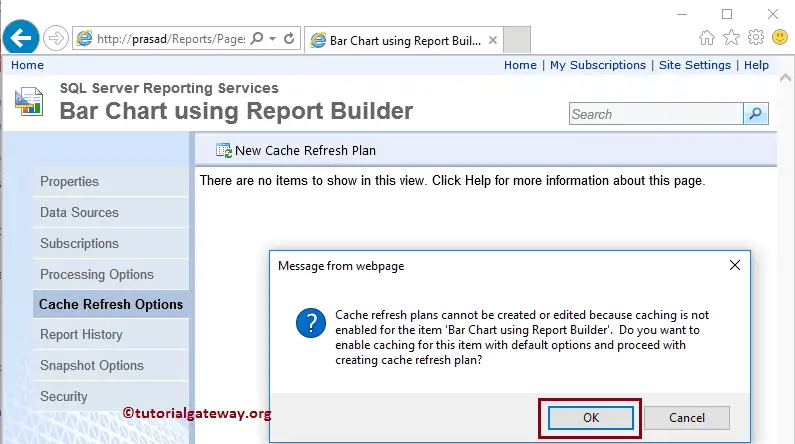
The following pop up message will display. Click the OK button
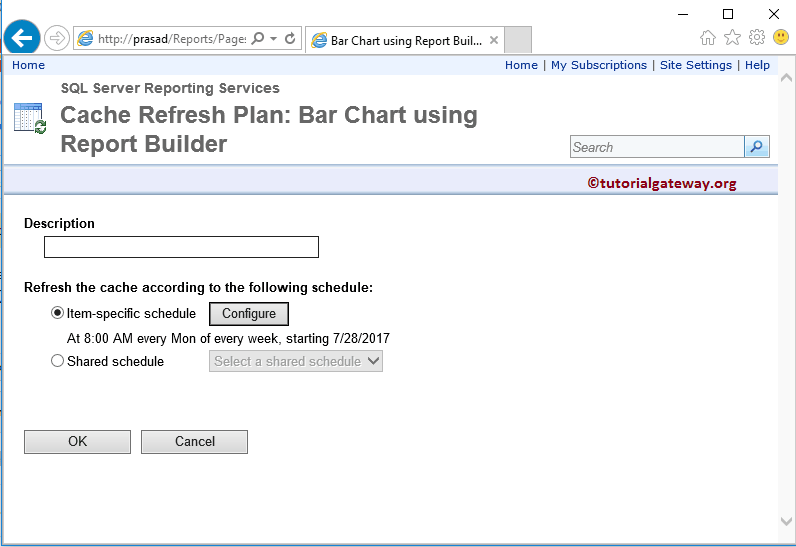
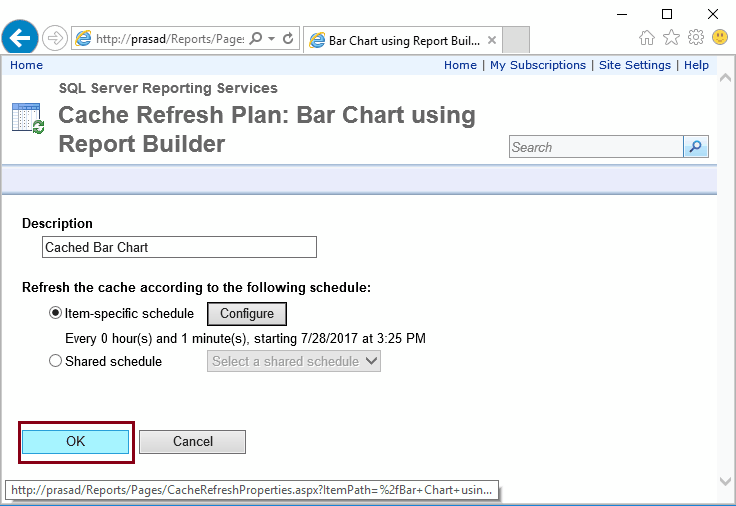
Once you click OK, it will ask you the description of the Cache report, and the cache refresh time.
We assigned the cached bar Chart as the description and clicked the Configure button
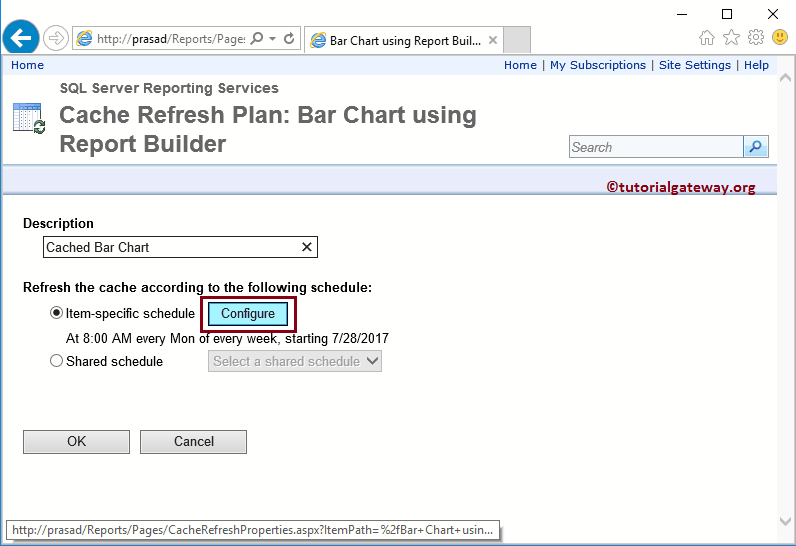
Once you click on the Configure button, report manager will navigate you to a new page. You can use this page to schedule the cache for SSRS Cached Reports.
- Schedule Details: Use this section to schedule the cached report on Hourly, Daily, Weekly, Monthly, or Once in a lifetime. Don’t forget to mention the start time.
- Start Date: please specify when you want to start the Report caching.
- Stop this Schedule on: When you want to stop this cache.
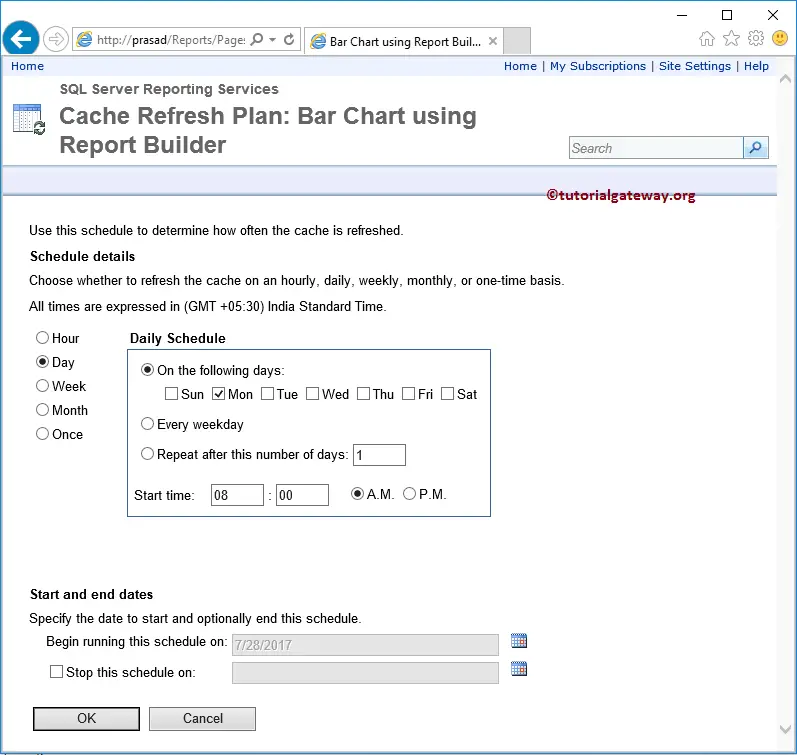
For the SSRS Cached Reports demonstration purpose, let me scheduled for 1 minute.
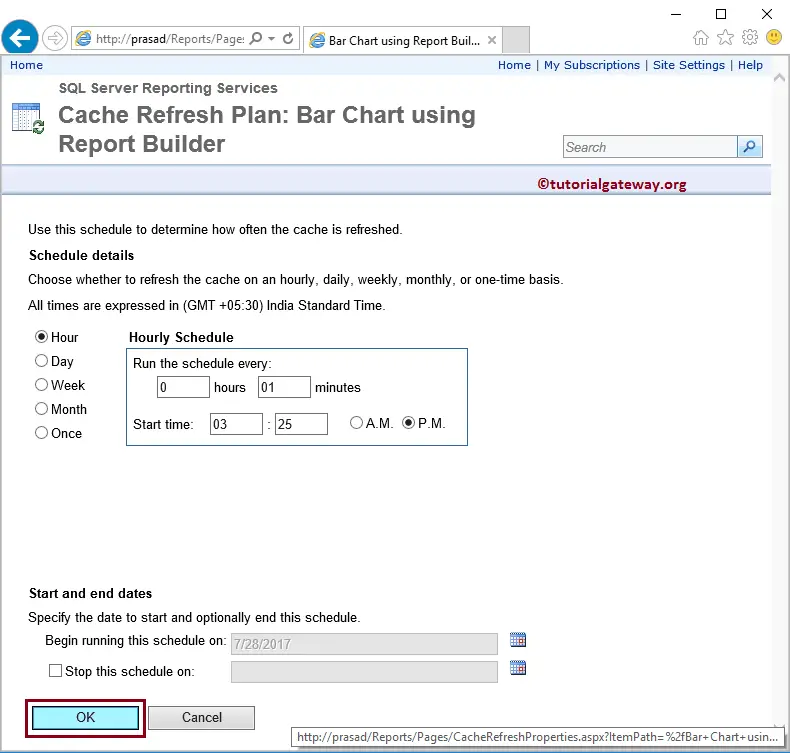
Click OK to close the cache configuration.
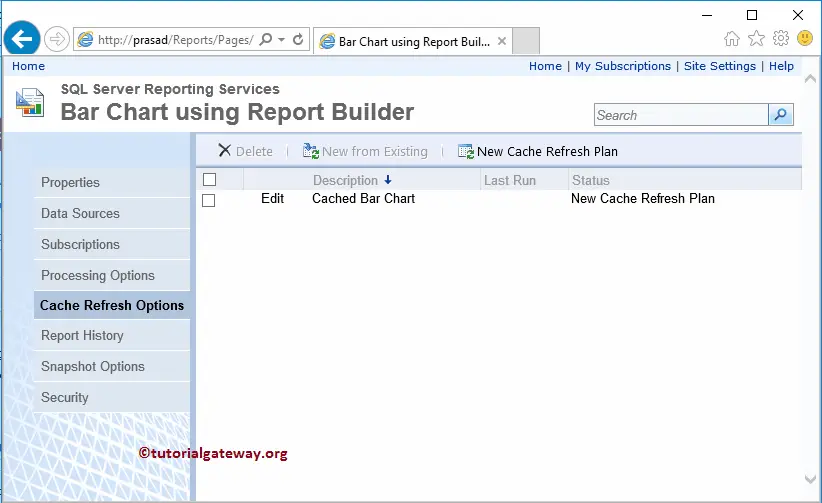
From the below screenshot, see that we successfully created a New Cache refresh Plan to cache the SSRS report.
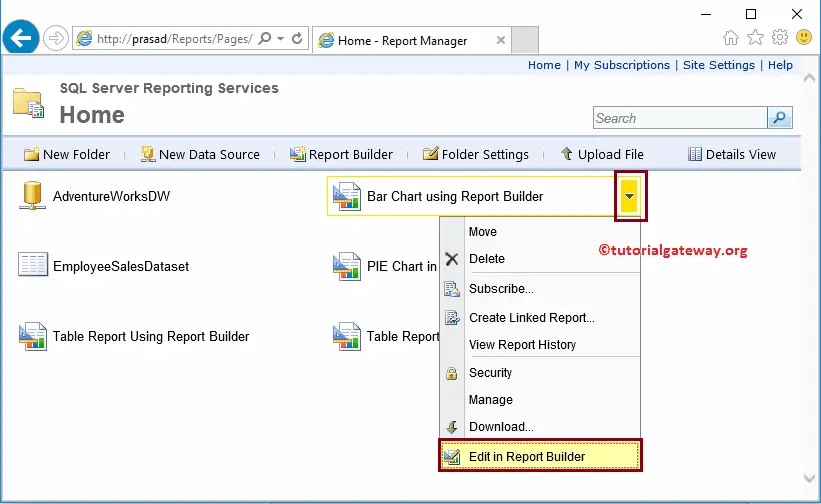
Let me edit the bar chart using the report builder by selecting the Edit in Report Builder option
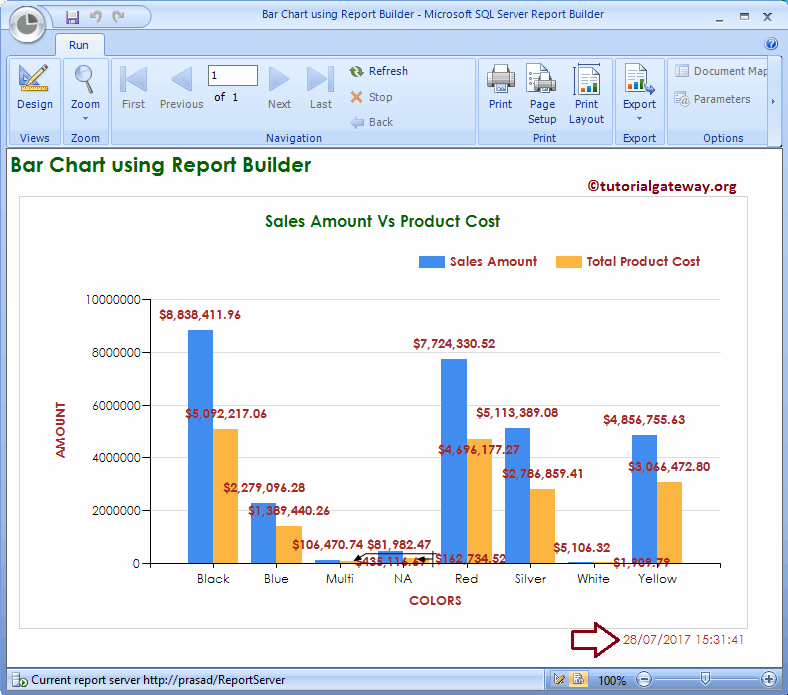
Let me run the SSRS Cached Report. As you can see from the below screenshot, we had an Execution Time, and whenever we refresh (or re-run) the report the time will refresh
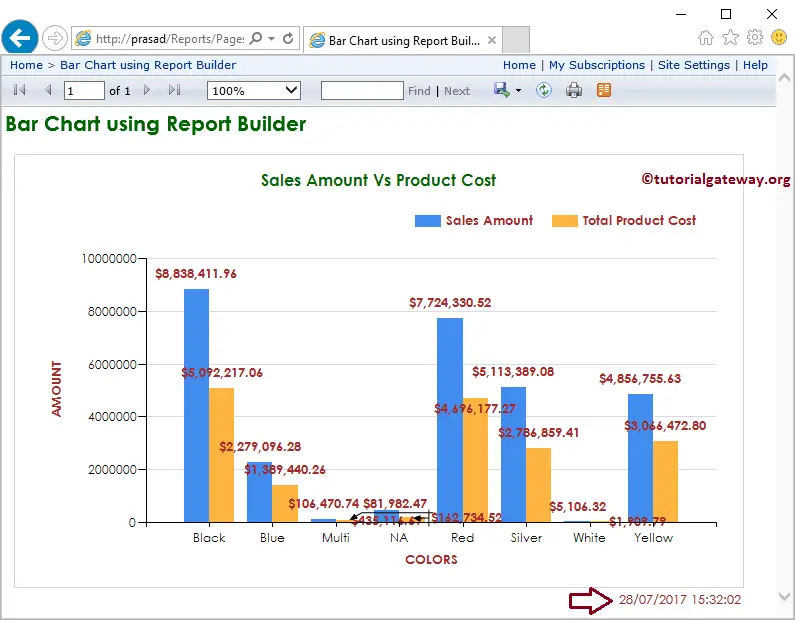
Now let me run the report from the Report Manager by clicking the Bar Chart
Let me refresh the report.
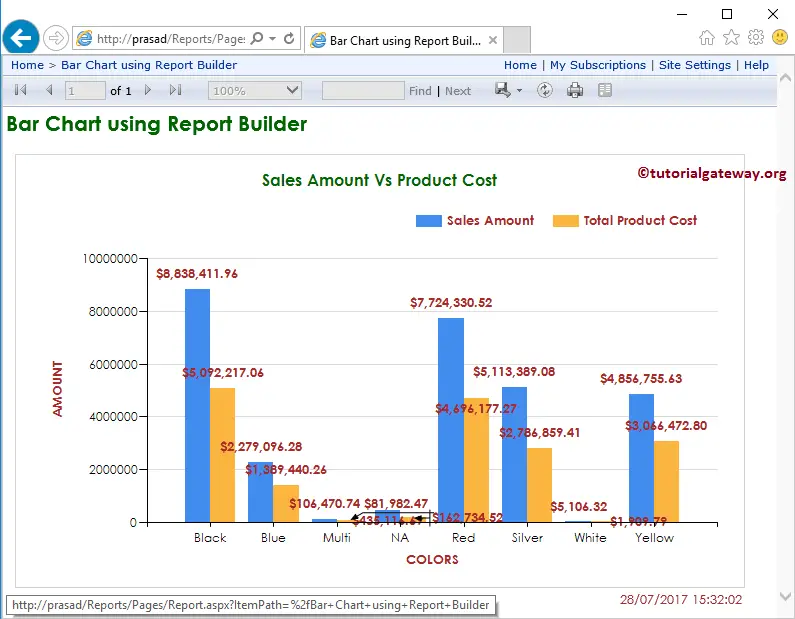
As you can see from the above screenshot, the execution time is not changing because it is displaying the SSRS Cached report. If you try after one minute, then the Execution time will be updated because we defined the cache time as 1 minute.
Cached reports in SSRS using Processing options
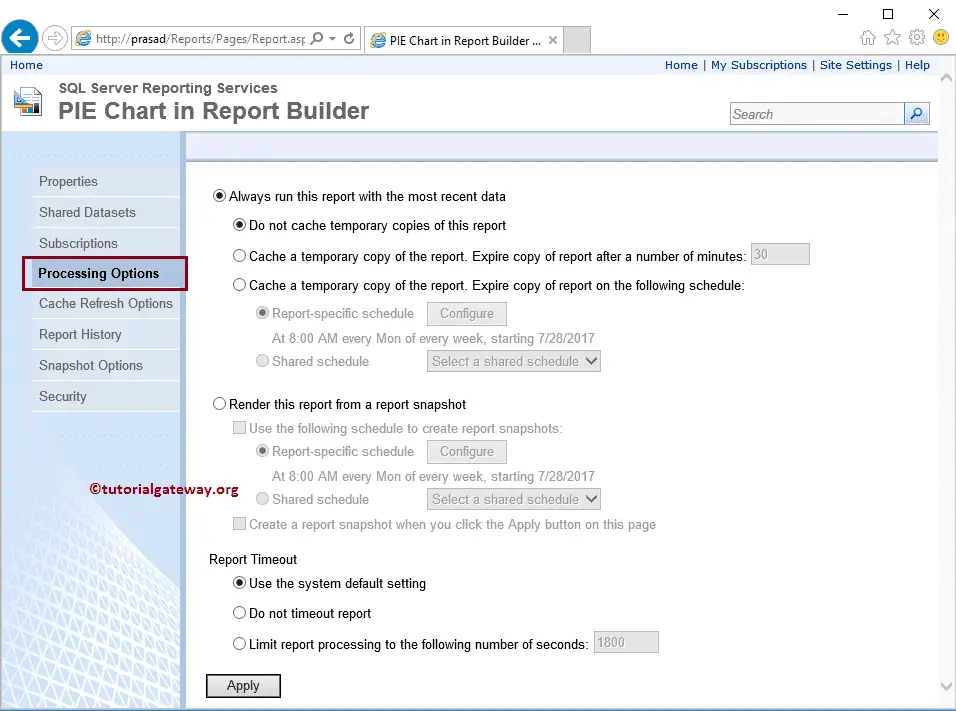
Let me show you the default settings of the processing option by selecting the PIE Chart because we already changed the cache option of the bar chart.
- Do not Cache temporary copies of this report: By default, the Report server will assign this option. It means the report will always call the dataset, render, and then display a report with live data.
- Cache a temporary Copy of the report. Expire copy of the report after a number of minutes: This option will cache the report by a given number of minutes.
- Cache a temporary Copy of the report. Expire copy of the report on the following schedules: This option allows you to configure the schedule options.
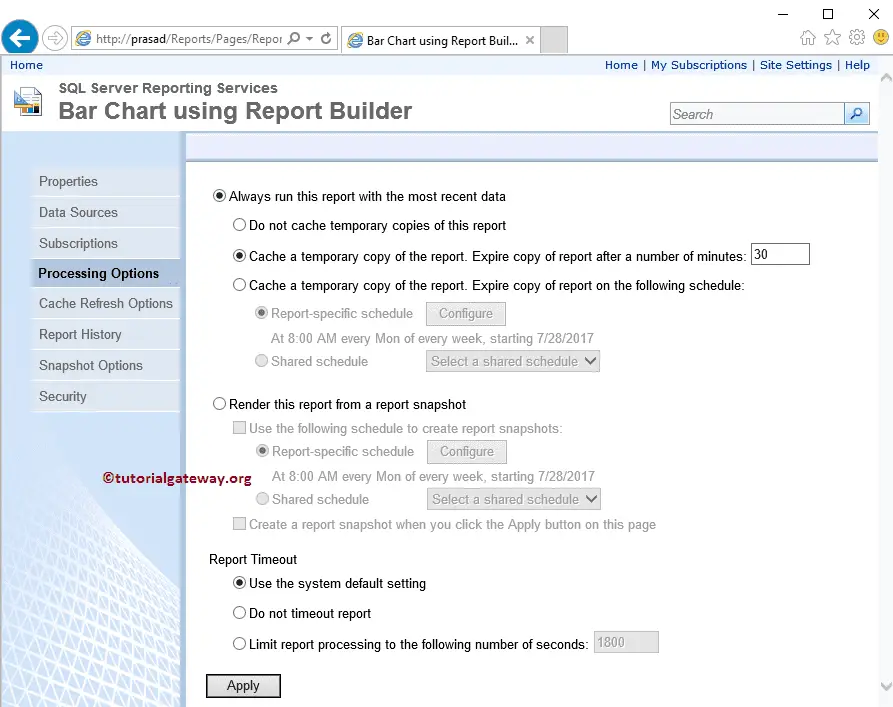
Now let me open the Bar Chart Processing Option. As you can see from the below screenshot, it is using the second cache option. This option is automatically selected by the report server, based on the Cache refresh options that we specified.
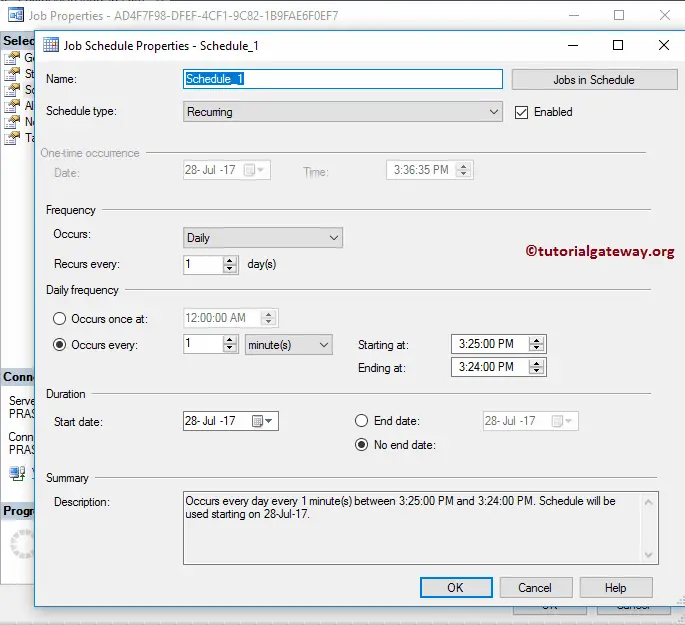
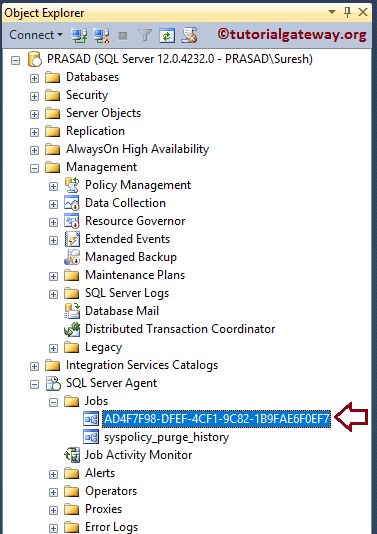
Let me open the SQL Server Management Studio to see what is happening in SQL Server. When you create a cache report in the report manager, a new job will create at the Server level. This job will automatically execute as we scheduled.
To see the schedule options, Right-click on the Job, and select the properties option from the context menu.
Once you click on the properties option in the context menu, the following window will open. Please navigate to Schedules tab to check the Job schedules.
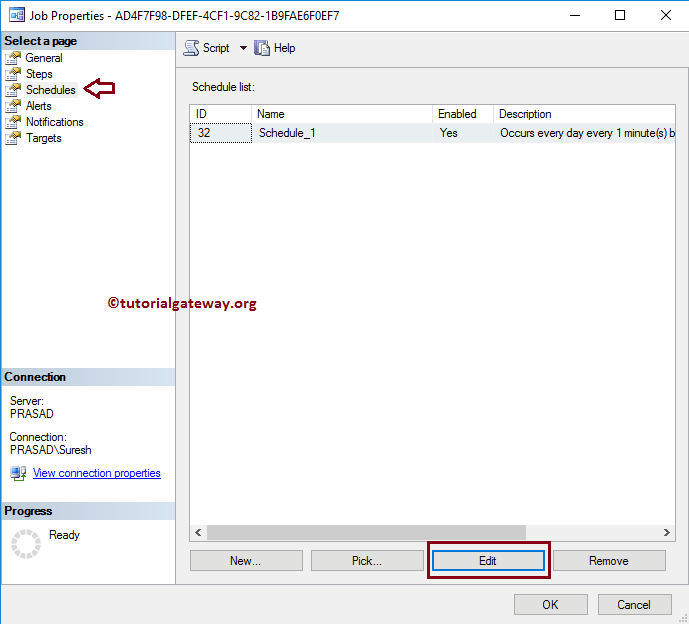
As you can see, it is showing the schedule properties that we defined in the Report Manager.
