This article explains the step by step approach to installing the Alteryx Designer, along with screenshots.
Steps to install the Alteryx Designer Tool
To install the Designer, first, locate the downloaded file in the file system. Next, click on the exe file.

Please wait until the InstallAware Wizard verifies the package content and starts the installation process. Next, it opens the actual Install window. Here, please select a language that you want to use for the Designer.

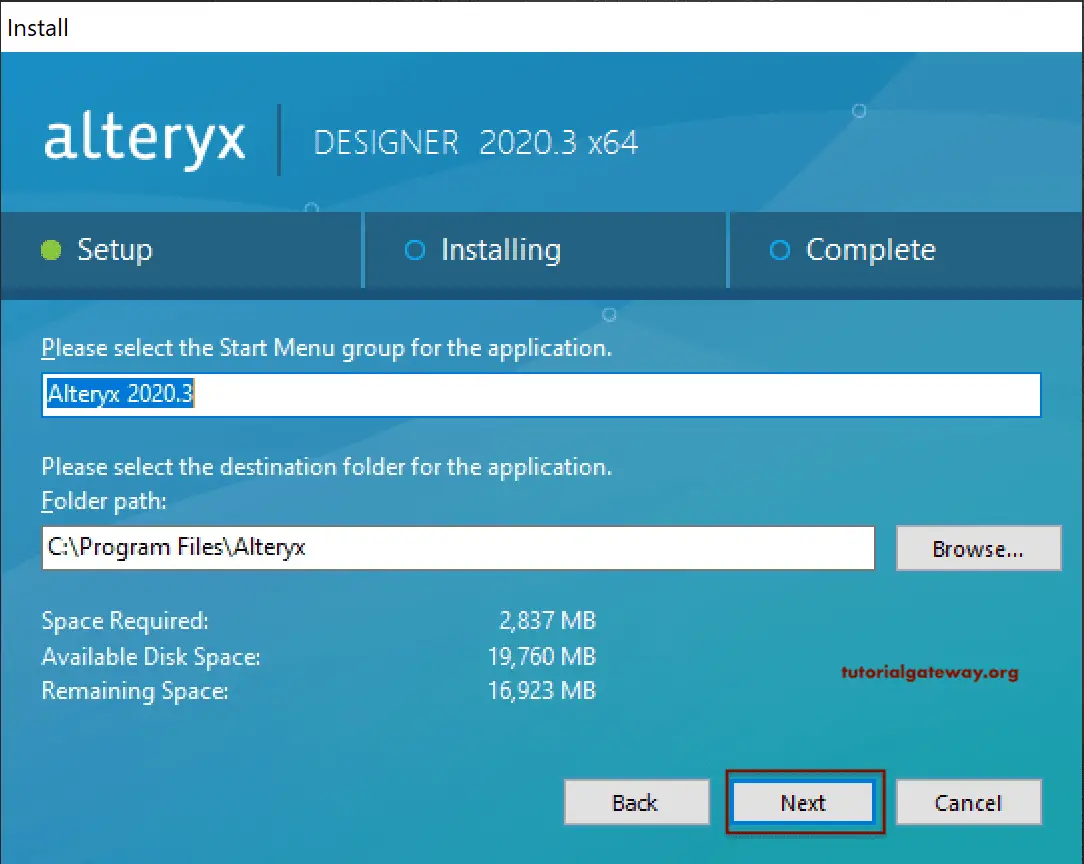
Here, you can change the Name and the location to install the software.
Please checkmark the I accept the license agreement.

Wait until the Designer tool install process is completed. Now you can see the successful message. Either you can run the Alteryx or close the install process. Let me select the Run it Now option and click the finish button.

From the below image, you can see the designer window.

Designer Activation
When you open the Alteryx Designer for the first time, it will ask you to enter the license key to activate the product. If you want, you can click on the Start Free Trial button to enjoy the free trial. Let me enter my Email and the activation key.

Once you enter the correct credentials, you can see the success message. Please click on the Start Solving button at the bottom.
It is the Start Here file, and you can see this when you open the application for the first time!
