In SSIS, We have SQL Server Import and Export Data Wizard, which is used to import or export data from various sources (flat files) to a different destination using Wizard. In this example, we have a DimGeo text document, and we are going to import the data present in the text file to the SQL database table using the Import and Export Data Wizard.
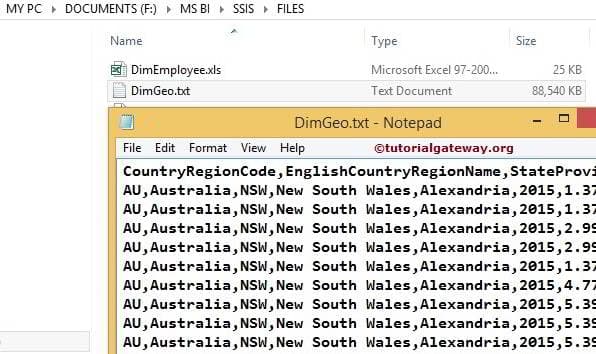
The below screenshot will show you the data present in the DimGeo text file.
How to Import Data from Flat File to SQL Server Using Import and Export Data Wizard
If you are running on Windows 7 then, you can find in start -> All Programs. If you are running on Windows 8, then you can find in Apps.
Double click on SQL Server Import and Export Data tool will open the Wizard. The first page is the welcome page.
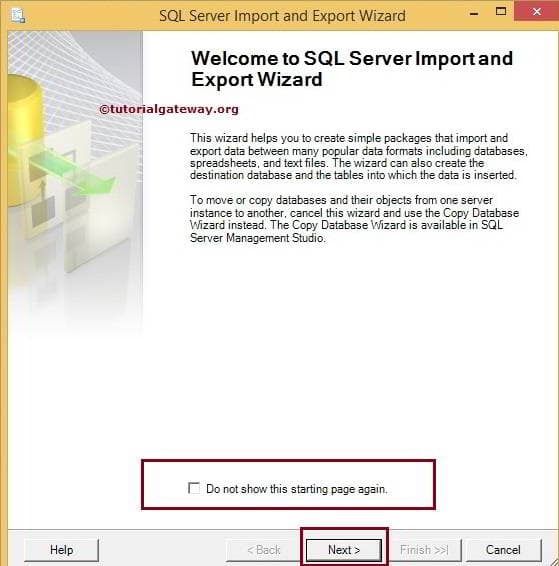
If you don’t want to see this page again, then Please tick the checkbox “Do not show this starting page again”. For now, click Next
Choose a Data Source Page: This page is used to configure the source information. Our source is a text file. So we are selecting Flat File source as our Data Source
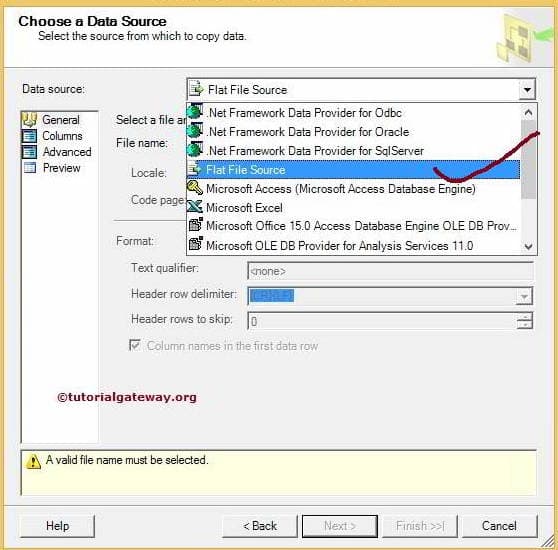
Then we have to choose the text file from our local drive
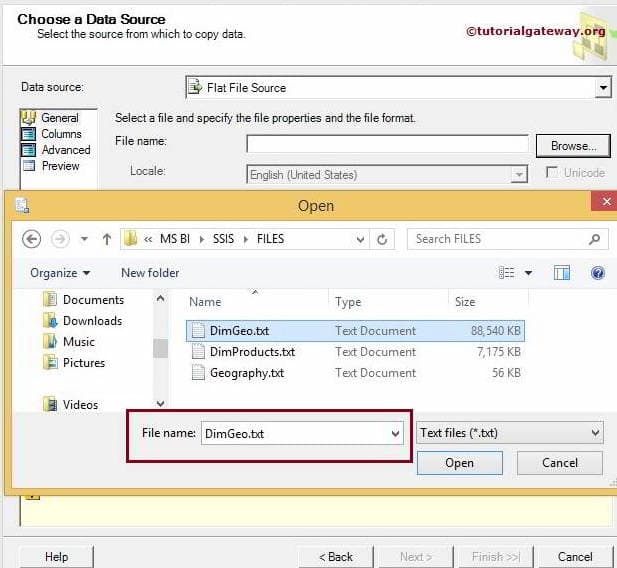
From the above, you can observe that we selected the DimGeo text file. If your text file includes column name in the first row then, tick the checkbox ‘Column name in the first data row’. If not, uncheck it.
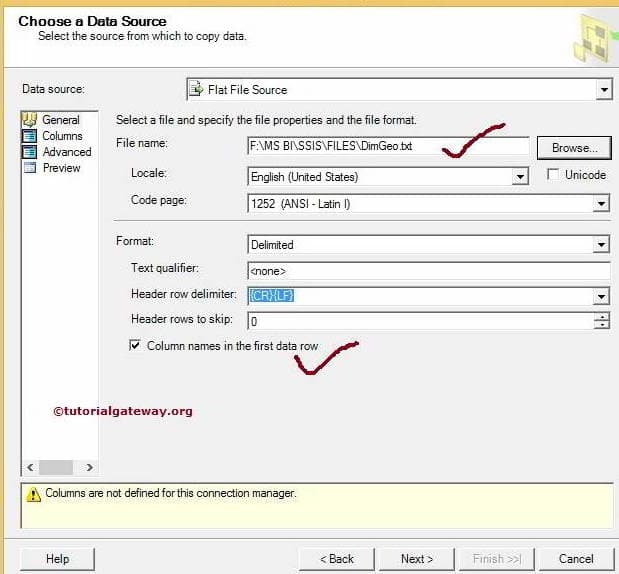
Click on the columns tab to configure row and column delimiter and Row delimiter (Specify how you column data and row data is separated). Most of the time, delimiters are automatically selected. However, it is always a good practice to verify it yourself. We can also see the data as well.

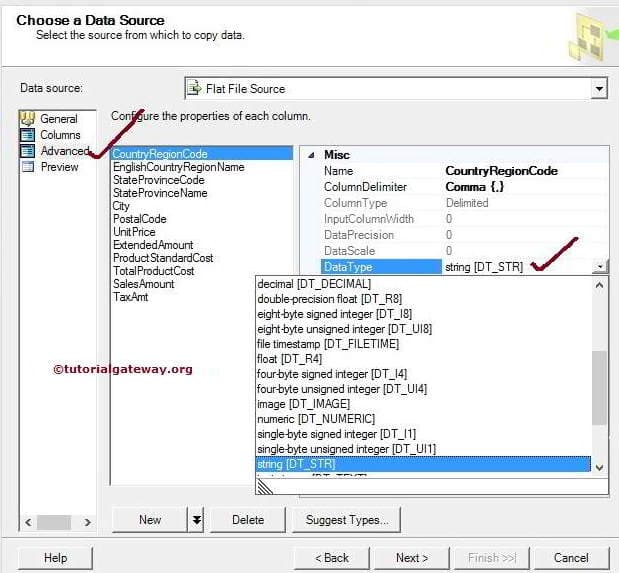
Click on the Advanced tab to check/Modify data types of the source columns
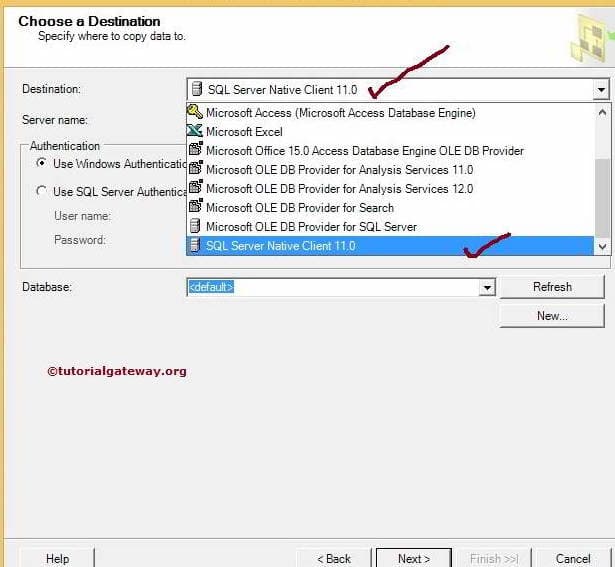
Choose a Destination Page: This page is to configure the Destination information. Our target is the SQL database, so we are selecting the Native Client as our Destination. Here, we are using my localhost instance as a server name.
Please select the destination database from the list. Let us choose the required one here.
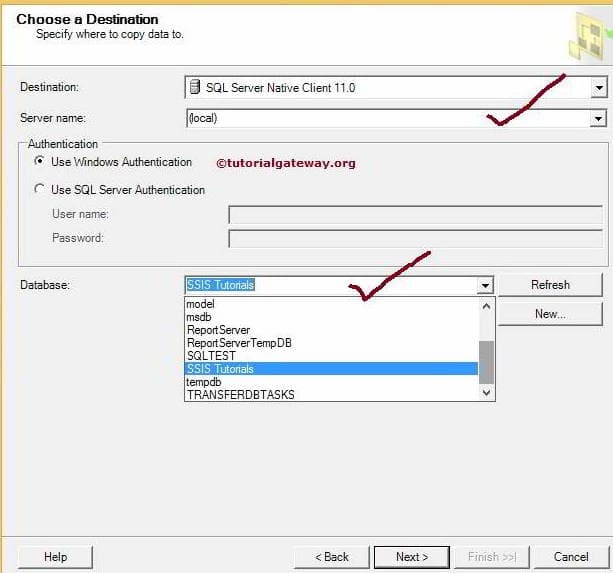
Authentication: Here, we are using windows authentication. But in real-time, your organization or company will provide the authentication credentials to access the database. In that case, you have to change the radio button to server authentication and provide the username and password.
Select Source Tables and Views: This page is to select the destination table from the database if you have already created it. If not click on the Edit Mappings button will open the window like below to create a table and also Edit button to customize
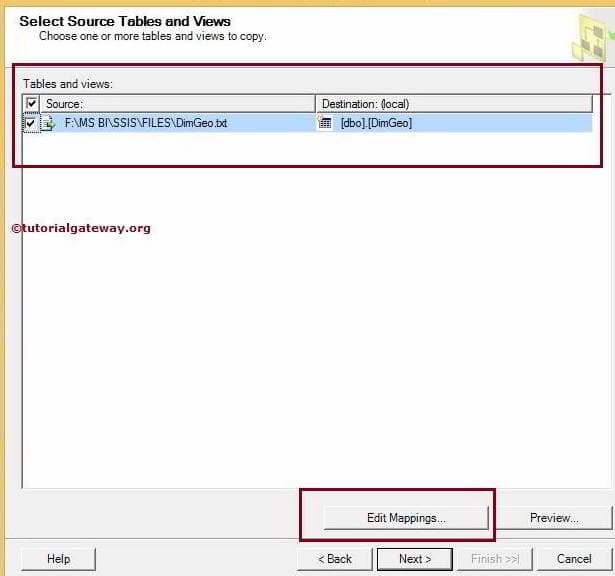
Click on Edit Mappings button
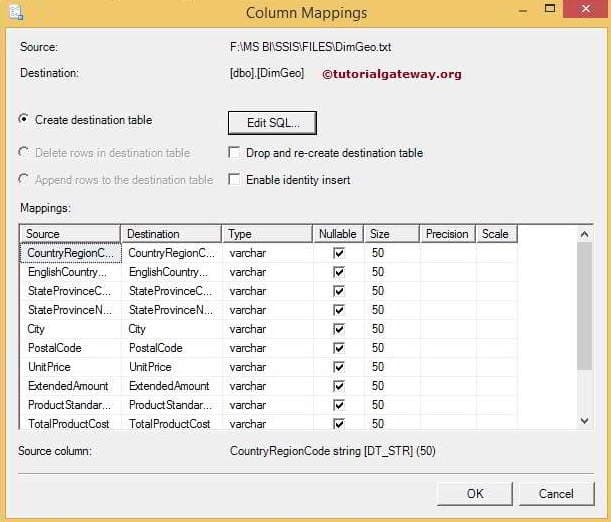
Click OK. From the above screenshot, you can observe that,
- Here we can create a new table. Or we can customize an already existing table by clicking the Edit button.
- We can drop the existing table and recreate it by selecting the Drop and re-create destination table
- Enable identity insert option will help you to insert values into an identity column

The preview button is used to see the import data from flat file to sql server using import and export column data.
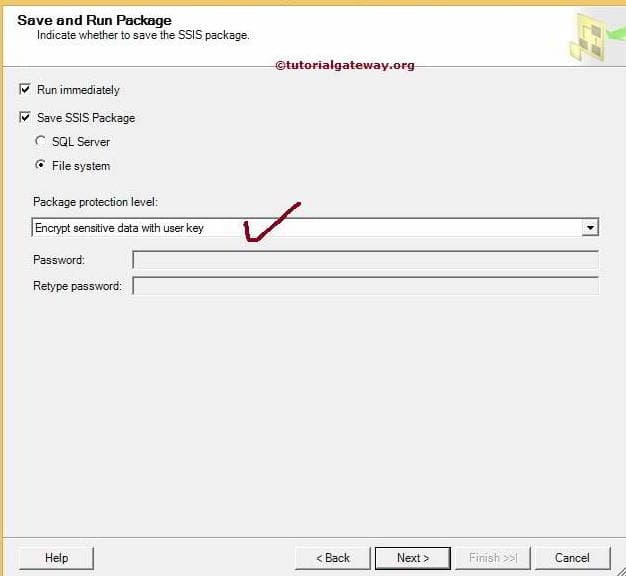
Save and Run Package: This page gives us the option to save the package in either SQL server or File system. For the time being, we are selecting a file system
Click Next button
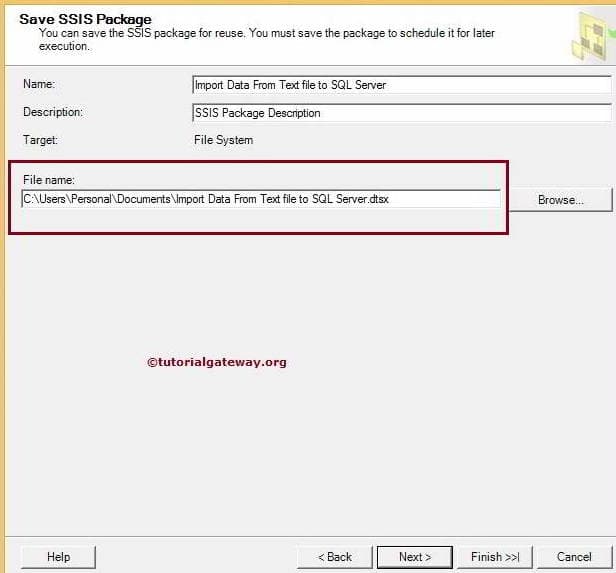
- Name: Change the package name as you wish
- Description: Write your own description
- File Name: Select the file name and file location by clicking on the Browse button and navigate to the appropriate location. (This is the place, where the package is going to save).
Once done, click Next.
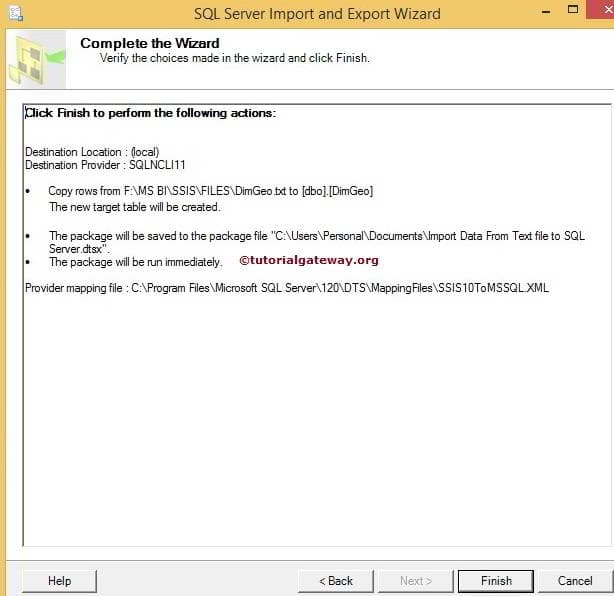
Click the finish button to complete the Wizard
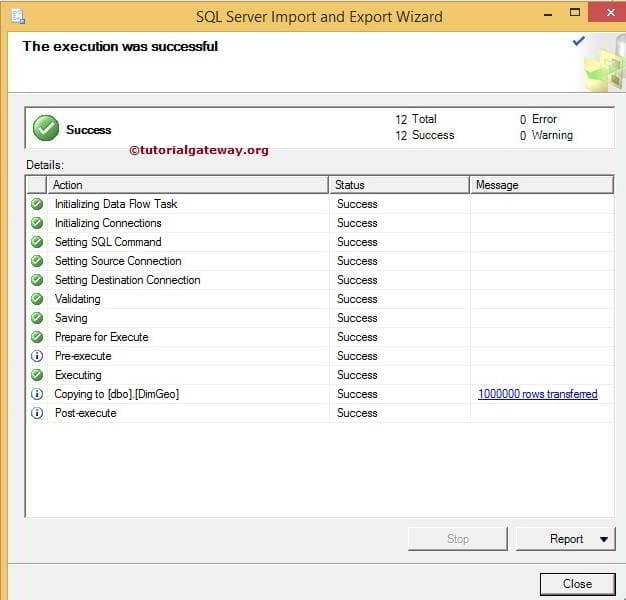
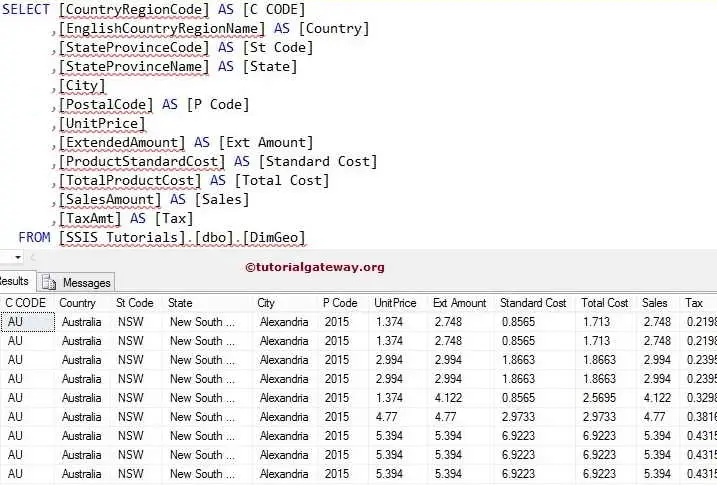
From the above, you can observe the status: Success and Message of 1000000 rows transferred. Let’s open the SSMS and check the SSIS output data