In this section, we show you how to use tFileOutputDelimited to export database table to a Text file in Talend with an example. For this Talend tFileOutputDelimited demo, we are using the SQL Database table, and the data inside this table is
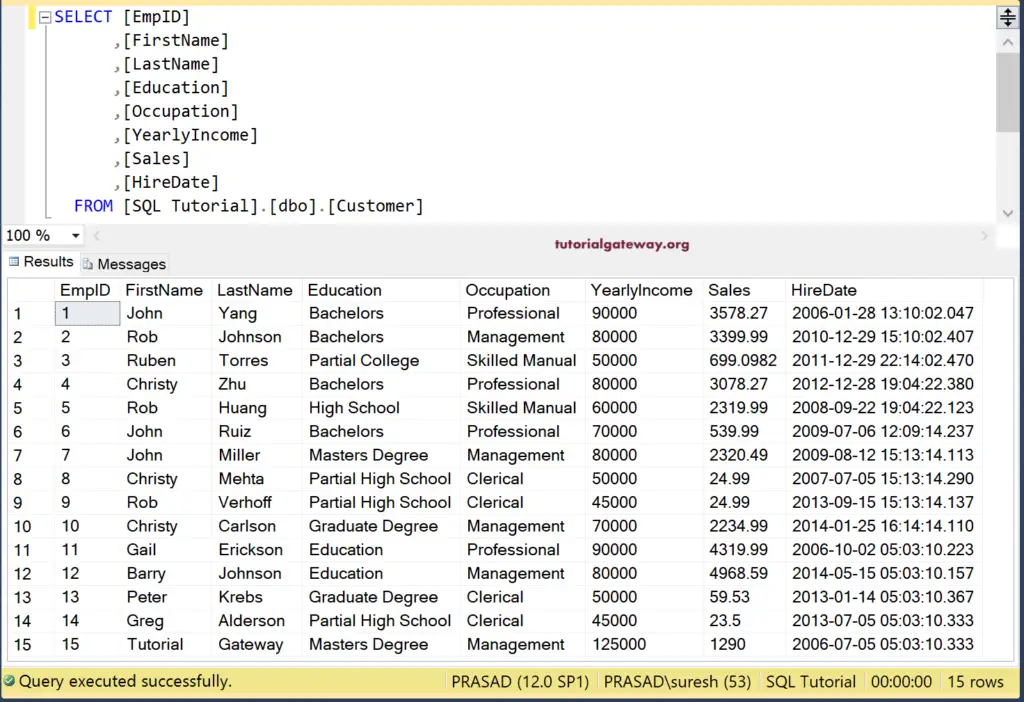
Talend Export Database Table to Text File example
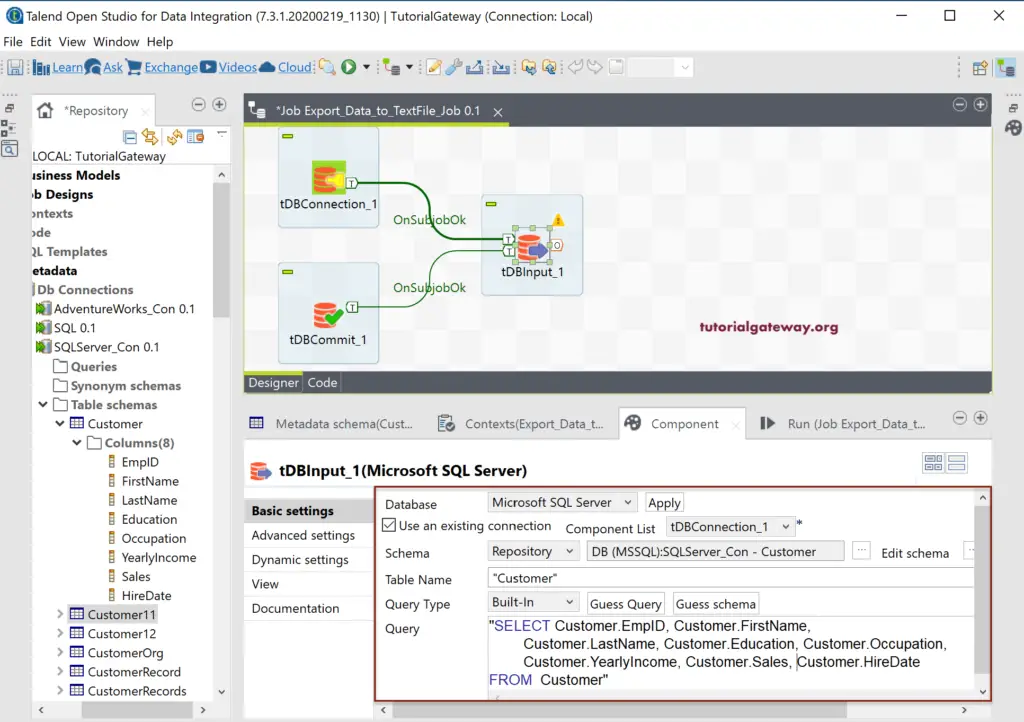
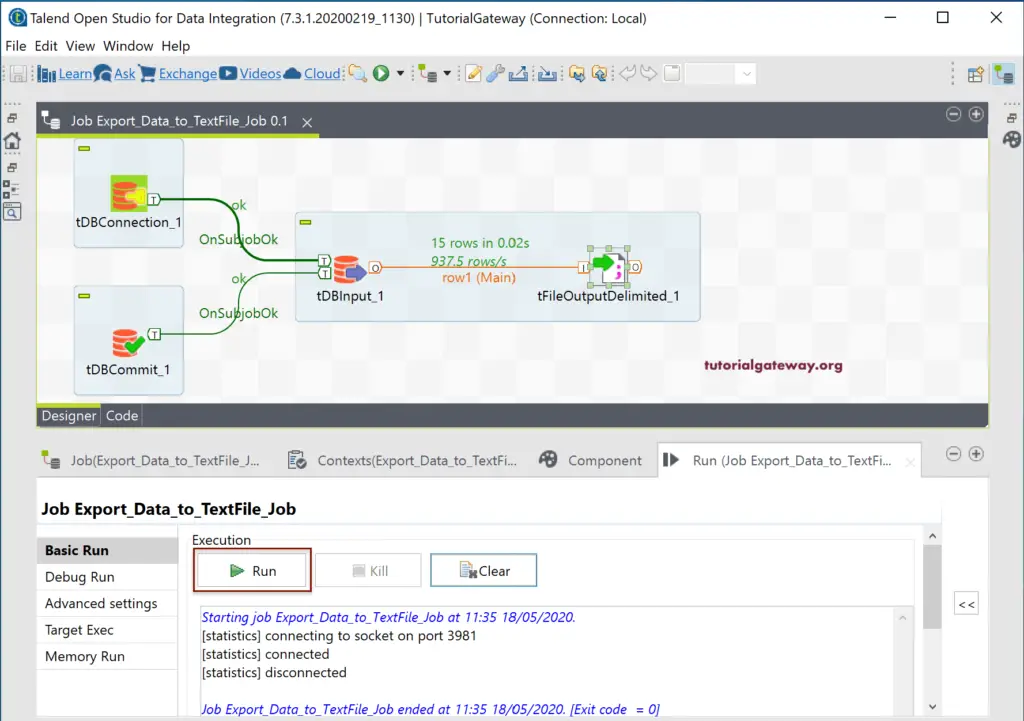
From the following tFileOutputDelimited job screenshot, you can see that we established a Connection with SQL and selected the Customer table using the DBInput.
Next, drag and drop the tFileOutputDelimited output field from the palette. As you see from the tooltip, tFileOutputDelimited writes to a file row by row with a simple separated field (i.e., delimiter).
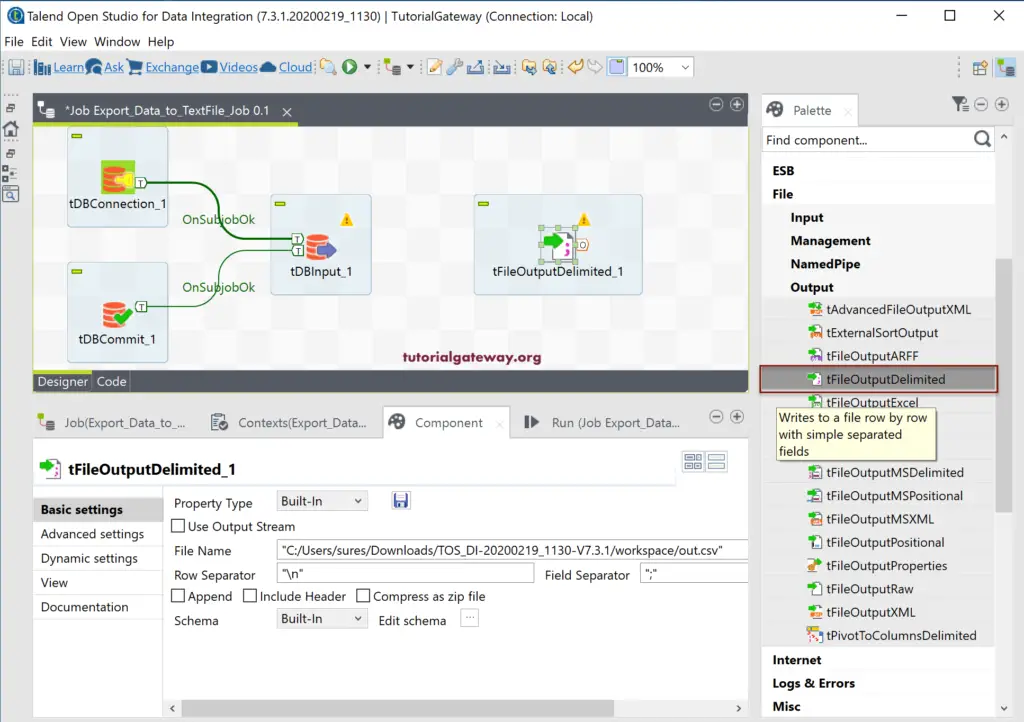
Please connect the DBInput source to tFileOutputDelimited. Within the Talend Text output field Component, we have the following options.
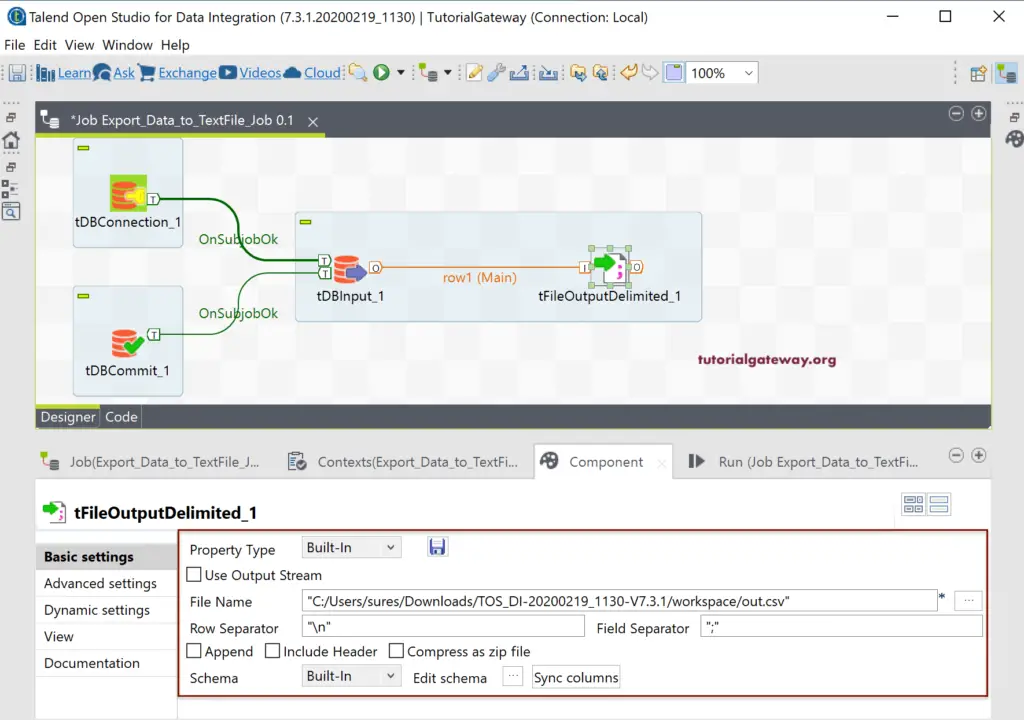
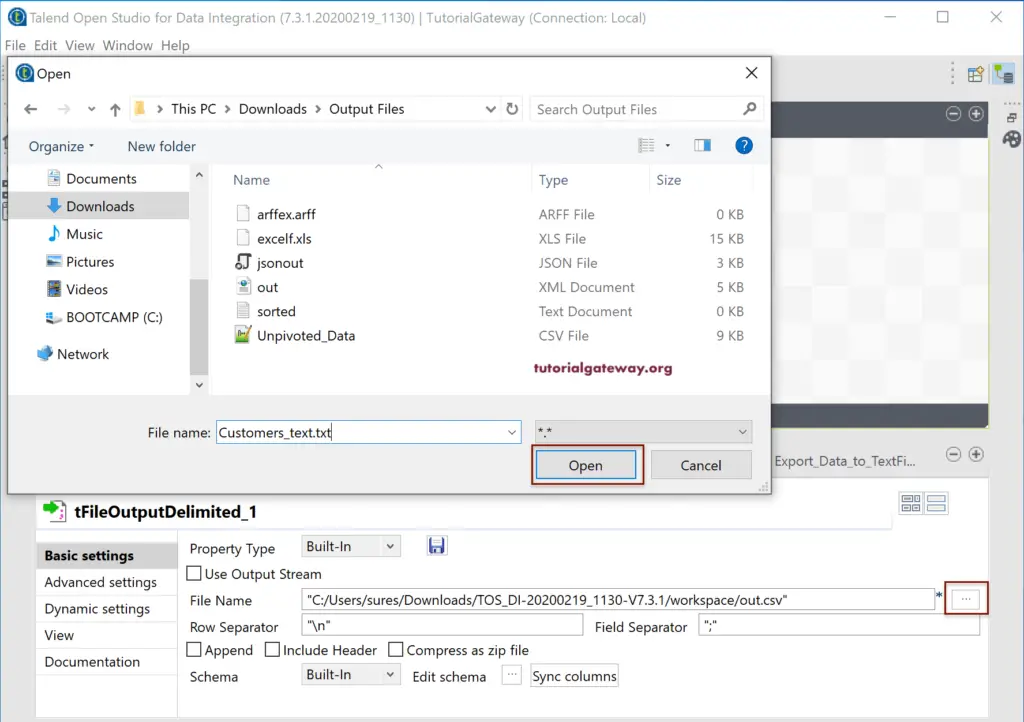
By default, the tFileOutputDelimited field selects the default location and out.csv as the file name. Please click the browse (…) button to select the existing text or CSV file or create a new Text file. Here, we are creating the Customers_Text.txt in the Output files directory.
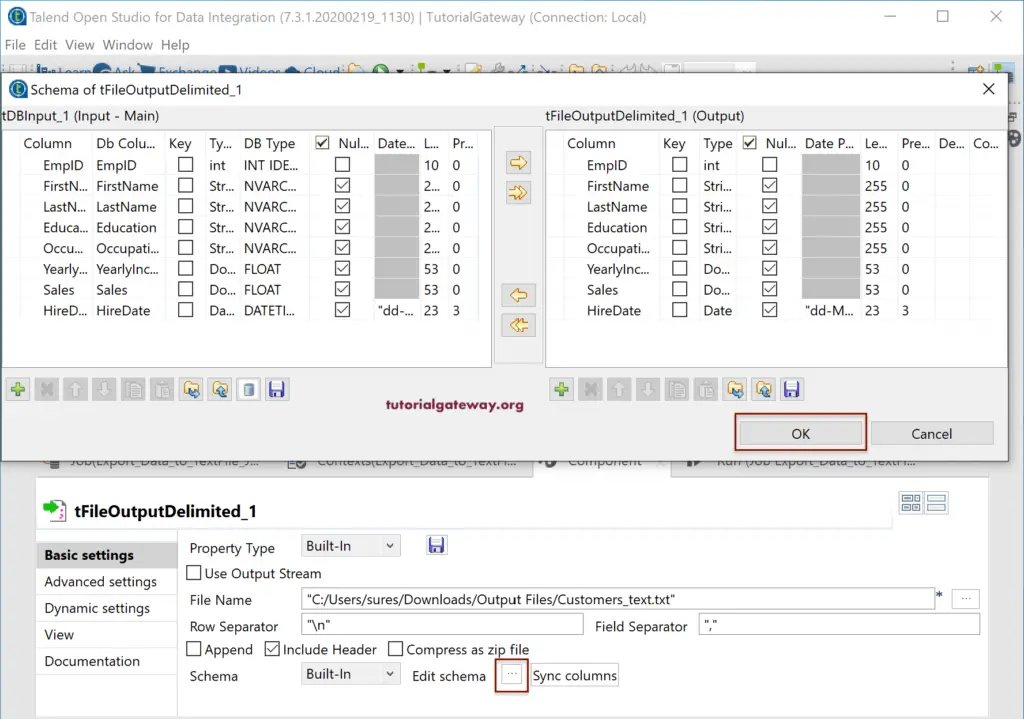
Next, click the Edit Schema button to check the tFileOutputDelimited schema. Here, you can change the schema or columns based on your requirement. Mostly, the input columns (DBInput) will sync with the tFileOutputDelimited. If that is not the case, then close the schema window and click on the Sync columns button.
Next, we selected the Include Header option.
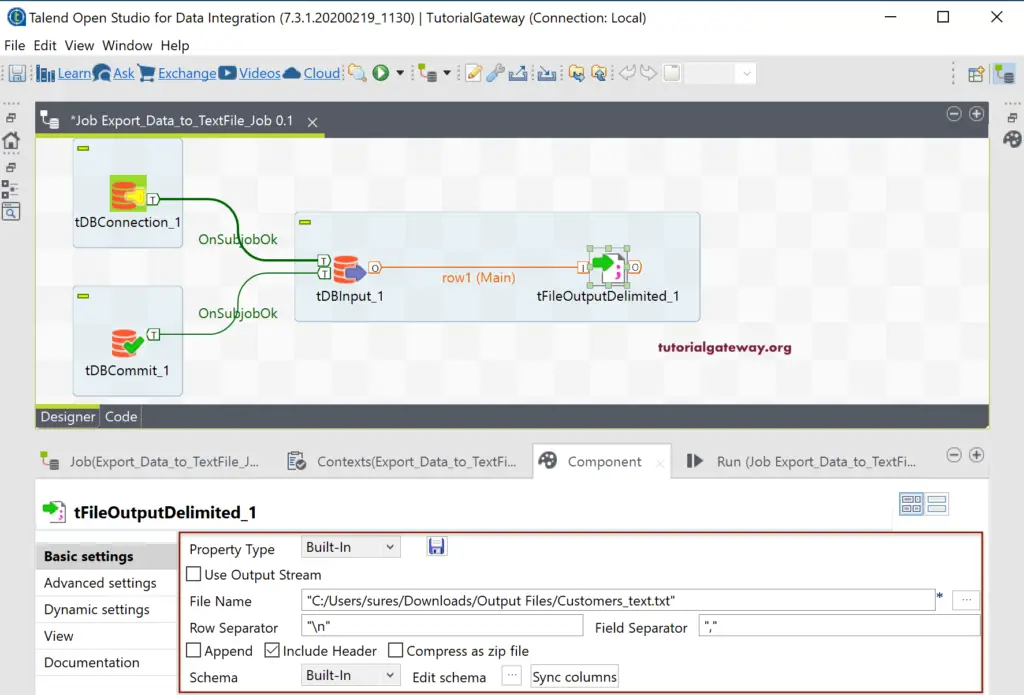
Let me run the Talend tFileOutputDelimited job to see whether we exported Database Table to Text File or not.
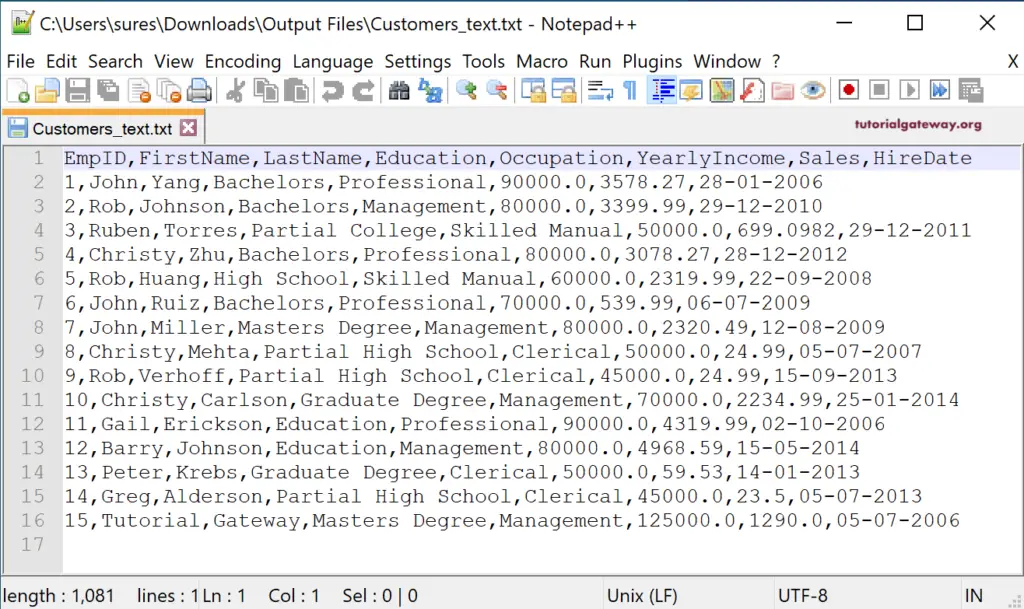
Now, you can see the Text file has all the customers along with the header or column names.
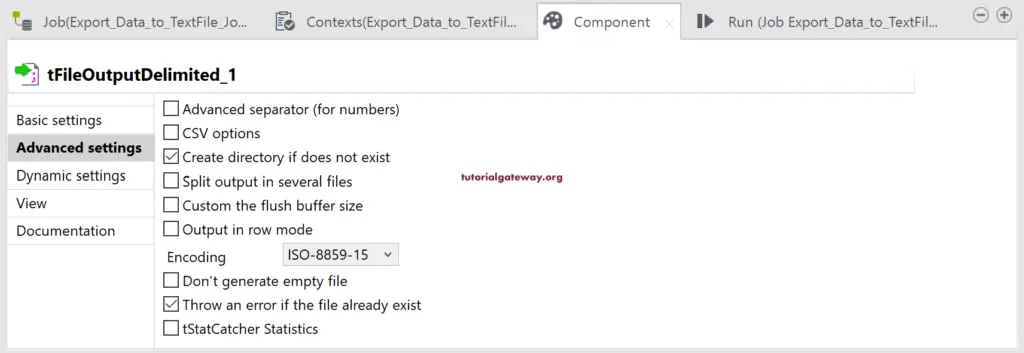
Please go to the Talend tFileOutputDelimited Advanced Settings to change the advanced options.
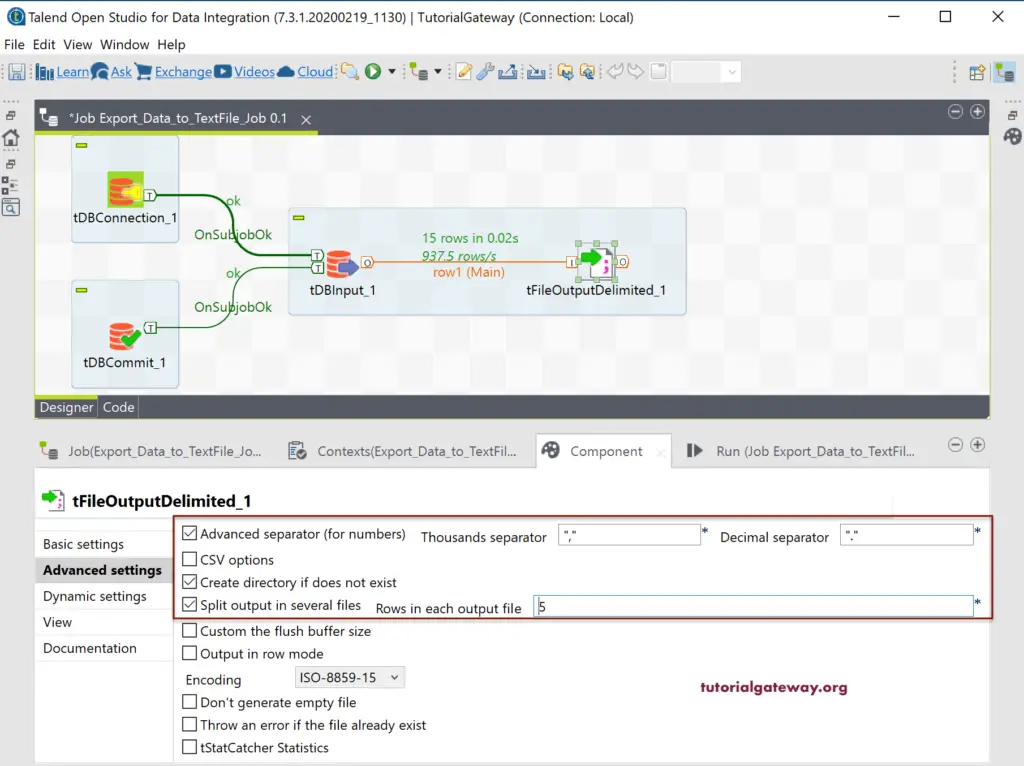
For the demo purpose, we are specifying the Thousand separator and decimal separator. Next, we are splitting the input rows into multiple text files where each file has a maximum of 5 rows. It can do by simple check Split output in server files, and place the number (5) for Rows in each output file option. Once you finish, click the Run button.
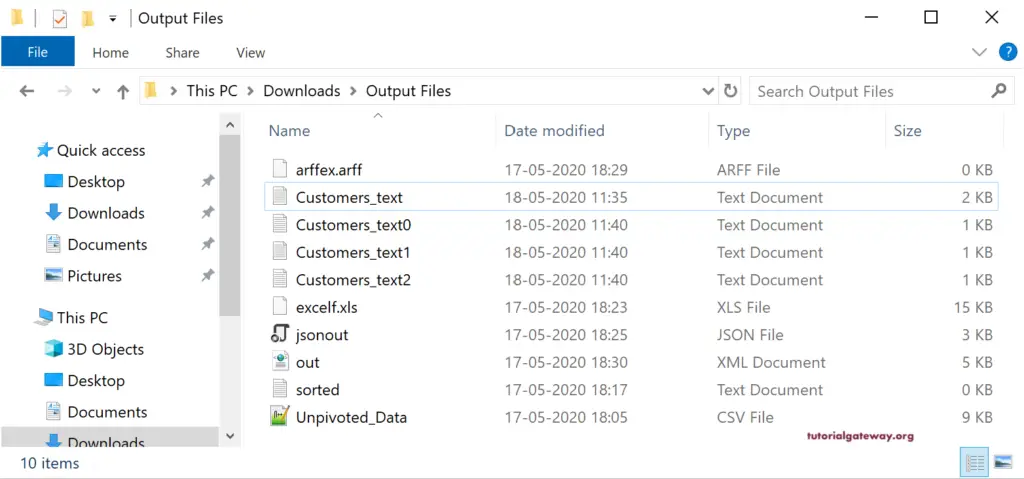
Now, you can see three text files whose name is Customers_text (default we provided), and it added 0, 1, and 2.
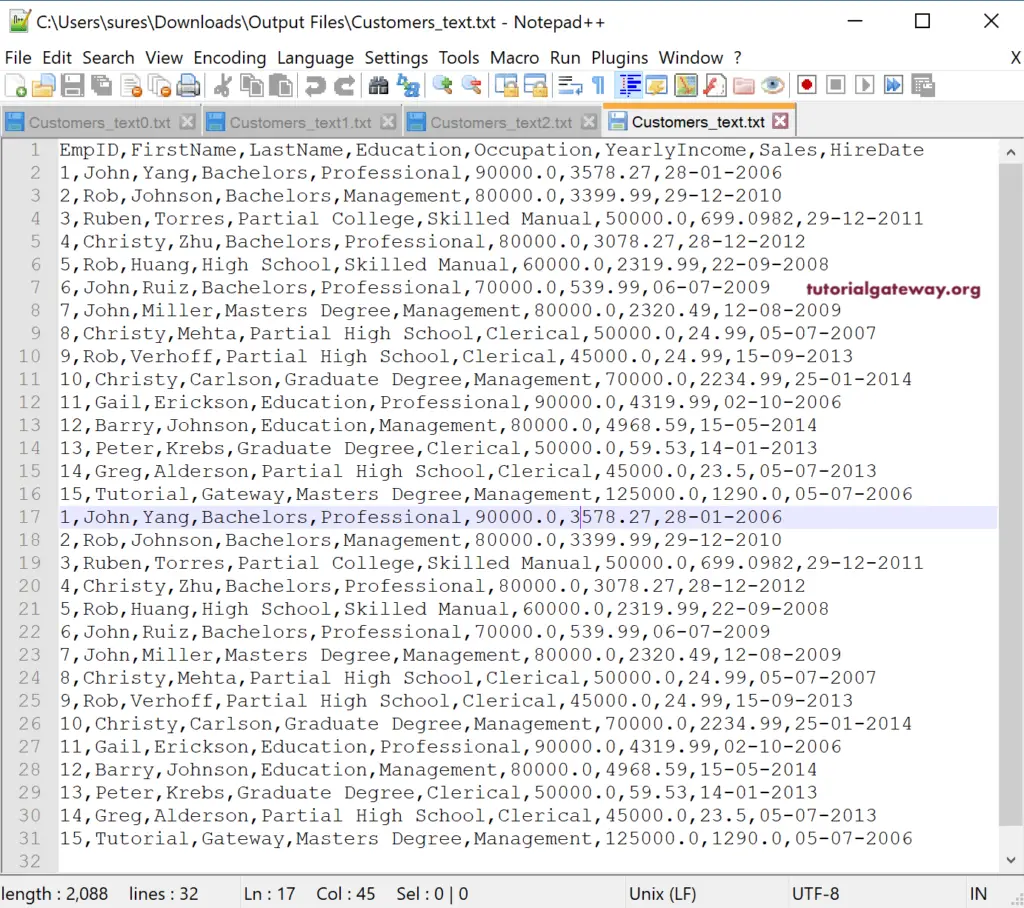
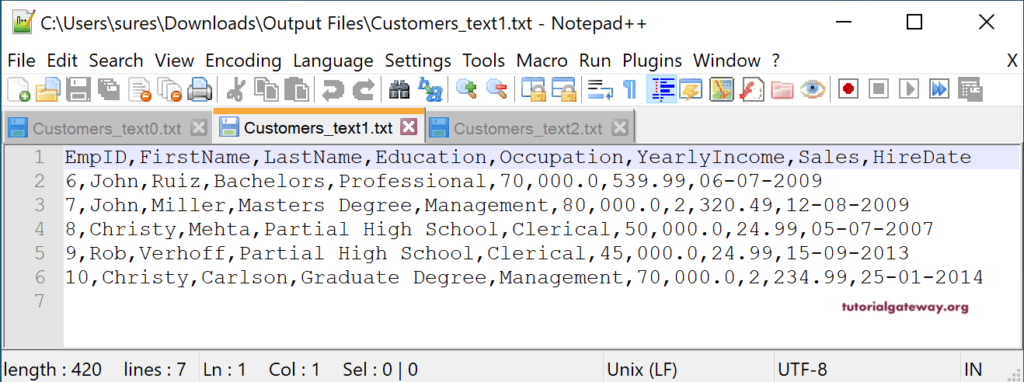
And the data inside a file is
This time we were selecting the Append option and removed those advanced options for the previous step. It means, our Customers_text file has 15 records already, and it has to append another 15 records.
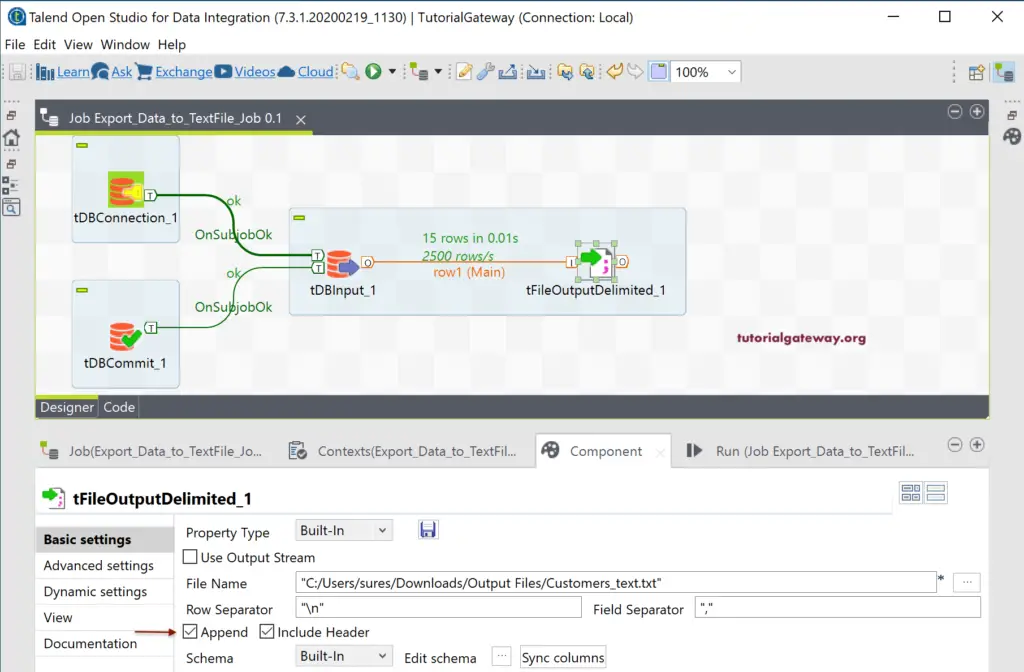
You can see the same in the below screenshot.
