We have SSIS Import and Export Wizard, which can help to export data from SQL Server to Excel destination using Wizard. In this SSIS example, we are going to export [Sales 2] table data from the Database to Excel file present in the local hard drive using SQL Import And Export Data Wizard.
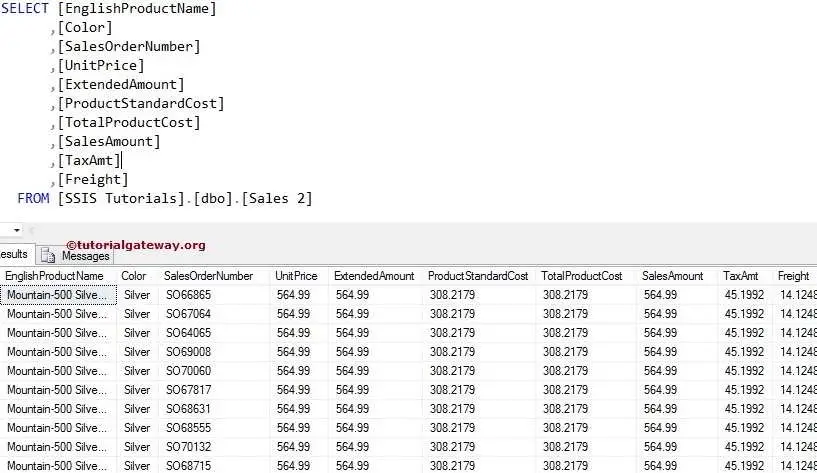
Below screenshot shows you the data present in the [Sales 2] Table
Export Data from SQL Server To Excel Using SSIS Import And Export Wizard
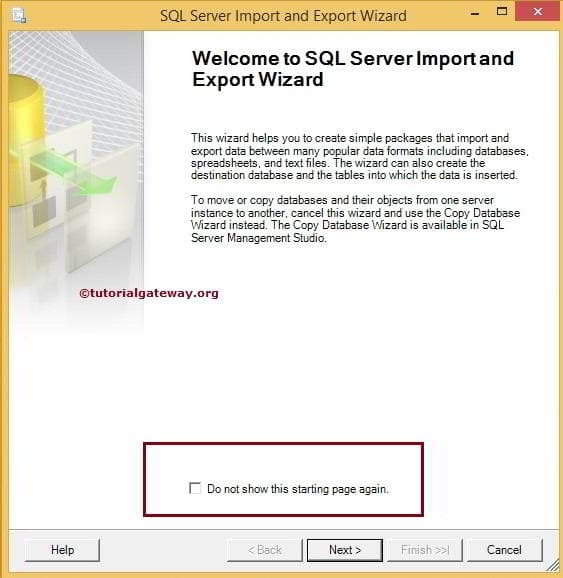
To Export Data from SQL Server To Excel Using SSIS Import And Export Wizard, Double click on the Import and Export Wizard tool. You can find in start -> All Programs -> Microsoft SQL Server 2014 -> Import and Export Data Wizard. It will open the Import and Export Data Wizard. The first page is the welcome page
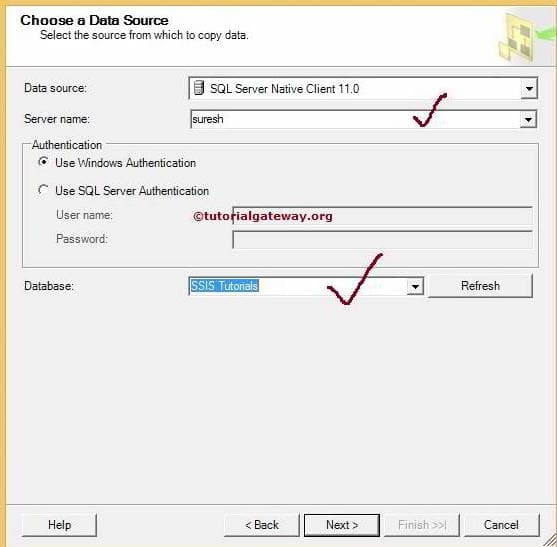
Choose a Data Source Page: This page is used to set the source information. Our source is the database. So we are choosing the Native Client as our source and our instance as a server name.
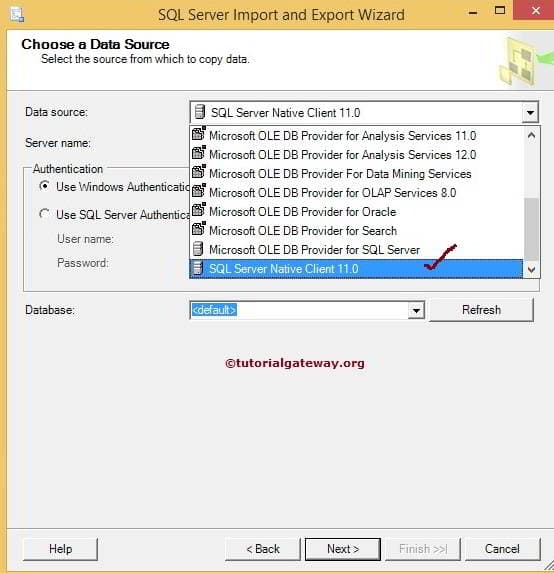
Select the source database from the list. Let us pick the following database here.
Authentication: Here, we are using windows authentication, but in real-time, your organization provides the credentials to access the database. In that case, swap the radio button to server authentication and produce the user name and password.
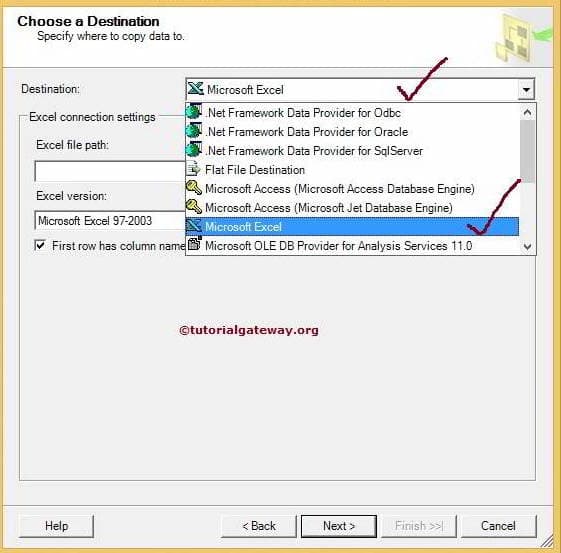
Choose a Destination: This page to set the target information. Our SSIS job is to save the SQL Server data into an Excel file. So we are selecting Microsoft Excel as our Destination
Then we have to select the existing Excel file from our local drive
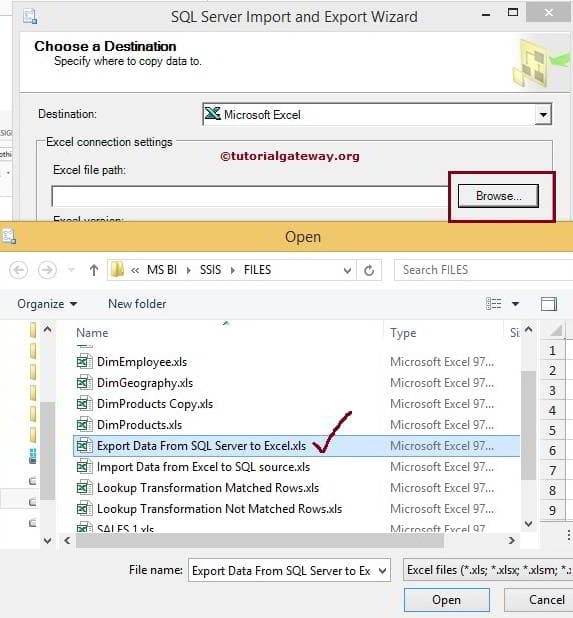
From the above screenshot, you can observe that we are choosing the Export Data from Database to Excel file. Click the Open button to select it
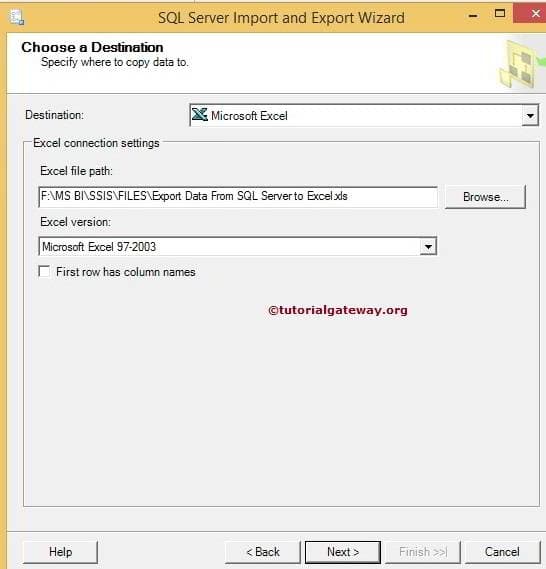
If your Excel file includes the column names in the first row, checkmark the checkbox “Column name in the first data row”. If not, uncheck it.
Click Next button
Specify Table Copy or Query: Here we have two options
- Copy data from one or more tables or views: Use this option to select from existing tables or view (All the columns data)
- Write a query to specify file data to transfer options: This is the option we usually use because there will be unnecessary columns in every table. So it is better to bypass them or selecting data with the condition.
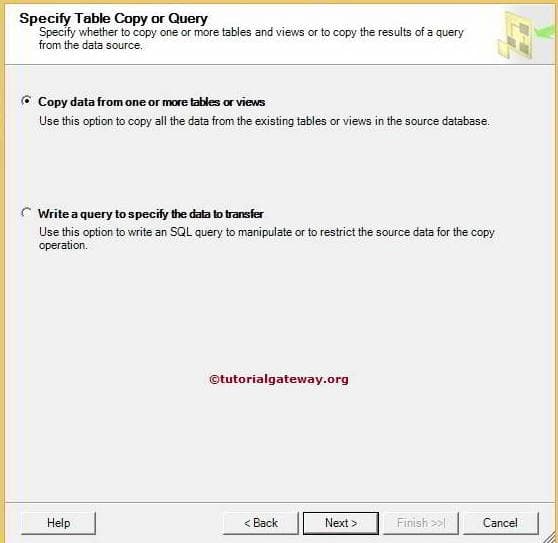
For the time being, we are selecting every row, so we chose the first option. Click Next button
This page is to select the source table from the database. Here we are choosing [Sales 2] table. If your Excel file already contains the table to hold the output. Then select the appropriate Excel table from the destination list. Otherwise, Import and Export Wizard will generate the table name. Click on the preview button to check the incoming data flow
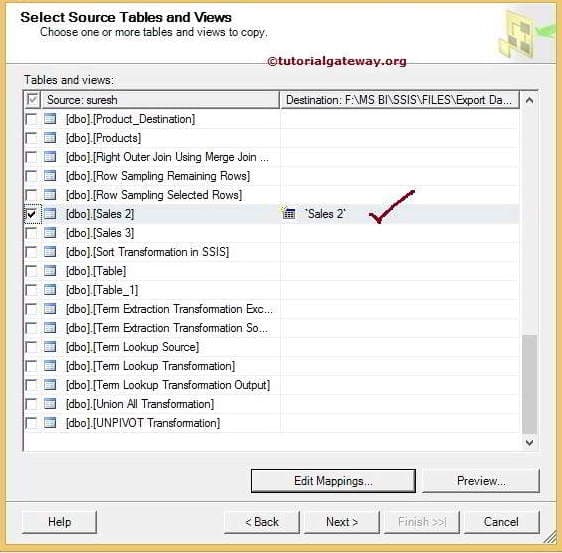
Click on the Edit mappings button to change the Data types and size of each column. You can also edit the table creation using the Edit button
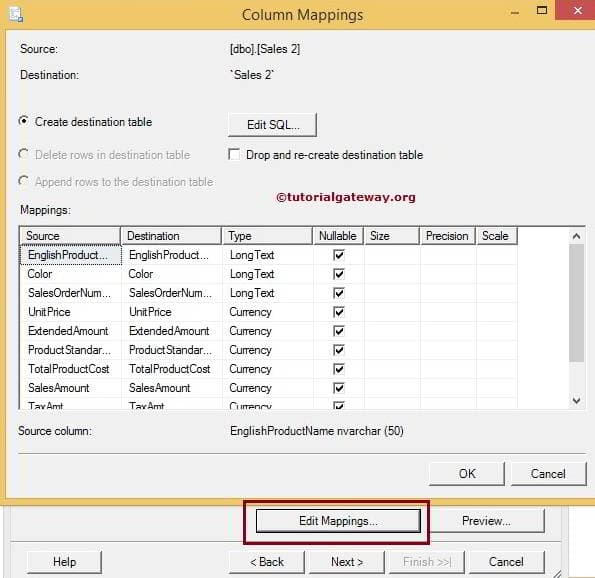
From the above screenshot, see that the English Product Name, Color, and Sales Order Number columns are of type LongText, which is not compatible with the source data in Server. So, let us change the data types.
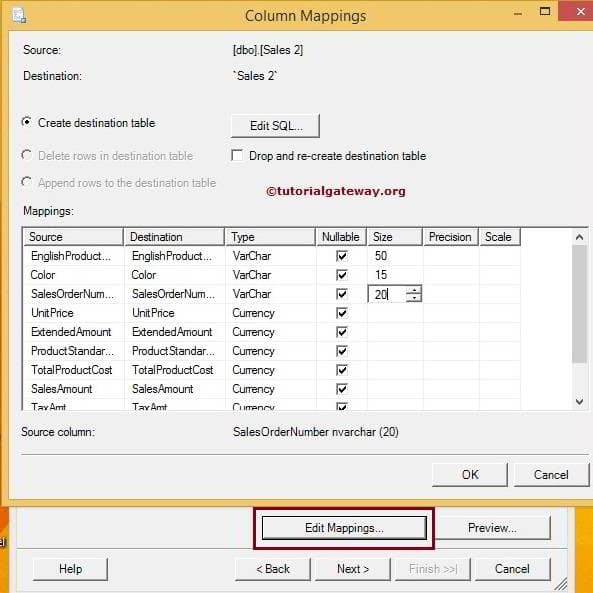
We changed the columns mentioned above to VarChar and assigned the required sizes as well. If you forgot to change the size of a column, data would truncate. So please change the size of each column to match with source columns.
Save and Run Package: This page gives us the option to save the package in either SQL server or File system. For now, we are not saving the package
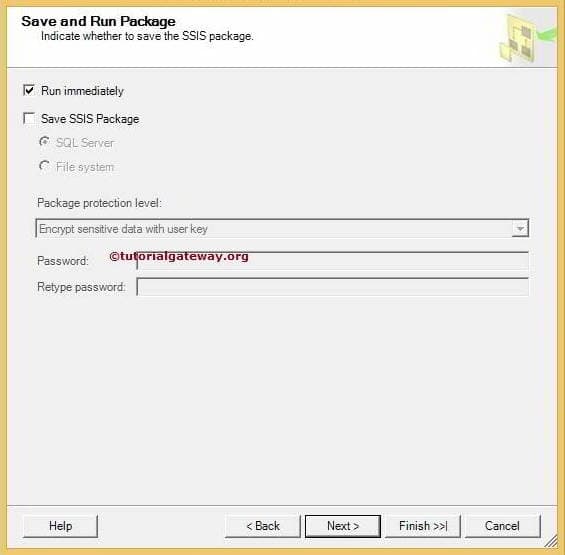
Click finish button to complete the Wizard
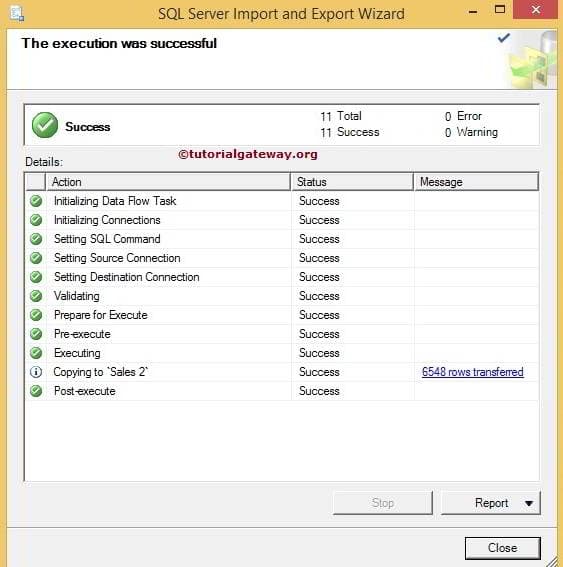
From the above, see the status: Success and Message.
Let’s navigate to the file system address we provide and check for the file name Export Data from SQL Server to Excel. Double click on Excel file to check the result
